Step-by-Step Guide to Building a Rating System in React
 Sazzadur Rahman
Introduction
User feedback is essential for improving products and services. A rating system is a simple yet powerful way to gather this feedback. In this article, we’ll walk you through creating a rating system with React. We’ll cover setting up the project, building the rating component, and adding interactivity and styling. By the end, you’ll have a fully functional and customizable rating system ready to enhance your web application. This guide is perfect for developers with basic React knowledge. Let’s dive in!
Setting Up the Project
First, we’ll create a new React project using Vite and set up Tailwind CSS for styling. Follow these steps:
1. Create React Project:
pnpm create vite@latest react-rating-system
2. Navigate to the project directory and install dependencies:
cd react-rating-system
pnpm install
3. Install Tailwind CSS:
pnpm add -D tailwindcss postcss autoprefixer
pnpm dlx tailwindcss init -p
4. Configure Tailwind CSS:
Update tailwind.config.js:
export default {
  // replace this
  content: ["./index.html", "./src/**/*.{js,ts,jsx,tsx}"],

  // your other configs
  theme: {
    extend: {},
  },
  plugins: [],
}
5. Add Tailwind CSS Directives:
Add these lines to the top of your index.css file:
@tailwind base;
@tailwind components;
@tailwind utilities;
6. Install React Icons:
pnpm add react-icons
7. Run the Project:
pnpm dev
Now, your React project is set up with
Tailwind CSSfor styling andReact Iconsfor easy icon integration. You’re ready to start building the rating system!
Initial Setup and Testing
To ensure everything is set up correctly, we’ll start by adding some initial code to display star icons in your App.tsx file. Follow these steps:
1. Update App.tsx:
Replace the contents of your App.tsx file with the following code:
import { FaRegStar, FaStar } from "react-icons/fa";

import "./App.css";

function App() {
  return (
    <div className=”flex items-center gap-x-4">
      <FaStar className=”h-8 w-auto text-white cursor-pointer” />
      <FaRegStar className=”h-8 w-auto text-white cursor-pointer” />
    </div>
  );
}

export default App;
2. Check the Browser:
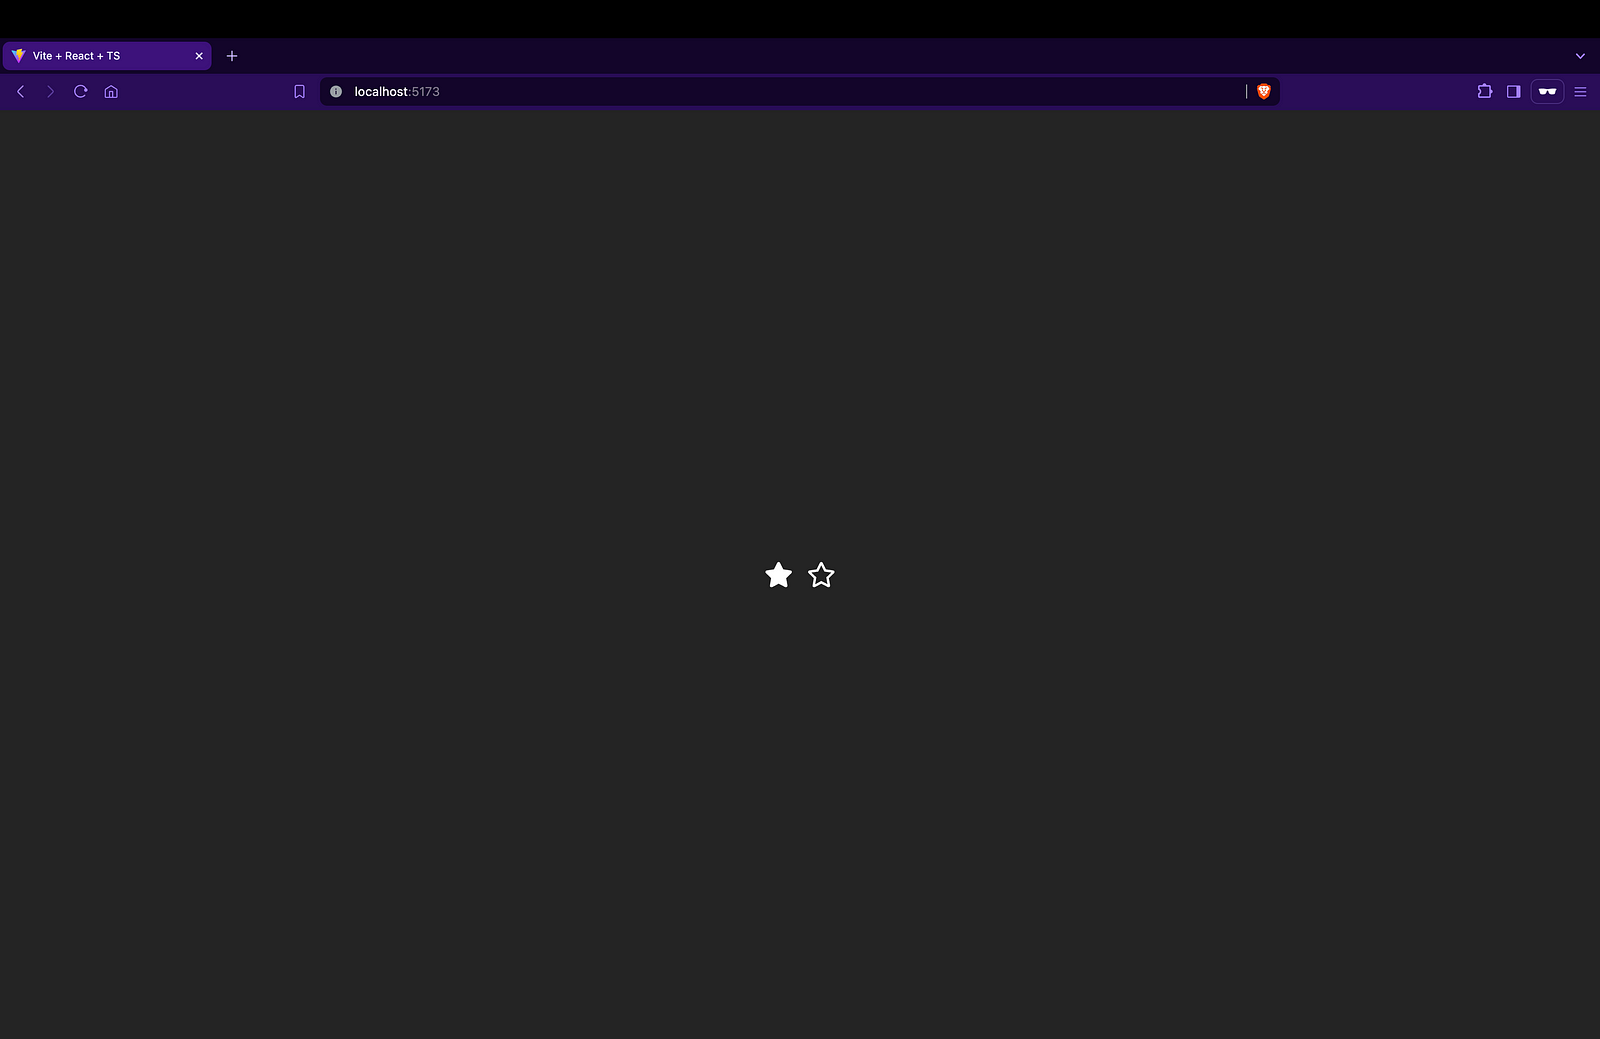
Open your browser and navigate to the local server (usually http://localhost:5173). You should see two stars: one filled and one unfilled.

This confirms that your project setup with
Tailwind CSSandReact Iconsis working correctly. Now you’re ready to build out the full rating system!
Adding Rating State and Dynamic Rendering
To implement dynamic rendering based on the selected rating, follow these steps:
1. Define Total Ratings:
Set the total number of stars you want to display:
const TOTAL_RATINGS = 5;
2. Import useState:
Import the useState hook from React:
import React, { useState } from "react";
3. Add Rating State:
Define a state variable to store the current rating:
const [rating, setRating] = useState(0);
4. Replace Icon Rendering:
Update the JSX code to dynamically render filled and unfilled stars based on the rating state:
{Array.from({ length: rating || 0 }, (_, idx) => (
  <FaStar key={idx} className="h-8 w-auto text-white cursor-pointer" />
))}

{Array.from({ length: TOTAL_RATINGS — (rating || 0) }, (_, idx) => (
  <FaRegStar key={idx} className="h-8 w-auto text-white cursor-pointer" />
))}

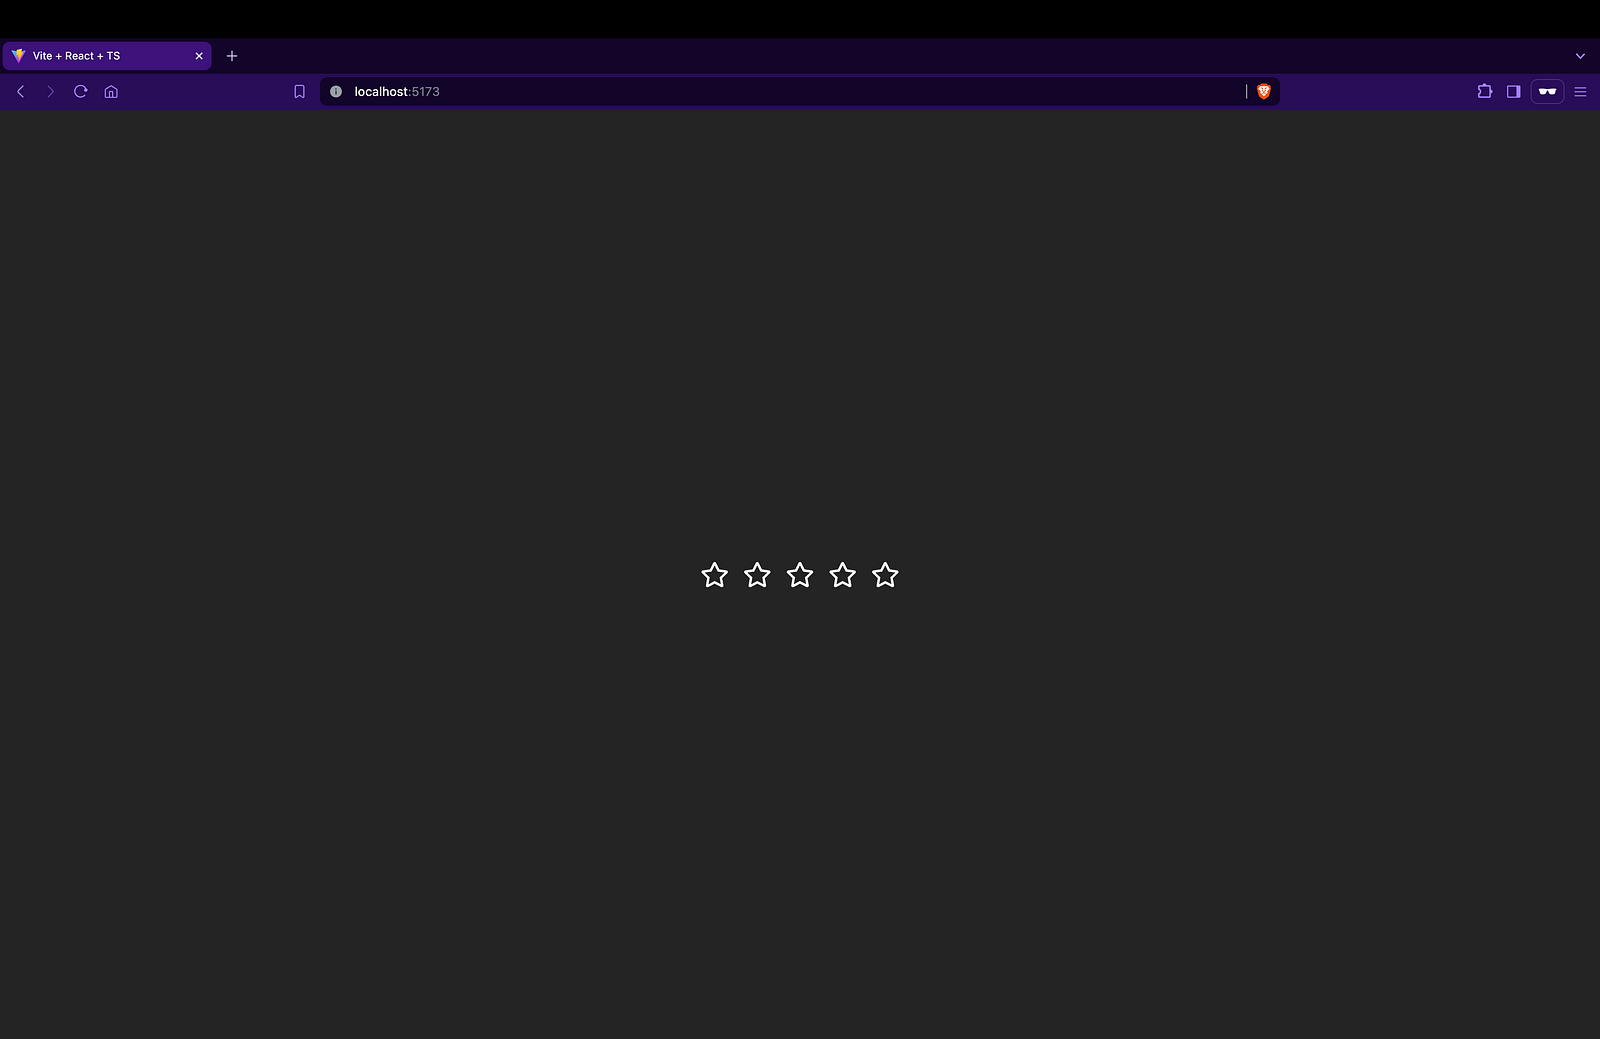
Now, when you run the project and view it in your browser, you should see
TOTAL_RATINGS(in my case 5) unfilled stars.
Adding Rating Functionality
To add functionality to increase and decrease the rating when a star is clicked, follow these steps:
1. Add Handle Rating Function:
Define a function that handles the rating change based on the type of action (increase or decrease) and the index of the star clicked:
function handleRating(type: string, idx: number) {
  let count = 0;

  if (type === "increase") {
    count = rating + idx + 1;
  } else if (type === "decrease") {
    count = idx + 1;
  }

  setRating(count);
 }
2. Update Star Rendering:
Update the JSX code to call the handleRating function when a star is clicked, passing the appropriate type and index:
{Array.from({ length: rating || 0 }, (_, idx) => (
  <FaStar
    key={idx}
    onClick={() => handleRating("decrease", idx)}
    className="h-8 w-auto text-white cursor-pointer"
  />
))}

{Array.from({ length: TOTAL_RATINGS — (rating || 0) }, (_, idx) => (
  <FaRegStar
    key={idx}
    onClick={() => handleRating("increase", idx)}
    className="h-8 w-auto text-white cursor-pointer"
  />
))}

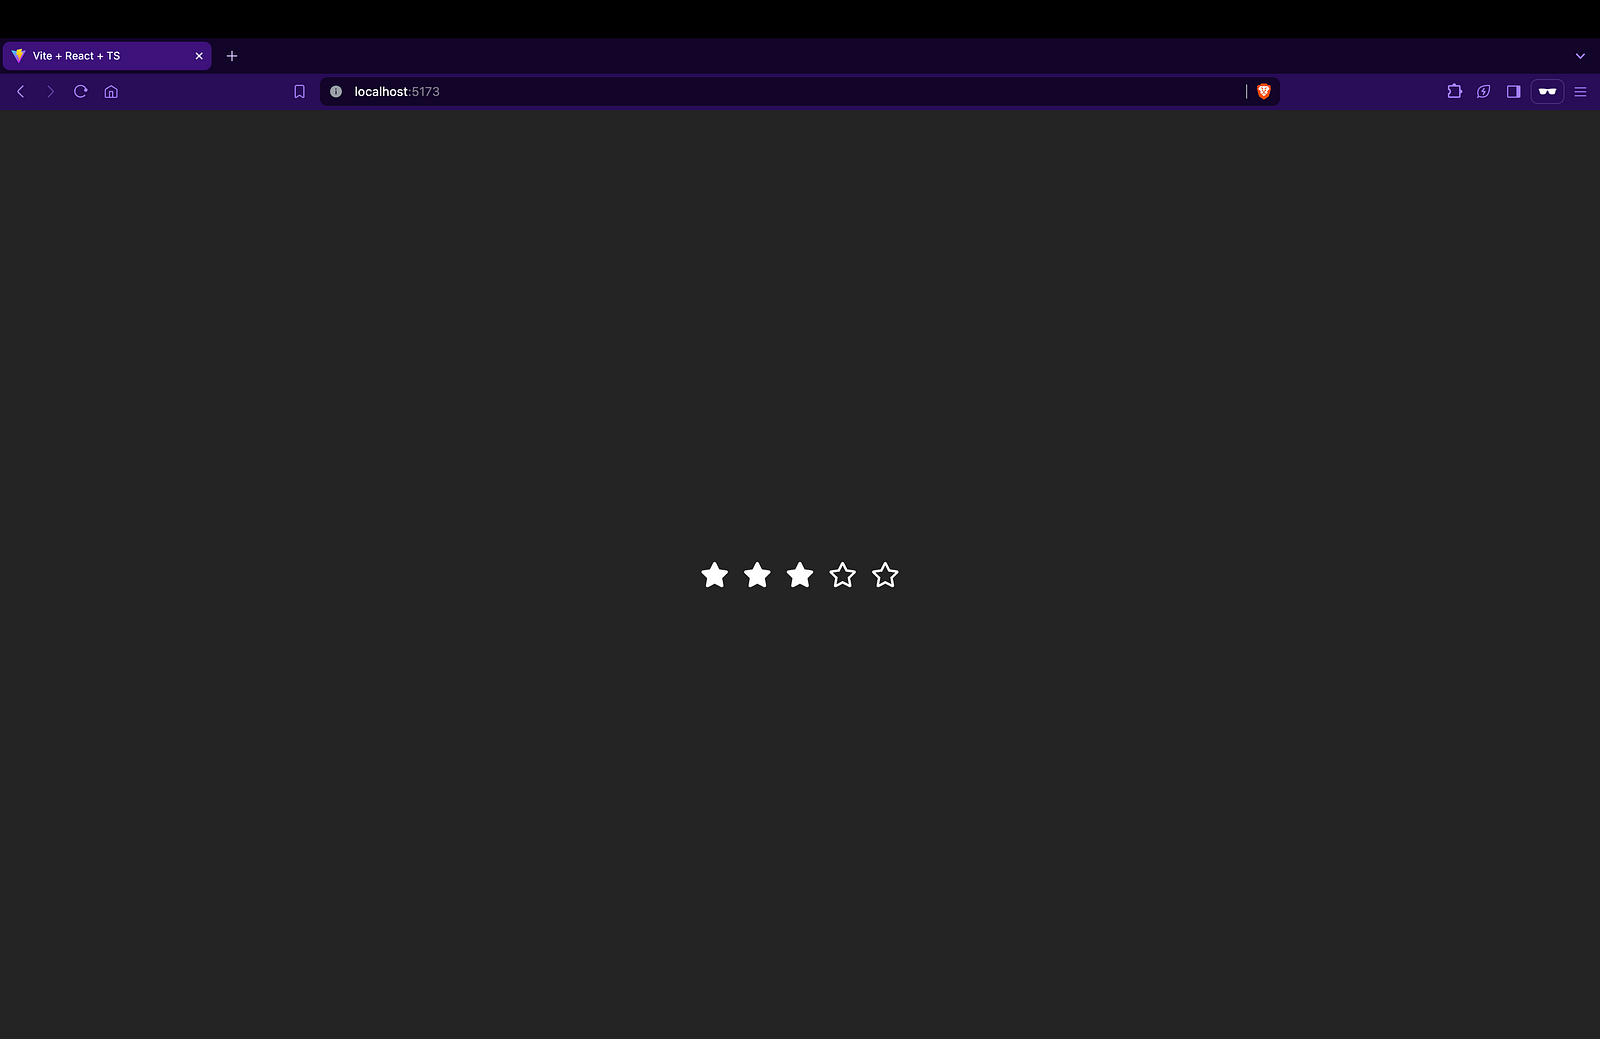
Now, when you click on a star, the rating should increase or decrease accordingly. This completes the basic functionality of your rating system.
Code
Final App.tsx
Your final App.tsx file should look like this:
import React, { useState } from "react";
import { FaRegStar, FaStar } from "react-icons/fa";
import "./App.css";

const TOTAL_RATINGS = 5;

function App() {
  const [rating, setRating] = useState(0);

function handleRating(type: string, idx: number) {
  let count = 0;

  if (type === "increase") {
    count = rating + idx + 1;
  } else if (type === "decrease") {
    count = idx + 1;
  }

  setRating(count);
}

return (
  <div className="flex items-center gap-x-4">
    {Array.from({ length: rating || 0 }, (_, idx) => (
      <FaStar
        key={idx}
        onClick={() => handleRating("decrease", idx)}
        className="h-8 w-auto text-white cursor-pointer"
      />
    ))}

    {Array.from({ length: TOTAL_RATINGS - (rating || 0) }, (_, idx) => (
      <FaRegStar
        key={idx}
        onClick={() => handleRating("increase", idx)}
        className="h-8 w-auto text-white cursor-pointer"
      />
    ))}
  </div>
 );
}

export default App;
This code defines a React component
Appthat renders a rating system with filled and unfilled stars. Clicking on a star increases or decreases the rating accordingly.
Conclusion
In this tutorial, we’ve learned how to create a simple yet powerful rating system using React. By utilizing state management with the useState hook, we were able to dynamically render filled and unfilled stars based on the user’s selection.
Through the handleRating function, we implemented the logic to increase or decrease the rating when a star is clicked. This functionality provides a user-friendly way for visitors to rate products, services, or content on your website.
Additionally, by combining Tailwind CSS for styling and React Icons for easily integrating icons, we achieved a visually appealing and functional rating system.
Feel free to further customize this rating system by adding features such as half-star ratings, average rating calculation, or saving ratings to a backend server. The possibilities are endless, and we hope this tutorial serves as a solid foundation for your future projects.
Thank you for following along, and happy coding!
Subscribe to my newsletter
Read articles from Sazzadur Rahman directly inside your inbox. Subscribe to the newsletter, and don't miss out.
Written by

Sazzadur Rahman
Sazzadur Rahman
👋 Hey there! I'm a passionate developer with a knack for creating robust and user-friendly applications. My expertise spans across various technologies, including TypeScript, JavaScript, SolidJS, React, NextJS.