VPC Endpoints
 SUJAN
SUJANTable of contents
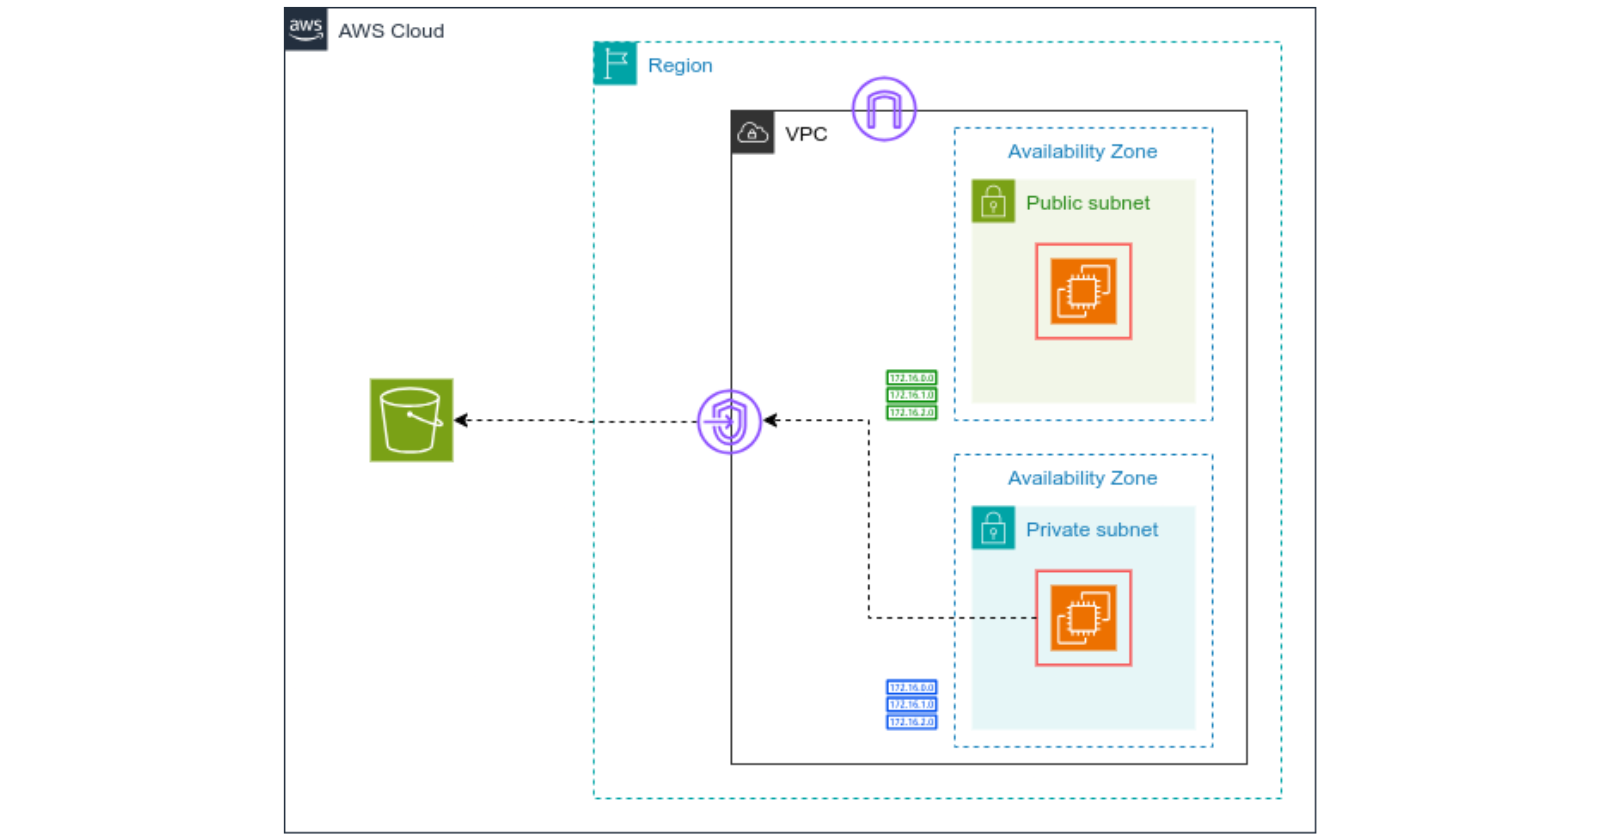
Today, we will be learning about VPC Endpoints.
VPC Endpoints
VPC endpoints are a way to privately connect your VPC to supported AWS services and VPC endpoint services without requiring an internet gateway, NAT device, VPN, or Direct Connect connection. They allow you to connect to these services using private IP addresses, which keeps your traffic within the AWS network.
There are two types of VPC endpoints:
Interface Endpoints: These are powered by AWS PrivateLink and are used for connecting to services like S3, DynamoDB. They provide a private IP address in your VPC. When you create an interface endpoint, an Elastic Network Interface (ENI) is created in your subnet with a private IP address that serves as the entry point for traffic destined to the service.
Gateway Endpoints: These are used for connecting to S3 and DynamoDB and are simpler to set up than interface endpoints. Gateway endpoints are associated with your route table and use route tables to direct traffic to the endpoint.
Overview
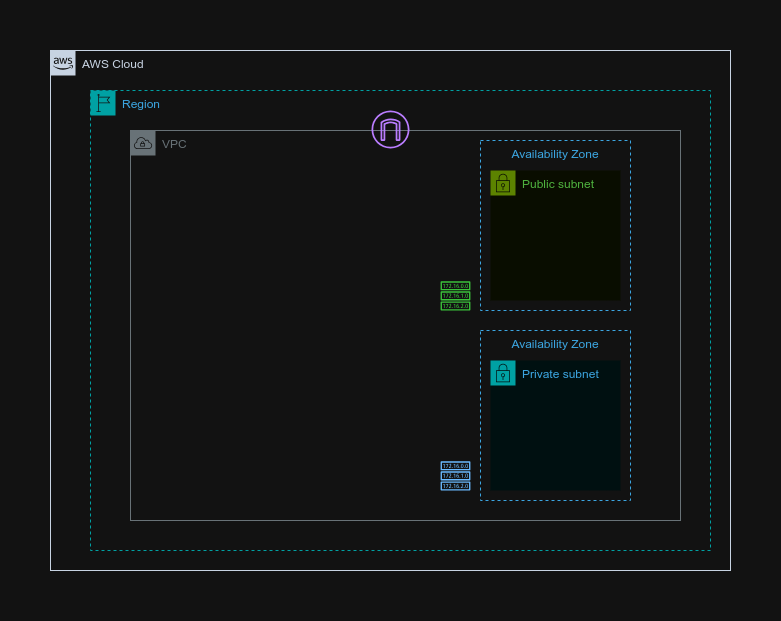
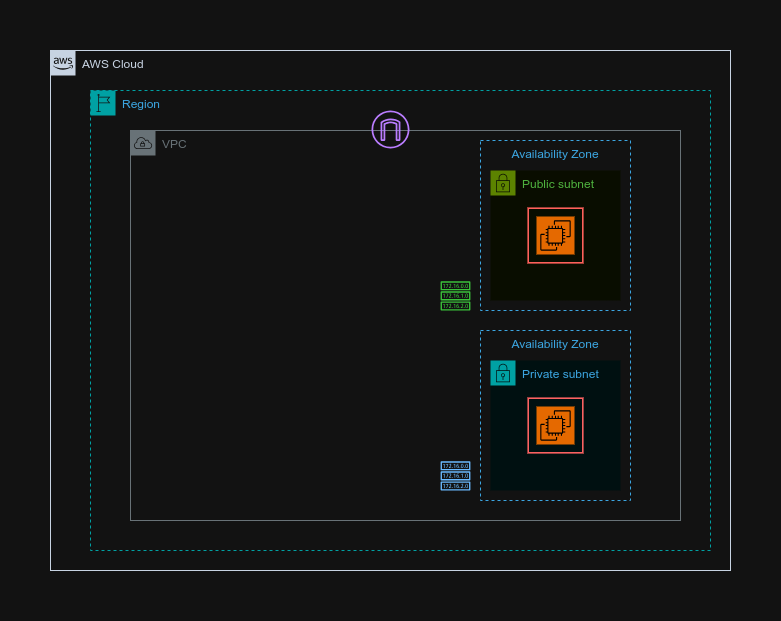
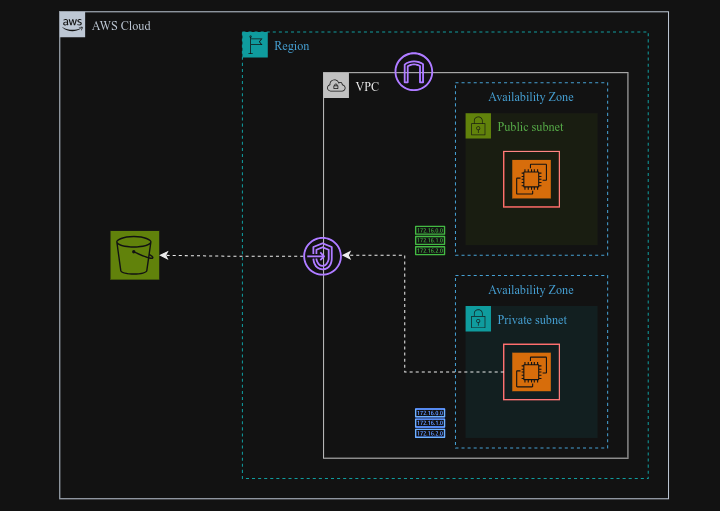
We will set up a VPC with two subnets: one public and one private. Each subnet will have one instance. We will attach a role to the private instance to allow it to list the available S3 buckets. This will be done utilizing the Gateway Endpoint which establishes a private connection within our VPC to access S3, eliminating the need for an internet gateway.
Task 1: Creating a VPC
Search for VPC in the search box.
Click on Create VPC.
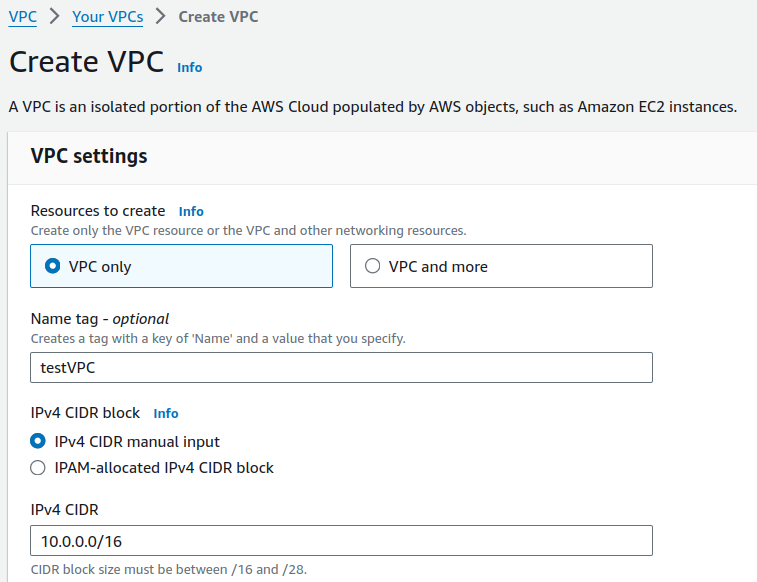
Provide a name for your VPC and input a CIDR range.
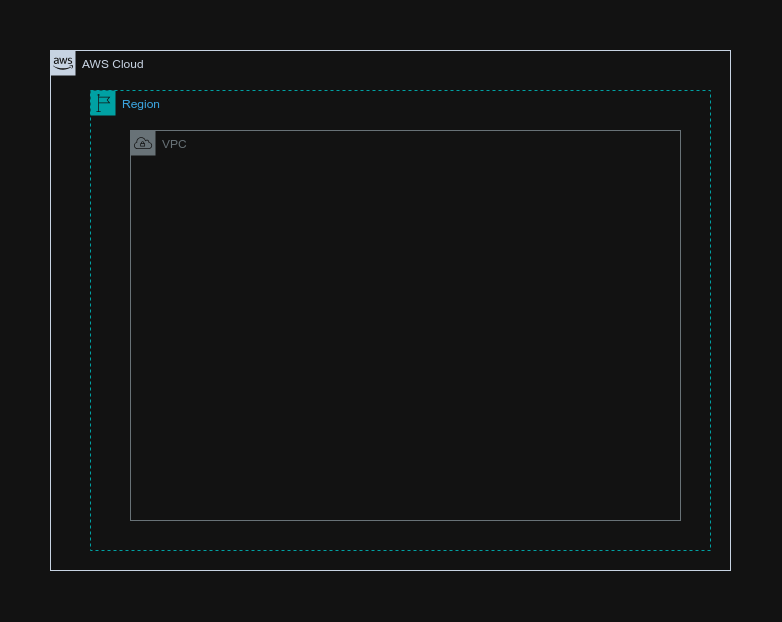
Click on Create VPC.
Task 2: Creating an Internet Gateway
On Internet gateways, click on Create internet gateway.

Provide a suitable name and click on Create internet gateway.
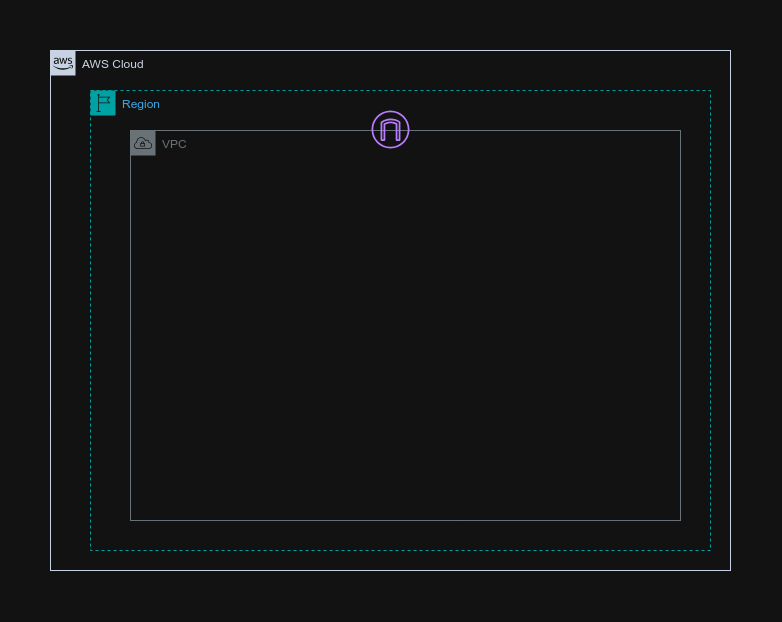
After creating an Internet gateway, attach it to your VPC.
Task 3: Creating Subnets
On Subnets, click on Create subnet.

We are going to create two subnets: one public and one private.
Select your VPC.
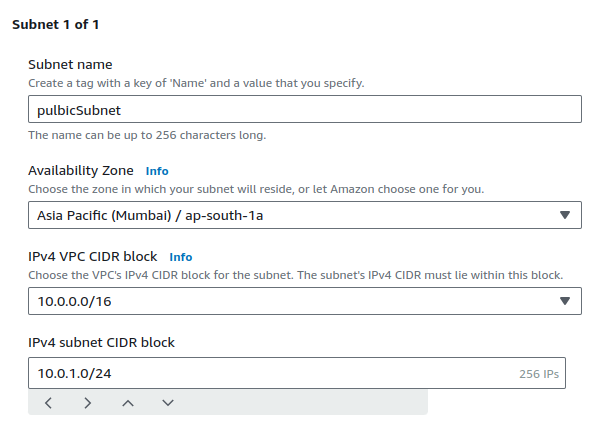
Provide a suitable name for your subnet, choose an AZ and input an eligible CIDR range value.
Click on Add new subnet.
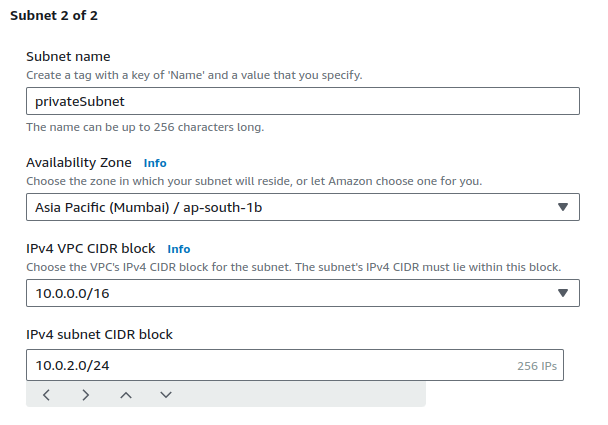
Provide a suitable name and CIDR range.
Click on Create subnet.
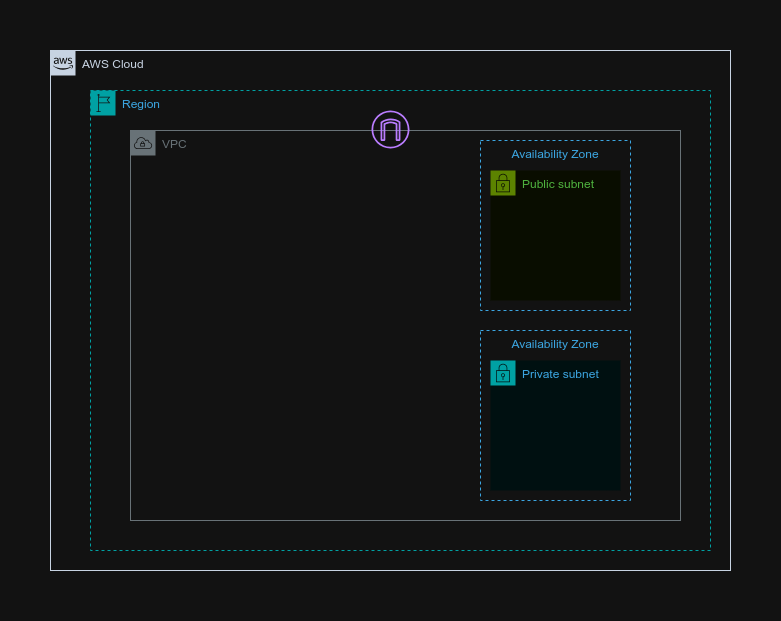
Task 4: Creating Route table
On Route tables, click on Create route table.

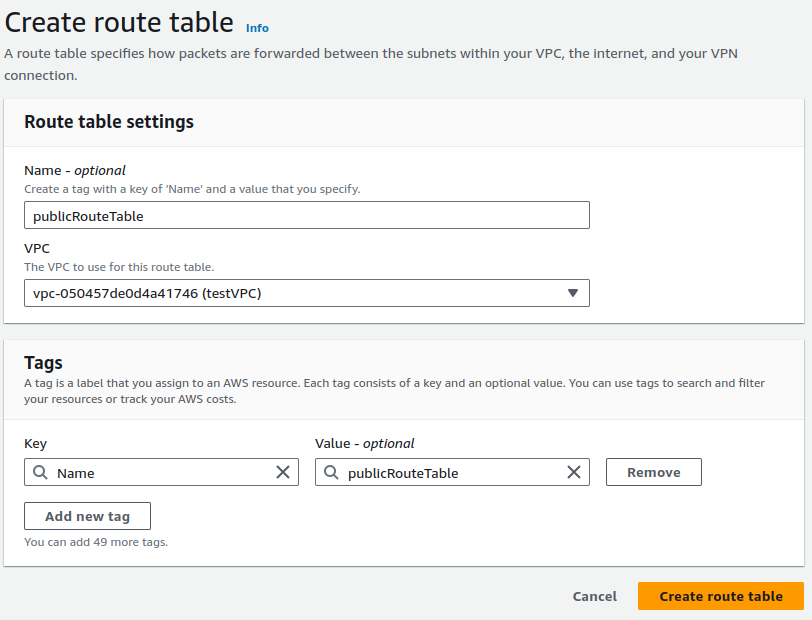
Provide a suitable name for your route table, select your VPC and click on Create route table.
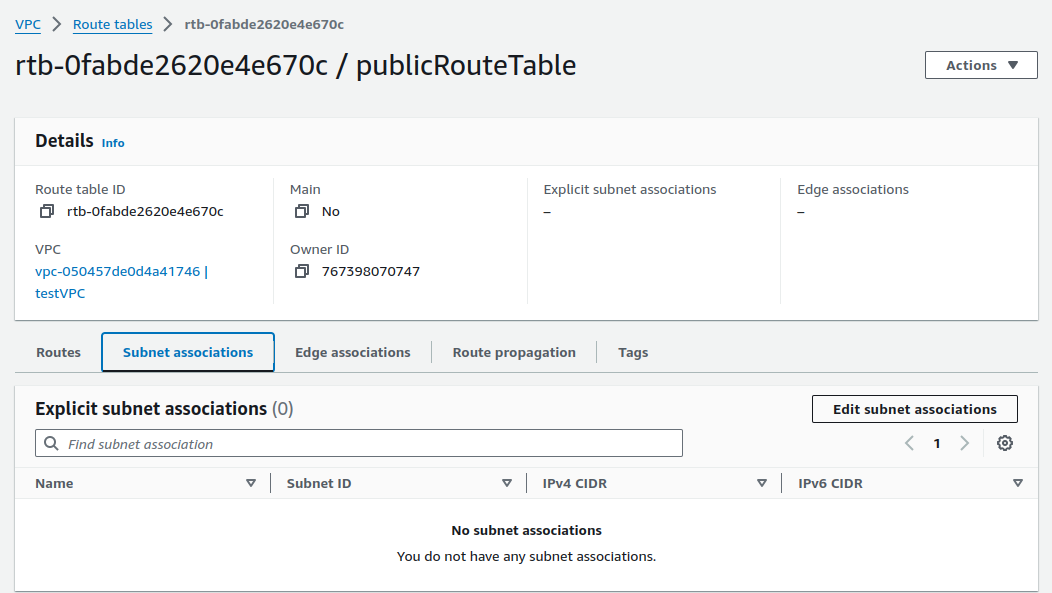
On Subnet associations, click on Edit subnet associations.
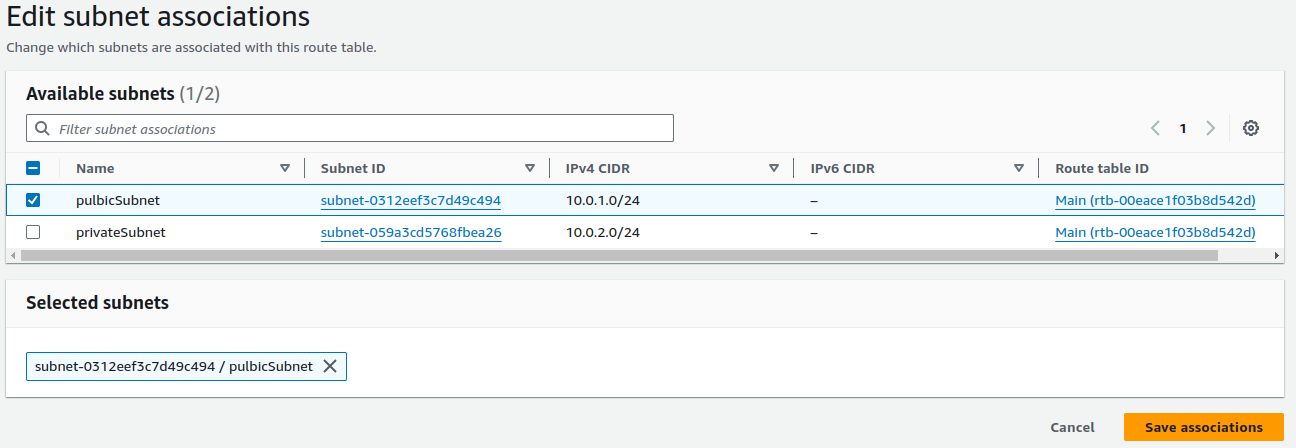
Tick your public subnet and click on Save associations.
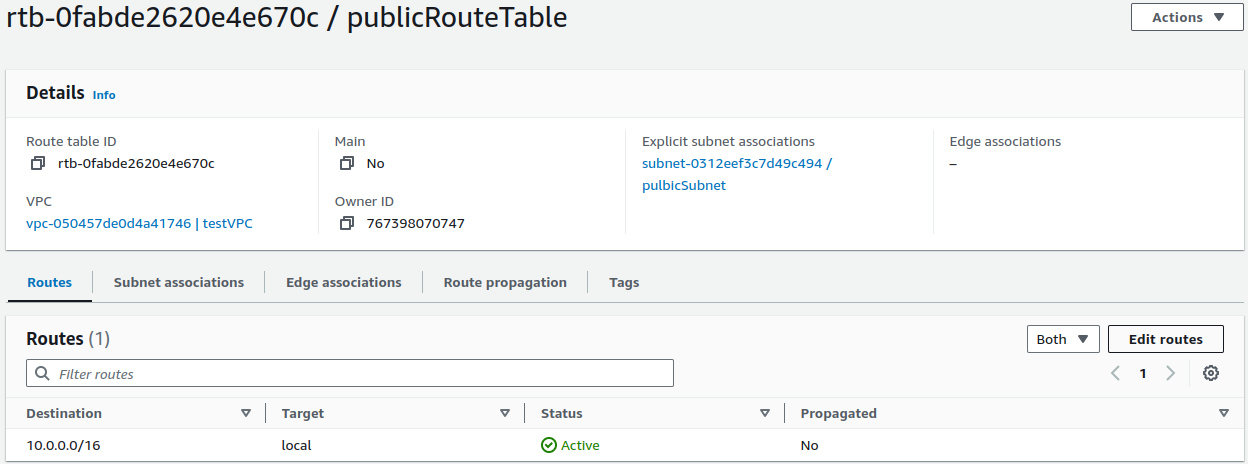
Now on Routes, click on Edit routes.

Configure a route to Internet gateway and click on Save changes.
Now it's time to create another route table & associate private subnet.
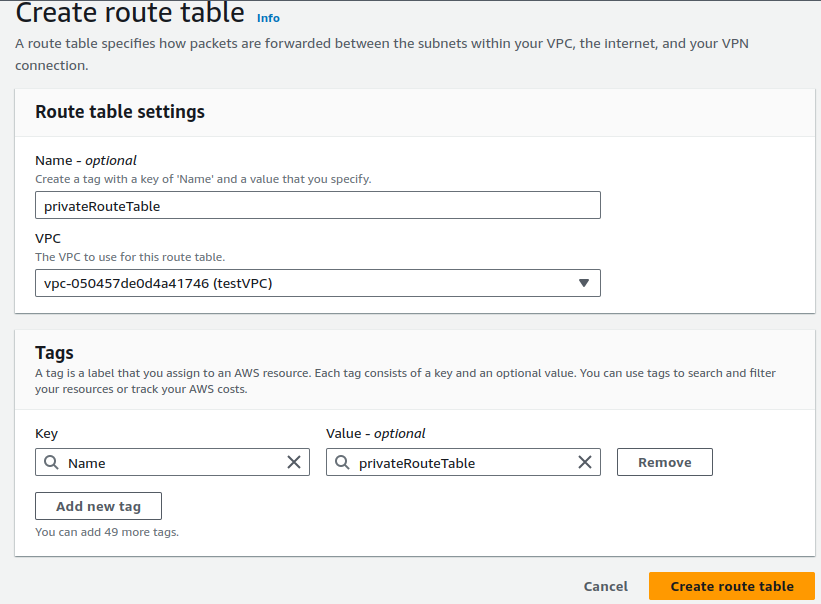
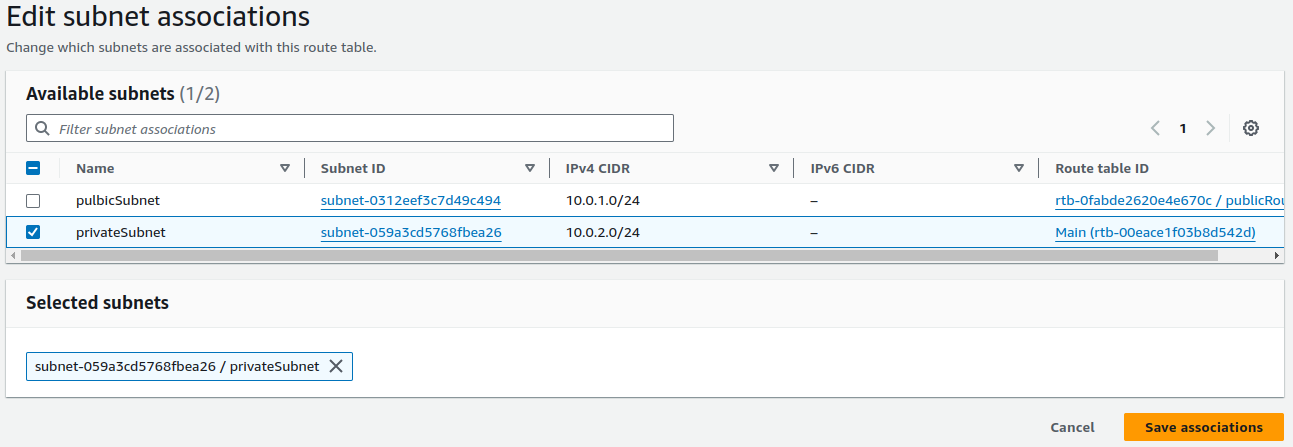
We should not include an Internet Gateway route in the private route table.

We have created two route tables.
Task 5: Creating a Role
Search for IAM in the search box.
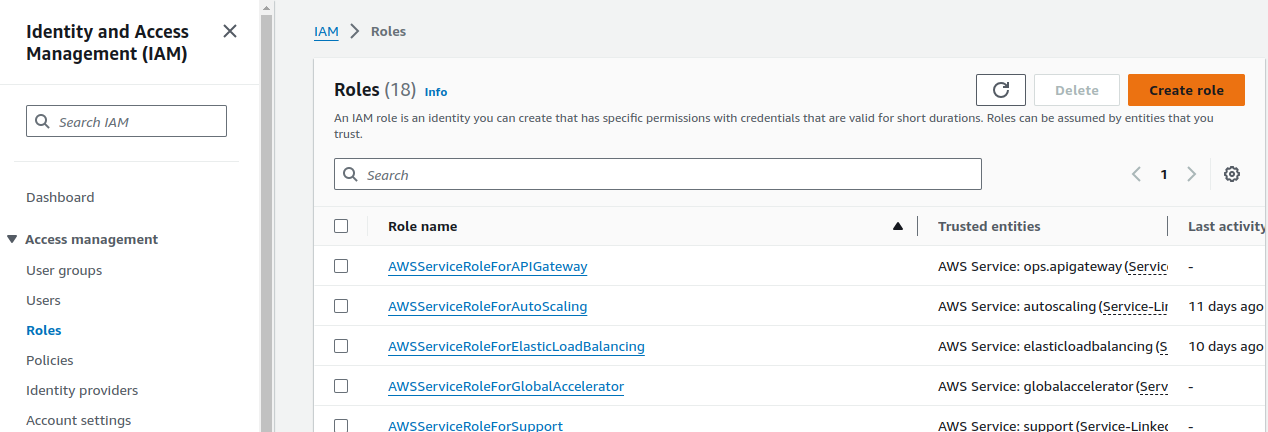
On Roles, click on Create role.
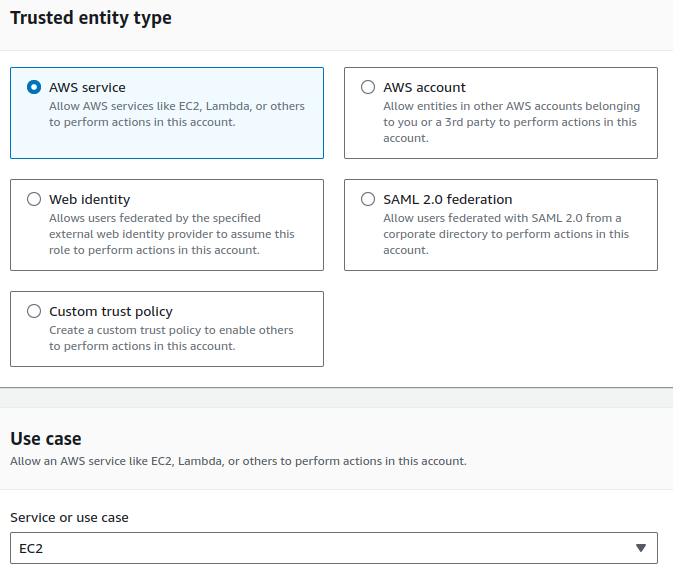
Select AWS Service as the trusted entity type and EC2 for the use case.
By choosing AWS Service as the trusted entity type, we specify that this role is intended for use by an AWS service, in this case, EC2. This allows EC2 instances to assume this role and inherit the permissions defined in the role's policy.
Click on Next.
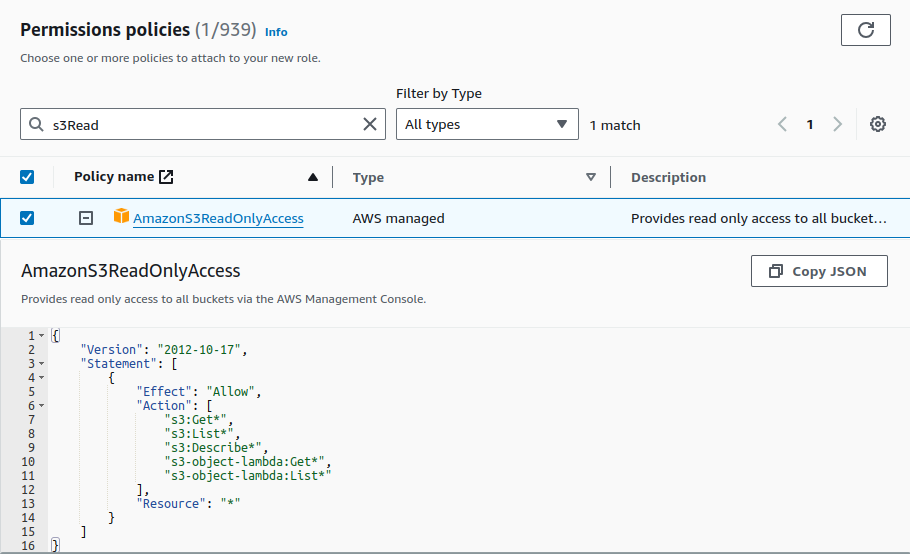
We are attaching S3 read only permission to our instance.
Click on '+' sign to expand the policy.
Click on Next.
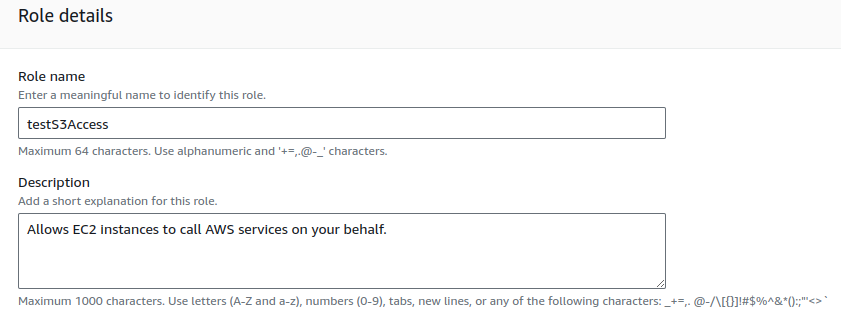
Provide a suitable name for your role and review your created role.
Click on Create role.

We have created a role.
Task 6: Creating EC2 instance.
Search for EC2 in the search box.

On Instances, click on Launch instances.
Provide a name for your instance, select an Amazon Linux AMI (mandatory) and a free-tier instance if possible. Either use existing or create a new key pair.
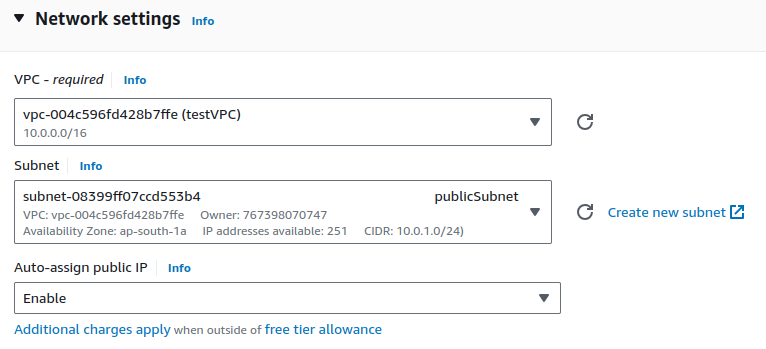
Edit Network settings. Select your VPC and your subnet.
Leaving all other configurations as default, click on Launch instance.
Now, let's create a private instance.
Provide a name for your instance, select an Amazon Linux AMI and a free-tier instance if possible. Either use existing or create a new key pair.
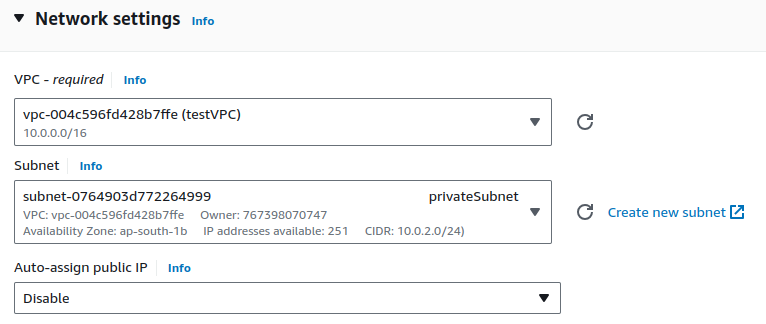
Select your VPC, choose private subnet and keep other as default.
Leaving all other configurations as default, scroll to the bottom Advanced Details.
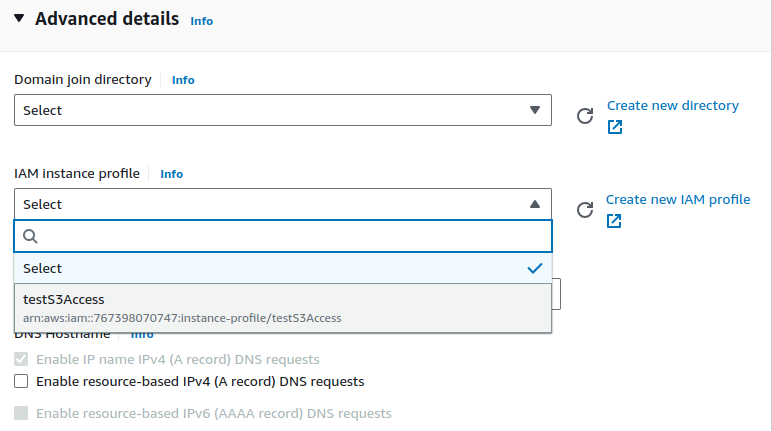
On IAM instance profile, select your created role.
Now, keeping all other settings as default, click on Launch instance.

We have created two EC2 instances.
diagram..
Task 7: Creating s3 buckets.
Search for s3 in the search box.
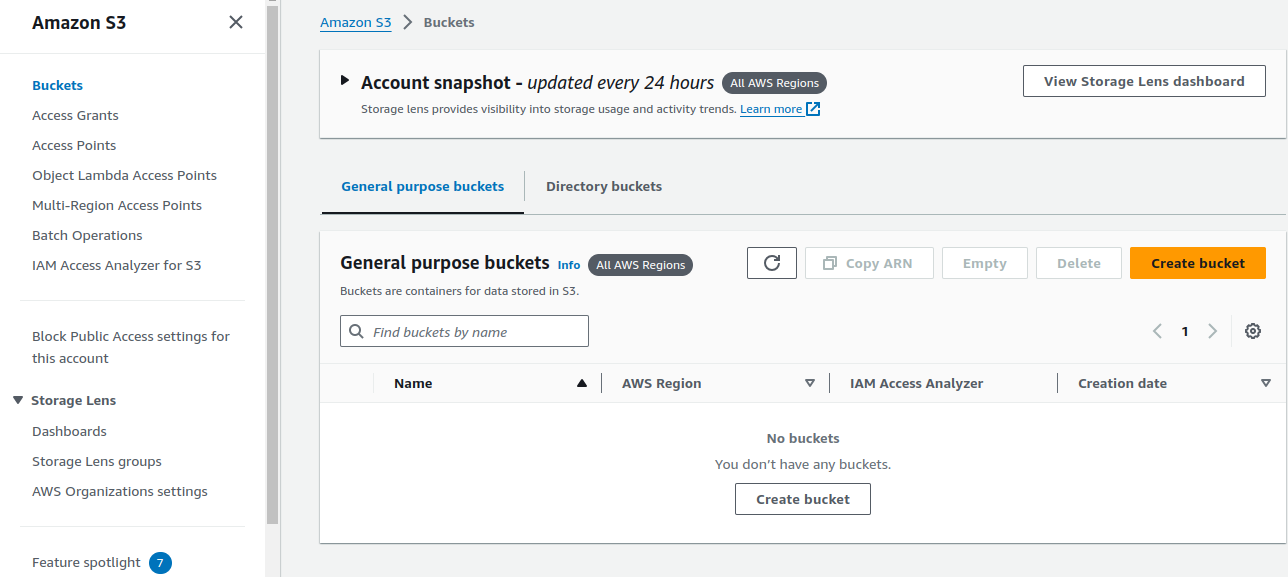
On Buckets, click on Create bucket.
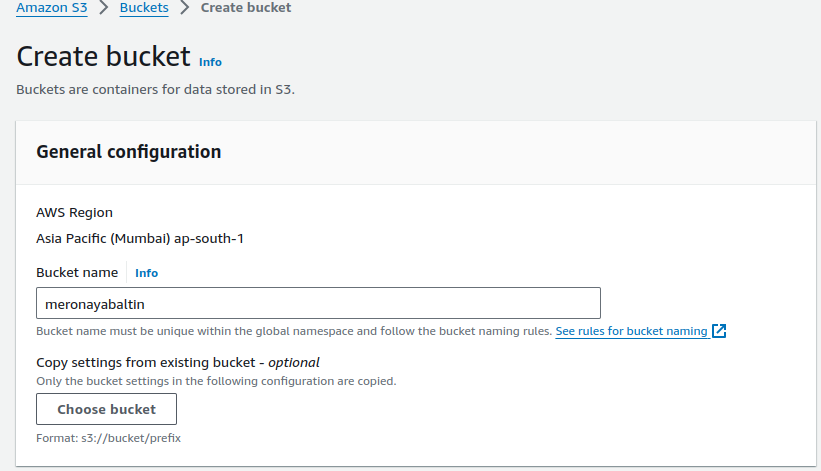
Just provide a name for your bucket and leaving all other configurations as it is, click on Create bucket.
Let's create another bucket as well.

So, we have created two buckets.
Task 8: Accessing EC2s
We need to copy the private key required to SSH into the private server from our public server first.
Open your local terminal.
Modify the code below to suit your needs.
scp -i "publicServerKey.pem" "privateServerKey.pem" ec2-user@13.233.225.53:/home/ec2-user

This command copies the file privateServerKey.pem from our local machine to the /home/ec2-user directory on the remote server with IP address 13.233.225.53 using the SSH key specified by publicServerKey.pem.
Now, let's SSH into our public instance.
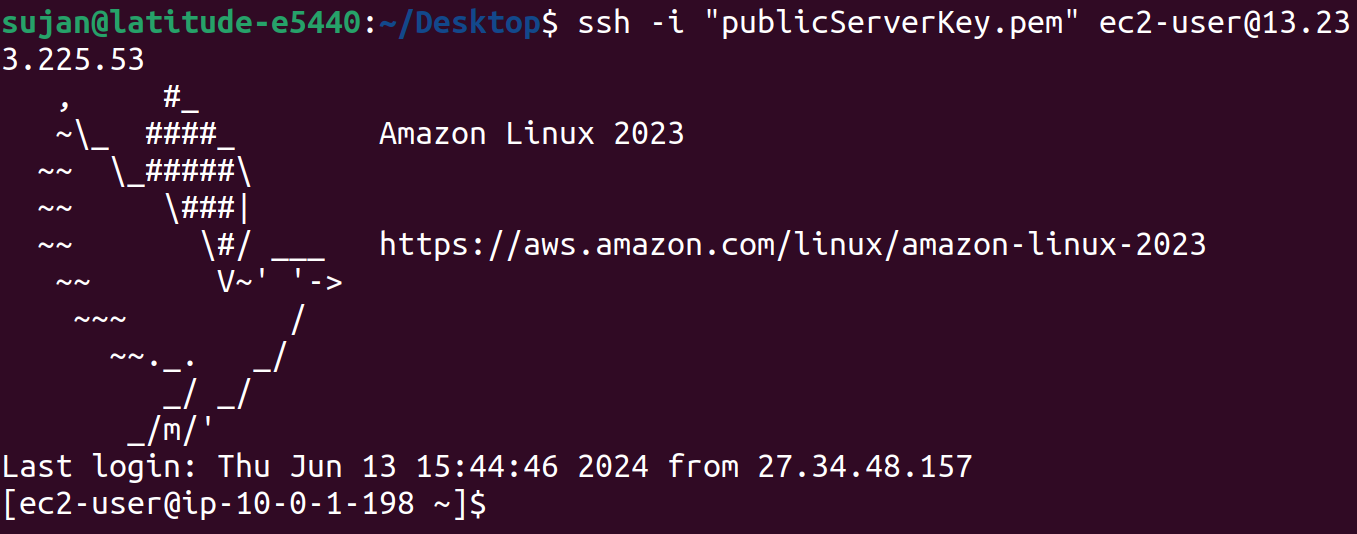

We have securely copied the key to our public instance, which will be used to SSH into our private instance.
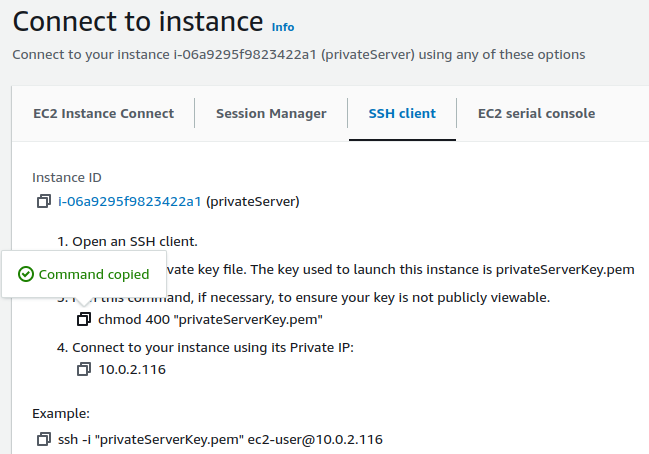
Copy & paste the command in your public instance's terminal.
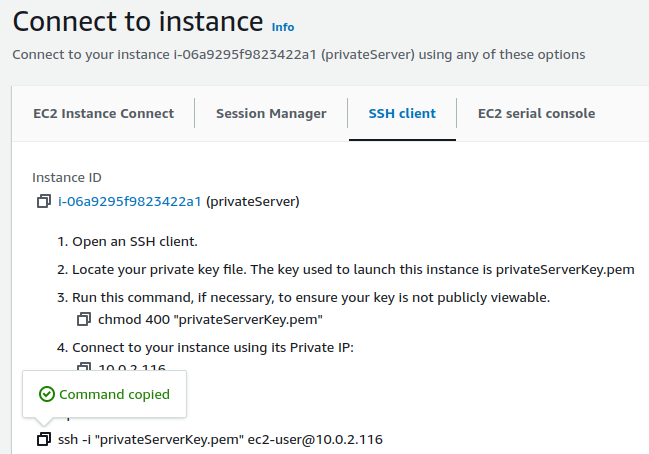
Now, copy the SSH command to establish a connection to the private instance.

Proceed with yes.
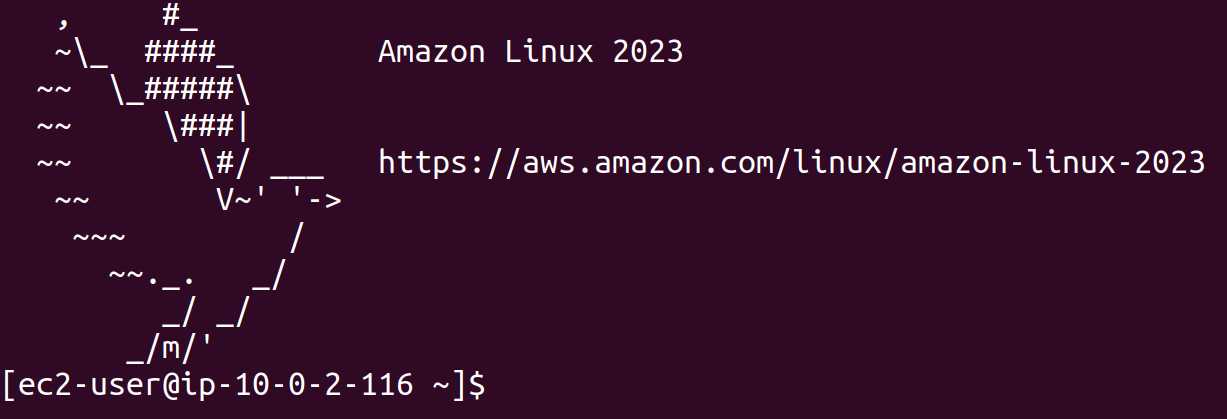
We are now connected to our private instance.

Even though we have attached the role that allows an EC2 instance to list S3 buckets, we are unable to do so due to a lack of connection. This is where we set up a VPC endpoint.
Task 9: Creating a VPC endpoint.
Go to the VPC dashboard.
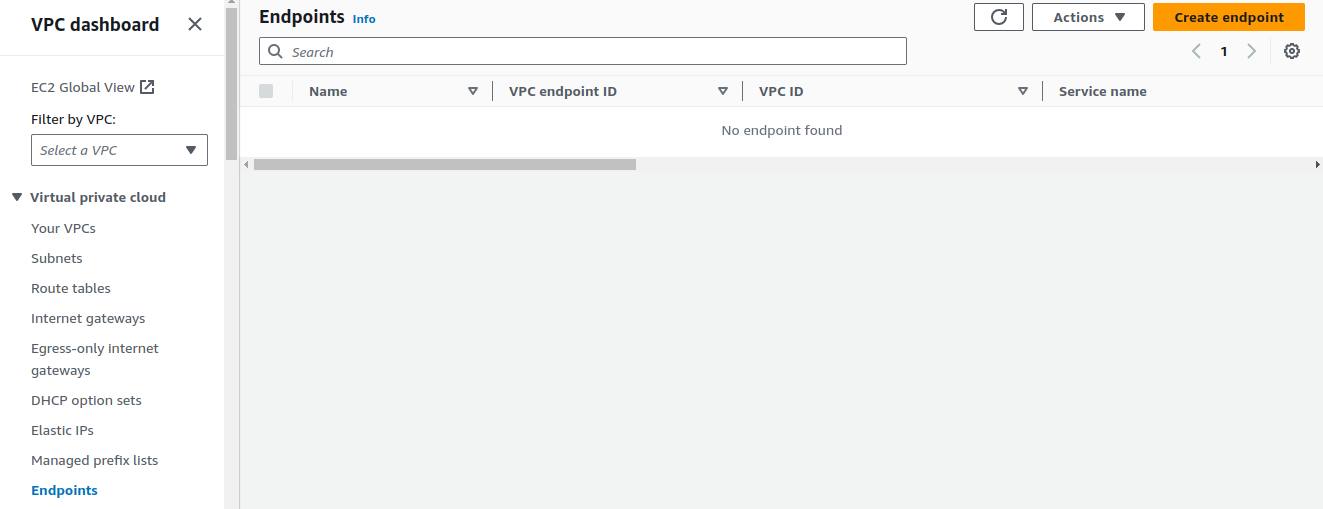
On Endpoints, click on Create endpoint.

Provide a name for your endpoint.
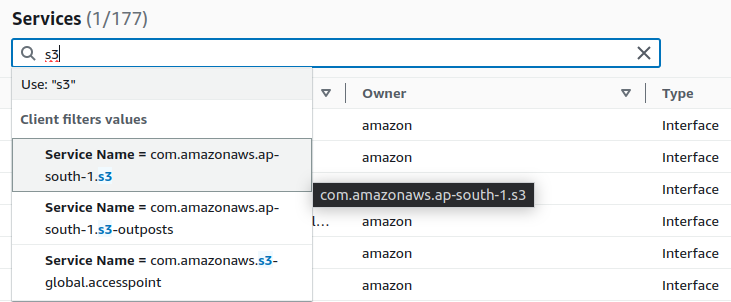
In the services, look for S3 and select it. This VPC endpoint will be used to access S3, indicating that the services it will be consuming or using are related to S3.
Choose the service name com.amazonaws.<your-region>.s3 to create the VPC endpoint for standard Amazon S3 in the <your-region>.
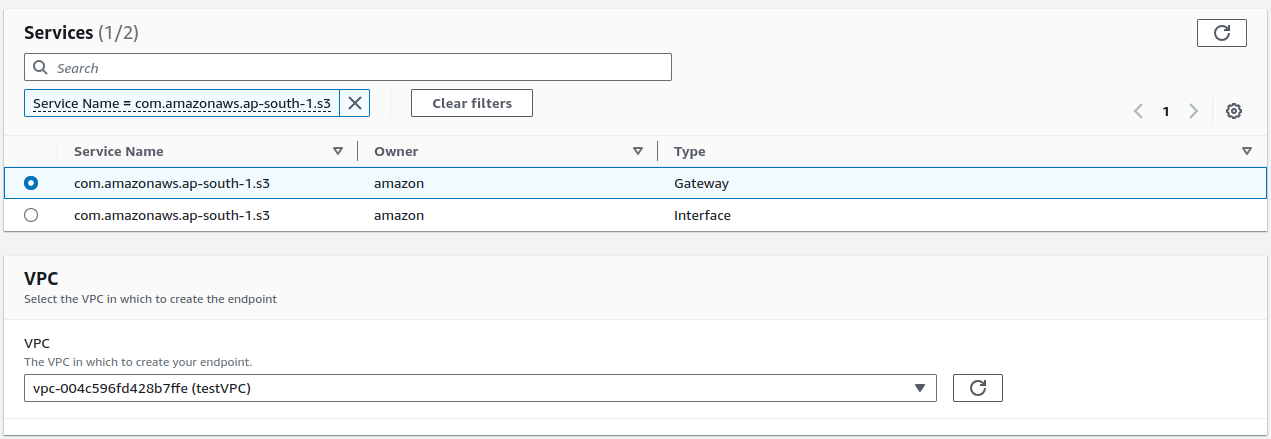
Select the Gateway type & select your VPC.

Select only your private route table, as we're allowing EC2 instance in the private subnet to perform actions on S3 buckets using the endpoint.
Click on Create endpoint.

Now that we've created our VPC Endpoint, let's return to our EC2 terminal and run the same command to see if it's working.

We can now list the S3 buckets, demonstrating that a private instance within our VPC can securely communicate with other AWS services.
Conclusion
By attaching a role to the private instance and utilizing the Gateway Endpoint, we have enabled it to perform operations on S3 buckets securely. This setup establishes a private connection from our VPC to S3, allowing communication to occur without the need for an internet gateway.
Task 10: Clean Up
Terminating EC2 instances

Select both of your instances and on Instance state, click on
Terminate instance.Deleting VPC Endpoint
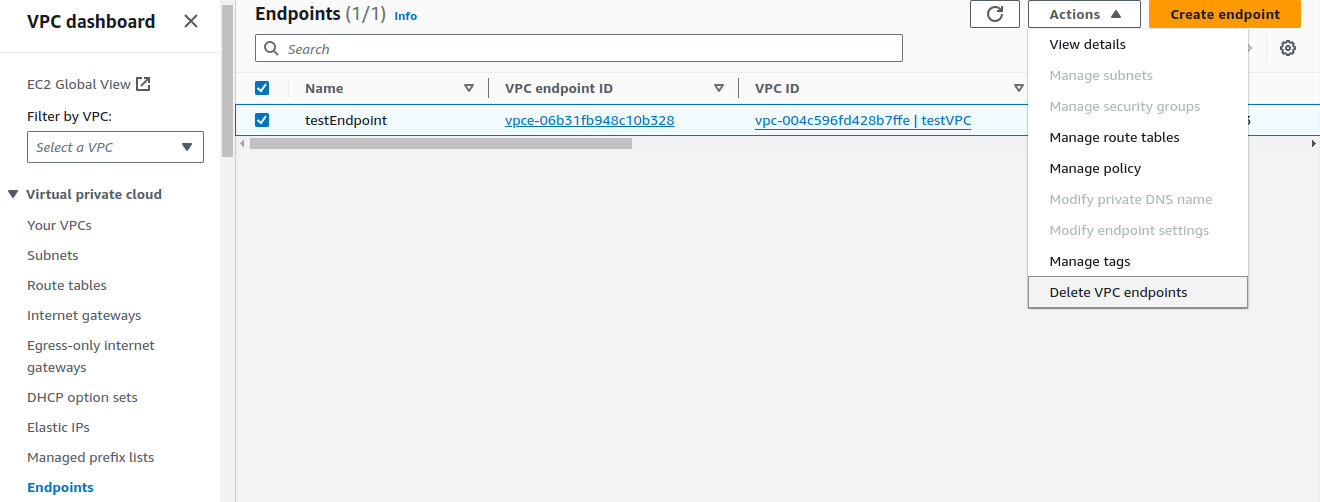
Select your Endpoint and in the Actions panel, click on
Delete VPC endpoints.Deleting subnets.

Select both of your subnets and in the Actions panel, click on
Delete subnet. Refresh the page if you are not able to delete.Deleting VPC.

Select your VPC and in the Actions panel, click on
Delete VPC.Deleting s3 buckets.


Select your bucket and click on
Deletebutton.
We have cleaned up our used resources.
That was it for today.
I'll see you in the next one!
Subscribe to my newsletter
Read articles from SUJAN directly inside your inbox. Subscribe to the newsletter, and don't miss out.
Written by

SUJAN
SUJAN
Hello people. I am here to document my learnings. See yah!!