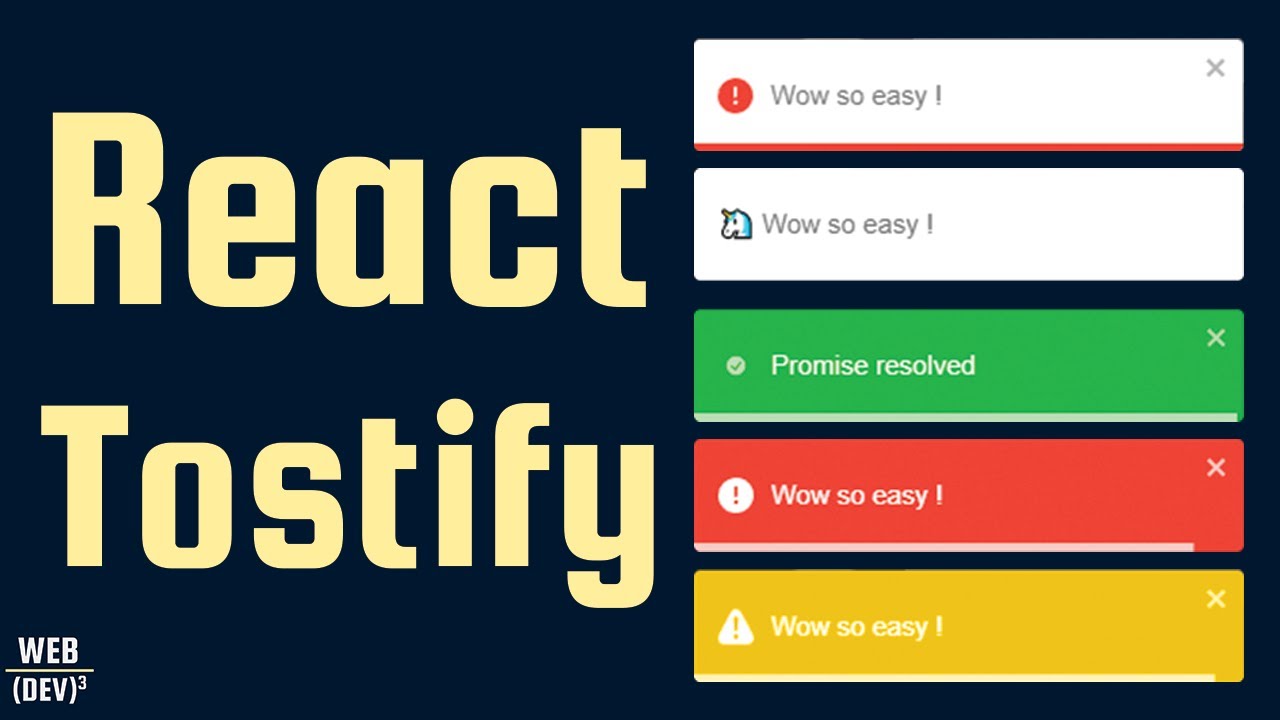
React Toast Library: A Simple and Satisfying Solution for Notifications
 Aniket Dhaygude
In modern web applications, providing feedback to users is crucial for enhancing the user experience. One effective way to achieve this is by using toast notifications. The React Toast library offers a simple and satisfying way to implement these notifications in your React applications. In this blog, we’ll explore how to set up and use the React Toast library and highlight how it can save you time.
Why Use React Toast?
The React Toast library is designed to provide a straightforward and efficient way to display notifications. Here are some reasons why you should consider using it:
Simplicity: The library is easy to set up and use, requiring minimal configuration.
Customization: It offers a variety of customization options to fit your app’s design.
Efficiency: Using this library saves you time compared to building a notification system from scratch.
Setting Up React Toast
To get started, you’ll need to install the React Toast library in your project. You can do this using npm or yarn:
npm install react-toastify
or
yarn add react-toastify
Next, import the necessary components and styles in your main application file (usually App.js or index.js):
*```javascript
import React from ‘react’;
import { ToastContainer, toast } from ‘react-toastify’;
import ‘react-toastify/dist/ReactToastify.css’;*
*function App() {
return (
<div>
<ToastContainer />
{/* Your app components */}
</div>
);
}*
*export default App;
```*
Using React Toast
Once you have the library set up, you can start using it to display notifications. The toast function is used to trigger a toast notification. Here’s a basic example:
*```javascript
import React from ‘react’;
import { toast } from ‘react-toastify’;*
*function NotificationButton() {
const notify = () => toast(‘This is a notification!’);*
*return <button onClick={notify}>Show Notification</button>;
}*
*export default NotificationButton;
```*
Customizing Toasts (Amazing Part)
The React Toast library allows you to customize the appearance and behavior of your toasts. Here are some common customization options:
Position: You can specify where the toast should appear on the screen.
Auto-Close: Set the duration for how long the toast should be visible.
Type: Different types of toasts (e.g., success, error, info) for various scenarios.
```javascript
const notify = () => {
toast.success(‘Success message!’, {
position: toast.POSITION.TOP_RIGHT,
autoClose: 5000,
});
toast.error(‘Error message!’, {
position: toast.POSITION.BOTTOM_LEFT,
autoClose: false,
});
};
```
Saving Time with React Toast
Using the React Toast library can save you significant development time. Instead of building a custom notification system from scratch, you can leverage the library’s pre-built components and features. This allows you to focus on other important aspects of your application while still providing a polished user experience.
Conclusion
The React Toast library is a simple and satisfying solution for adding notifications to your React applications. With its ease of setup, customization options, and time-saving benefits, it’s a valuable tool for any developer. Give it a try in your next project and see how it can enhance your user experience.
Subscribe to my newsletter
Read articles from Aniket Dhaygude directly inside your inbox. Subscribe to the newsletter, and don't miss out.
Written by

Aniket Dhaygude
Aniket Dhaygude
👨💻 Freelance Developer | UI/UX Enthusiast | Tech Blogger Transforming ideas into engaging digital experiences. I specialize in front-end development, UI/UX design, and creating dynamic web apps. Let's build something amazing together! 🚀