Quickstart Guide to Develop on zkSync : Build a Complete Voting DApp on the ZKSync (Chapter 2)
 Ridho Izzulhaq
In the previous chapter, we delivered an instant way related to Concept and Development with ZKSync and Remix IDE through the Nethermind plugin. In this tutorial, we will discuss how to build a complete Voting DApp on the ZKSync network. We will begin by creating a basic smart contract. This contract will include functions for vote and viewing the voting result. We will use ATLAS IDE to deploy the contract onto the ZKSync network. Finally, we will develop a frontend interface to interact with our smart contract, allowing users to perform operations through a web application.
Let's Build the Smart Contract
// SPDX-License-Identifier: MIT
pragma solidity ^0.8.9;

contract Voting {
    struct Candidate {
        uint id;
        string name;
        uint voteCount;
    }

    mapping(uint => Candidate) public candidates;
    mapping(address => bool) public voters;
    uint public candidatesCount;


    constructor(string[] memory _candidateNames) {
        for (uint i = 0; i < _candidateNames.length; i++) {
            addCandidate(_candidateNames[i]);
        }
    }

    function addCandidate(string memory _name) private {
        candidatesCount++;
        candidates[candidatesCount] = Candidate(candidatesCount, _name, 0);
    }

    function vote(uint _candidateId) public {
        require(!voters[msg.sender], "You have already voted.");
        require(_candidateId > 0 && _candidateId <= candidatesCount, "Invalid candidate ID.");

        voters[msg.sender] = true;
        candidates[_candidateId].voteCount++;
    }

    function getVotes(uint _candidateId) public view returns (uint) {
        require(_candidateId > 0 && _candidateId <= candidatesCount, "Invalid candidate ID.");
        return candidates[_candidateId].voteCount;
    }
}
The contract's name is Voting, and it includes a struct named Candidate that stores information about each candidate, including their id, name, and vote count.
 struct Candidate {
        uint id;
        string name;
        uint voteCount;
    }
constructor constructor(string[] memory _candidateNames) is used to initialize the contract with an array of candidate names.
  constructor(string[] memory _candidateNames) {
        for (uint i = 0; i < _candidateNames.length; i++) {
            addCandidate(_candidateNames[i]);
        }
    }
There are three functions, namely :
addCandidate(string memory _name) private: function is used to add a new candidate to the voting contract. It takes a string _name as a parameter, which represents the name of the candidate to be added. The function first increments the candidatesCount variable to generate a unique ID for the candidate. It then creates a new Candidate struct with the provided _name, assigns the incremented candidatesCount as the candidate's ID, and sets the initial voteCount to 0. Finally, it stores this new candidate in the candidates mapping using the candidate's ID as the key.
vote(uint _candidateId) public: function is used by a voter to cast a vote for a specific candidate. It takes a parameter _candidateId representing the ID of the candidate the voter wants to vote for. The function first checks that the voter has not already voted by ensuring voters[msg.sender] is false. It then checks that the provided _candidateId is valid, i.e., greater than 0 and less than or equal to candidatesCount. If both conditions are met, the function marks the voter as having voted (voters[msg.sender] = true) to prevent multiple votes from the same address and increments the voteCount of the candidate with the specified _candidateId.
function getVotes(uint _candidateId) public view returns (uint): This declares a public function named getVotes that takes a single parameter _candidateId of type uint (unsigned integer). It is marked as view, indicating that it does not modify the state of the blockchain and only reads data. The function returns a uint, which will be the vote count for the specified candidate.
   function addCandidate(string memory _name) private {
        candidatesCount++;
        candidates[candidatesCount] = Candidate(candidatesCount, _name, 0);
    }

    function vote(uint _candidateId) public {
        require(!voters[msg.sender], "You have already voted.");
        require(_candidateId > 0 && _candidateId <= candidatesCount, "Invalid candidate ID.");

        voters[msg.sender] = true;
        candidates[_candidateId].voteCount++;
    }

 function getVotes(uint _candidateId) public view returns (uint) {
        require(_candidateId > 0 && _candidateId <= candidatesCount, "Invalid candidate ID.");
        return candidates[_candidateId].voteCount;
    }
Deploy the Code with Atlas IDE
If in the previous chapter we used the Nethermind plugin on REMIX IDE, in this stage we will use ATLAS IDE and the Sepolia Testnet via Metamask Wallet.
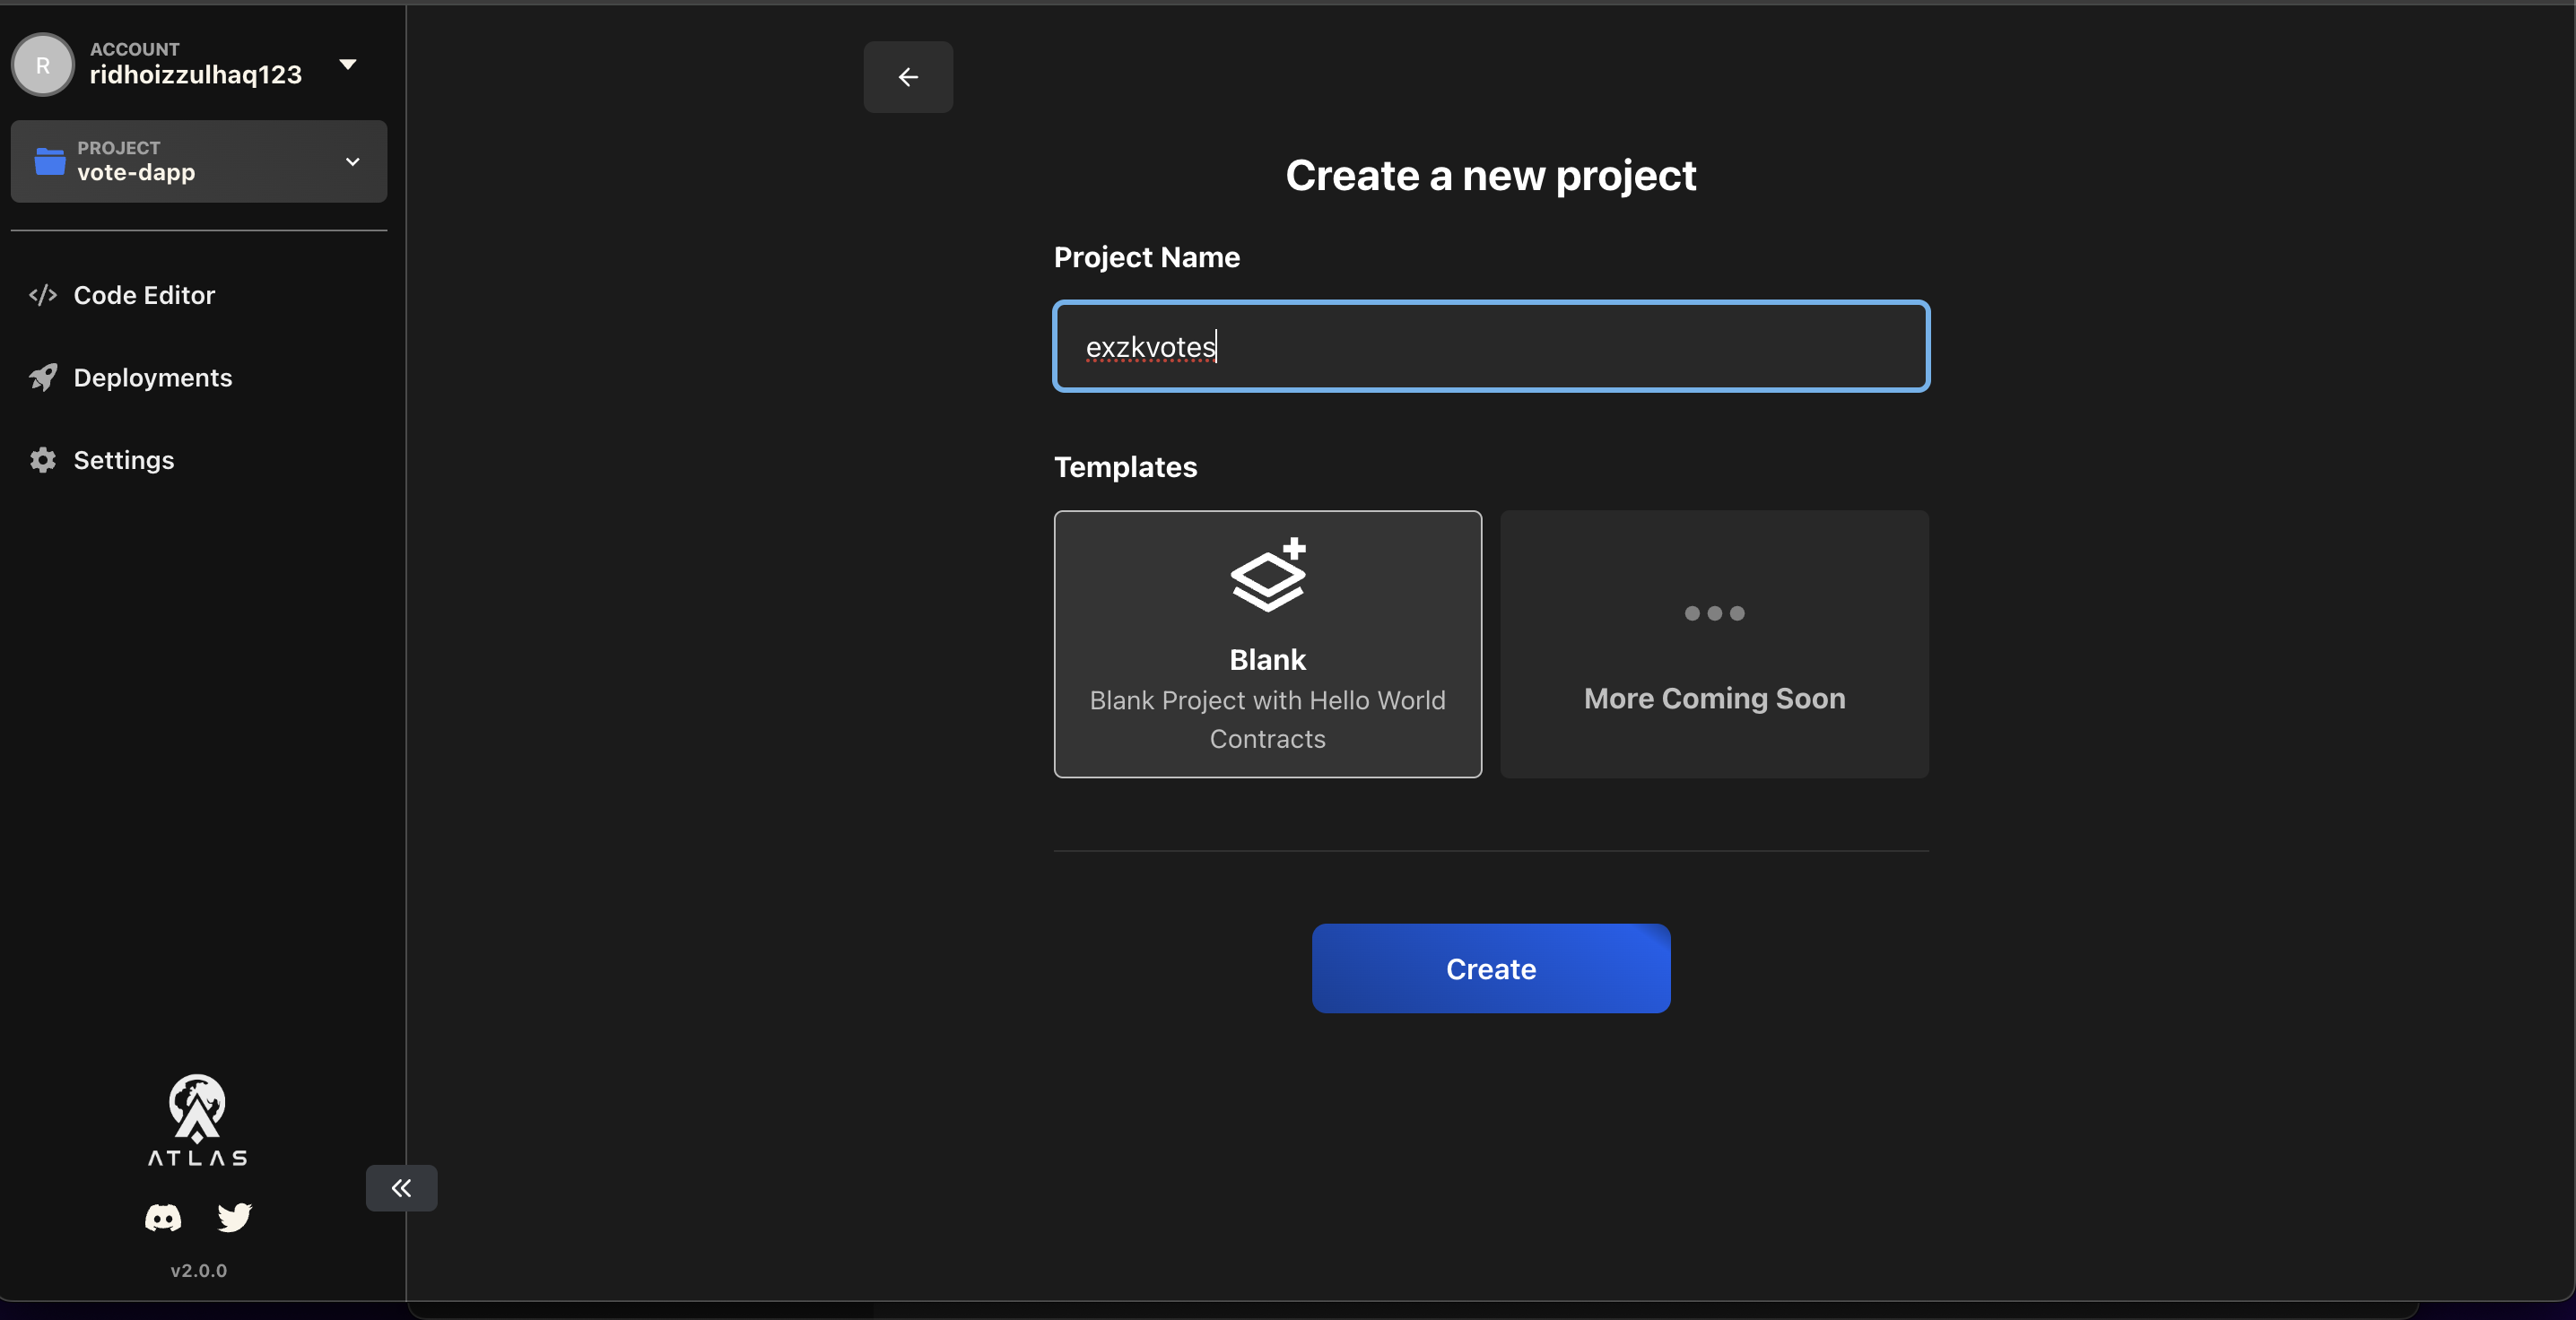
Simply create a new blank project in ATLAS IDE and then insert the smart contract provided above.
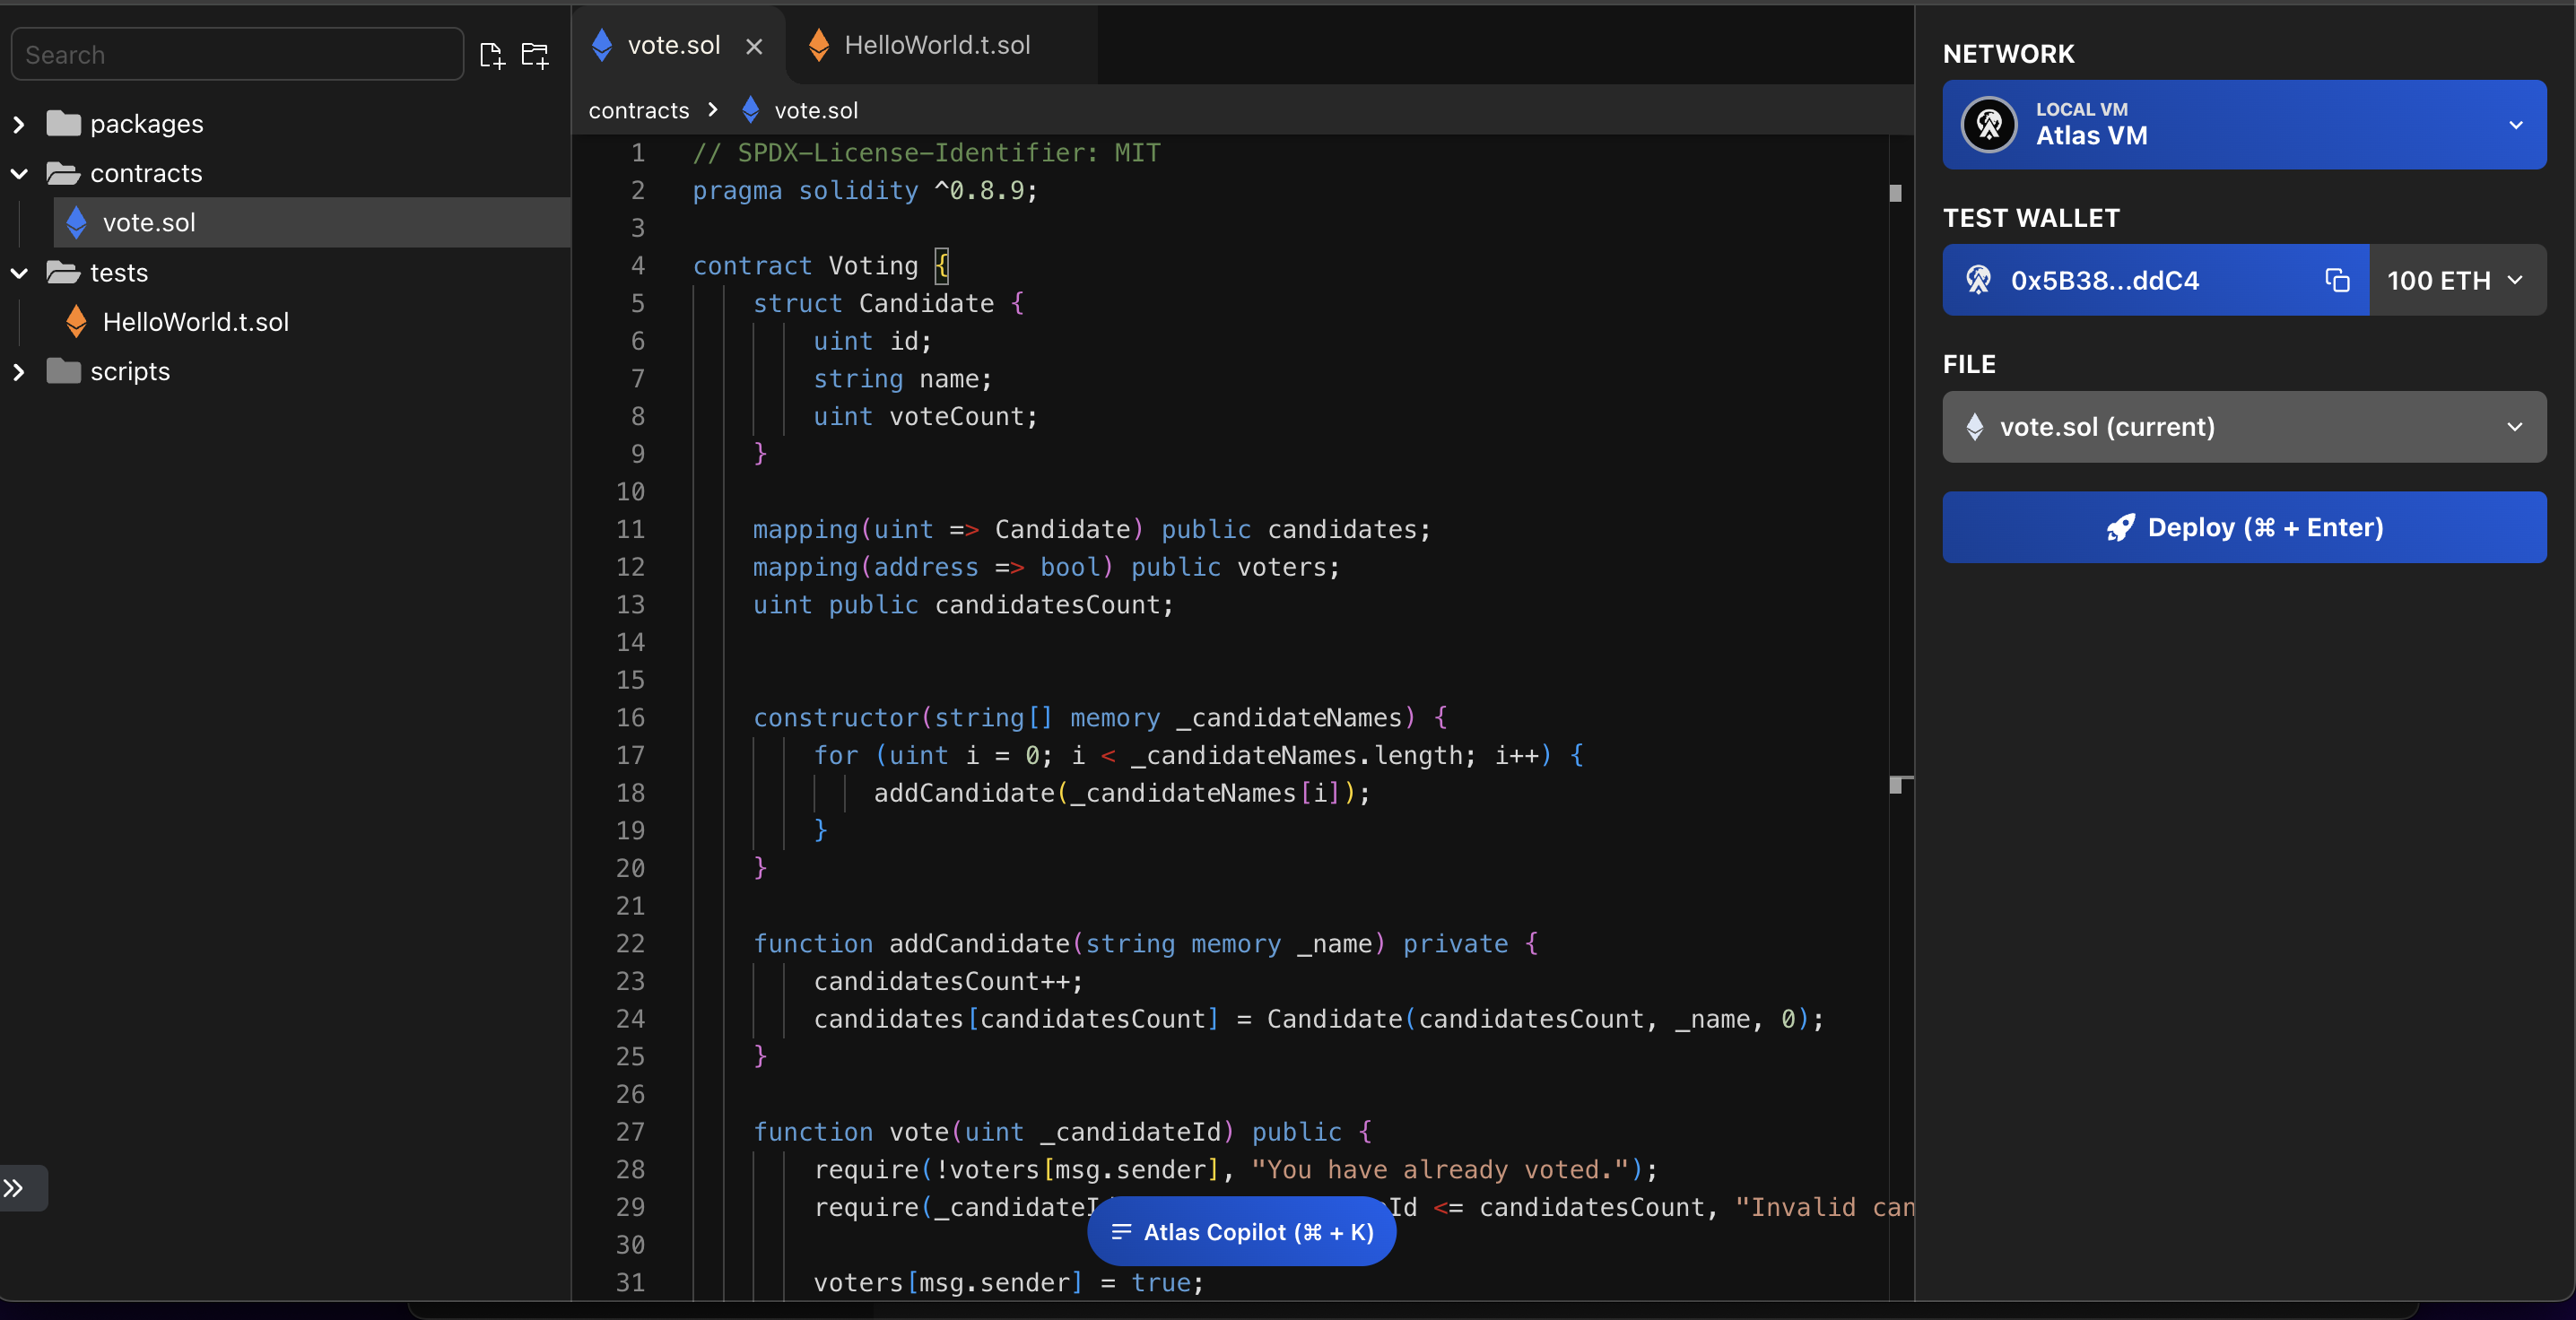
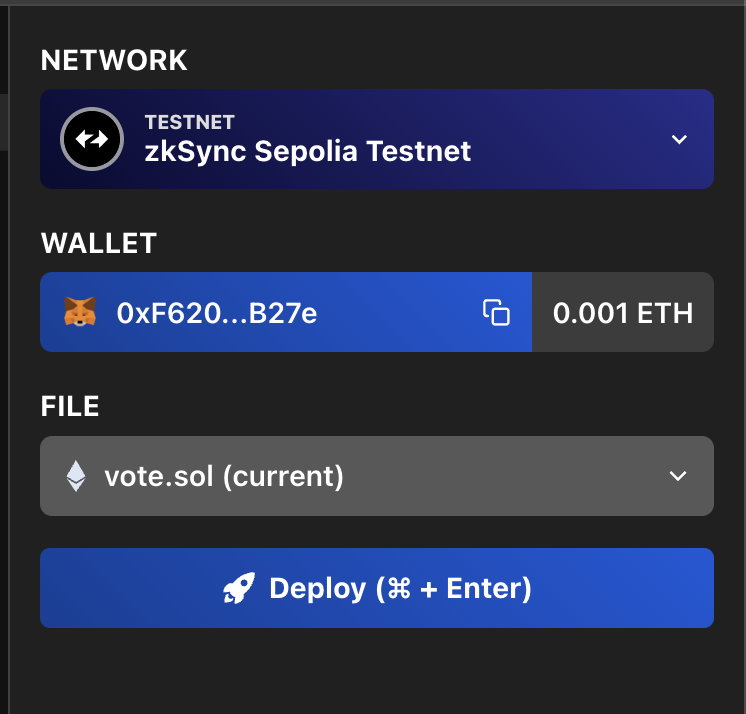
After that, in the top right corner under the network section, use zkSync Sepolia testnet and then connect it with Metamask. Make sure you have filled your testnet wallet using the faucet beforehand.
Next, you just need to insert the constructor as defined in the smart contract :
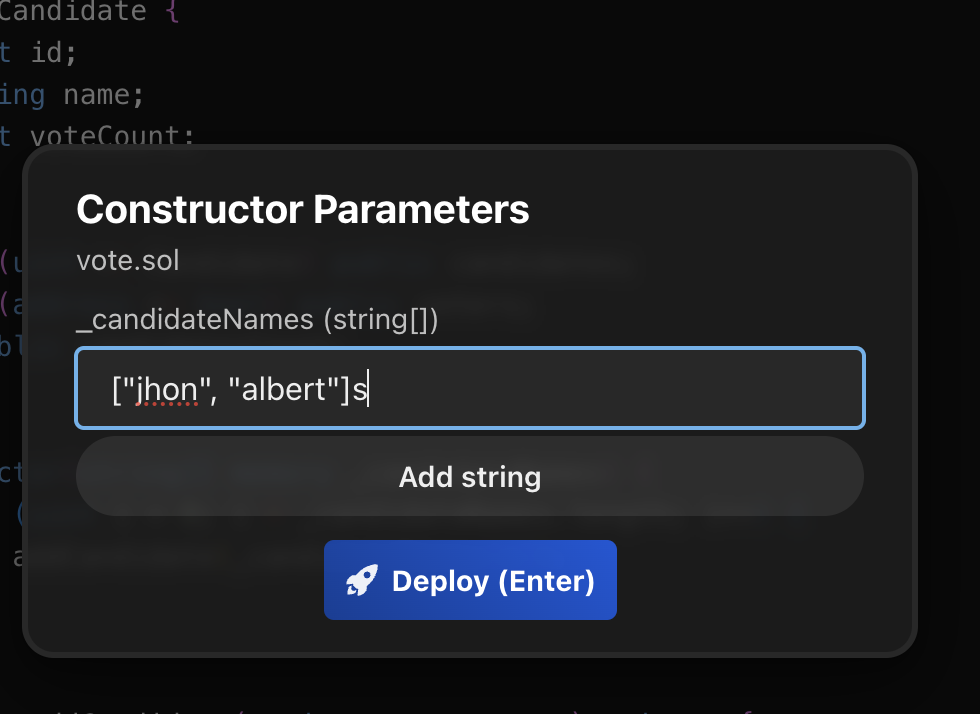
This constructor will then be used in the addCandidate function, which adds a candidate to the contract by incrementing candidatesCount to obtain an ID. When the first candidate is added, addCandidate increases the value of candidatesCount to 1 (for the first candidate), which is then used as the unique ID for that candidate. Each new candidate added will have a higher candidatesCount as their unique ID. Example:

We can view the deployed contract on the explorer.
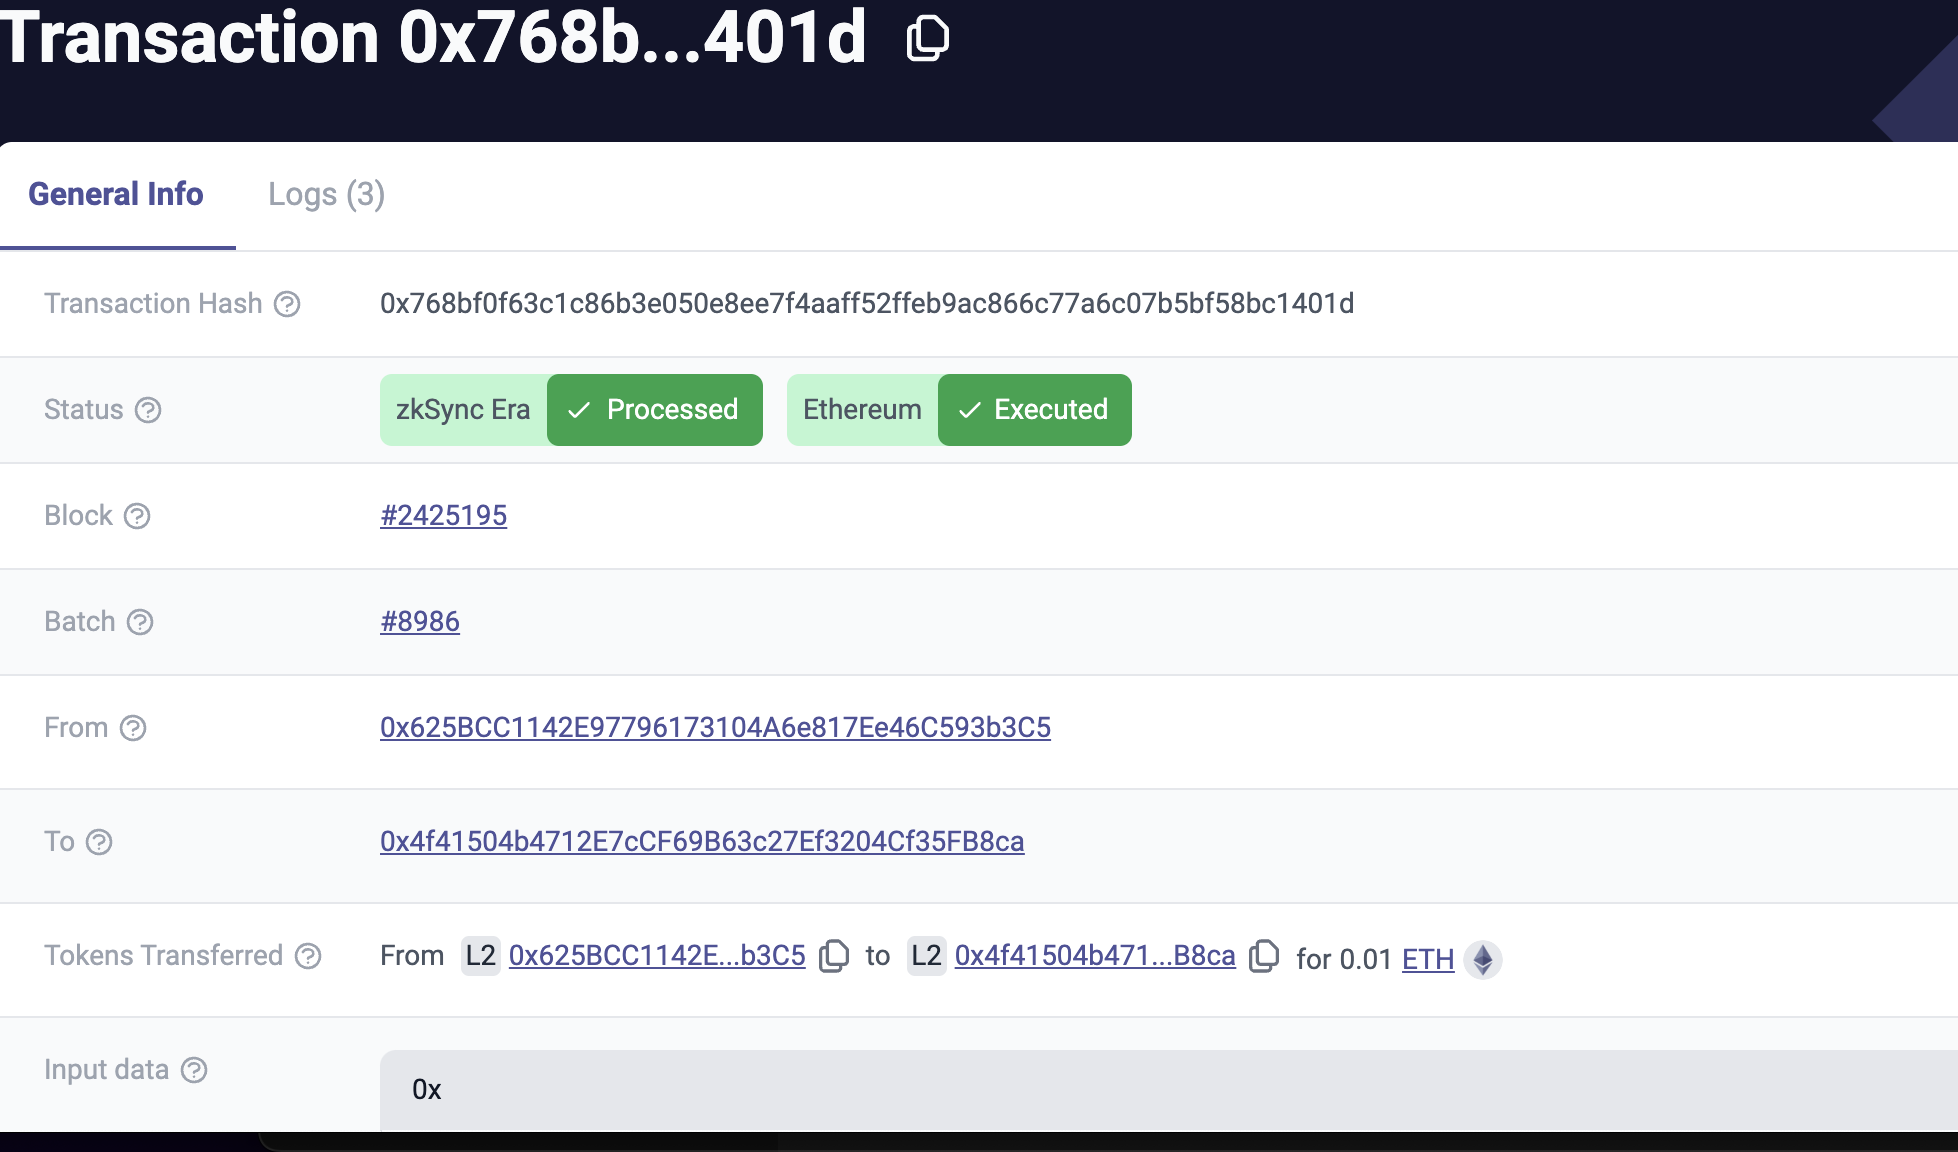
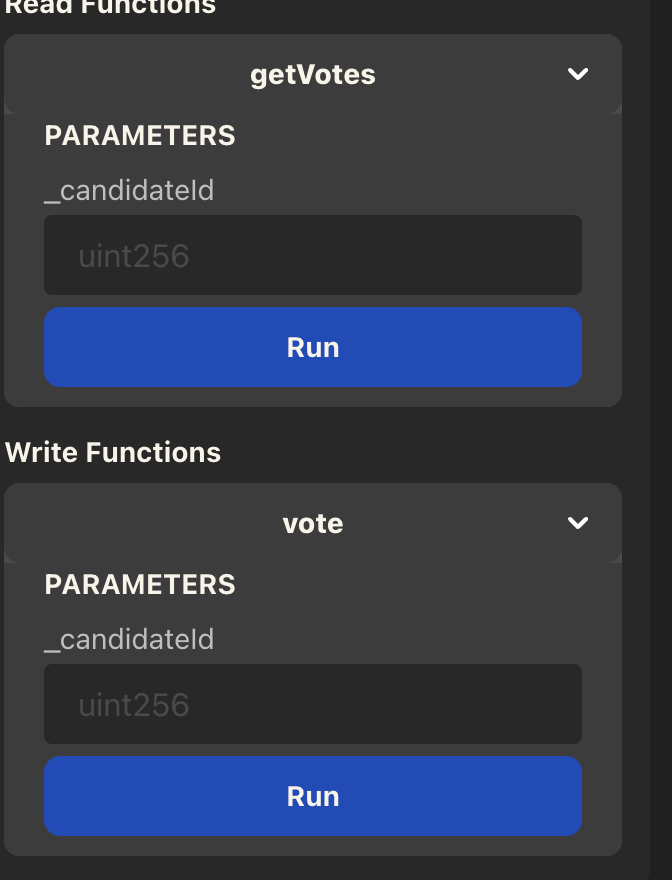
At this step, you can now vote using the vote function and track the votes for each candidate using their ID.
Build Web Interaction with Web3.js and React
To create a DApp for voting with Web3.js and React, follow these steps:
Setup React App:
Create a new React app using Create React App:
npx create-react-app voting-dappNavigate into the app directory:
cd voting-dapp
Install Web3.js:
- Install Web3.js package:
npm install web3
- Install Web3.js package:
Modify App.js with code
import React, { useState, useEffect } from 'react';
import Web3 from 'web3';

const contractAddress = ''; //field with project contract address
const abi = [
  //field with our project ABI
];
const web3 = new Web3(window.ethereum);
const contract = new web3.eth.Contract(abi, contractAddress);

function App() {
  const [candidates, setCandidates] = useState([]);
  const [votes, setVotes] = useState([]);

  useEffect(() => {
    async function fetchData() {
      const numCandidates = await contract.methods.candidatesCount().call();
      const candidates = [];
      const votes = [];
      for (let i = 1; i <= numCandidates; i++) {
        const candidate = await contract.methods.candidates(i).call();
        const vote = await contract.methods.getVotes(i).call();
        candidates.push(candidate.name);
        votes.push(vote);
      }
      setCandidates(candidates);
      setVotes(votes);
    }
    fetchData();
  }, []);

  async function vote(candidateIndex) {
    const accounts = await web3.eth.getAccounts();
    await contract.methods.vote(candidateIndex).send({ from: accounts[0] });
    // Refresh data after voting
    const votes = [];
    for (let i = 1; i <= candidates.length; i++) {
      const vote = await contract.methods.getVotes(i).call();
      votes.push(vote);
    }
    setVotes(votes);
  }

  return (
    <div className="App">
      <h1>List of Candidates</h1>
      <ul>
        {candidates.map((candidate, index) => (
          <li key={index}>
            {candidate} - Votes: {votes[index]}
            <button onClick={() => vote(index + 1)}>Vote</button>
          </li>
        ))}
      </ul>
    </div>
  );
}

export default App;
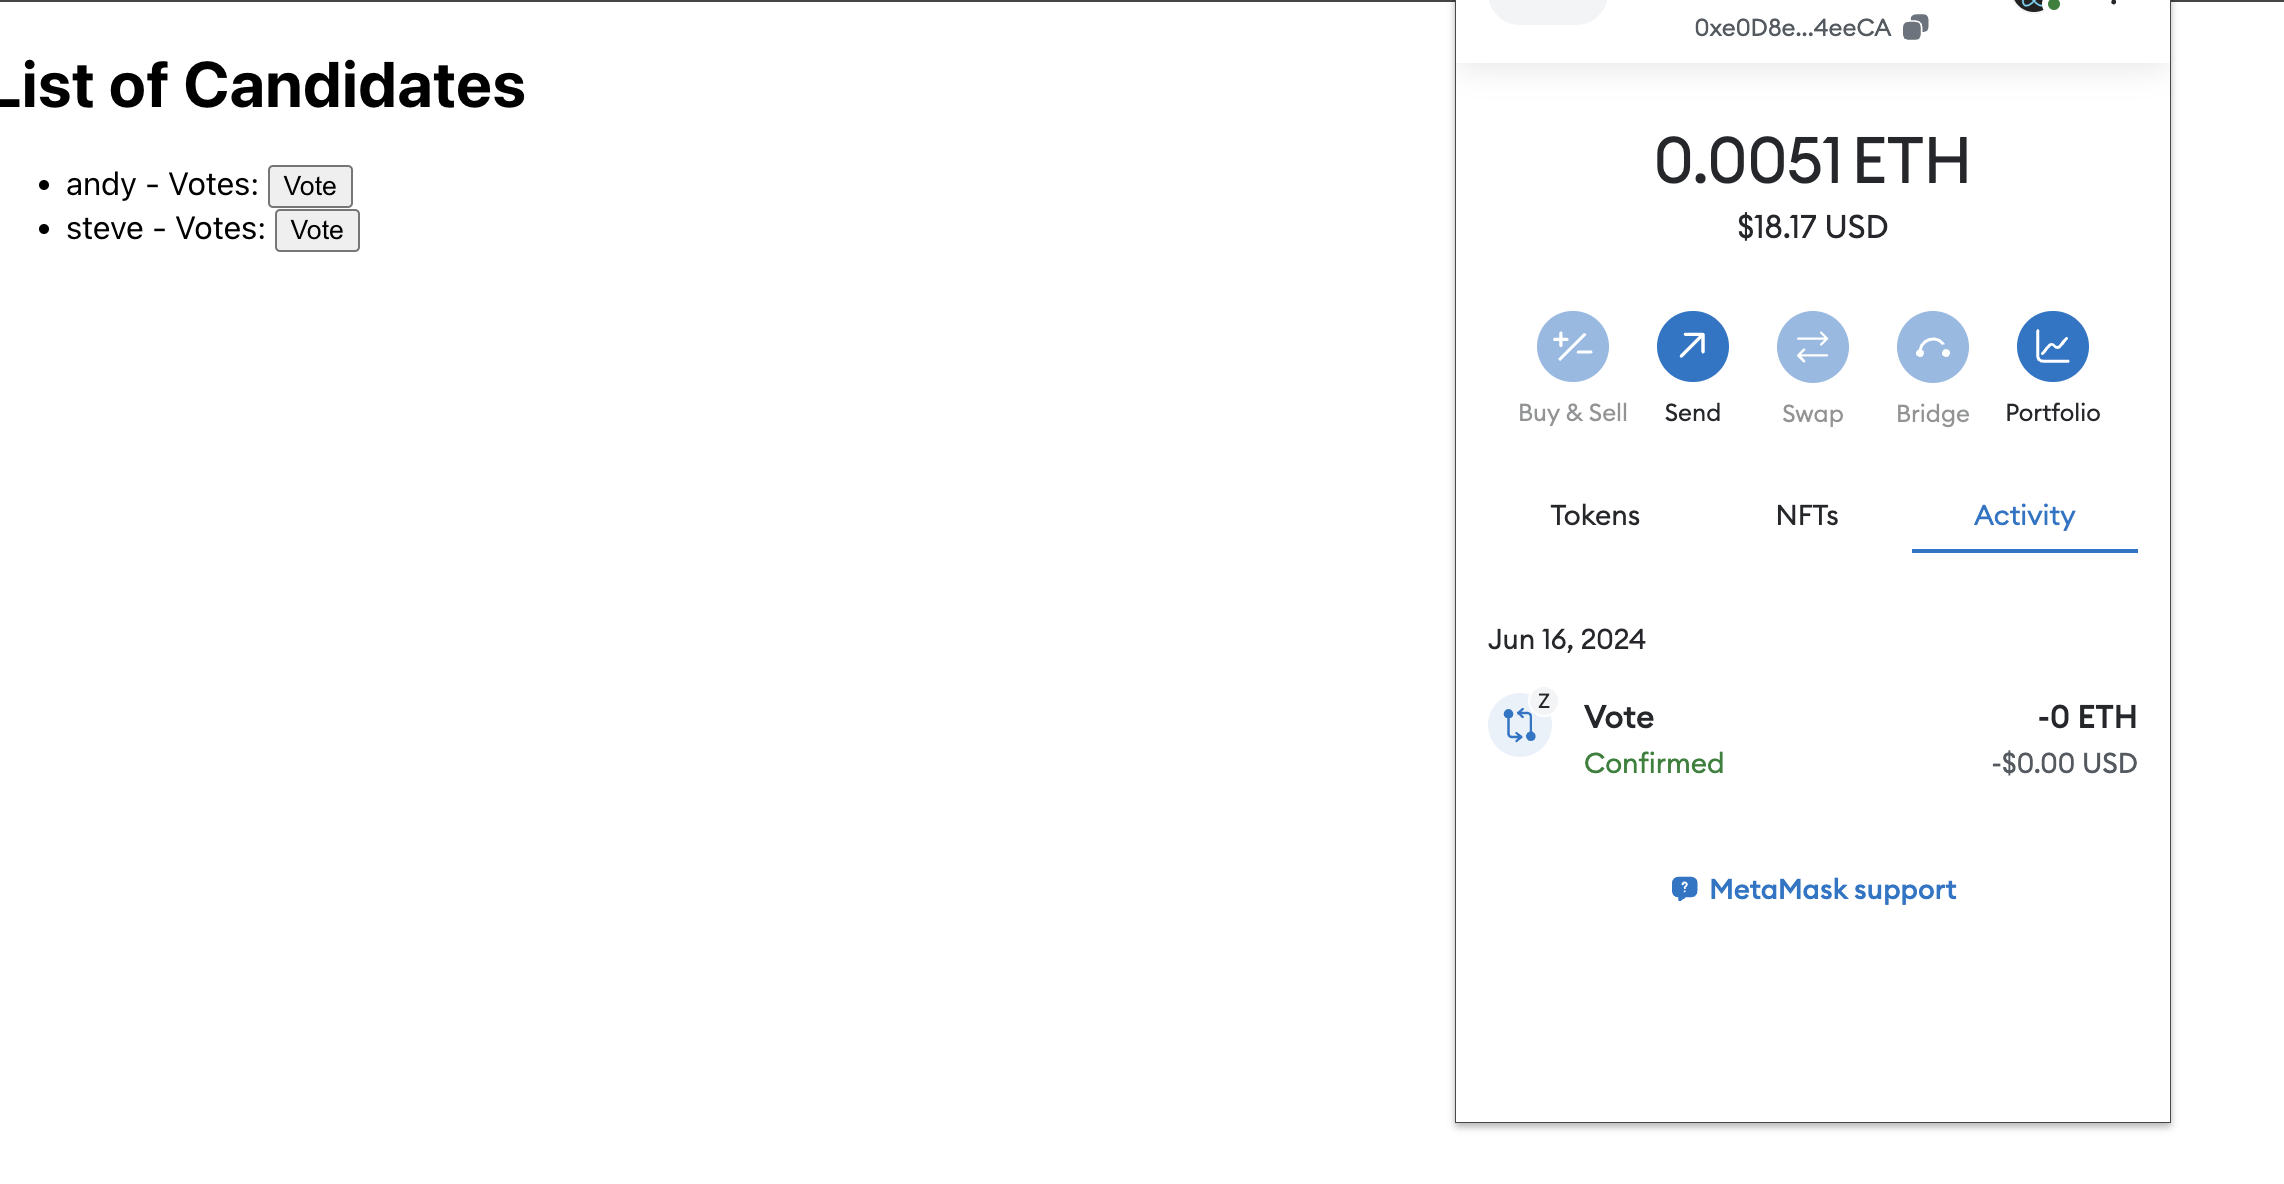
Interact with Our Simple dAPP
Closing
Thank you for your support and interest in this series of articles, which is part of a grant program available at Wave Hacks on Akindo.
Structure :
Subscribe to my newsletter
Read articles from Ridho Izzulhaq directly inside your inbox. Subscribe to the newsletter, and don't miss out.
Written by
