Speedtest Tracker: Monitoring Your Internet Speed with Ease
 Arjun
ArjunTable of contents
- Why Install Speedtest Tracker?
- What Can You Track with Speedtest Tracker?
- Step-by-Step Guide to Install Speedtest Tracker Using Docker or Docker Compose
- Install with Docker Compose (recommended)
- Step 1: Create a Directory for Speedtest Tracker
- Step 2: change Directory to Speedtest Tracker
- Step 3: Create the docker-compose.yml File
- Step 4: Build and Start the Docker Container
- Step 5: Access the Speedtest Tracker Web Interface
- Step 6: Perform Initial Setup
- Speedtest-tracker user "CRON not Corn" to take a speed-test periodically
- Stay Informed with Comprehensive Notification Options, Including Easy Discord Integration
- Conclusion

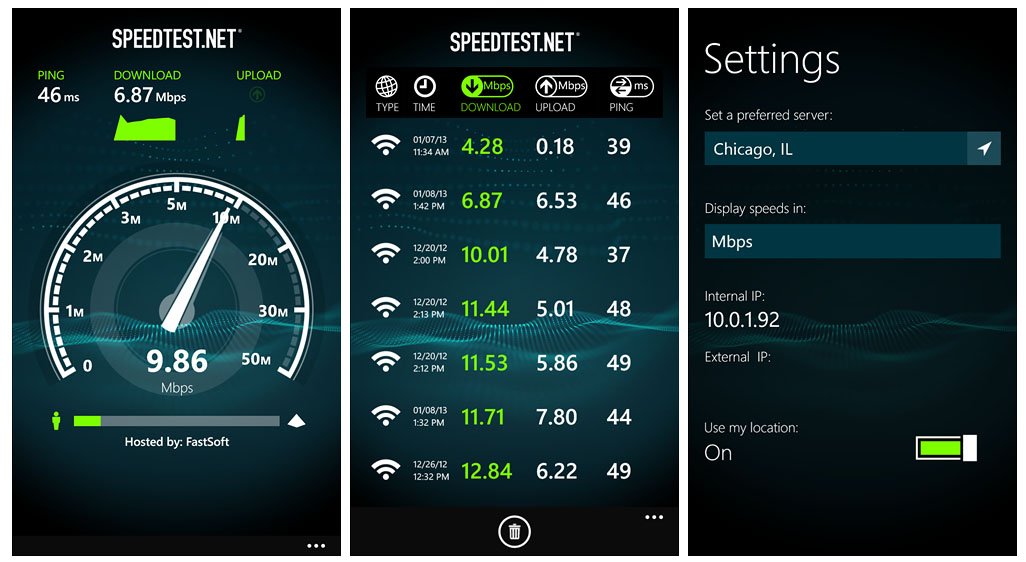
In today’s world, a reliable internet connection is essential. Whether you're working from home, streaming movies, or gaming online, knowing your internet speed can help diagnose connectivity issues, ensure you're getting the service you pay for, and optimize your network. This is where Speedtest Tracker comes in handy.
Why Install Speedtest Tracker?
Speedtest Tracker is a tool that allows you to regularly monitor and log your internet speed. Here's why you might want to install it:
Track Internet Performance: Monitor your download and upload speeds over time.
Identify Trends: Spot trends or patterns in your internet speed, which can help you identify peak usage times or persistent issues.
ISP Accountability: Verify that your Internet Service Provider (ISP) is delivering the speeds you're paying for.
Troubleshooting: Diagnose slowdowns and identify whether the issue lies with your ISP or your home network.
Historical Data: Maintain a record of your internet performance for future reference.

What Can You Track with Speedtest Tracker?
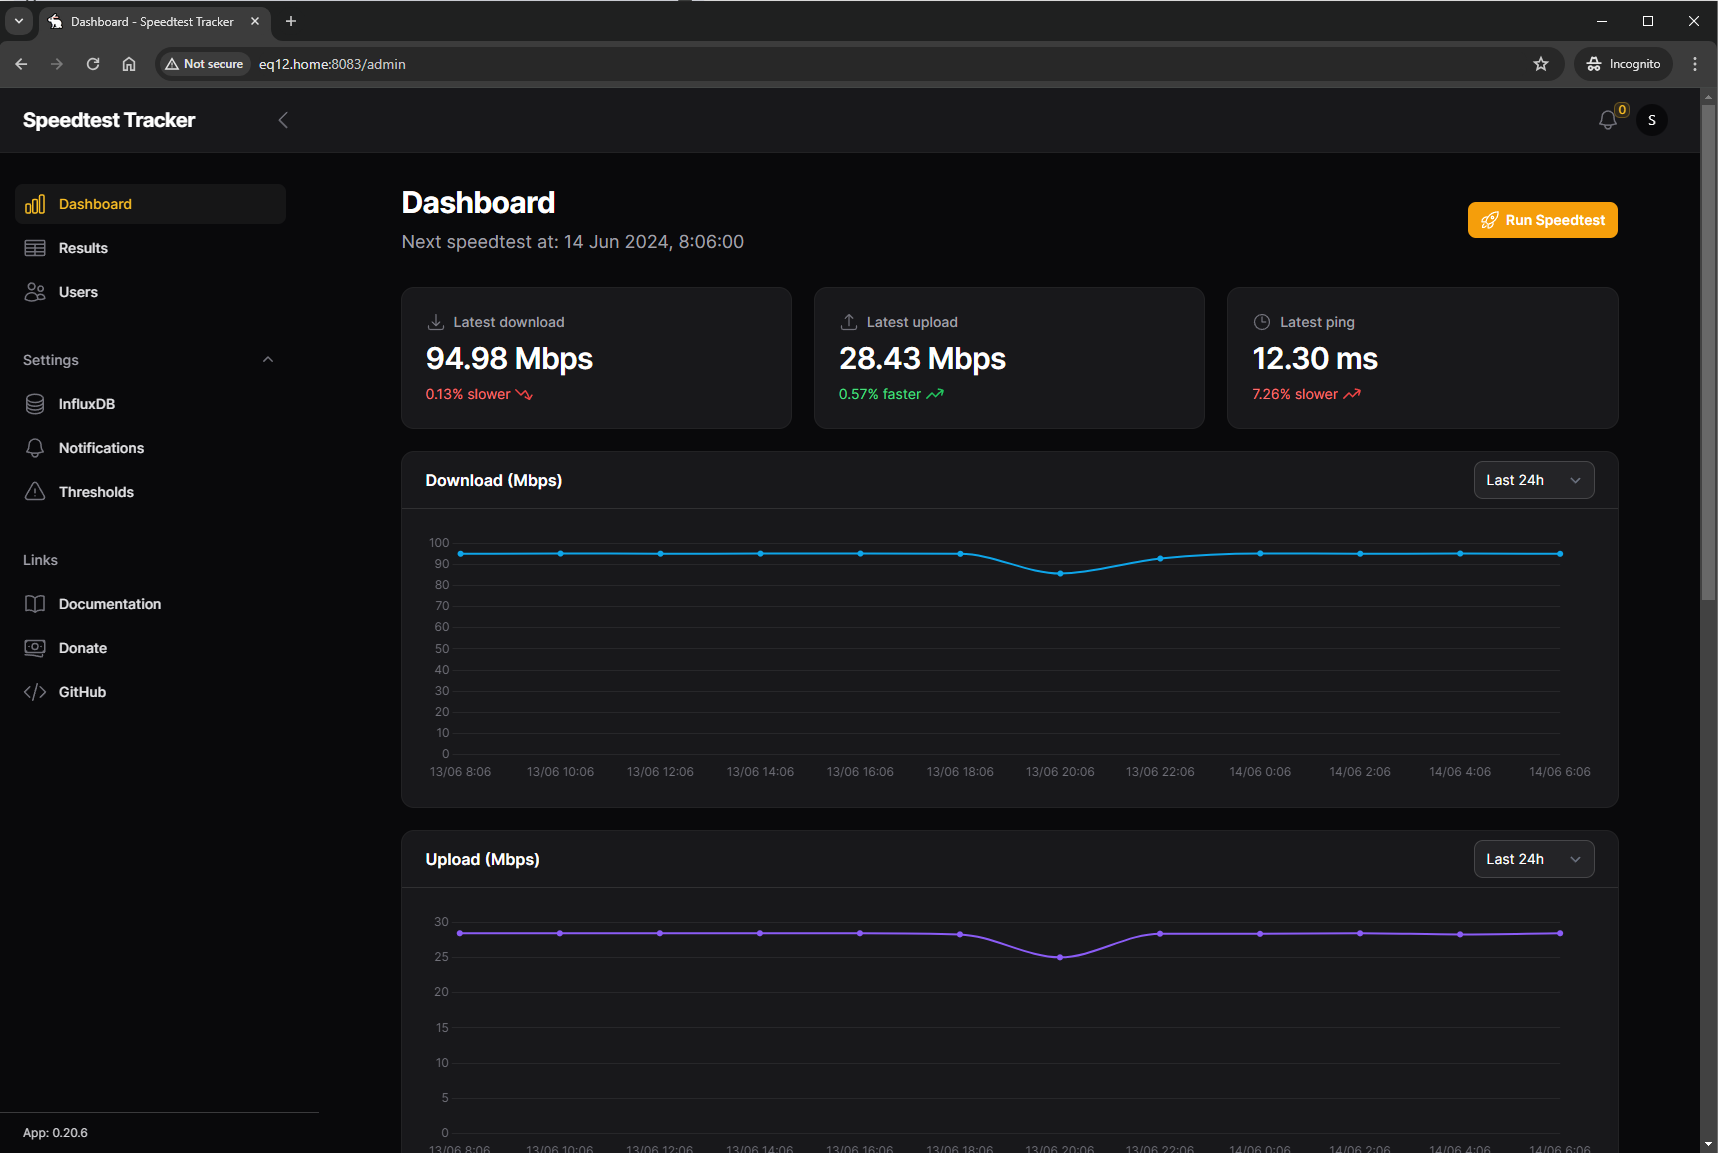
Speedtest Tracker provides comprehensive data on your internet connection, including:
Download Speed: Measure how quickly you can pull data from the internet.
Upload Speed: Measure how quickly you can send data to the internet.
Ping/Latency: Measure the response time of your connection, which is crucial for real-time applications like gaming or video conferencing.
Jitter: Measure the variability in ping over time, which can affect the quality of real-time applications.
ISP Details: Log information about your ISP and the IP address used for the test.
Server Details: Track the server used for the speed test and its location.
Step-by-Step Guide to Install Speedtest Tracker Using Docker or Docker Compose
These steps will run you through setting up the application using Docker and Docker Compose.
Install with Docker Compose (recommended)
Setting up your environment with Docker Compose is the recommended infrastructure pattern as it'll setup the application and a database for you. SQLite is fine for most installs but we also provide instructions for setting up MariaDB, MySQL and Postgres should you prefer those database drivers.
If you would like to provide your own SSL keys, they must be named cert.crt (full chain) and cert.key (private key), and mounted in the container folder /config/keys.
Step 1: Create a Directory for Speedtest Tracker
First, create a directory where all the configuration files and data will be stored:
mkdir speedtest-tracker
Step 2: change Directory to Speedtest Tracker
cd to newly made speedtest-tracker directory:
cd speedtest-tracker
Step 3: Create the docker-compose.yml File
Inside the speedtest-tracker directory, create a file named docker-compose.yml:
touch docker-compose.yml
Open the docker-compose.yml file in a text editor and add the following content:
nano docker-compose.yml
---
services:
  speedtest-tracker:
    image: lscr.io/linuxserver/speedtest-tracker:0.19.0
    container_name: speedtest-tracker
    environment:
      - PUID=1000
      - PGID=1000
      - TZ=Etc/UTC
      - APP_KEY=App key used for encrypting stored data.
                You can generate a key at https://speedtest-tracker.dev
      - DB_CONNECTION=sqlite
      - SPEEDTEST_SCHEDULE=
      - SPEEDTEST_SERVERS=
      - DB_HOST= #optional
      - DB_PORT= #optional
      - DB_DATABASE= #optional
      - DB_USERNAME= #optional
      - DB_PASSWORD= #optional
      - DISPLAY_TIMEZONE=Etc/UTC #optional
      - PRUNE_RESULTS_OLDER_THAN=0 #optional
    volumes:
      - /path/to/speedtest-tracker/data:/config
    ports:
      - 80:80
    restart: unless-stopped
This file configures Docker Compose to pull the Speedtest Tracker image, set the necessary environment variables, and map ports and volumes.
Step 4: Build and Start the Docker Container
Now that you have your configuration files in place, you can build and start the container using Docker Compose:
docker-compose up -d
This command will download the necessary Docker images, create the containers, and start them in detached mode.
Step 5: Access the Speedtest Tracker Web Interface
After starting the containers, open your web browser and navigate to http://localhost:8080 (http://ip-of-yourServer:Port you have used). You should see the Speedtest Tracker web interface.

Step 6: Perform Initial Setup
When you first access the web interface, you need to perform some initial setup:
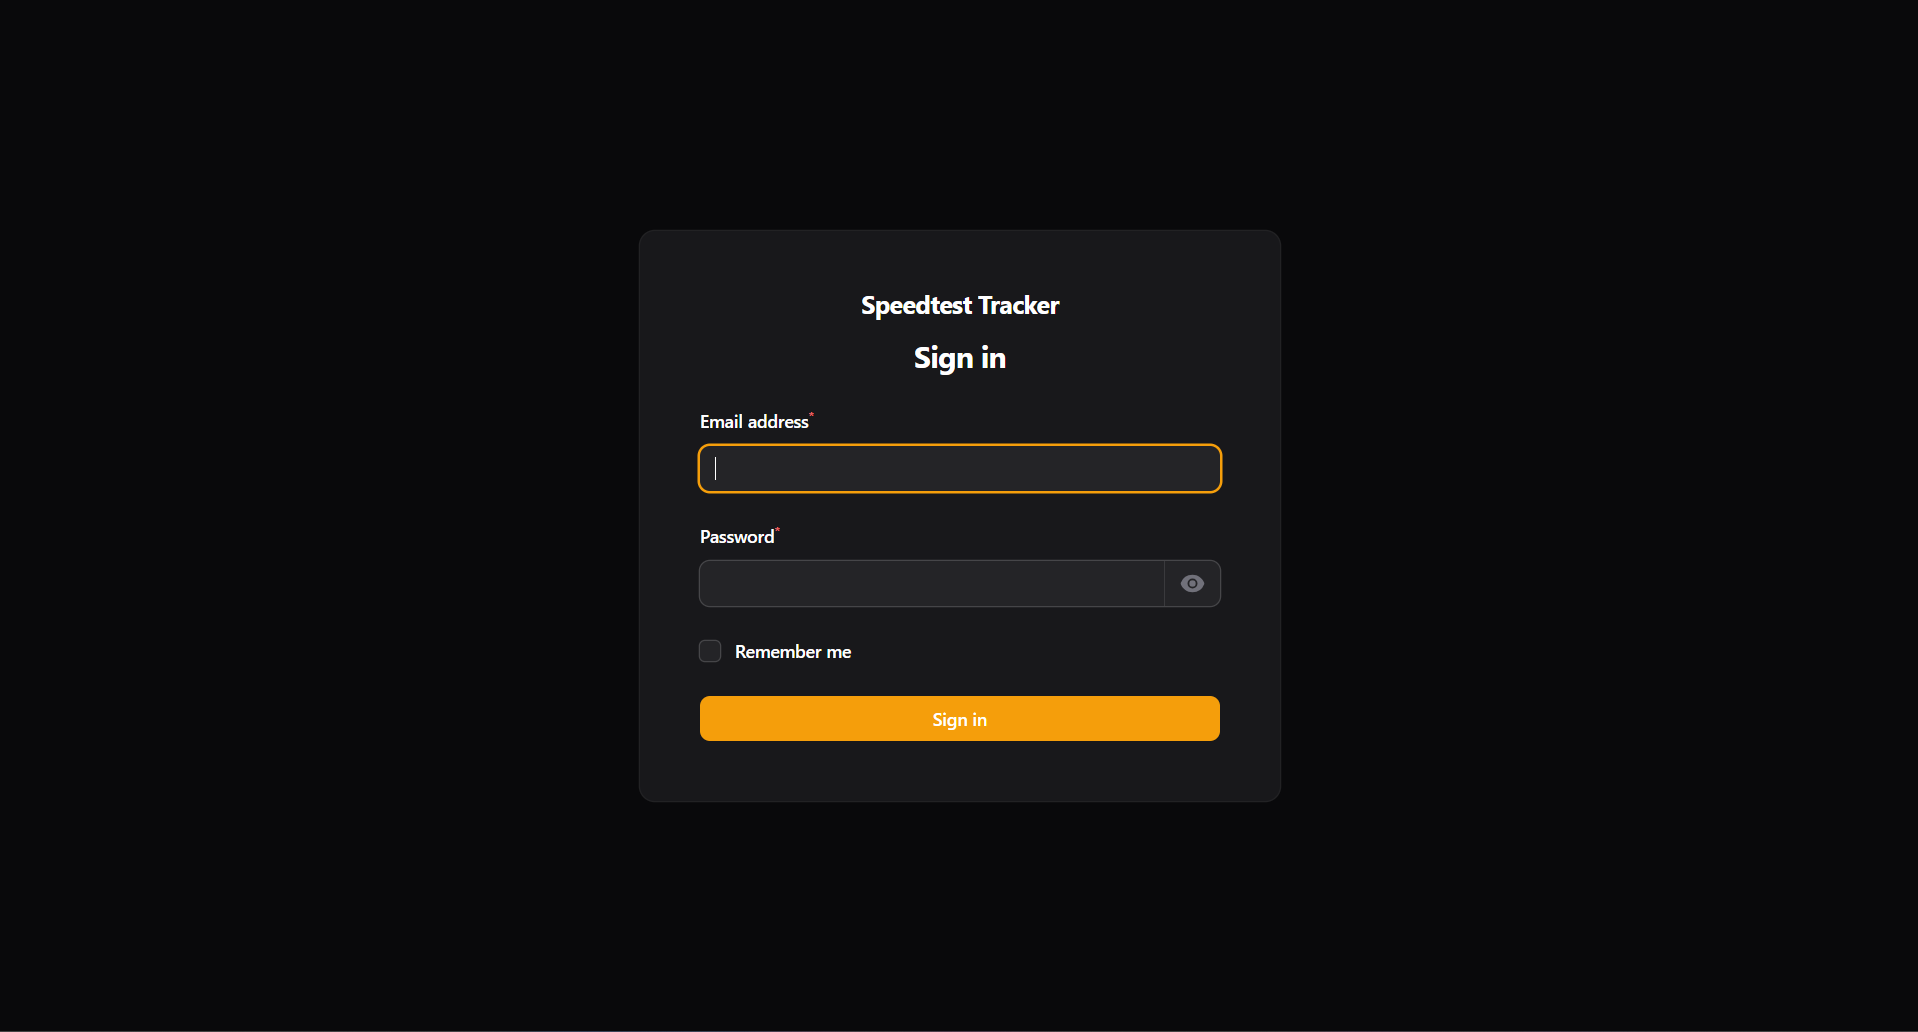
Create Admin Account: Set up an admin user account by entering a username and password.
Configure Speedtest Settings: Define the frequency of speed tests and select any specific servers if required.
Set Notification Preferences: Configure notification settings if you want to receive alerts.
Speedtest-tracker user "CRON not Corn" to take a speed-test periodically
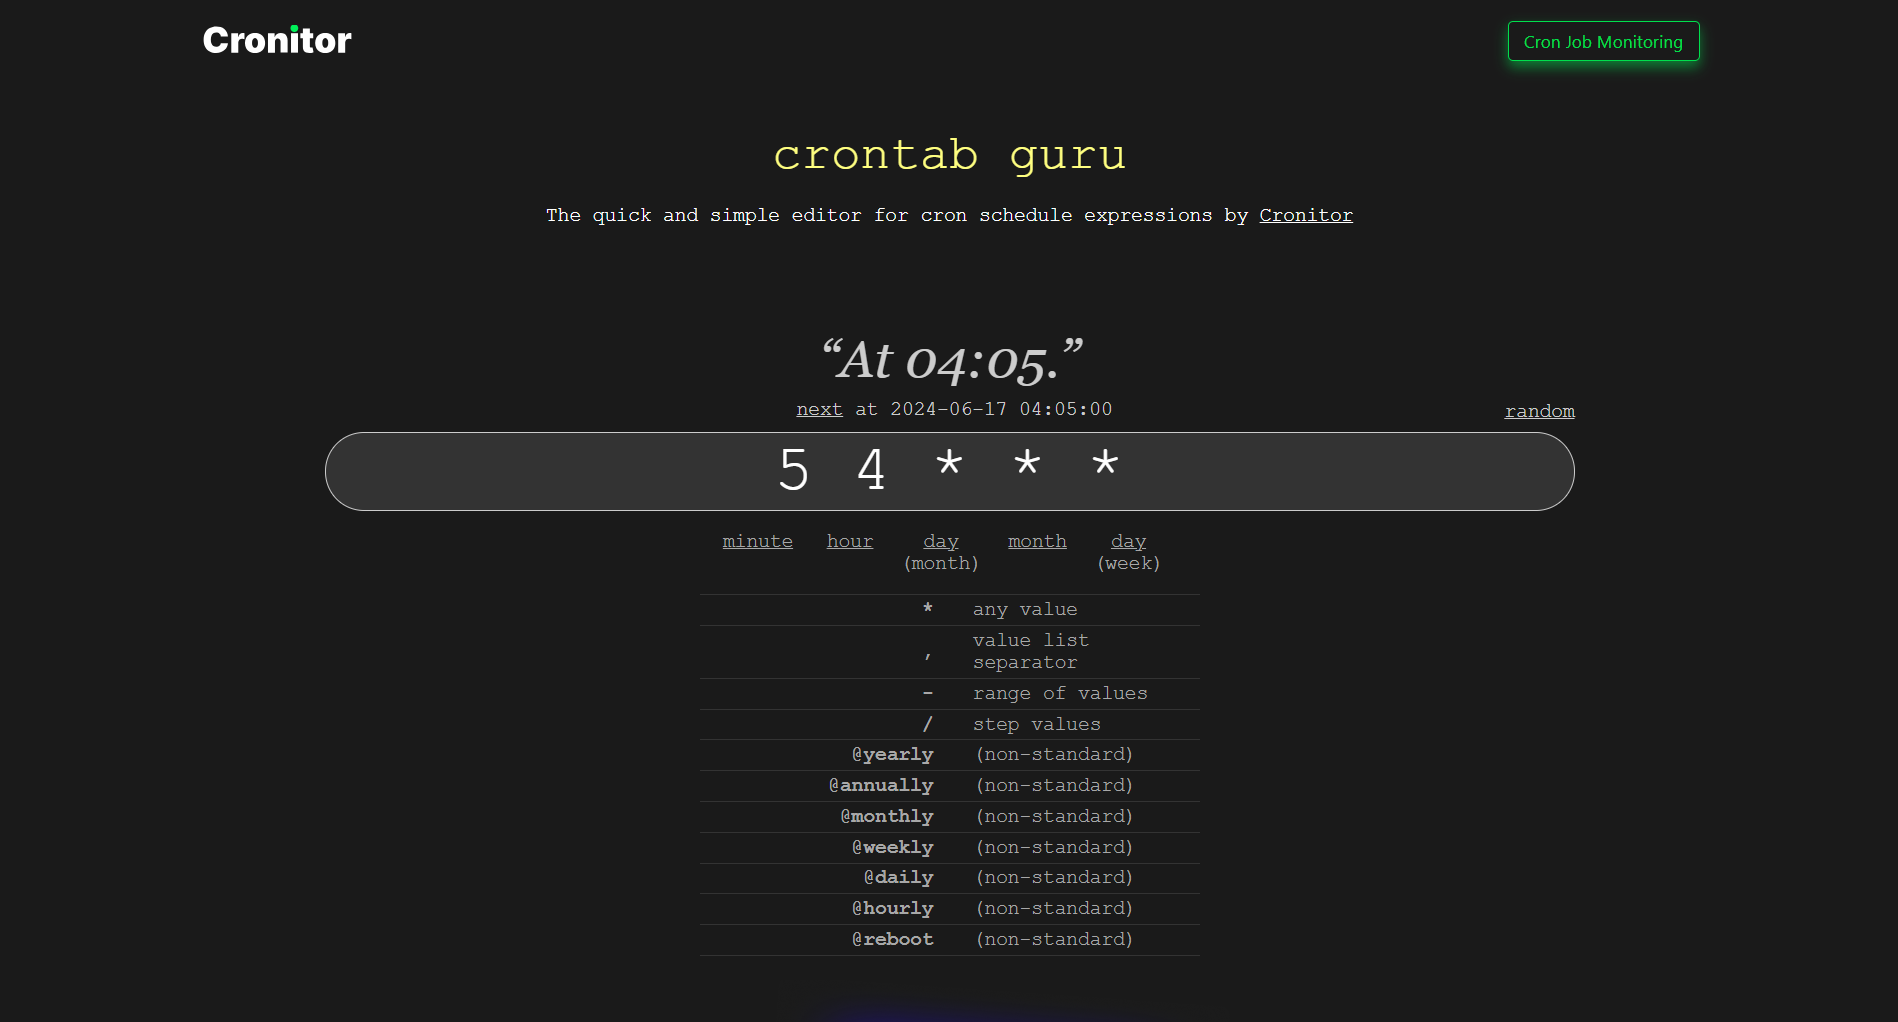
You will need to create a cron job to set the interval for speed tests. Don't set a very short interval because it uses Ookla's servers. Too many tests can overload their servers and yours, causing issues.
Testing every 60 minutes should be enough to monitor your bandwidth.

Stay Informed with Comprehensive Notification Options, Including Easy Discord Integration
Speedtest Tracker offers a versatile notification system that allows users to stay informed about their internet performance in real-time. The platform supports a wide range of notification providers, including popular services such as Discord, Slack, Telegram, Pushover, and email. These notifications can alert you whenever a speed test is completed or if the results fall below a predefined threshold, ensuring you are promptly informed about any issues or anomalies in your internet connection. Among these options, Discord notifications stand out as particularly ideal and easy to integrate with Speedtest Tracker. By using Discord webhooks, you can set up notifications in just a few steps. This integration allows Speedtest Tracker to send messages directly to a designated Discord channel, providing instant and convenient updates on your internet speed tests. This seamless setup makes Discord an excellent choice for users who want to keep track of their internet performance efficiently and effectively.
Conclusion
Speedtest Tracker is an invaluable tool for anyone looking to monitor and log their internet speed effortlessly. With its robust features and easy integration options, such as the seamless Discord webhook notifications, it provides a comprehensive solution for ensuring your internet performance meets your needs. A special shoutout to Alex Justesen, the developer of Speedtest Tracker, for creating such a fantastic and user-friendly application.
Additionally, Docker plays a pivotal role in simplifying the deployment of applications like Speedtest Tracker. Its containerization technology ensures that you can run applications consistently across various environments, making the setup process straightforward and reliable.
Self-hosting and homelabs offer incredible benefits, empowering you to take control of your own services and infrastructure. They provide a platform for learning and experimenting with technologies like Docker, Linux servers, Raspberry Pi, and more. In our upcoming blogs, we will dive deeper into these topics, exploring the vast possibilities of self-hosting and the practical applications of Docker and Linux servers. Stay tuned as we embark on this exciting journey to enhance your technical skills and optimize your home network setup.
Comprehensive Network Monitoring: Beyond Speed Tests
While Speedtest Tracker is a crucial tool for monitoring internet speed, it represents just one aspect of evaluating the robustness of your network. Other important factors include network latency, packet loss, jitter, and overall network traffic. Monitoring these elements can help you identify bottlenecks, potential points of failure, and areas for optimization. Tools like PingPlotter for latency and packet loss analysis, Wireshark for detailed packet inspection, and network traffic analyzers such as ntopng or PRTG Network Monitor, can provide comprehensive insights into your network’s health and performance. By combining these tools, you can achieve a holistic view of your network’s robustness and ensure its reliability and efficiency. We will delve into these topics in our upcoming blogs, providing you with a thorough understanding of how to monitor and optimize your entire network.
Here is The Tutorial Video for You!
Subscribe to my newsletter
Read articles from Arjun directly inside your inbox. Subscribe to the newsletter, and don't miss out.
Written by

Arjun
Arjun
Just a GEEK 🤓 I explore new tech every now and then. 🚀💻