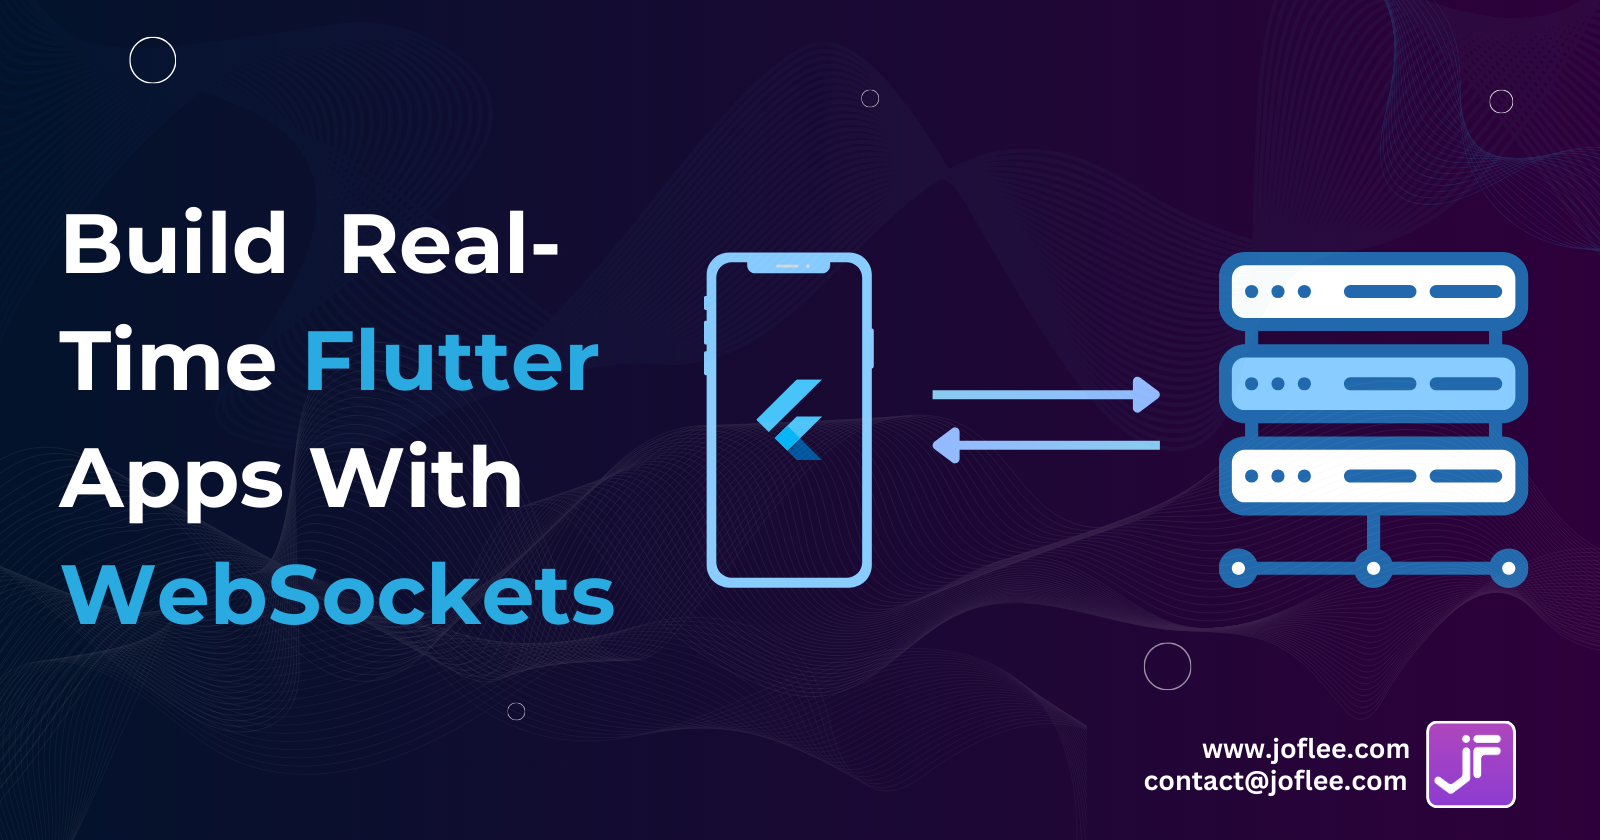
WebSockets in Flutter: A Beginner's Guide to Real-Time Connectivity
 Fenisha Koladiya
In the world of mobile app development, providing real-time data updates and seamless communication between the client and server is crucial. Flutter, a popular framework for building cross-platform applications, offers a powerful solution for this through WebSockets. This beginner's guide will walk you through the essentials of using WebSockets in Flutter, enabling you to create applications with efficient, bidirectional communication. Whether it's for real-time messaging, live notifications, or instant updates, mastering WebSockets in Flutter will elevate your app development skills.Let's Get Started!!
What is WebSockets?
In Flutter, WebSockets allow for two-way communication with a server without polling.They Provide a full-duplex communication channel over a single, long-lived connection, enabling bidirectional data flow between the client and server.
How to Communicate with WebSockets in Flutter?
Certainly! In Flutter, You can use WebSockets to enable real-time communication between a client(your Application) and a server. WebSockets allow for bidirectional, low-latency communication and are commonly used for real-time messaging, notification and live updates.
Here’s how you can work with WebSockets in Flutter:
Connect to a WebSocket Server:
To establish a WebSocket connection, use the
web_socket_channelpackage. Add it to yourpubspec.yamlfile:dependencies: web_socket_channel: ^3.0.0Connect to a WebSocket server using the following code:
final channel = WebSocketChannel.connect(Uri.parse('wss://demo.websocket.server'));Replace the URL (
wss://echo.websocket.events) with the actual WebSocket server you want to connect to.
Listen for Messages from the Server:
Once connected, listen for messages from the server using a
StreamBuilderwidget:StreamBuilder( stream: channel.stream, builder: (context, snapshot) { if (snapshot.hasData) { return Text('Data arrived: ${snapshot.data}'); } else { return Text('Awaiting data...'); } }, );The
channel.streamprovides a stream of messages from the server.
Send Data to the Server:
To send data to the server, use the
sinkprovided by theWebSocketChannel:channel.sink.add('Greetings from JoFlee');
Close the WebSocket Connection:
When you’re done using the WebSocket, close the connection properly:
channel.sink.close();
Here’s a complete example of a Flutter app that connects to the test WebSocket server and displays received messages:
import 'package:flutter/material.dart';
import 'package:web_socket_channel/web_socket_channel.dart';

void main() => runApp(const MyApp());

class MyApp extends StatelessWidget {
  const MyApp({Key? key}) : super(key: key);

  @override
  Widget build(BuildContext context) {
    const title = 'WebSocket Demo';

    return const MaterialApp(
      title: title,
      home: MyHomePage(title: title),
    );
  }
}

class MyHomePage extends StatefulWidget {
  const MyHomePage({Key? key, required this.title}) : super(key: key);

  final String title;

  @override
  State<MyHomePage> createState() => _MyHomePageState();
}

class _MyHomePageState extends State<MyHomePage> {
  final TextEditingController _controller = TextEditingController();
  final _channel = WebSocketChannel.connect(Uri.parse('wss://demo.websocket.server'));

  @override
  Widget build(BuildContext context) {
    return Scaffold(
      appBar: AppBar(
        title: Text(widget.title),
      ),
      body: Padding(
        padding: const EdgeInsets.all(20),
        child: Column(
          crossAxisAlignment: CrossAxisAlignment.start,
          children: [
            Form(
              child: TextFormField(
                controller: _controller,
                decoration: const InputDecoration(labelText: 'Send Your message'),
              ),
            ),
            const SizedBox(height: 24),
            StreamBuilder(
              stream: _channel.stream,
              builder: (context, snapshot) {
                return Text(snapshot.hasData ? '${snapshot.data}' : '');
              },
            ),
          ],
        ),
      ),
      floatingActionButton: FloatingActionButton(
        onPressed: _sendMessage,
        tooltip: 'Send message',
        child: const Icon(Icons.send),
      ),
    );
  }

  void _sendMessage() {
    if (_controller.text.isNotEmpty) {
      _channel.sink.add(_controller.text);
    }
  }

  @override
  void dispose() {
    _channel.sink.close();
    _controller.dispose();
    super.dispose();
  }
}
Most Common 5 WebSocket Error Scenarios :
Connection Failures:
Timeouts: If the WebSocket connection takes too long to establish, it might time out.
Network Errors: Network disruptions (e.g., loss of internet connectivity) can cause connection failures.
Server Unavailability: If the server is down or unreachable, the connection won’t succeed.
Protocol Errors:
Invalid Handshake: The initial handshake between client and server fails due to incorrect headers or protocols.
Unsupported Subprotocols: If the server doesn’t support the requested subprotocol, it can lead to errors.
Message Errors:
Invalid Data: Sending data in an unexpected format (e.g., binary data to a text-only WebSocket) can cause errors.
Message Too Large: Exceeding the maximum message size can result in errors.
Server-Side Errors:
Internal Server Errors: The server might encounter issues while processing messages.
Authentication Failures: If authentication fails, the server may close the connection.
Client-Side Errors:
Improper Handling: Incorrectly handling messages or not properly closing connections can lead to errors.
Resource Exhaustion: Opening too many WebSocket connections can strain system resources.
How to handle WebSocket errors?
When working with WebSockets in Flutter, it’s essential to handle errors gracefully. Here are some strategies:
Connection Errors:
Listen for connection errors using the
WebSocketChannel’sstream.handleError:channel.stream.handleError((error) { print('WebSocket error: $error'); // Handle the error (e.g., you can reconnect or show an error message). });
Server-Side Errors:
The server might send error messages. Handle them in your
StreamBuilder:StreamBuilder( stream: channel.stream, builder: (context, snapshot) { if (snapshot.hasError) { print('Server error: ${snapshot.error}'); // Handle the server error. } return Text(snapshot.hasData ? '${snapshot.data}' : ''); }, )
Close Errors:
When closing the connection, handle any errors:
  channel.sink.close().then((_) {
    print('WebSocket closed successfully.');
  }).catchError((error) {
    print('Error closing WebSocket: $error');
  });
Implement WebSockets in Flutter unlocks the potential for creating responsive, real-time applications. By understanding how to establish connections, handle messages, and manage errors, you can enhance your app’s interactivity and user experience. Whether you’re building chat applications, live notifications, or real-time updates, integrating WebSockets into your Flutter projects will significantly elevate your development skills and the functionality of your applications. Start experimenting with WebSockets today to bring your Flutter apps to life with real-time connectivity.
Subscribe to my newsletter
Read articles from Fenisha Koladiya directly inside your inbox. Subscribe to the newsletter, and don't miss out.
Written by
