We are setting up a React-Native Environment In the Windows system.
 Shoyeab
Introduction:
What is React-Native:
React-Native is a JavaScript framework that is used to build cross-platform mobile applications.
Prerequisite:
JavaScript
React Core Concepts Understanding
Installation Steps:
NodeJS click here to download
Java JDK higher version click here to download (I have chosen OpenJDK to download Java you can choose Oracle official page to download Java)
Android Studio for running JDK configuration files click here to download
Then you need to configure all the environment variables in your system.
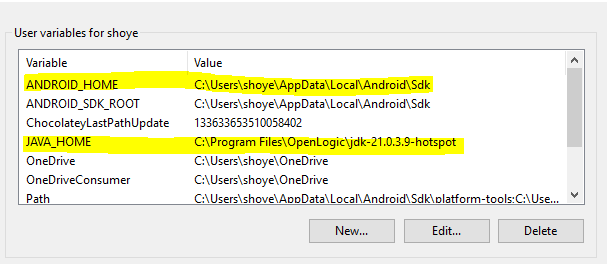
After this, you have to install the NodeJs Chocolatey, package manager.
Set-ExecutionPolicy Bypass -Scope Process -Force; [System.Net.ServicePointManager]::SecurityProtocol = [System.Net.ServicePointManager]::SecurityProtocol -bor 3072; iex ((New-Object System.Net.WebClient).DownloadString('https://community.chocolatey.org/install.ps1'))The reason for installing Chocolatey is that React requires Java SE Development Kit (JDK) which can be installed using Chocolatey
Open the command and run it as administration and then run the following command
choco install -y nodejs-lts microsoft-openjdk17After Everything is set up create a react-native project by running the following command
npx react-native init appnameIf you encounter the following error then add
npmfolder inside the following directoryC:\Users\username\AppData\Roamingand run the step 8 command again.
Then open the project into vs code
cd appname
code .
After successfully creating your project, the structure will look like this.
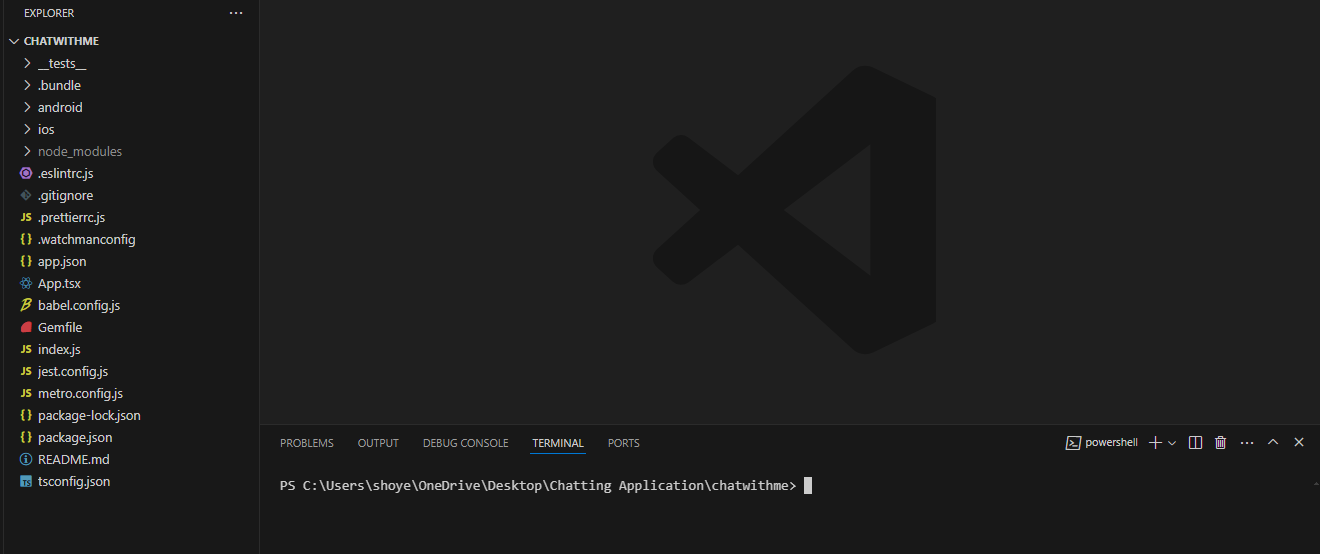
Now run the following commands to execute the application
Important things to note:
- 💡if you want to run your application on a virtual emulator then you have to open the Android Studio click on more Actions then select the virtual device manager option there you can select the virtual emulator.
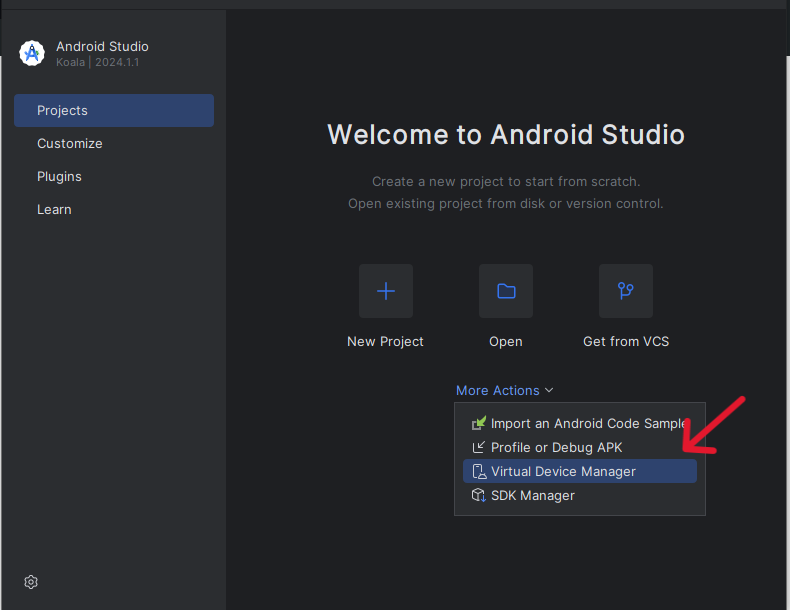
- 💡To run your application on a physical mobile device, enable USB debugging in your device settings under the Developer options. Connect your device to your PC via USB, ensure it's recognized in Android Studio, and then select it as the target device when running your app. This allows for direct testing and debugging on your mobile for real-time development feedback.
To install all the node dependencies:
npm i
To run the application on Android
npx react-native run-android
To run the application on IOS
npx react-native run-ios
After executing the command above, depending on whether you prefer iOS or Android, the execution process will begin. Please note that the duration may vary depending on your PC's performance.
After successful build completion, the application will execute

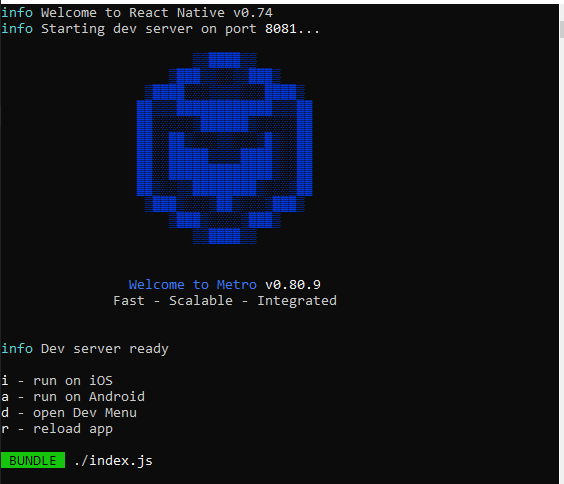
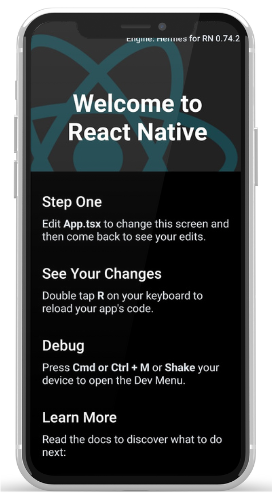
Finally, The First App Looks something like this
Subscribe to my newsletter
Read articles from Shoyeab directly inside your inbox. Subscribe to the newsletter, and don't miss out.
Written by

Shoyeab
Shoyeab
Passionate about building Web and mobile applications. Join me as we dive into the world of Tech!