Step-by-Step Guide to Hosting a Static Website on AWS S3 and Implementing CICD
 Shivam Gautam
Table of contents
Introduction
Hello everyone, my name is Shivam Gautam, and I am currently learning DevOps and AWS.
Recently, I took part in the #10weeksofcloudops challenge by The CloudOps Community.
I completed the Week 1 challenge by hosting a static website on AWS S3 and setting up CI/CD with a domain name and SSL certificate.
Architecture
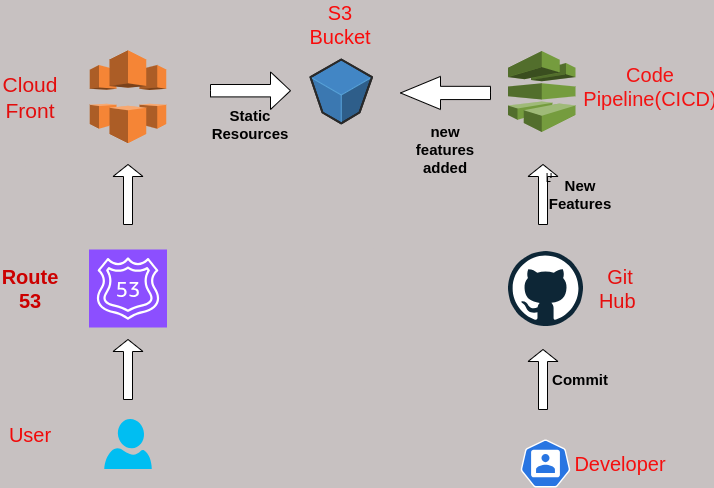
This is the architecture diagram, where users access content through CloudFront, and new features are automatically updated on the production site by CodePipeline.
Steps
Login to your AWS Account and search for S3 service.
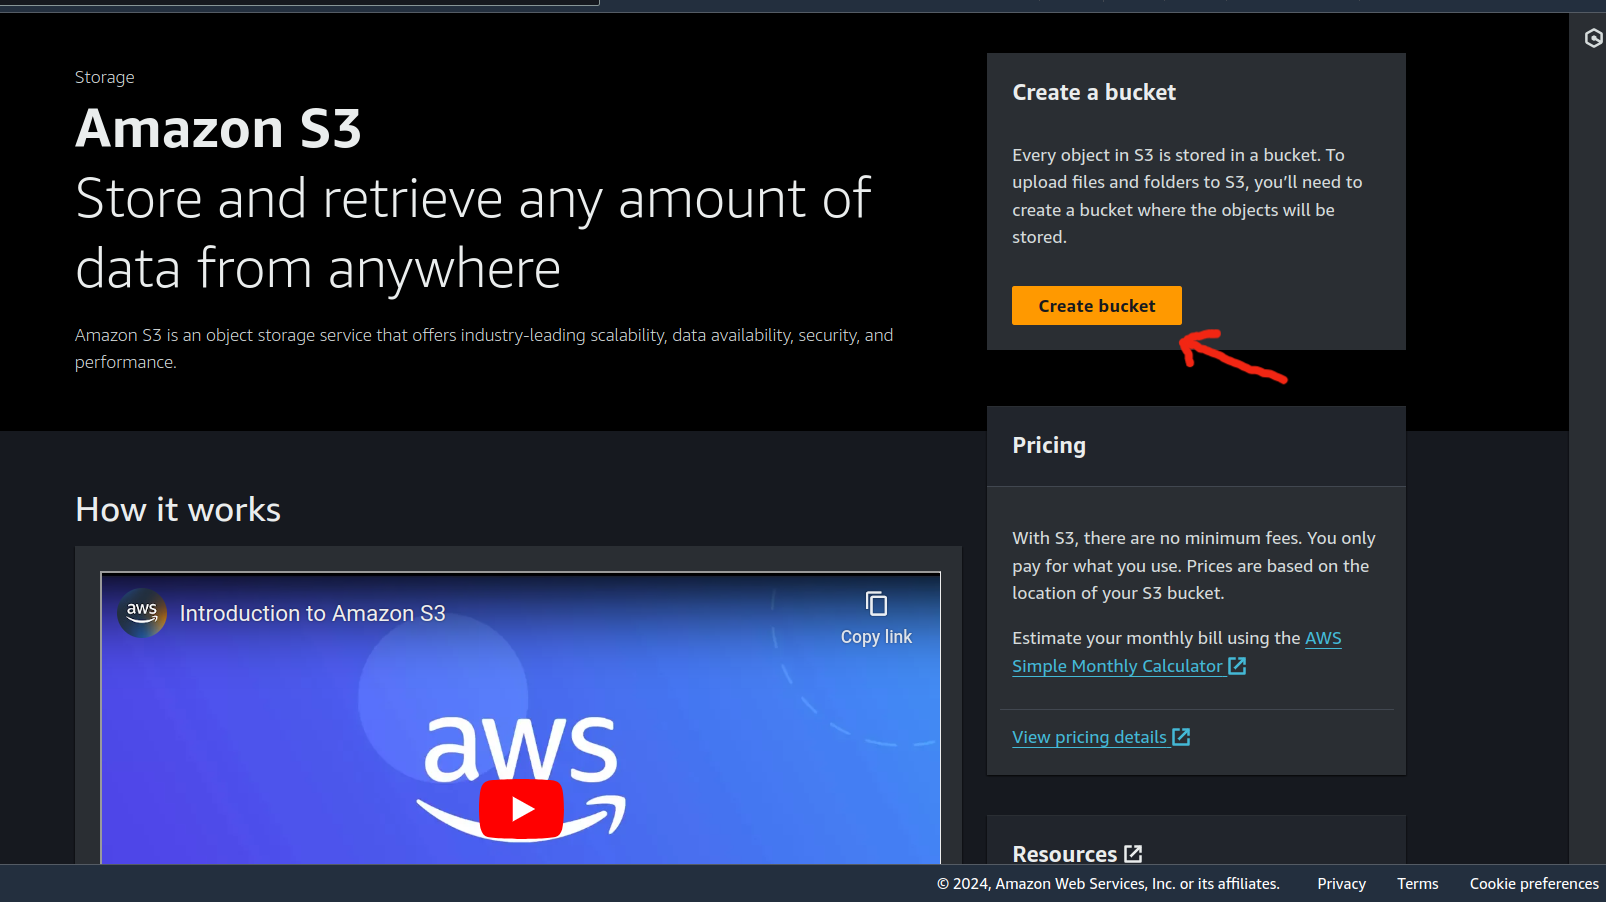
Click on Create bucket
Note: Bucket name should be your domain name (eg. www.website_name.com)
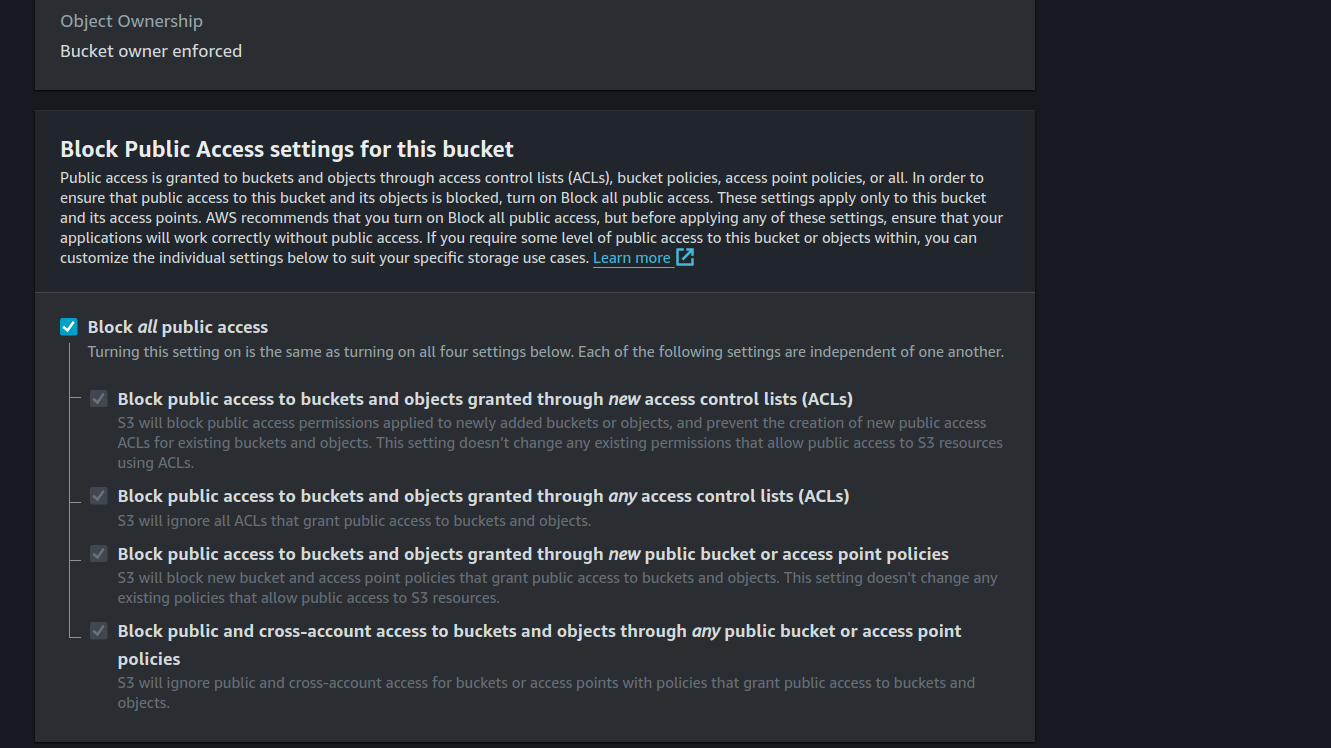
Click on the checkbox "Block All Public Access" because we will use CloudFront to access our static website.
Other settings remain default, then click on "Create bucket."
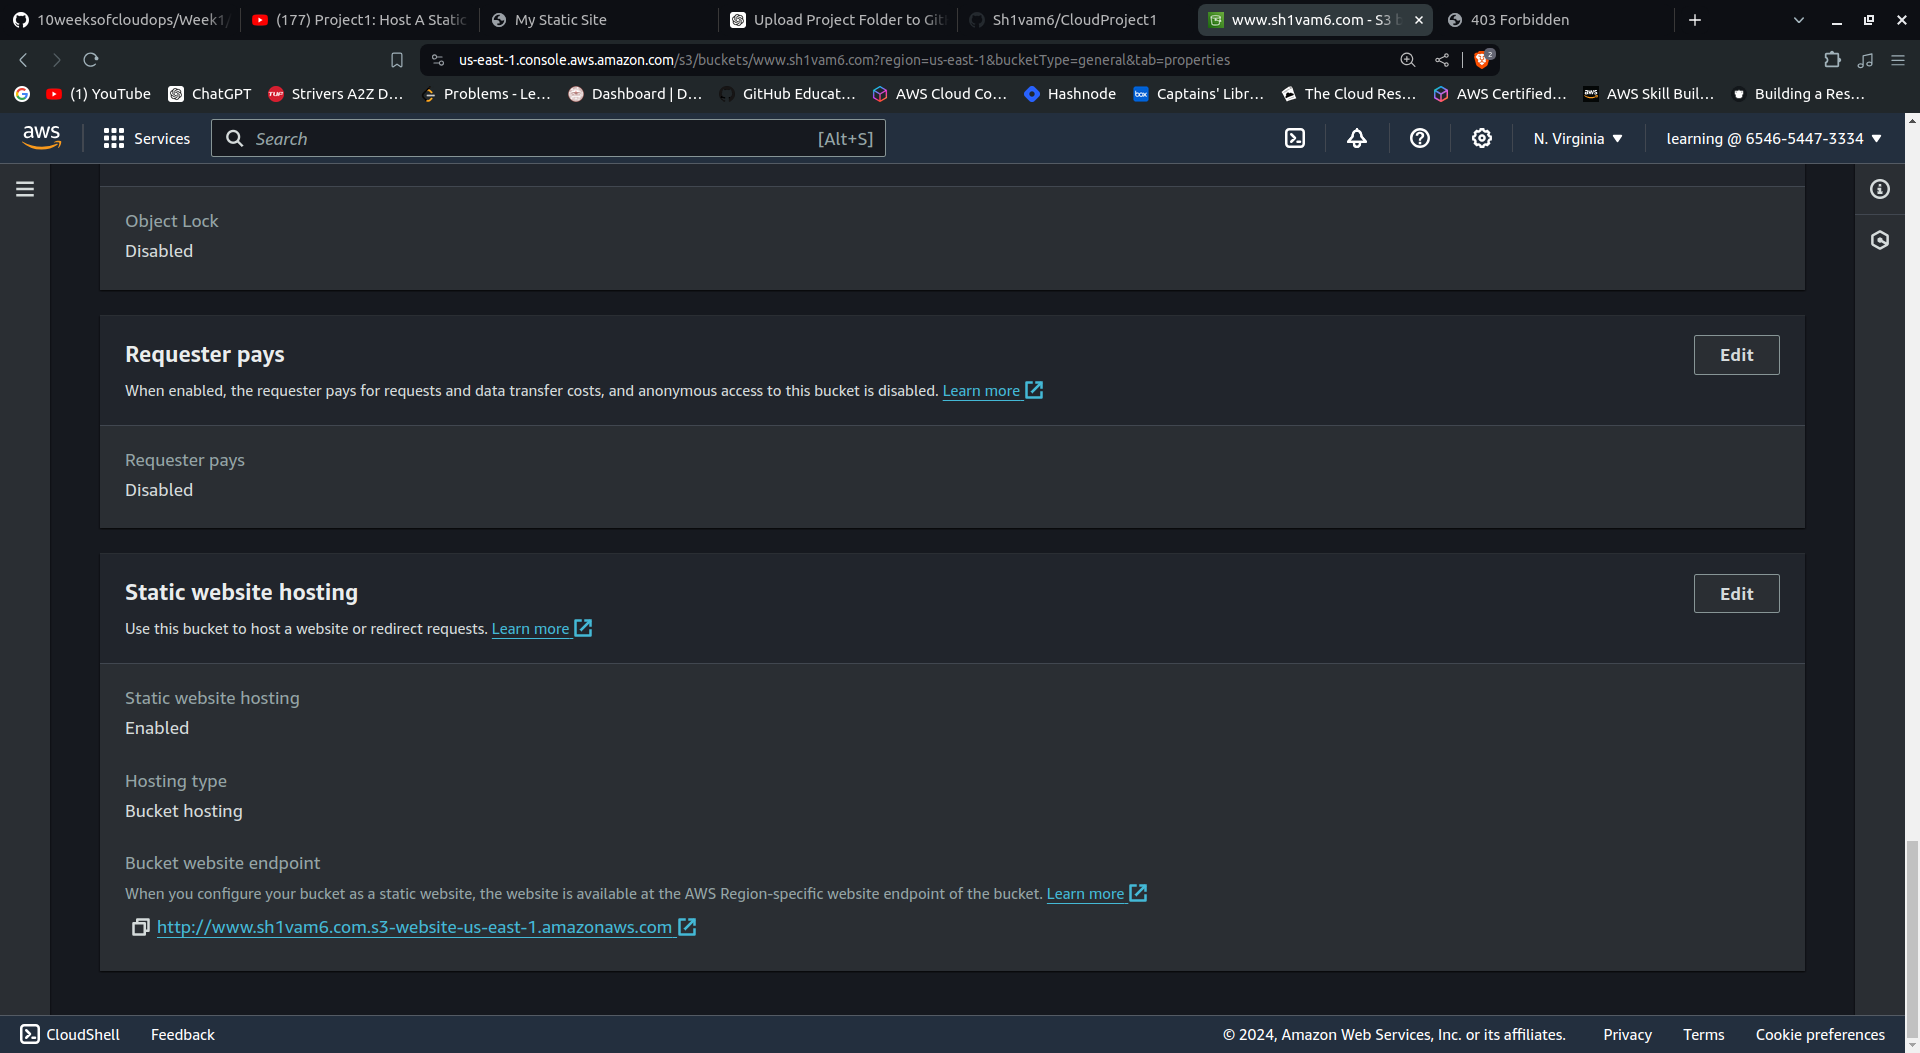
Now that our bucket is created, go to the permissions section, scroll down, and enable static website hosting.
Now go to the object section and upload your files (index.html, style.css, etc.).
Now we can see our URL in the permissions section, but clicking it shows "permission denied" because we checked "block all public access," so we use CloudFront to access it.

now search Cloud front service on aws console and click on "create a cloudfront distribution"
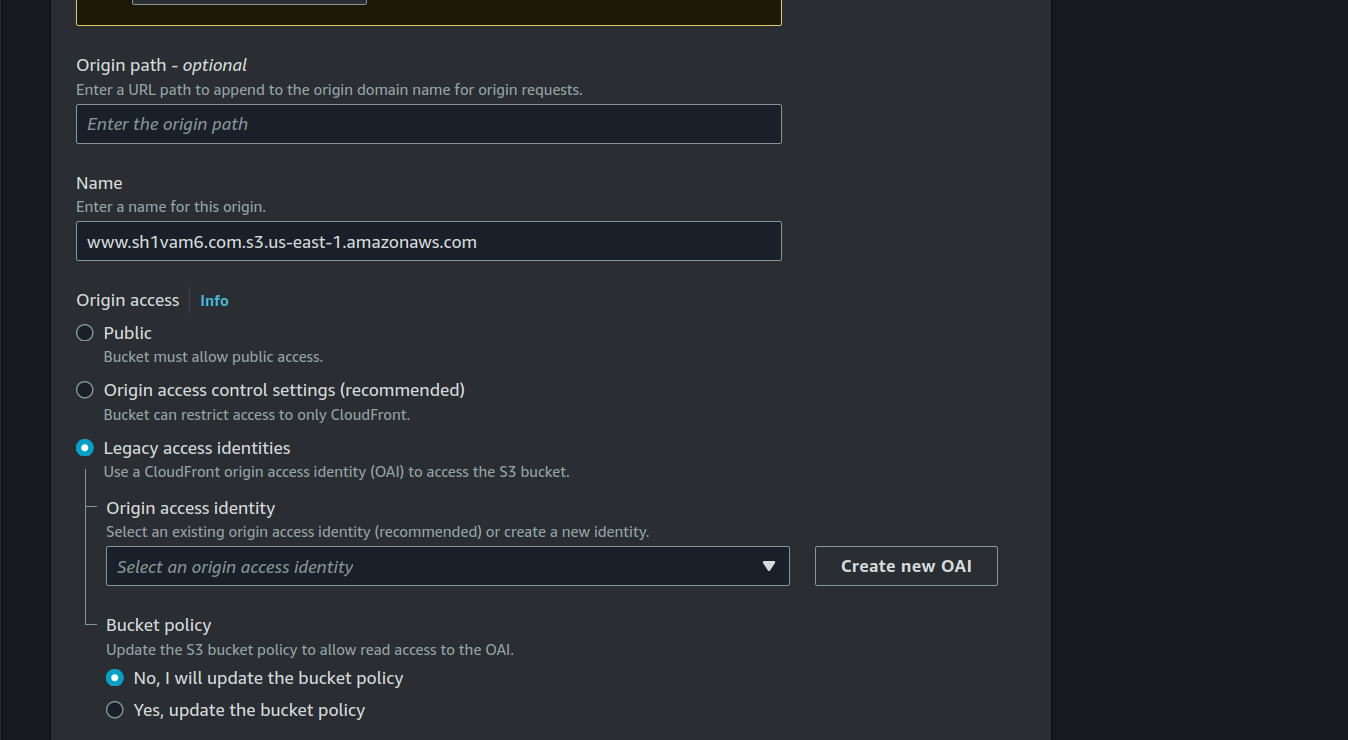
Provide the name of the CloudFront distribution, click on Legacy access identities, create a new OAI, and check "Yes, update the bucket policy."
If you have a domain name, you can request custom SSL Certificates, which enable HTTPS to encrypt data transmitted between the client and the server, ensuring data integrity.
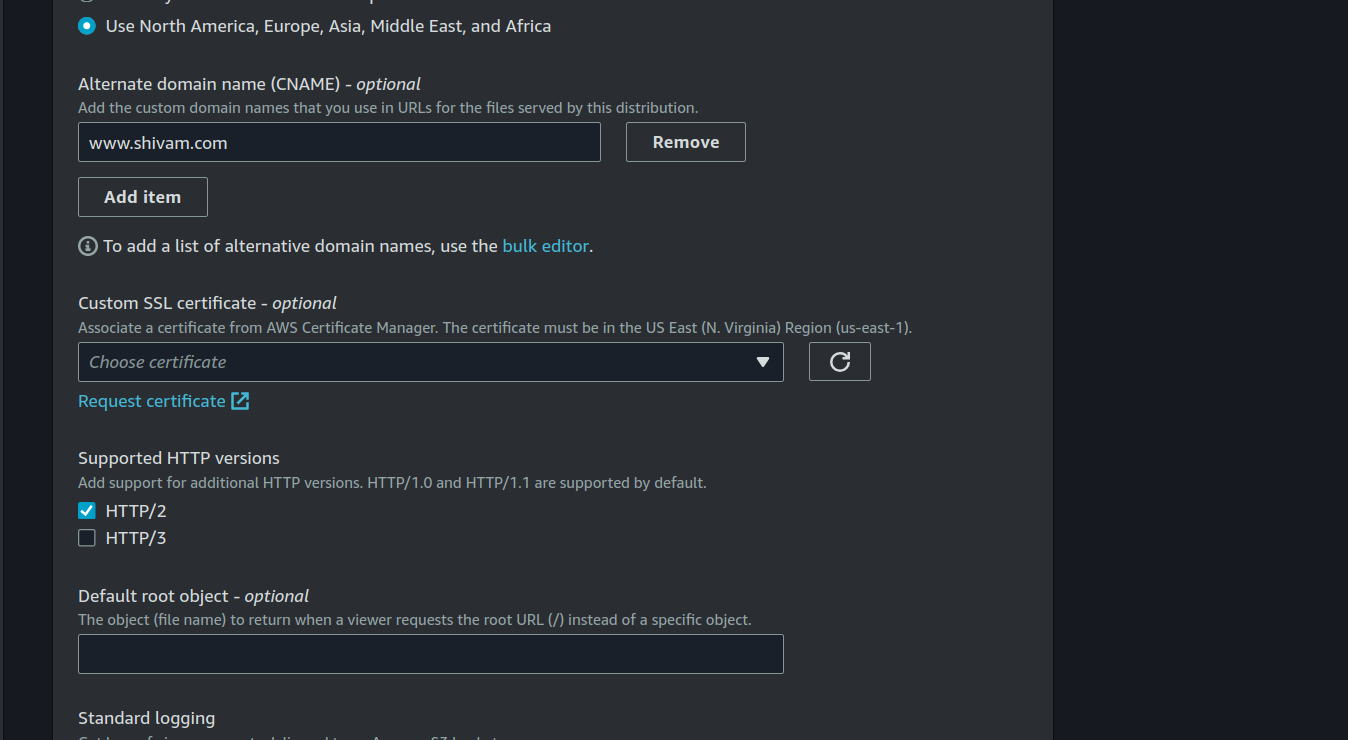
You will get a CNAME and CNAME value, and you can validate your certificates by entering these values in DNS services like Route 53, GoDaddy, Namecheap, etc.
I don't have a domain name, so I didn't request an SSL certificate and checked "Allow HTTP and HTTPS."
Check other settings as default, click on "Create distribution," and it will take 5-10 minutes to deploy our distribution to all edge locations.
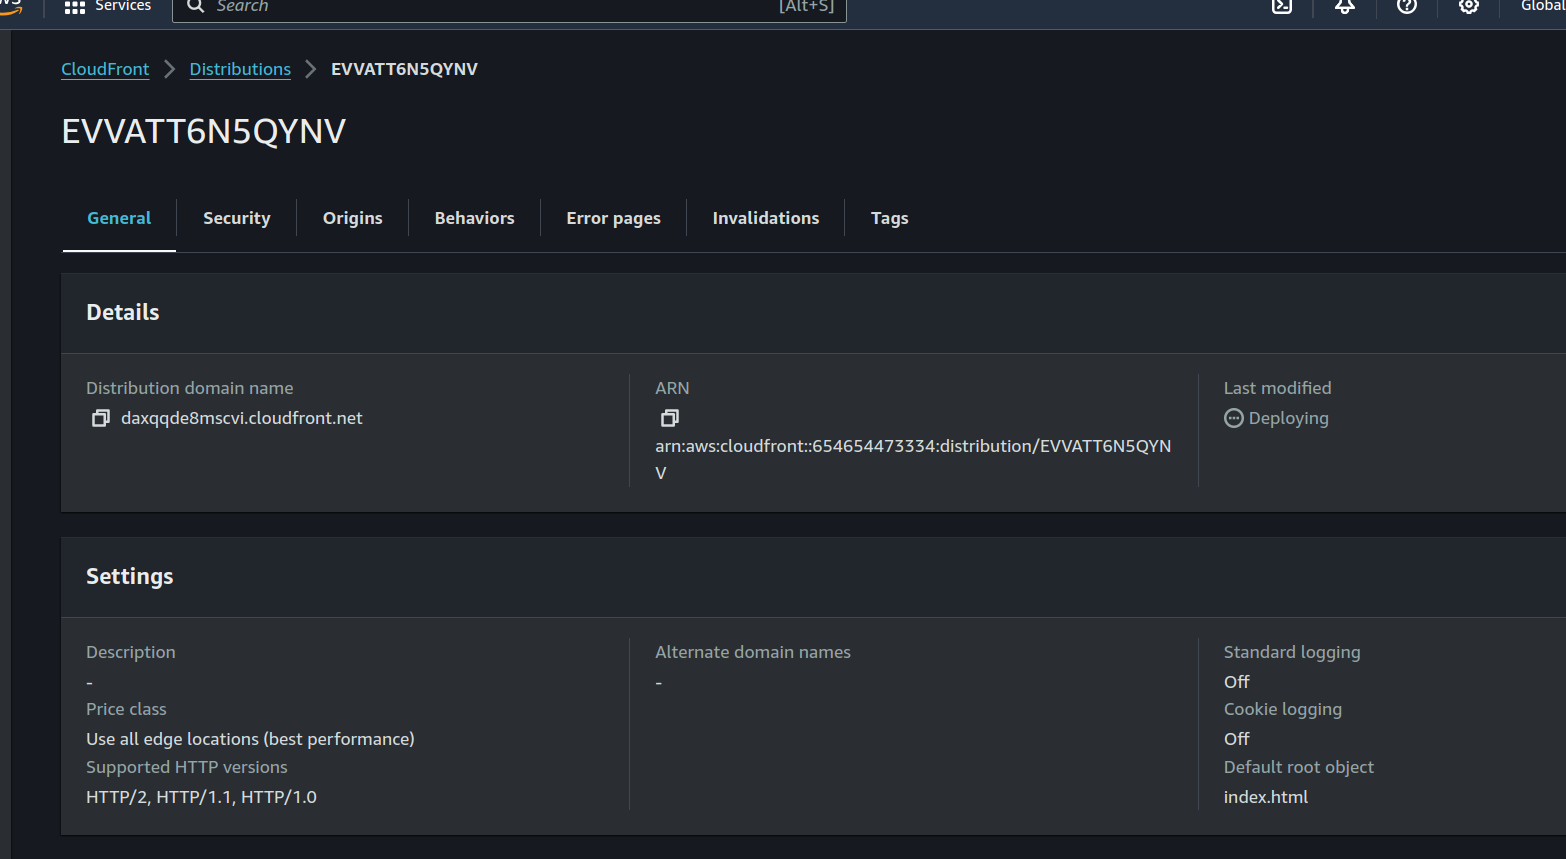
Now you can access the static website using the given URL; congratulations, we have hosted our static website using S3 and CloudFront.
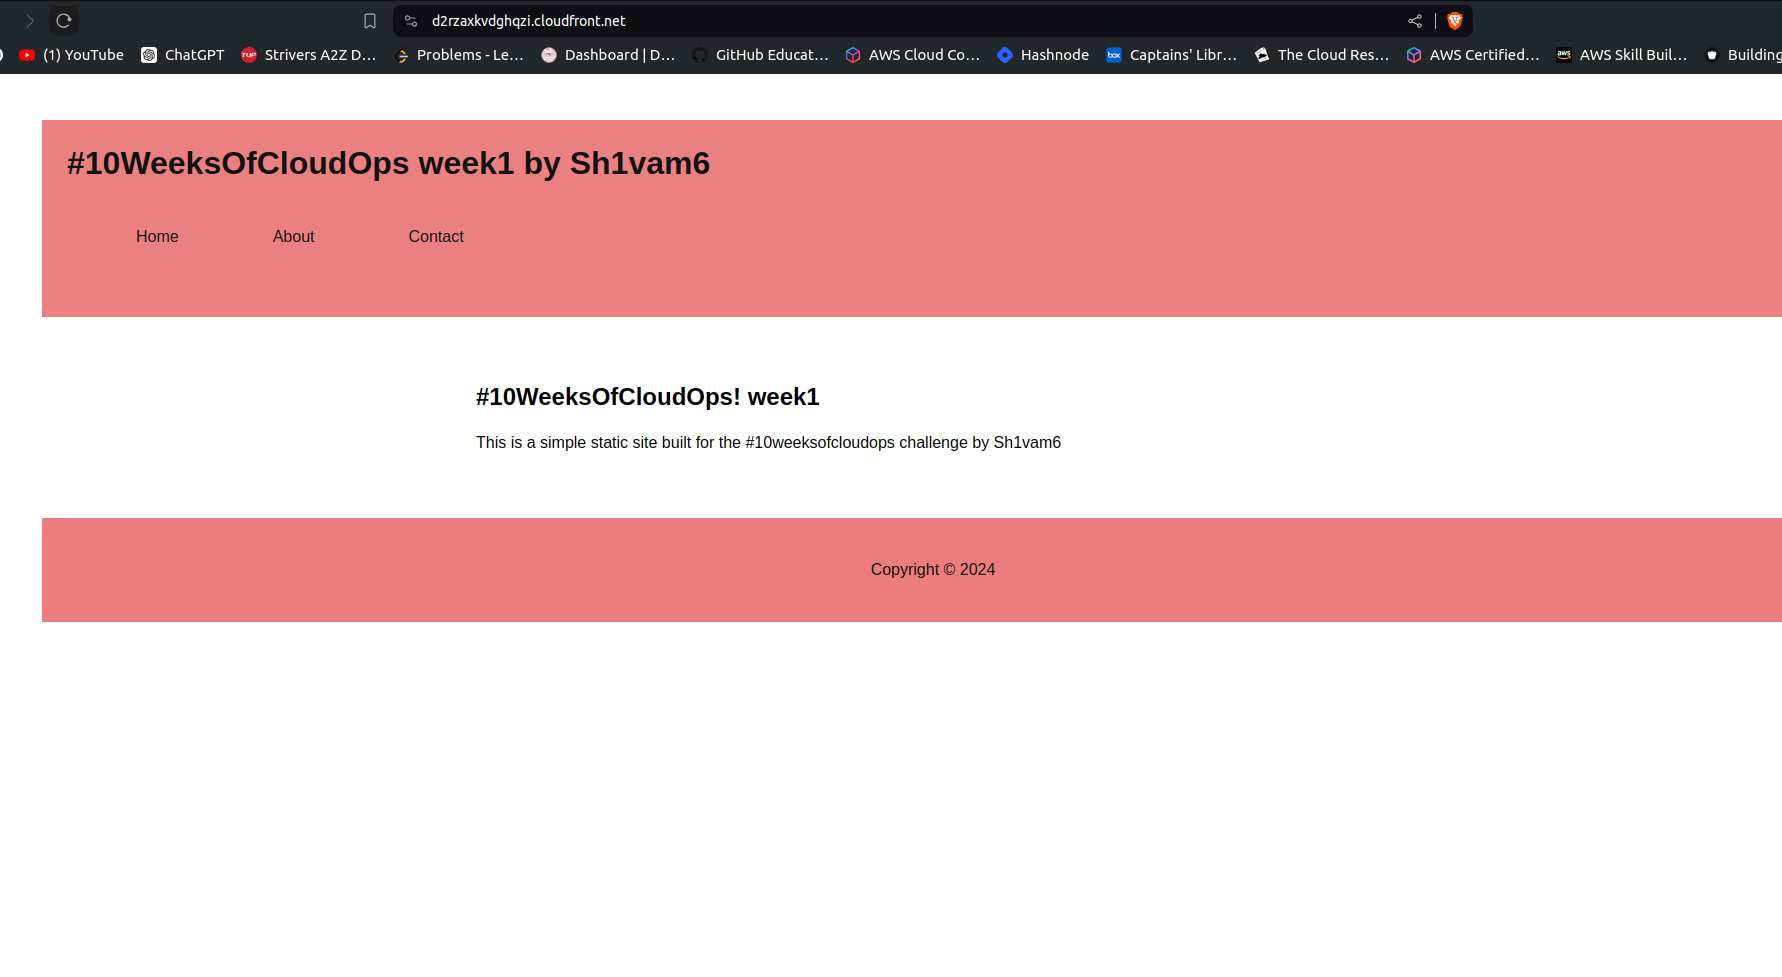
Now it's time to automate everything so that whenever you add features to your website, it automatically updates on the production site using CI/CD.
First, create a GitHub account, make a repository, and push your code to GitHub.
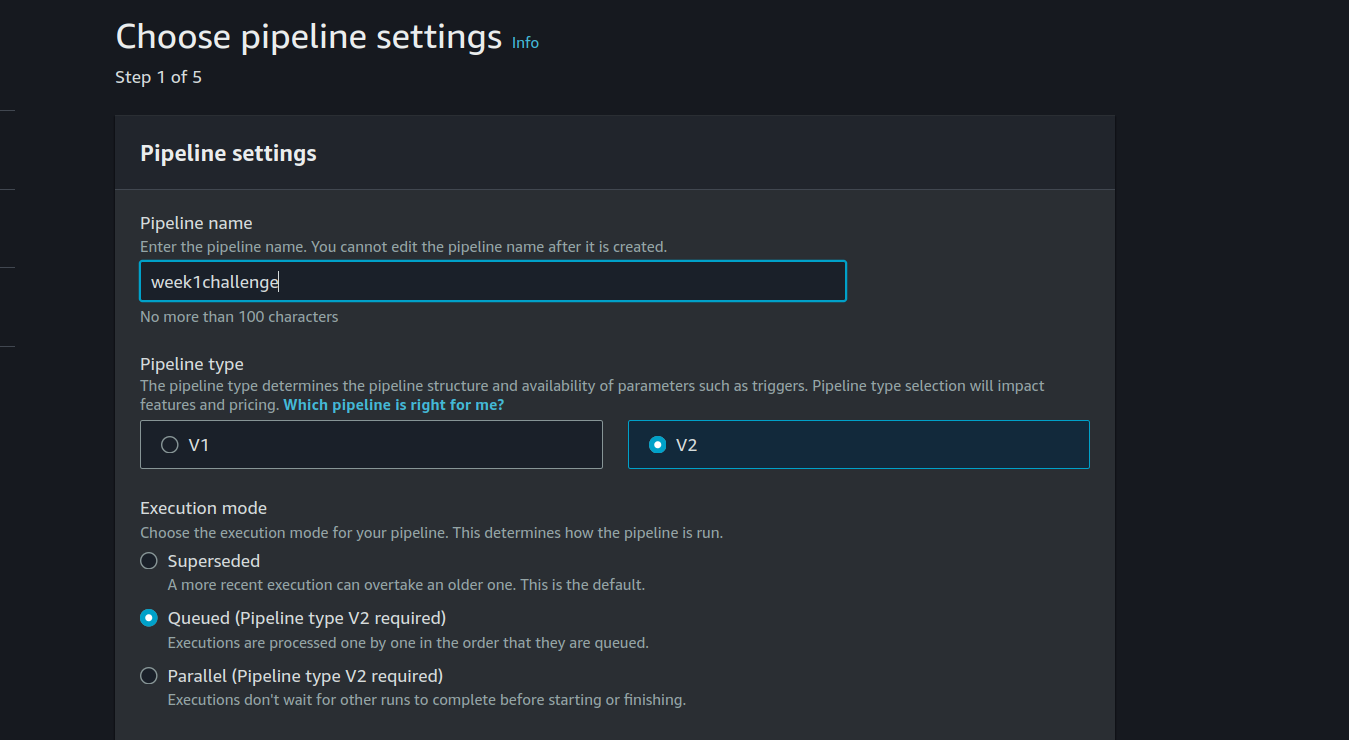
Now search for CodePipeline on the AWS console, click on "Create Pipeline," provide a name and version 2, and leave other settings as default.
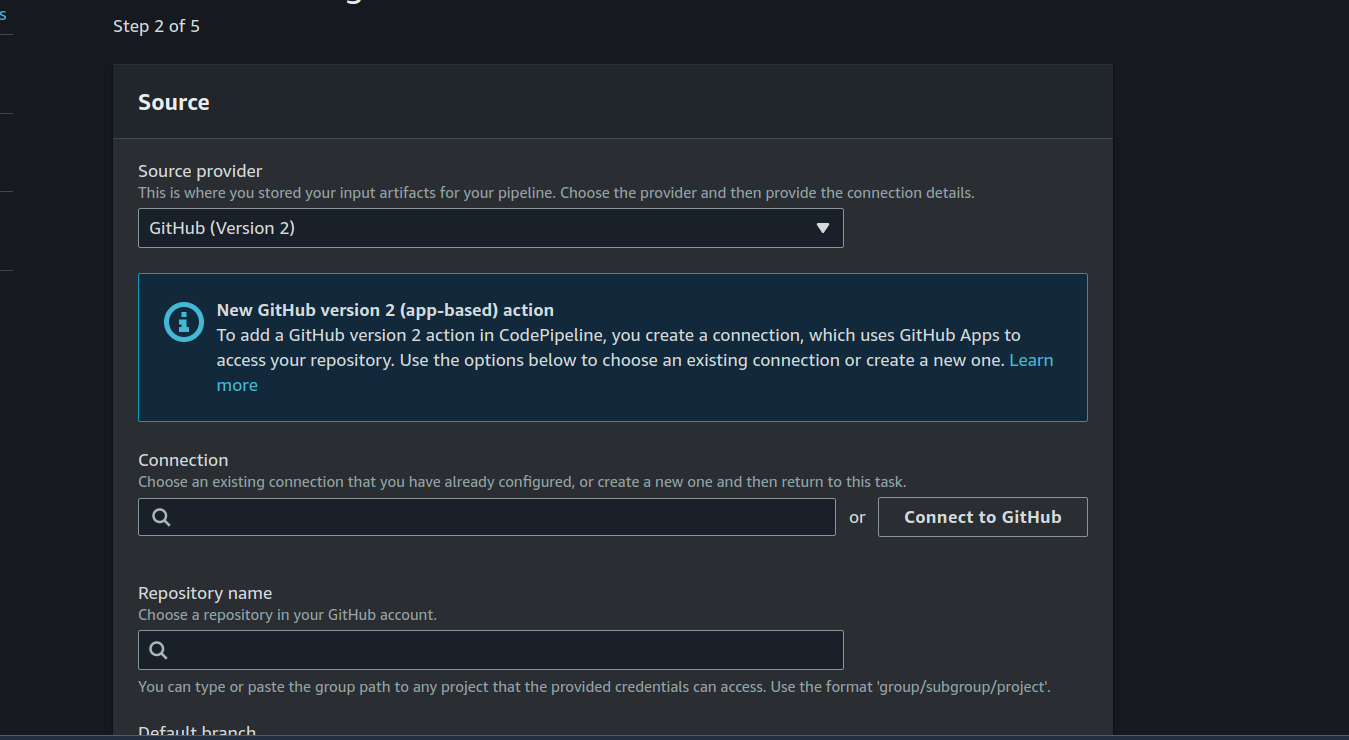
Provide your source provider in our case it is Github (version1) and connect your github with the AWS and choose your repo and branch.
Skip the build stage as we have only static files.
Select Amazon S3 as Deploy provider and select region and bucket name .
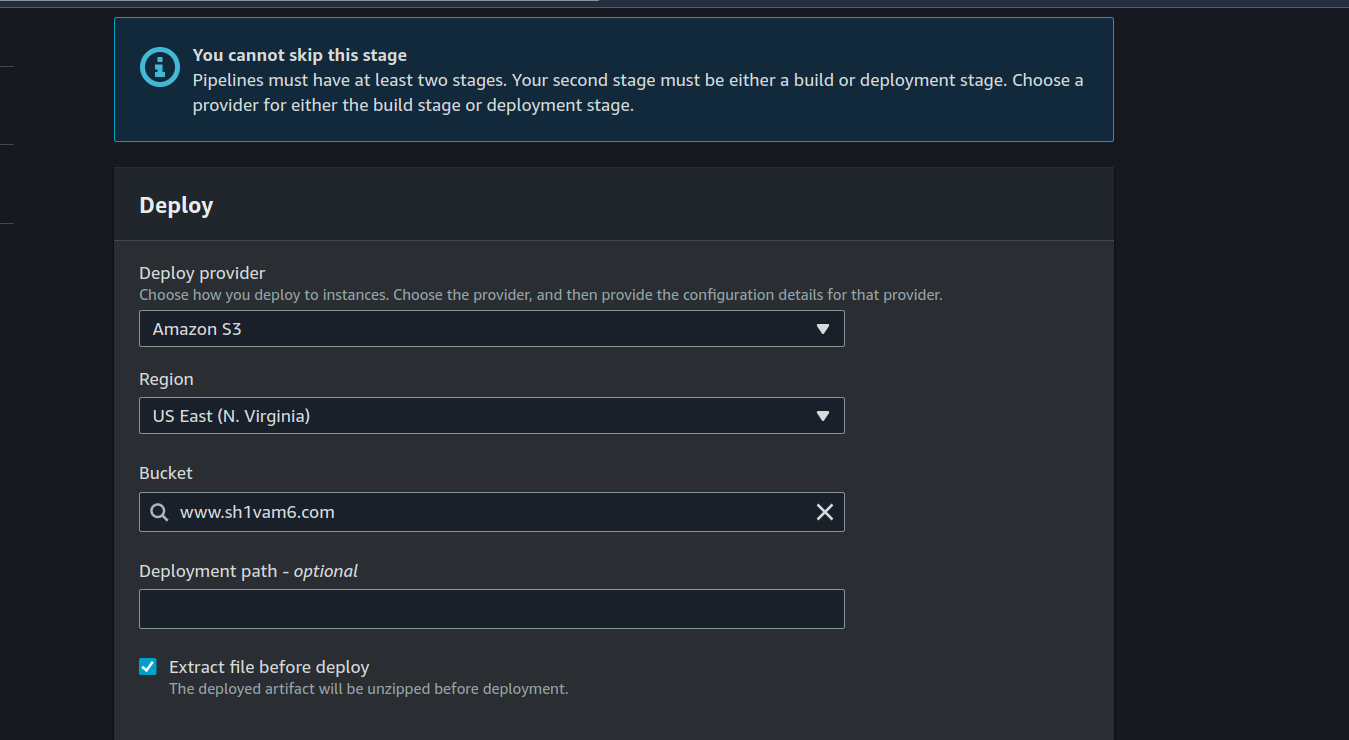
Now click on Create Pipeline and congrats your cicd pipeline is created.
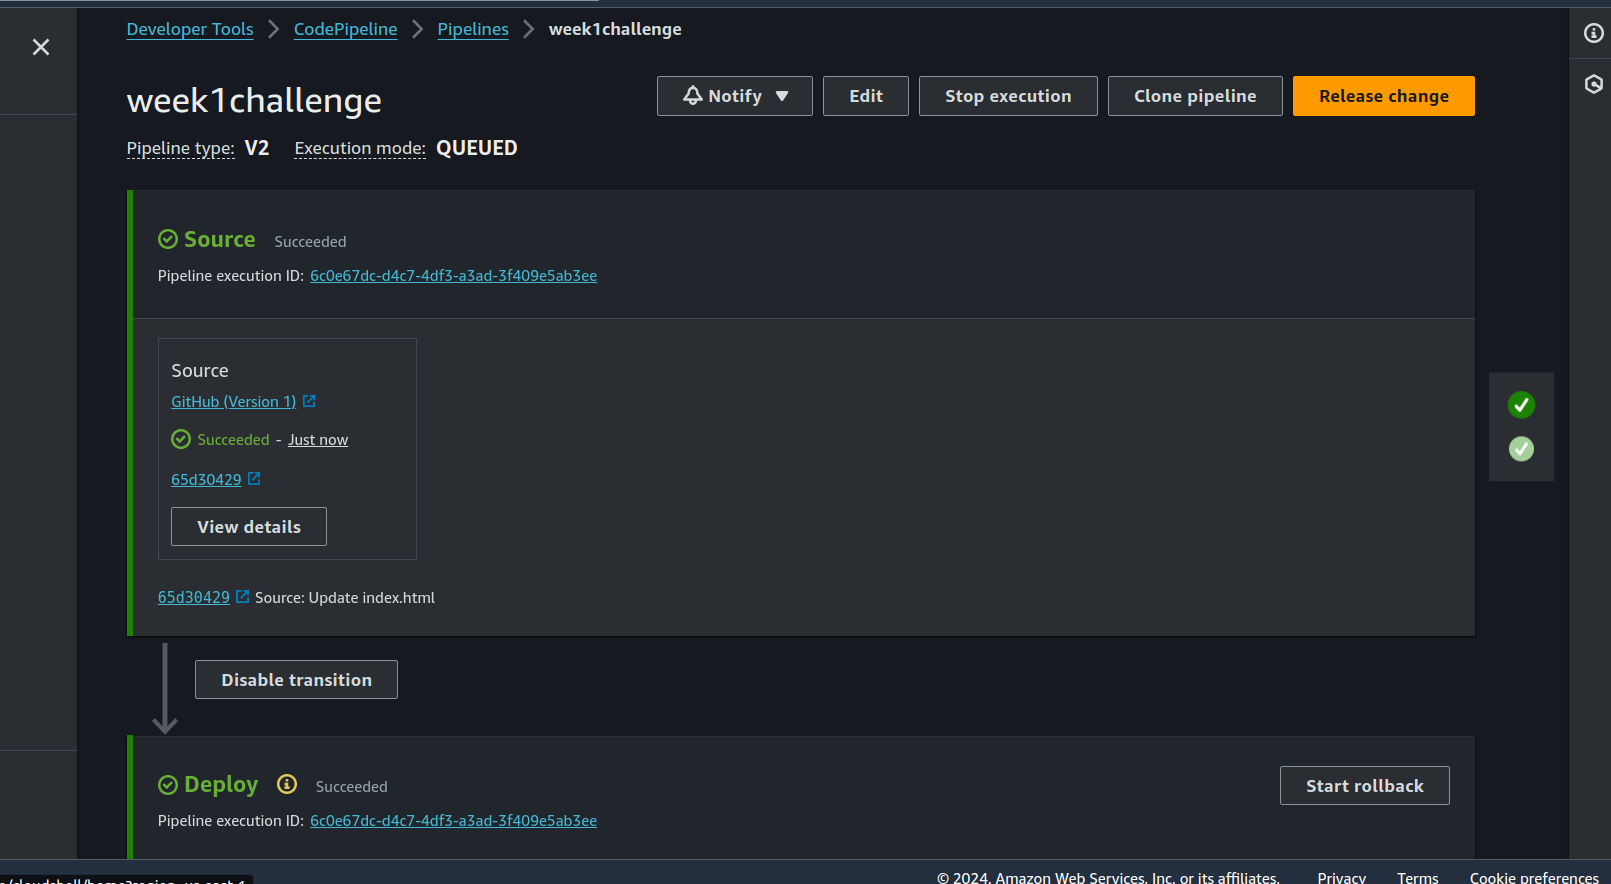
Go to your github and commit some changes and u will see there is a change in your website automatically.
Thank your for reading this blog.
LinkedIn - https://www.linkedin.com/in/sh1vam6/
Subscribe to my newsletter
Read articles from Shivam Gautam directly inside your inbox. Subscribe to the newsletter, and don't miss out.
Written by

Shivam Gautam
Shivam Gautam
DevOps & AWS Learner | Sharing my insights and progress 📚💡|| 2X AWS Certified || AWS CLoud Club Captain'24