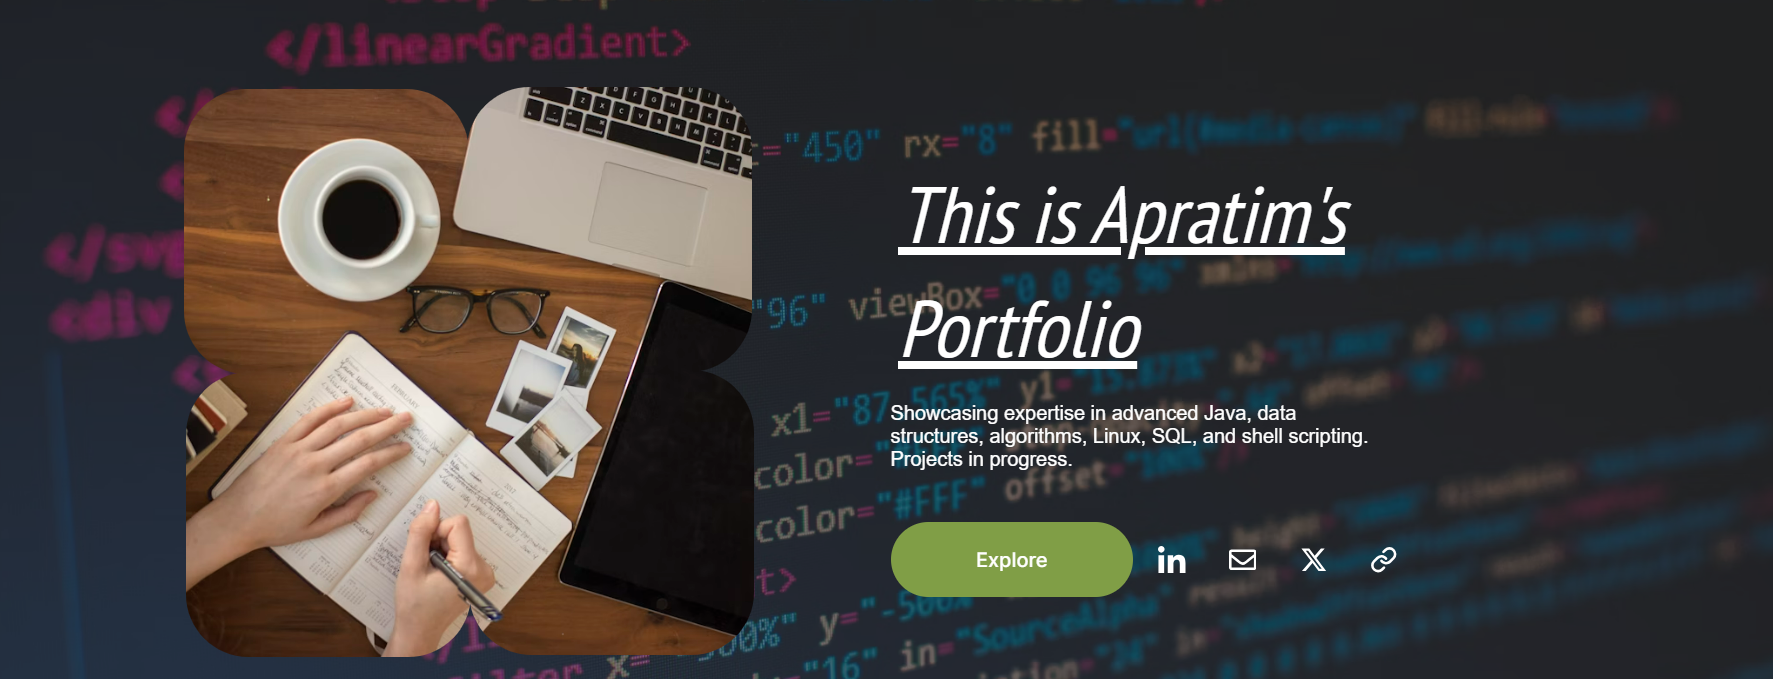
Creating My First Portfolio Website on Hostinger: A Step-by-Step Guide
 Apratim Dutta
Hello everyone! I’m Apratim Dutta, and I recently embarked on the journey of creating my first portfolio website. After researching various hosting platforms, I chose Hostinger for its affordability, features, and user-friendly interface. In this blog post, I’ll walk you through the process of setting up a portfolio website on Hostinger and highlight some of its standout features.
Why I Chose Hostinger
Before diving into the steps, let me share why Hostinger stood out to me:
Affordability: Hostinger offers some of the most competitive prices in the market.
Performance: With fast loading times and excellent uptime, it ensures that my website is always accessible.
User-Friendly Interface: The easy-to-navigate control panel makes it perfect for beginners.
Customer Support: 24/7 live chat support helps resolve any issues promptly.
Free Domain and SSL: Hostinger provides a free domain for the first year and SSL certificates, enhancing website security.
Step-by-Step Guide to Creating a Portfolio on Hostinger
Step 1: Choosing a Hosting Plan
Hostinger offers a variety of hosting plans. For a personal portfolio, I opted for the Single Web Hosting plan, which is perfect for beginners. It includes:
1 Website
30 GB SSD Storage
100 GB Bandwidth
Free SSL Certificate
Step 2: Registering a Domain
With the hosting plan selected, I registered my domain name. Hostinger provides a free domain for the first year, which is a great bonus. Choose a domain name that reflects your personal brand—something simple and memorable.
Step 3: Setting Up the Website
Once the domain was registered, it was time to set up the website. Hostinger’s control panel, hPanel, is incredibly intuitive. Here’s how I did it:
Access hPanel: After purchasing the hosting plan, log in to your Hostinger account and navigate to hPanel.
Install WordPress: Hostinger offers a one-click WordPress installation. Go to the Website section and select "Auto Installer." Choose WordPress, and follow the prompts to install it.
Select a Theme: WordPress has countless themes available. I chose a portfolio-specific theme that was clean and visually appealing. Make sure to pick a responsive theme to ensure your site looks great on all devices.
Step 4: Customizing the Website
With WordPress installed, it’s time to customize the website:
Install Essential Plugins: Plugins enhance the functionality of your website. Some must-have plugins for a portfolio site include:
Elementor: A drag-and-drop page builder for easy customization.
Yoast SEO: Helps optimize your site for search engines.
WPForms: For creating contact forms.
Create Pages: At a minimum, your portfolio should include the following pages:
Home: A brief introduction to who you are and what you do.
About: A detailed overview of your background, skills, and achievements.
Portfolio: Showcase your work with images, descriptions, and links.
Contact: Provide a way for visitors to get in touch with you.
Add Content: Upload your work, write compelling descriptions, and ensure your contact information is up to date.
Step 5: Optimizing for Performance and SEO
Hostinger’s performance is already top-notch, but a few tweaks can make your site even better:
Enable Caching: Use a caching plugin like W3 Total Cache to improve load times.
Optimize Images: Compress images to speed up your site. Plugins like Smush can automate this process.
SEO Optimization: Use Yoast SEO to optimize your content and improve your search engine ranking.
Step 6: Launching the Website
After customizing and optimizing the website, it was ready to launch. Hostinger provides an easy-to-use domain management system to ensure everything is properly configured.
Hostinger Features That Enhanced My Experience
Throughout the process, several Hostinger features stood out:
24/7 Customer Support: The support team was always available to answer my questions and resolve issues.
Daily Backups: Automatic daily backups ensure that my work is always safe.
Security Features: The free SSL certificate and other security measures keep my site secure.
User-Friendly Interface: hPanel made managing my website a breeze, even as a beginner.
Conclusion
Creating my first portfolio website on Hostinger was an incredibly rewarding experience. The platform’s affordability, performance, and user-friendly features made the process smooth and enjoyable. If you’re considering building your own portfolio website, I highly recommend giving Hostinger a try. With its robust set of tools and excellent support, you’ll have your site up and running in no time.
Feel free to share your own experiences or ask questions in the comments below. Happy website building!
Subscribe to my newsletter
Read articles from Apratim Dutta directly inside your inbox. Subscribe to the newsletter, and don't miss out.
Written by
