How to Upload Images to Your WordPress Website
 Bhavyaa
That's exactly what I searched for when I struggled with uploading photos on a WordPress-made website. I was assigned the task of uploading screenshots of the app, like posting mockups on the app’s website.
The Initial Challenge
The first problem I faced was simple but frustrating: editing parts of the website layout. This issue persisted until I figured out how to work with columns and spacers. At that time, I couldn't find an exact blog or article to guide me. Maybe my research wasn’t thorough enough, or I didn’t read the documentation properly. However, after several months of pushing the deadline and setting the task aside, I finally figured it out—special thanks to Anikate (Anikate De) for his invaluable guidance and support, which helped me get through this challenge.
Navigating WordPress and Elementor
Here’s a step-by-step guide based on my experience:
Log in to WordPress
Navigate to your respective WordPress login page.
Sign in with your credentials.
Edit with Elementor
Head to the Elementor editor.
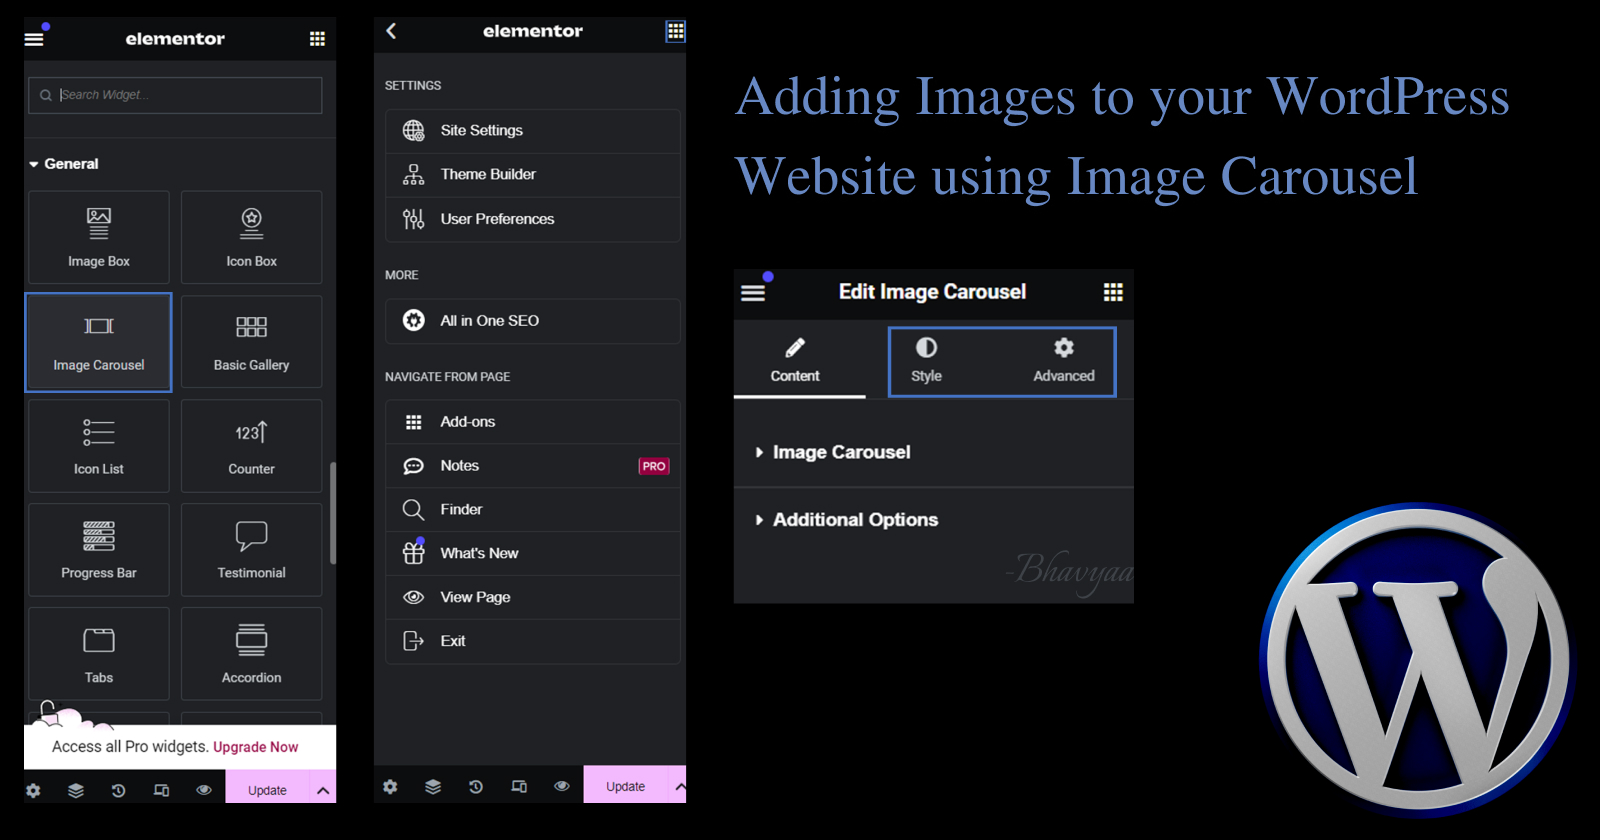
In the left menu, you will see various elements. Some are pro features you might want to use, but I’ll focus on the free— for now the Image Carousel.
Using the Image Carousel
I chose the image carousel because it effectively showcases more screens compared to the typical three screens often seen on landing pages. Here’s how you can set it up:
Add an Image Carousel
- Drag and drop the image carousel element into your desired section.
Edit the Gallery
Upload your images or select them from the media library.
Reorder the images according to your preference.
Customize Navigation
Choose the navigation style: arrows, dots, or both.
Change the icons using the icon library if needed.
Adjust Settings
- Play around with the carousel settings to find what works best for your website. You can adjust the transition speed, manage how many screens to show and more. There are Additional options that let you choose what to do on hover, interaction, and then finally there are Style and Advance settings for you to explore.
Learning to Edit Columns
Initially, I was unable to edit the columns properly. Here’s a tip: you’re just a right-click away from exploring further options. I realized that you can delete unnecessary columns, widgets, spacers, dividers, and more. Just be careful not to delete all the content by accident.
Conclusion
While I struggled initially, persistence paid off. I hope sharing my experience helps you navigate similar challenges more smoothly.
Subscribe to my newsletter
Read articles from Bhavyaa directly inside your inbox. Subscribe to the newsletter, and don't miss out.
Written by
