📝 Overcoming Challenges: Building a First React Native Chatbot 🤖 Application
 Shoyeab
Introduction:
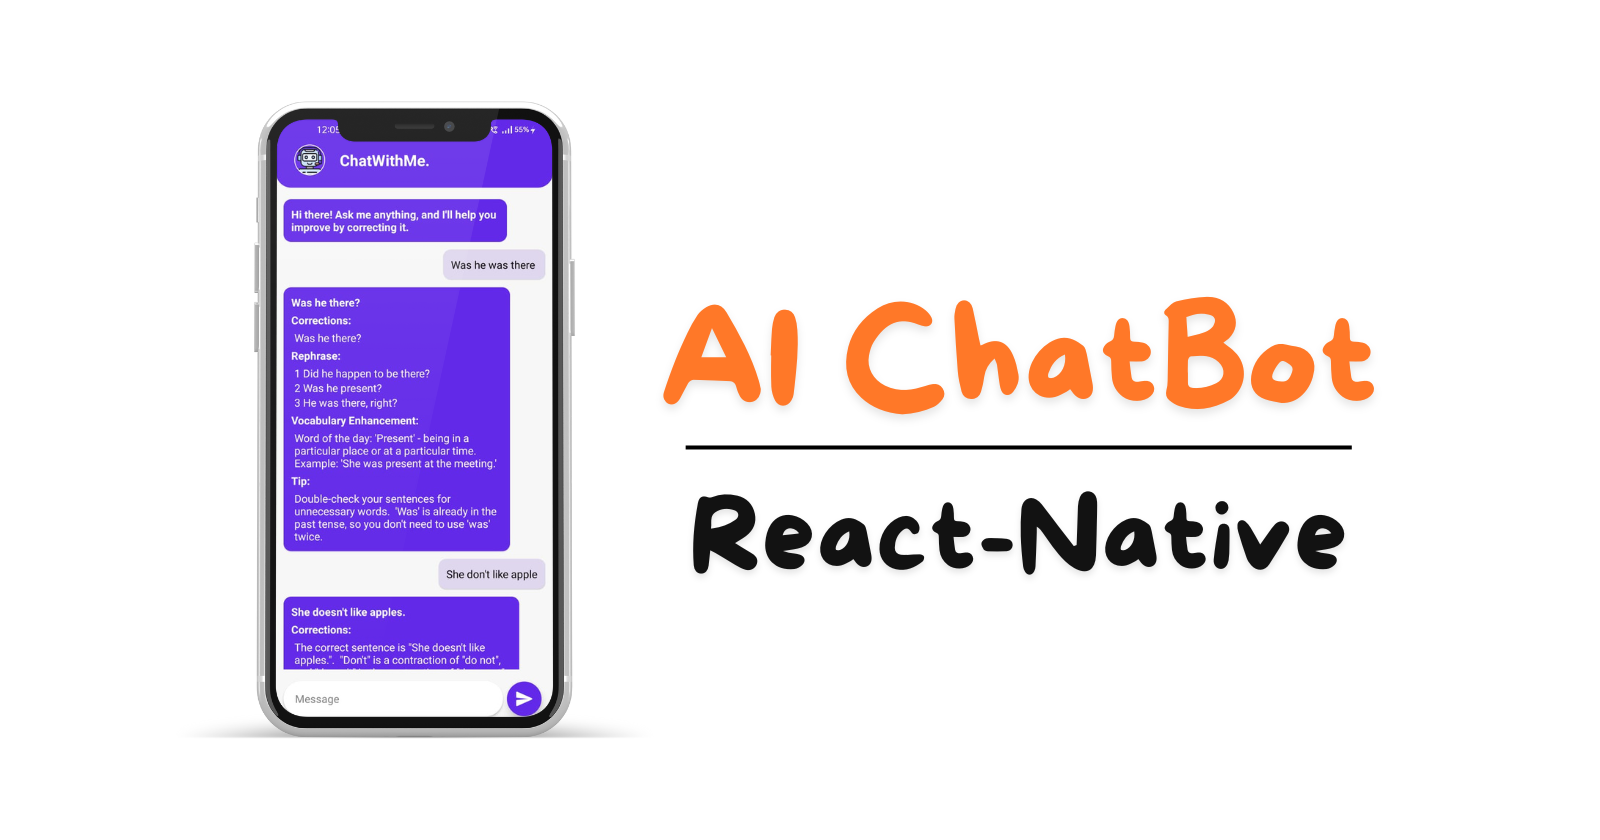
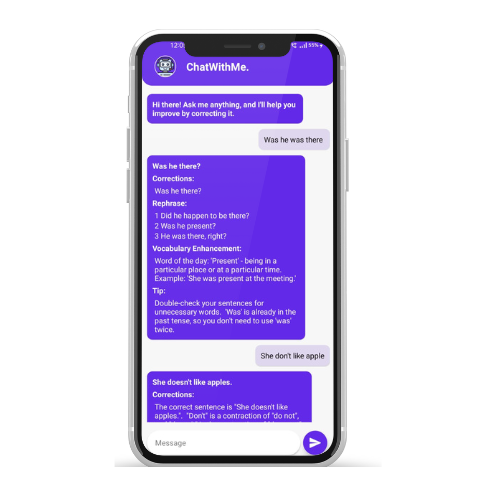
chatwithme is a React Native application designed to help users improve their communication skills. The chatbot corrects grammatical errors, suggests better ways to phrase sentences, and enhances vocabulary. It also offers tips and insights on negotiation skills, IT-related communication, and more.
Features
Real-time Communication: Interact with the bot for immediate feedback.
Grammar Correction: Get corrections for any grammatical errors in your prompts.
Phrase Suggestions: Receive alternative ways to phrase your sentences.
Vocabulary Enhancement: Learn new words and their meanings.
Challenges Faced Building an Android APK file for local release.
You can visit the React-Native documentation for the actual release of your application. Click Here
In this article, we will discuss the local release of the application for Android.
Build APK Key:
go to the JDK directory in your
C:\Program Files\jdkfolder\binopen the terminal paste the below command and set the password and remaining fields. Once you successfully run the command themy-upload-key.keystorethe file is created inside thebinfolder move the created file intoyourapplication/android/appand paste it there.keytool -genkeypair -v -keystore my-release-key.jks -keyalg RSA -keysize 2048 -validity 10000 -alias my-key-aliasSet Up Gradle for Release:
Edit
android/gradle.propertiesto include the following (replace placeholders with your actual key information):MYAPP_RELEASE_STORE_FILE=my-release-key.jks MYAPP_RELEASE_KEY_ALIAS=my-key-alias MYAPP_RELEASE_STORE_PASSWORD=your-store-password MYAPP_RELEASE_KEY_PASSWORD=your-key-passwordEdit
android/app/build.gradleto add the signing configuration:android { ... defaultConfig { ... } signingConfigs { release { if (project.hasProperty('MYAPP_RELEASE_STORE_FILE')) { storeFile file(MYAPP_RELEASE_STORE_FILE) storePassword MYAPP_RELEASE_STORE_PASSWORD keyAlias MYAPP_RELEASE_KEY_ALIAS keyPassword MYAPP_RELEASE_KEY_PASSWORD } } } buildTypes { release { signingConfig signingConfigs.release minifyEnabled false proguardFiles getDefaultProguardFile('proguard-android-optimize.txt'), 'proguard-rules.pro' } } }Generate the JavaScript Bundle:
npx react-native bundle --platform android --dev false --entry-file index.js --bundle-output android/app/src/main/assets/index.android.bundle --assets-dest android/app/src/main/res/Build the Release APK:
 cd android
 ./gradlew assembleRelease
Problem:
ENOENT: no such file or directoryforindex.android.bundleIssue: The error indicates that the
index.android.bundlefile orassetsdirectory doesn't exist.i. Create the Assets Directory:
mkdir -p android/app/src/main/assetsii. Again Generate the Javascript Bundle [step 3]
If the build is successful then you will find the
apkfile atyourapplication\android\app\build\outputs\apk\releaselocation.
Deme:

Subscribe to my newsletter
Read articles from Shoyeab directly inside your inbox. Subscribe to the newsletter, and don't miss out.
Written by

Shoyeab
Shoyeab
Passionate about building Web and mobile applications. Join me as we dive into the world of Tech!