How to Create a Virtual Machine in VMware: Step-by-Step Guide
 Nikunj Vaishnav


Creating a virtual machine (VM) in VMware is a straightforward process, enabling you to run multiple operating systems on a single physical machine. This can be incredibly useful for software development, testing, and running applications that require different operating systems. Here’s a step-by-step guide to help you create your first virtual machine using VMware.
Step 1: Install VMware Workstation
Before you can create a virtual machine, you need to install VMware Workstation or VMware Workstation Player. Here's how you can do it:
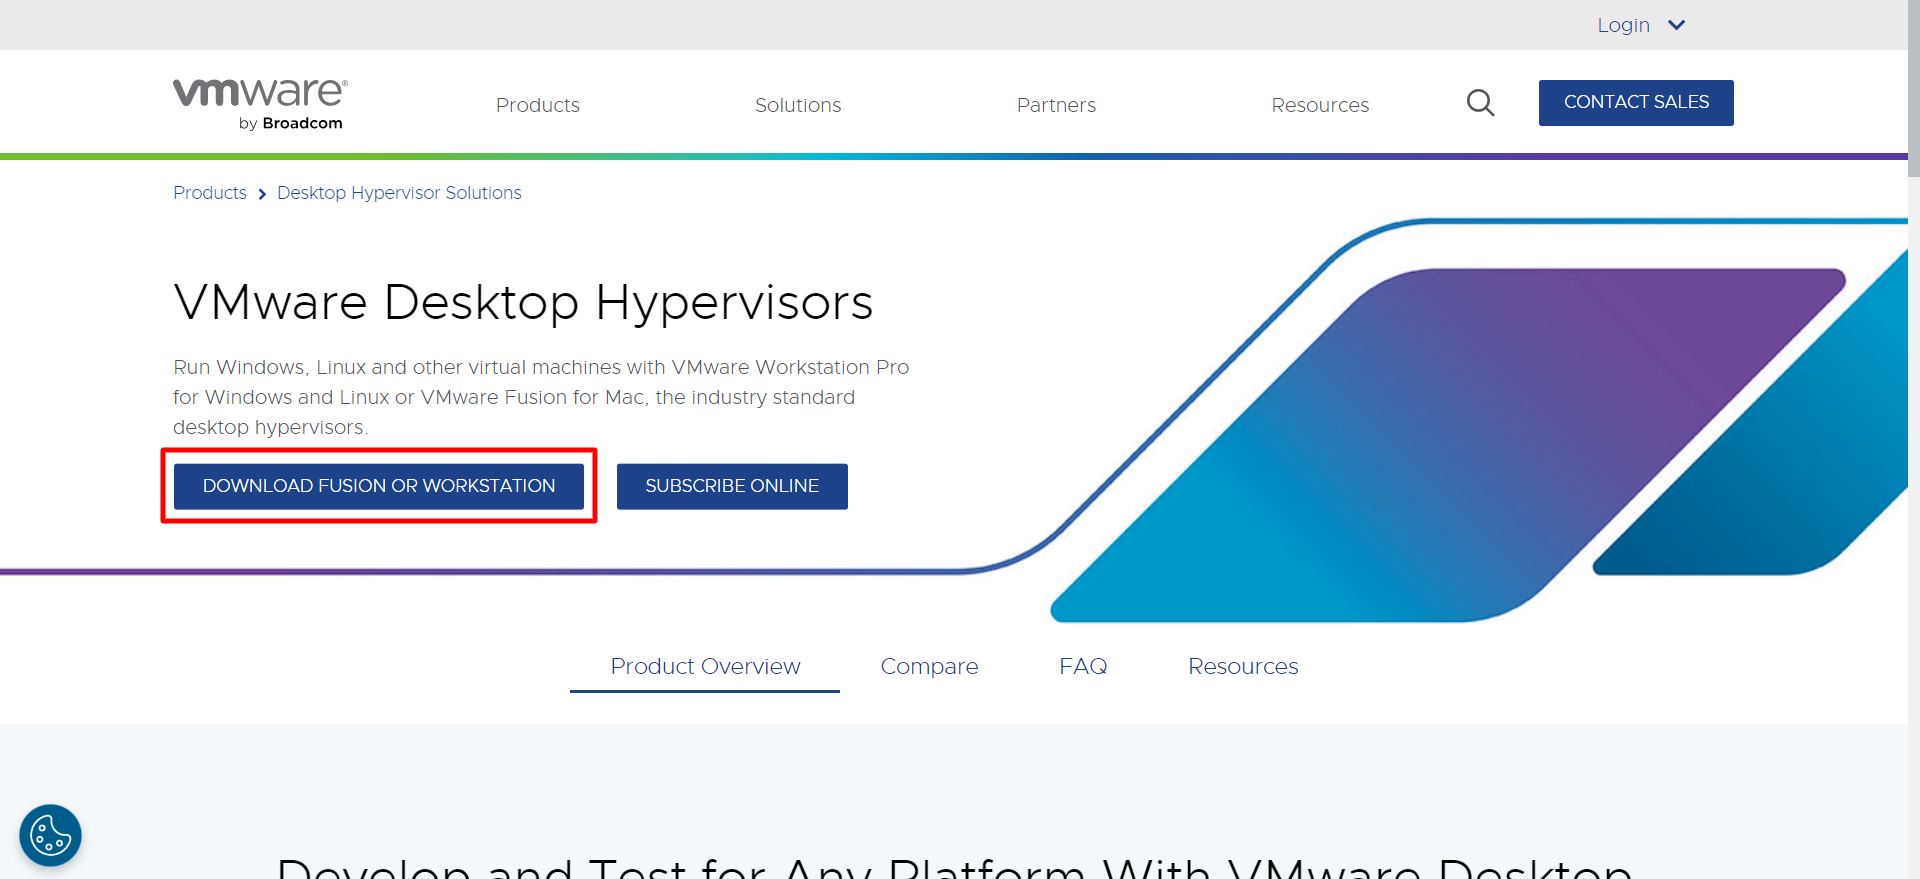
Download VMware Workstation:
Go to the VMware website and download the appropriate version of VMware Workstation for your operating system. VMware Workstation Player is free for non-commercial use, while VMware Workstation Pro offers more features and requires a license.
Install VMware Workstation: Run the installer and follow the on-screen instructions. Accept the license agreement, choose the installation directory, and decide whether you want to add shortcuts.
Step 2: Launch VMware Workstation
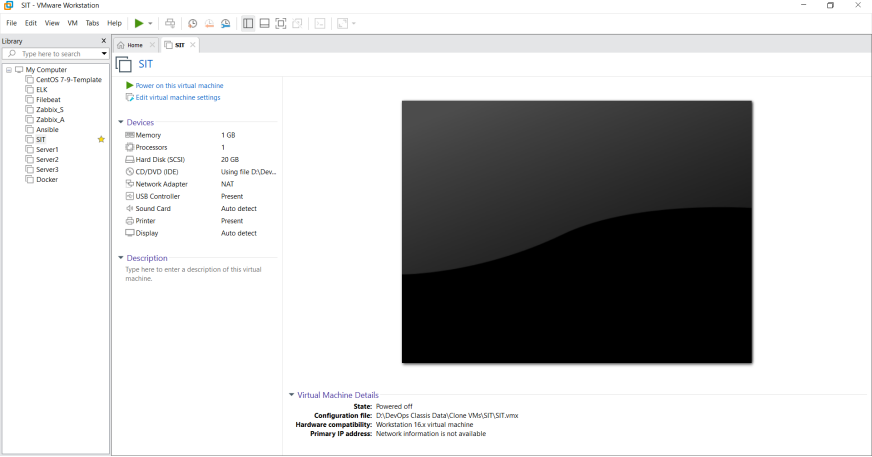
Once installed, open VMware Workstation. You'll be greeted with the main interface where you can create and manage your virtual machines
Step 3: Create a New Virtual Machine
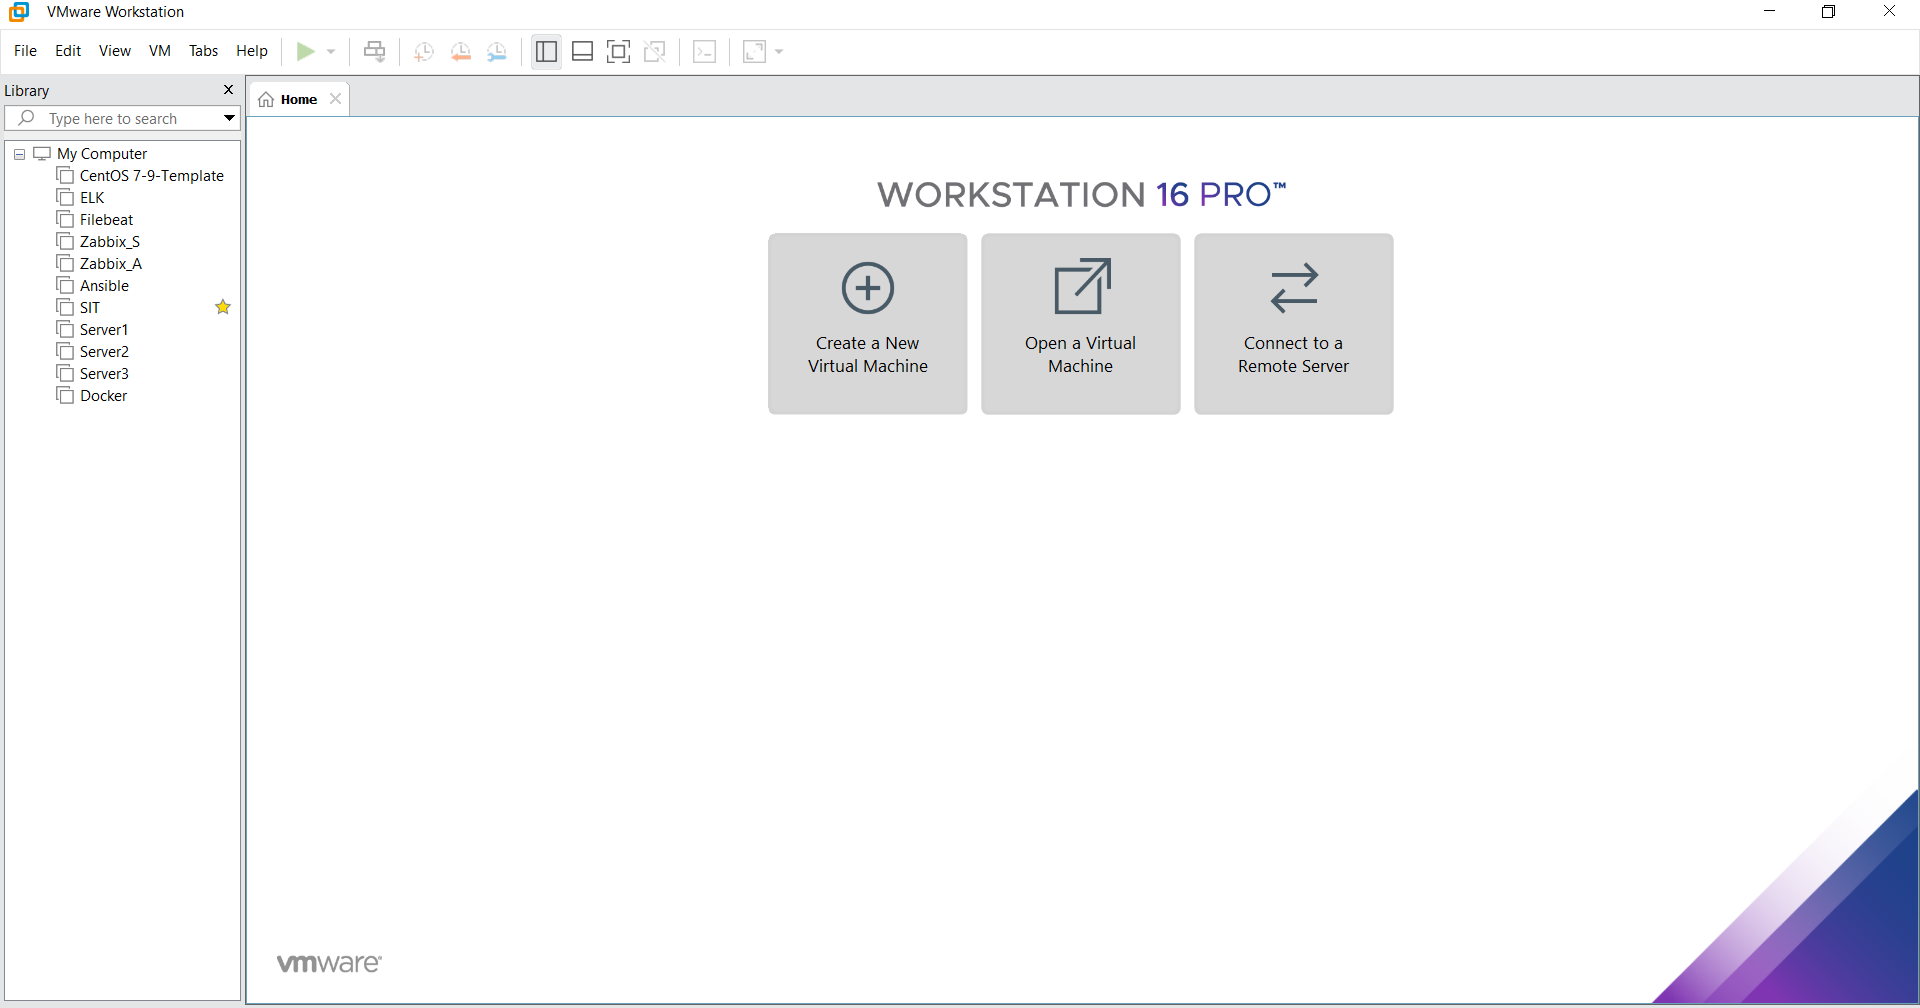
Start the New VM Wizard: Click on “Create a New Virtual Machine” from the Home tab or select “File” > “New Virtual Machine”. Choose the Configuration Type:
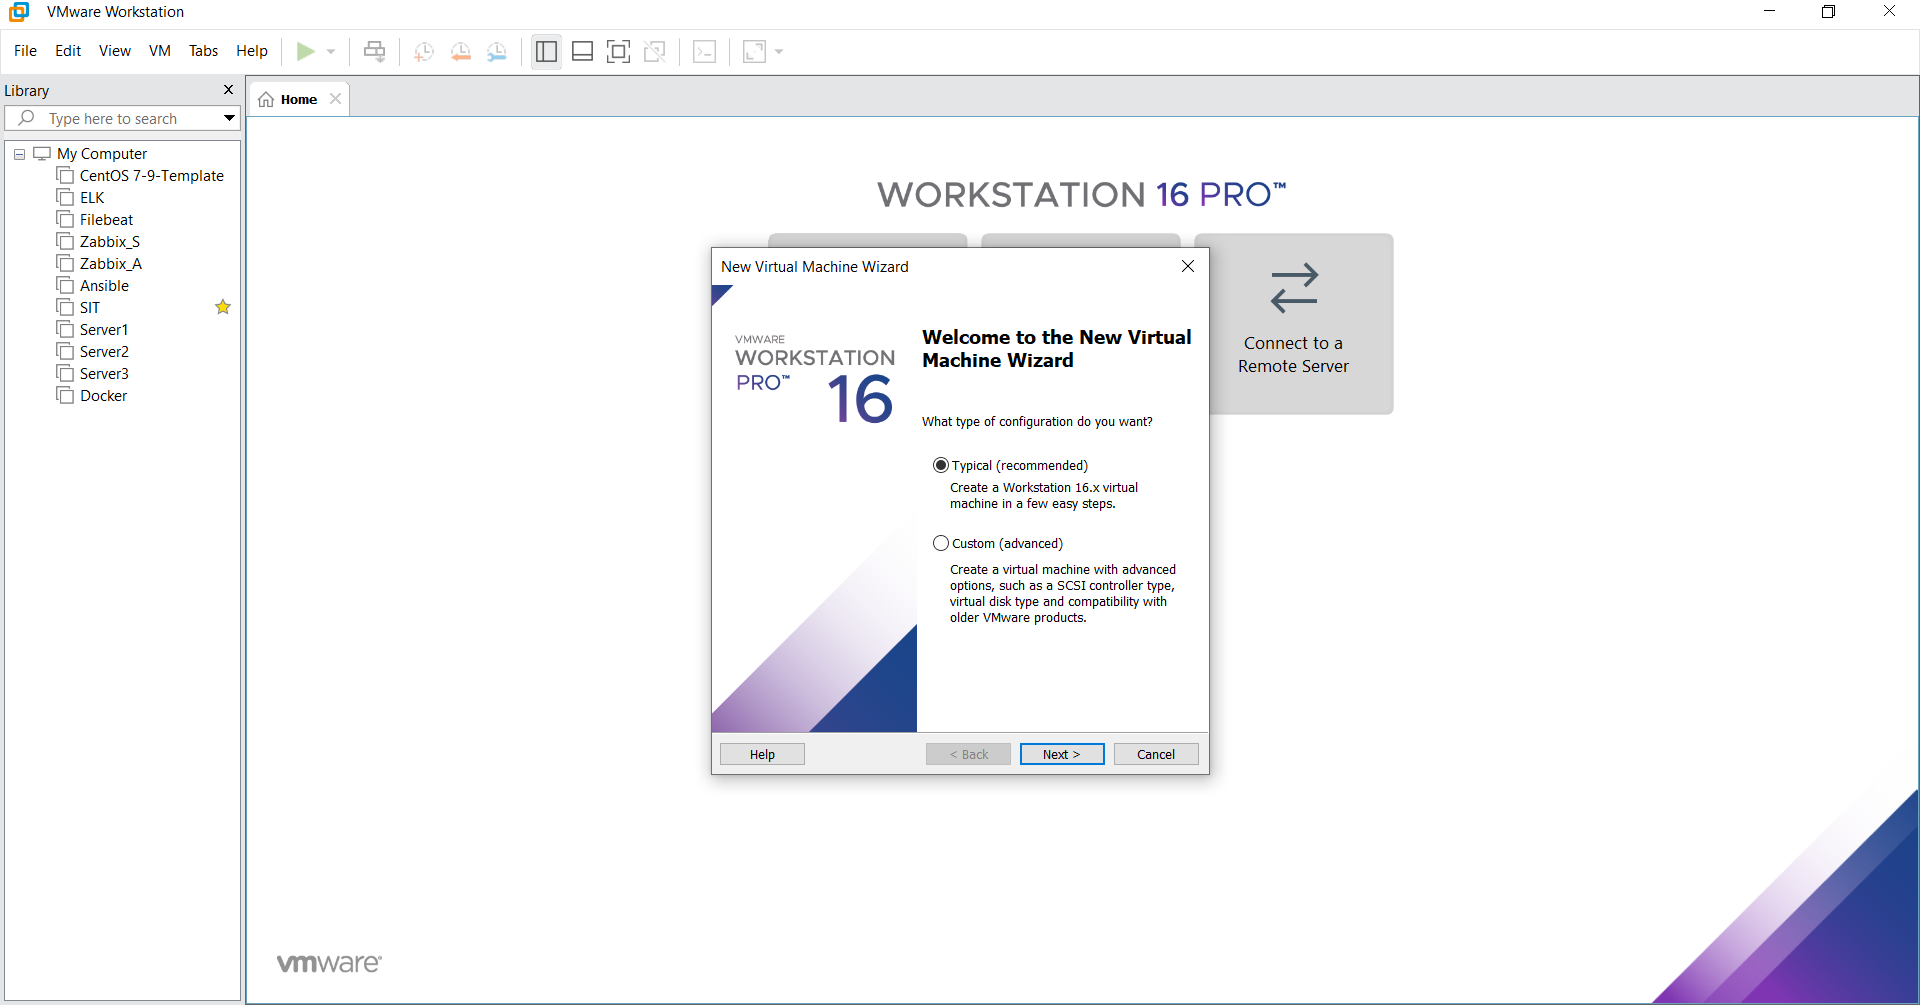
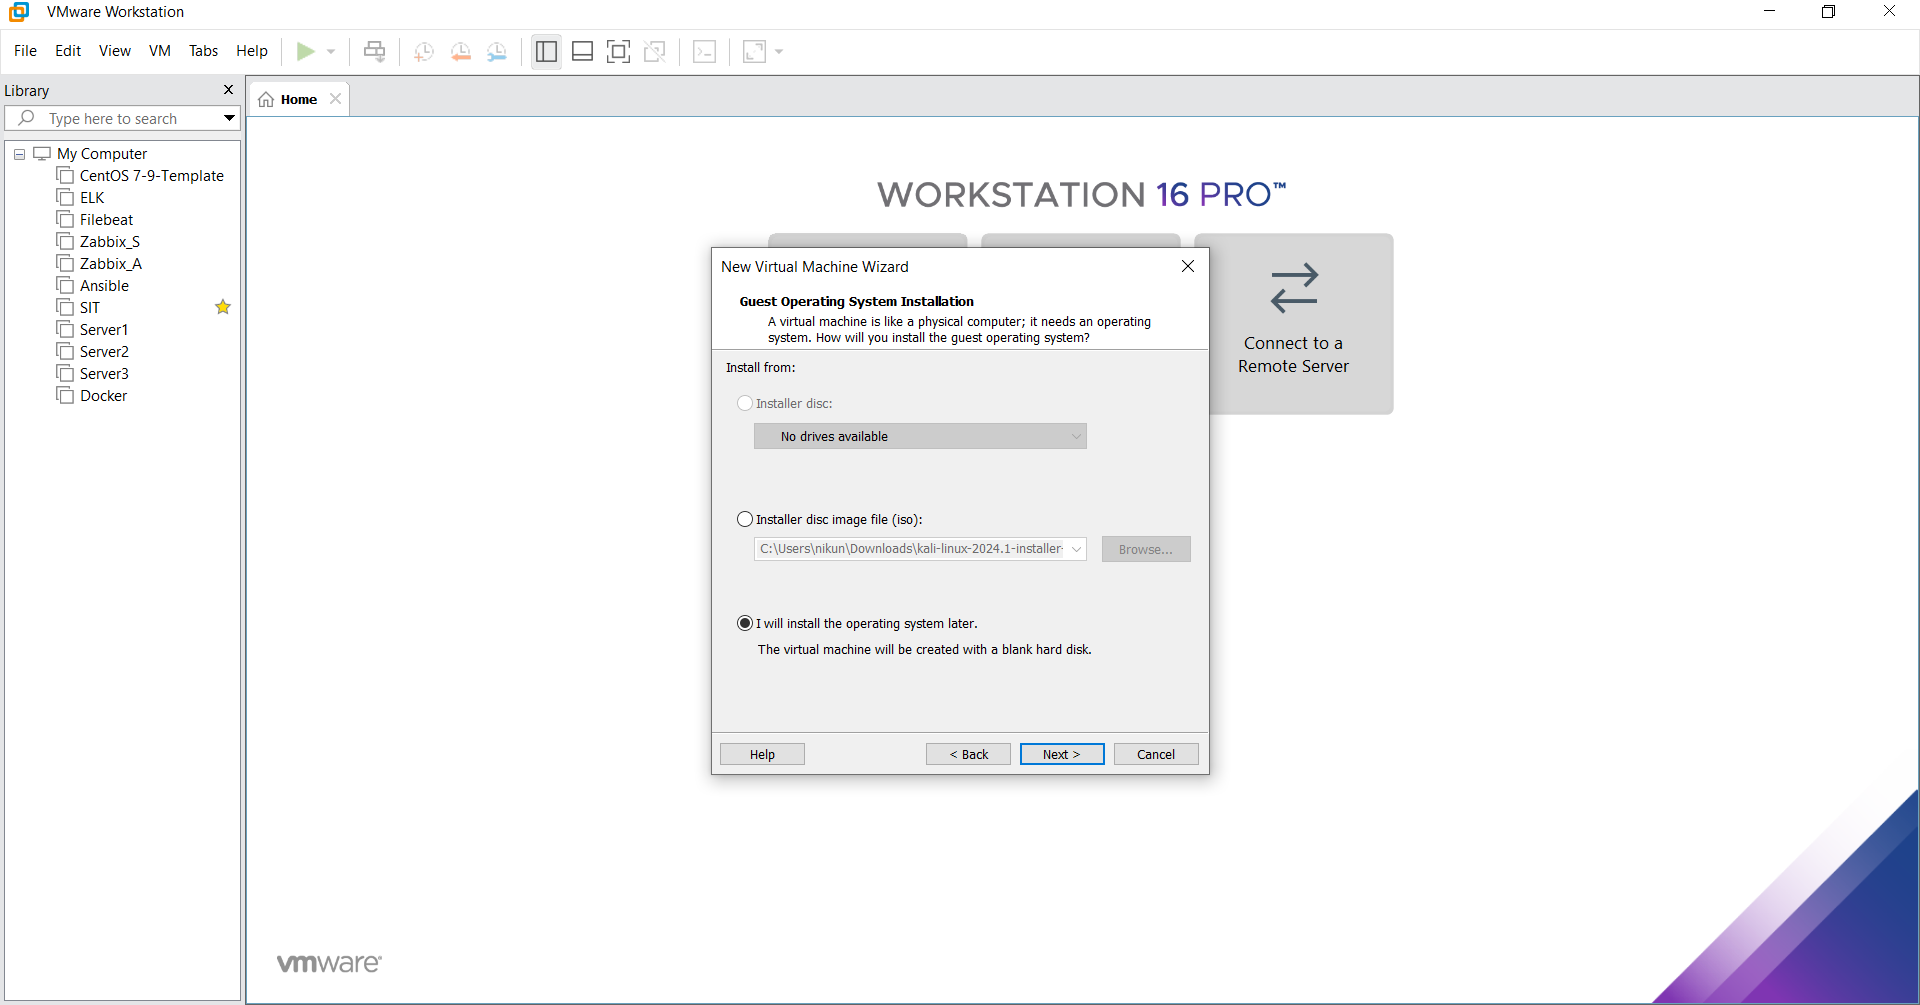
You’ll be prompted to choose between "Typical (recommended)" and "Custom (advanced)". For beginners, the Typical option is recommended. Select the Installation Media:
You have three options here:
Installer disc: Insert a physical installation disc.
Installer disc image file (ISO): Browse to the location of an ISO file.
I will install the operating system later: This option allows you to create a blank VM and install the OS later.
Select the appropriate option and click “Next”.
Select the Guest Operating System:
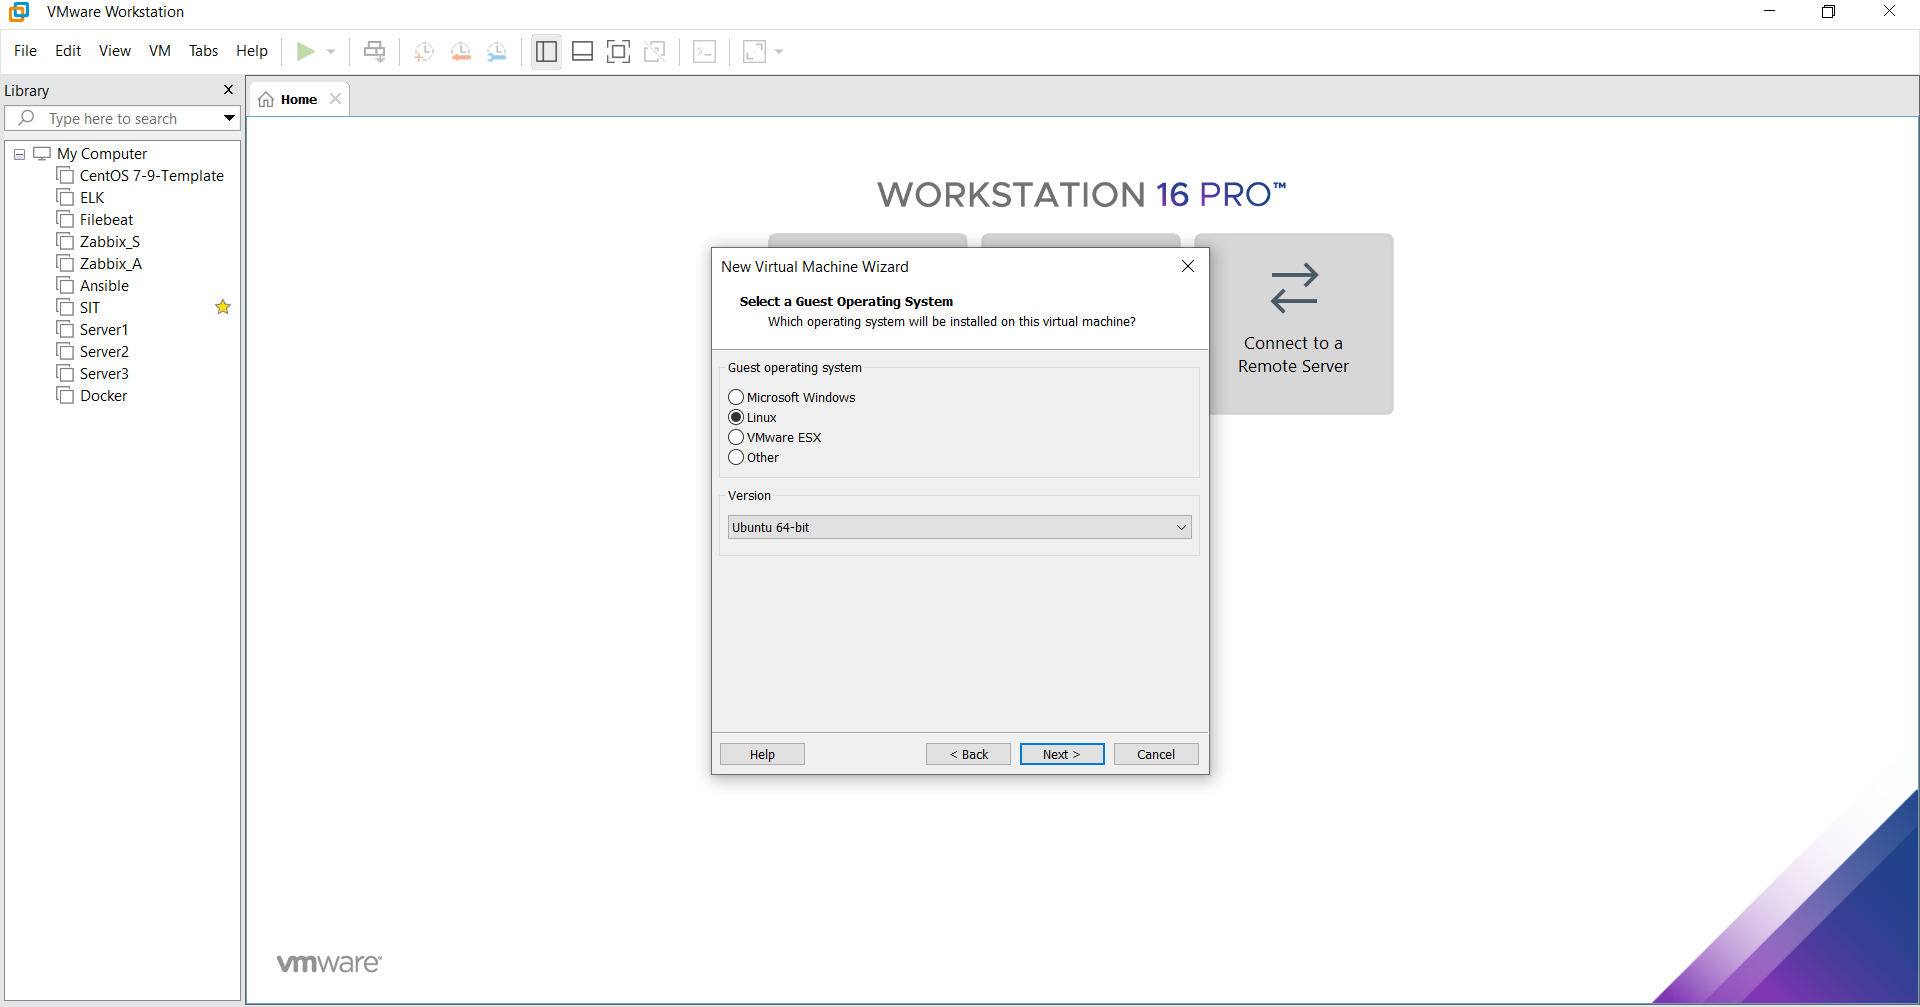
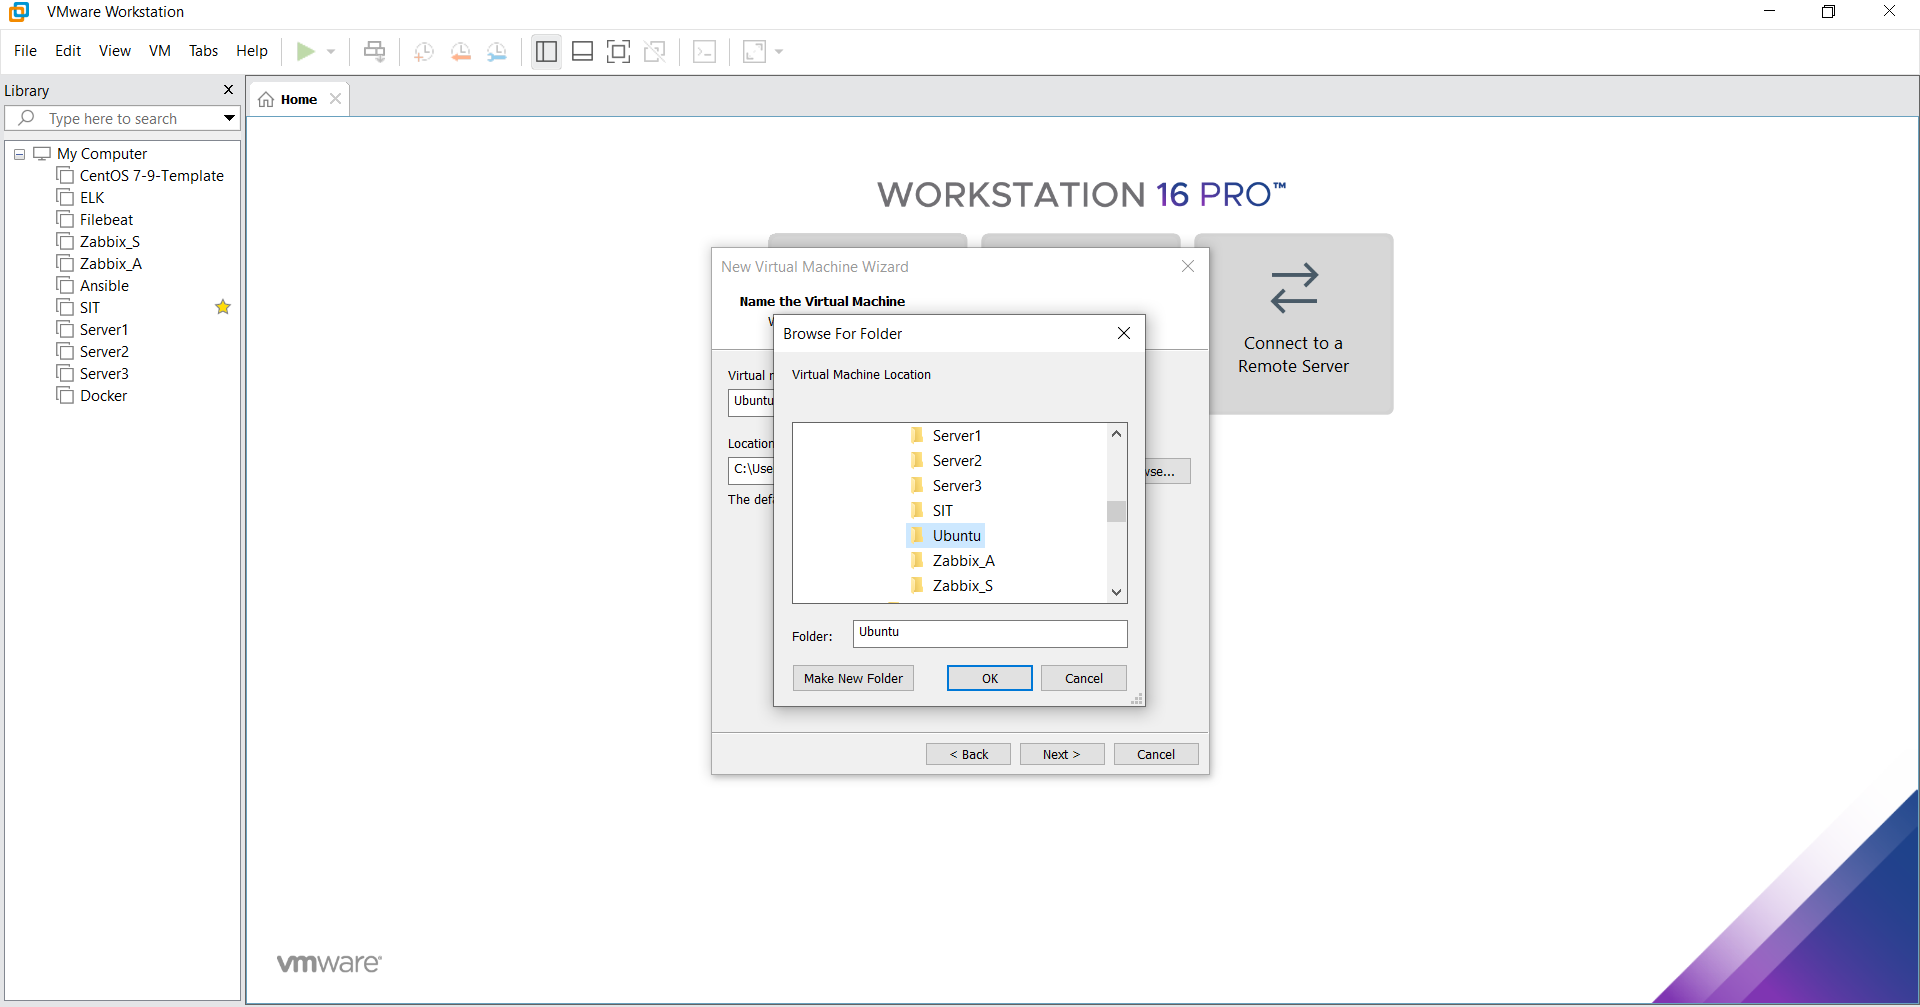
Choose the type of operating system you plan to install (e.g., Windows, Linux) and the specific version. Click “Next”. Define name of the Virtual Machine:
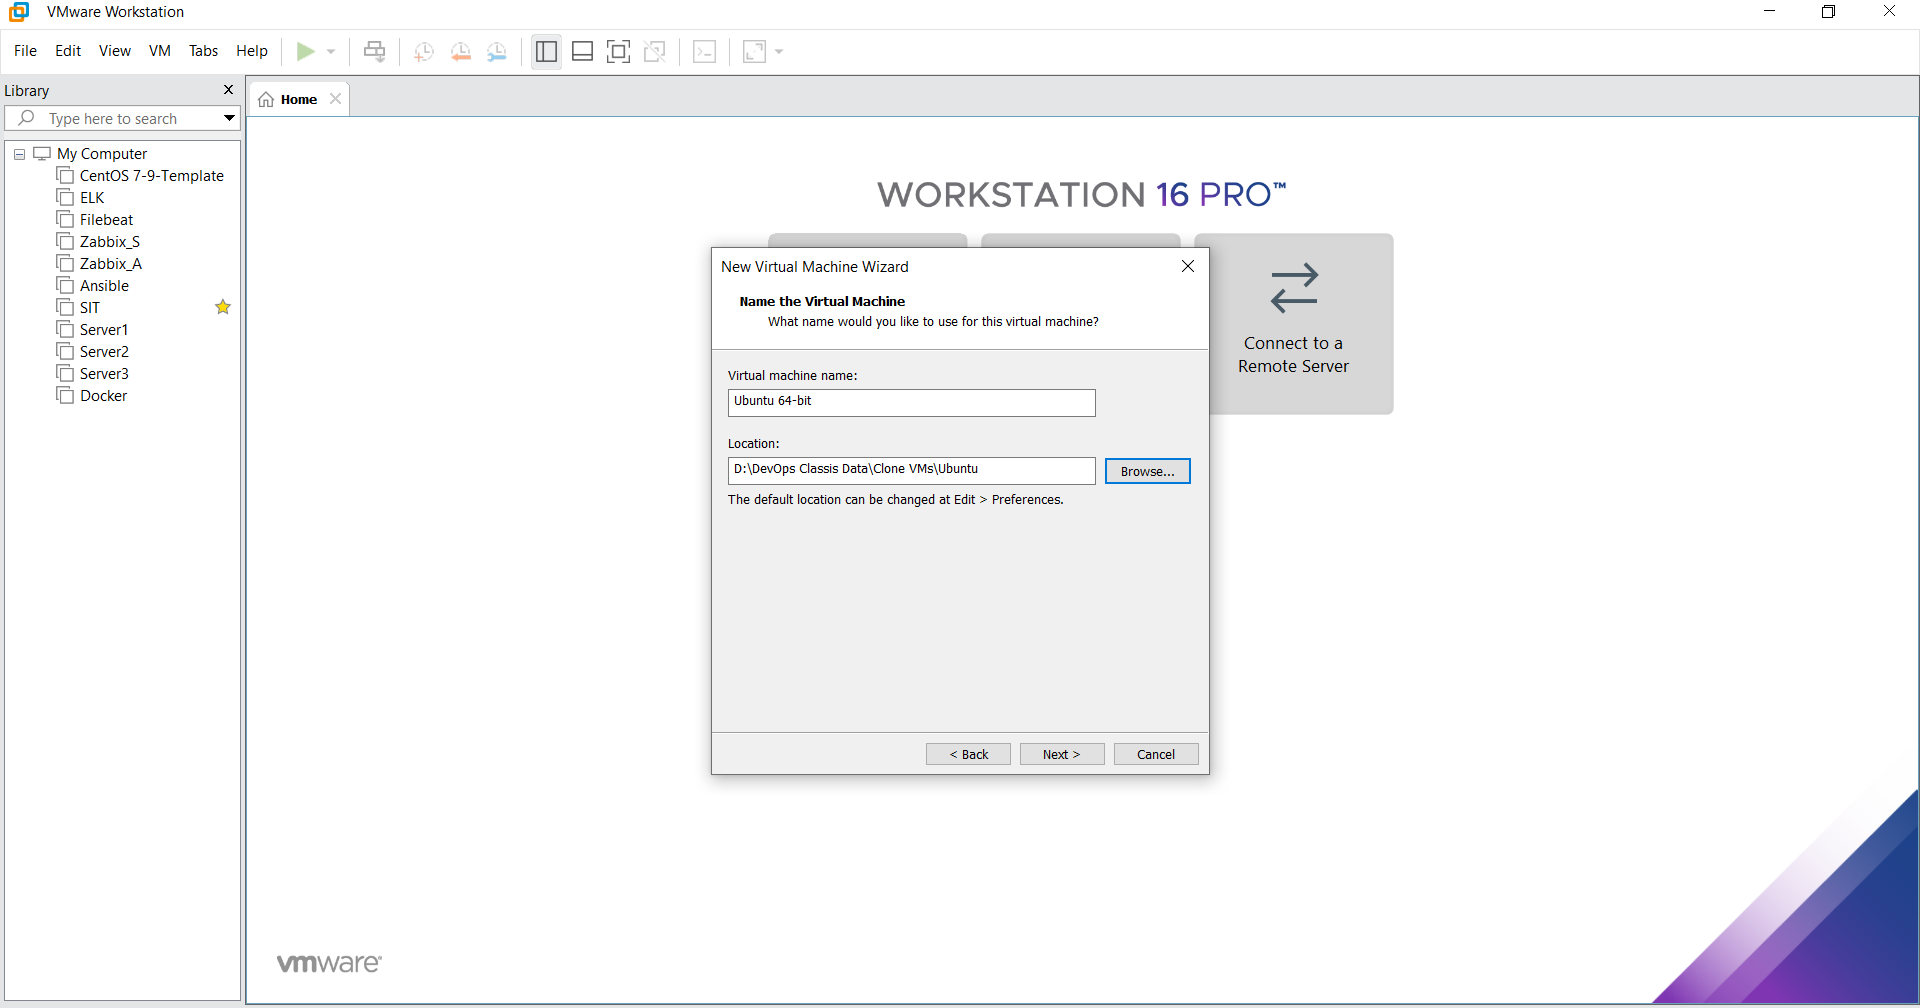
Give your VM a name and choose the location where the VM files will be stored. Click “Next”.
Specify Disk Capacity:
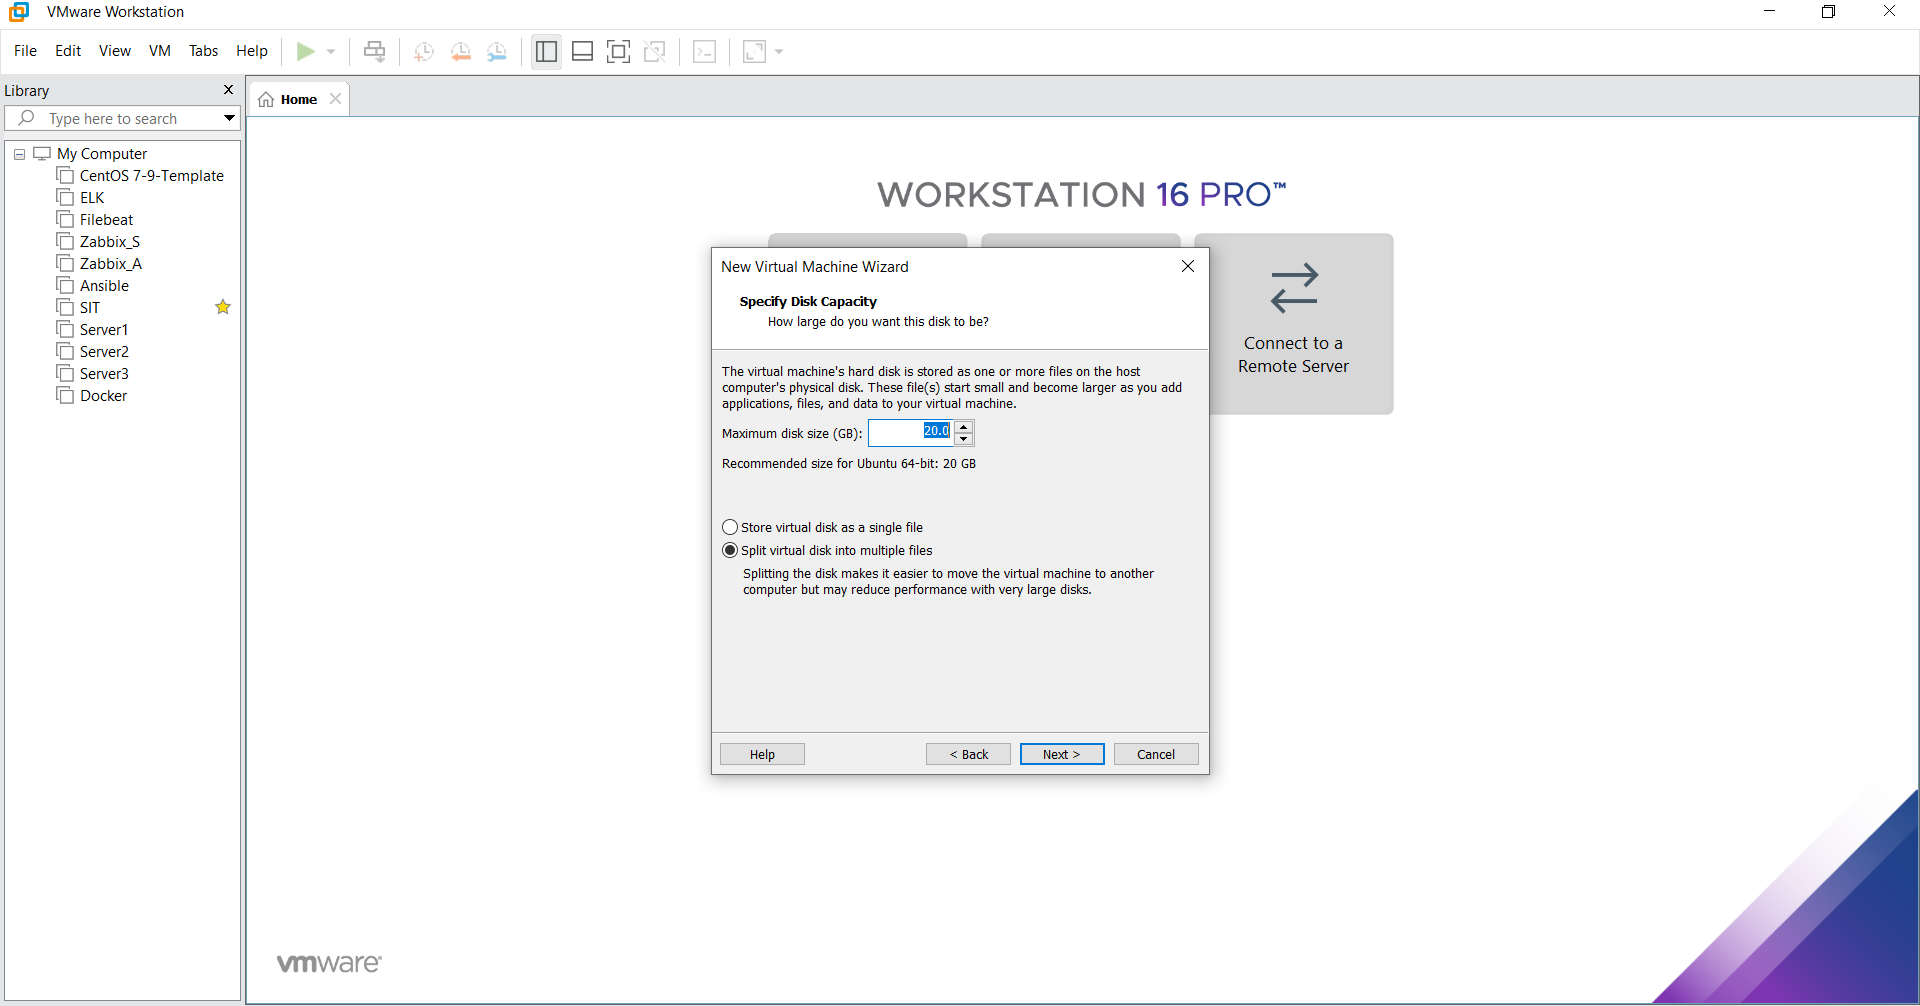
Decide how much disk space to allocate to the VM. You can also choose whether to store the virtual disk as a single file or split it into multiple files. Click “Next”.
Customize Hardware (optional):
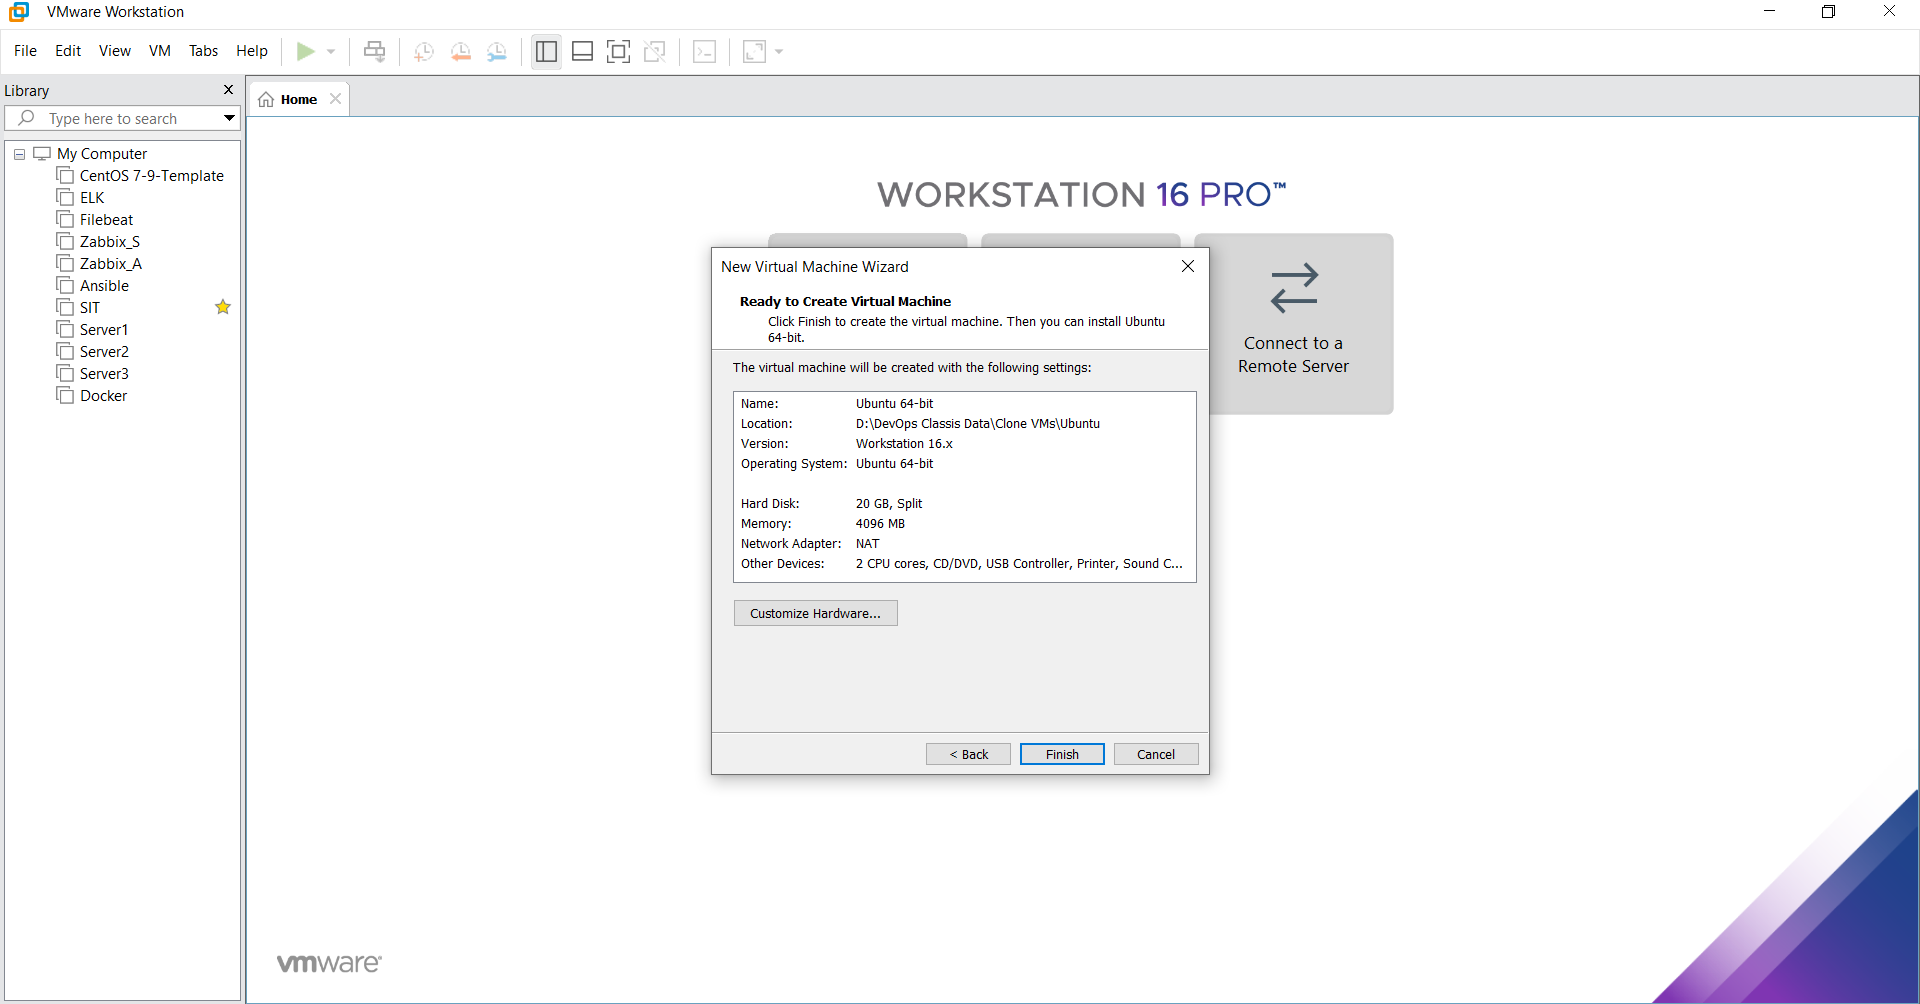
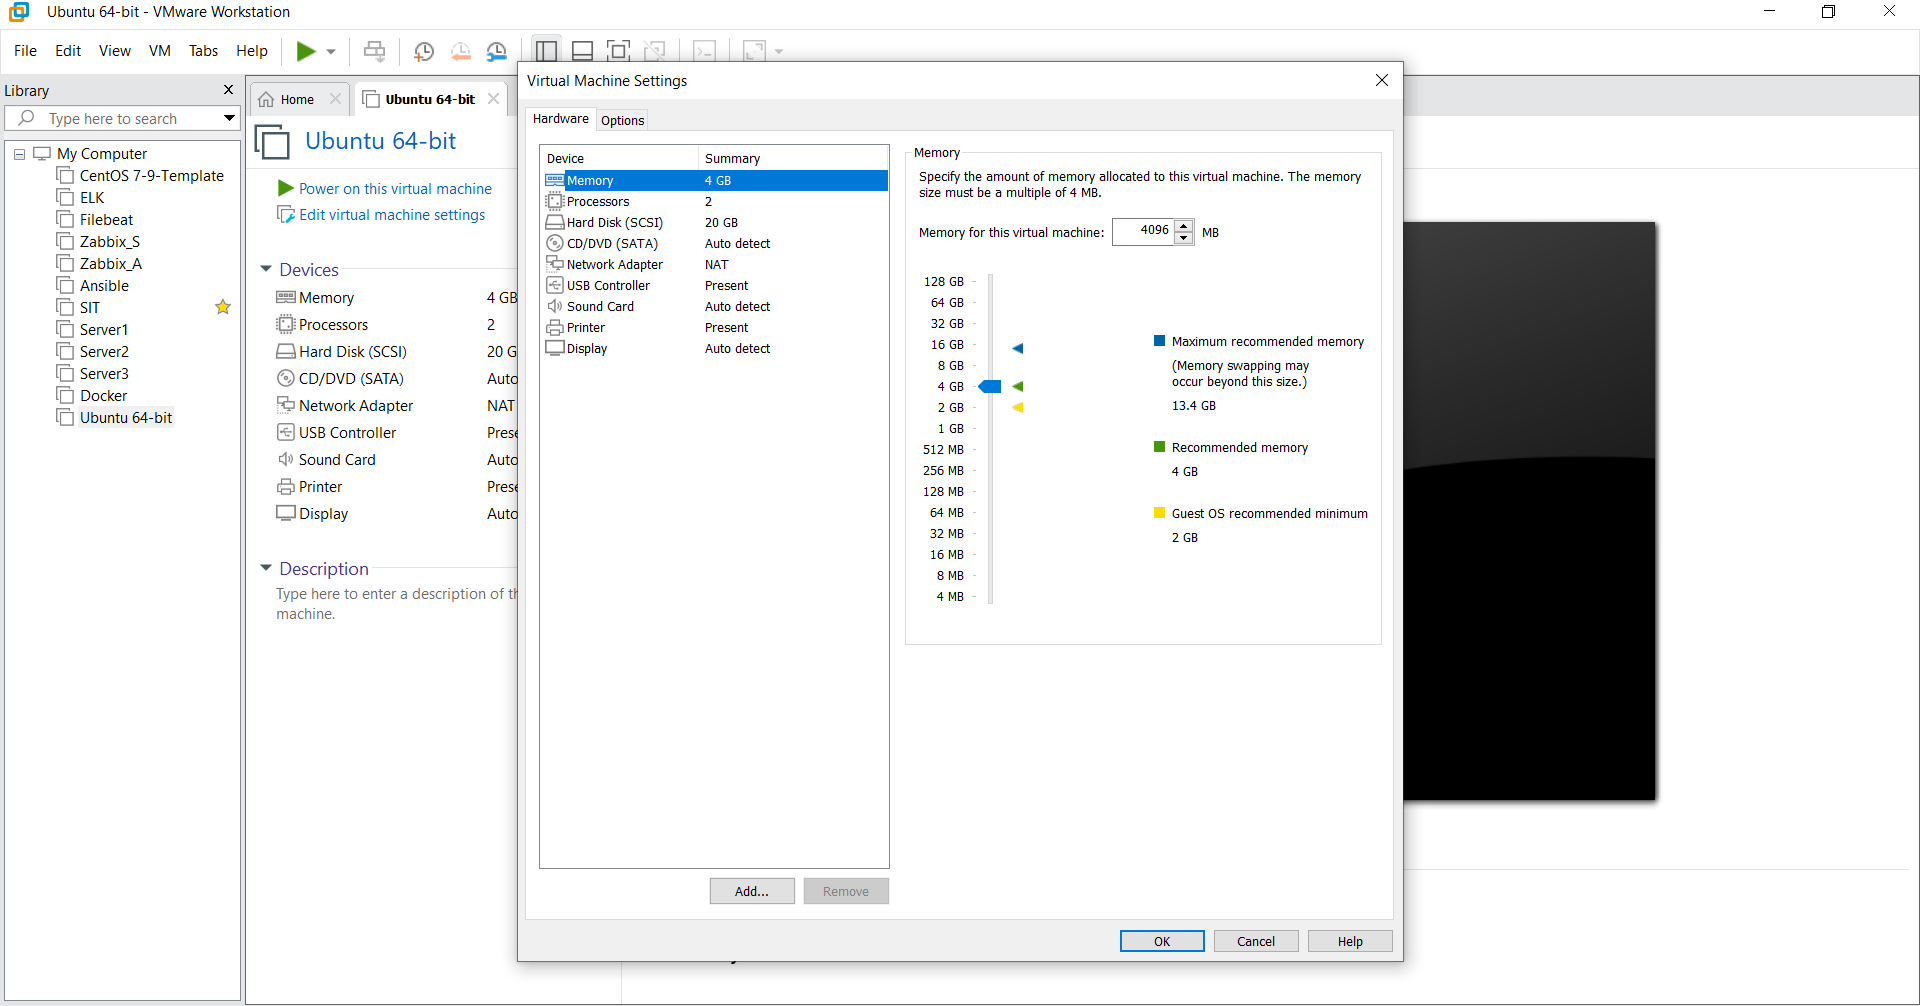
Before finishing, you can customize the hardware settings such as memory, processors, network adapters, and more by clicking on “Customize Hardware…”.
Adjust the settings according to your needs and click “Close”.
Finish the Wizard:
Review your settings and click “Finish” to create the VM.
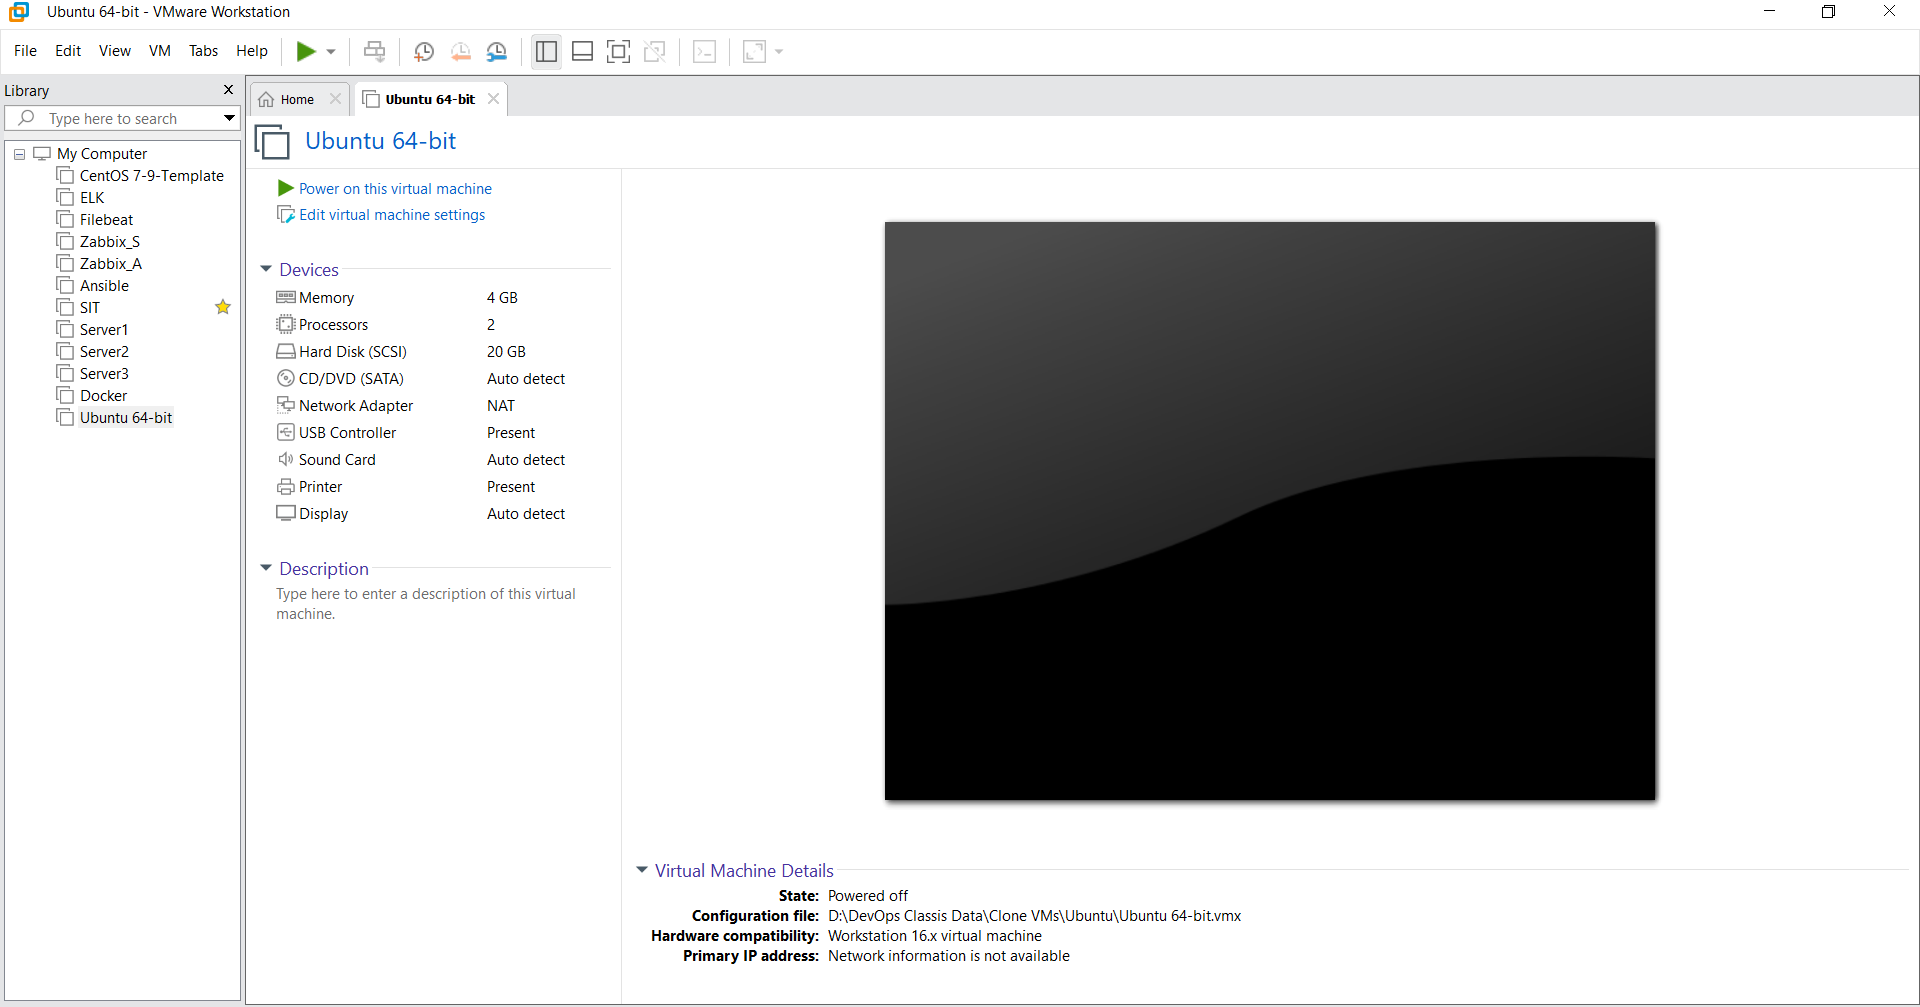
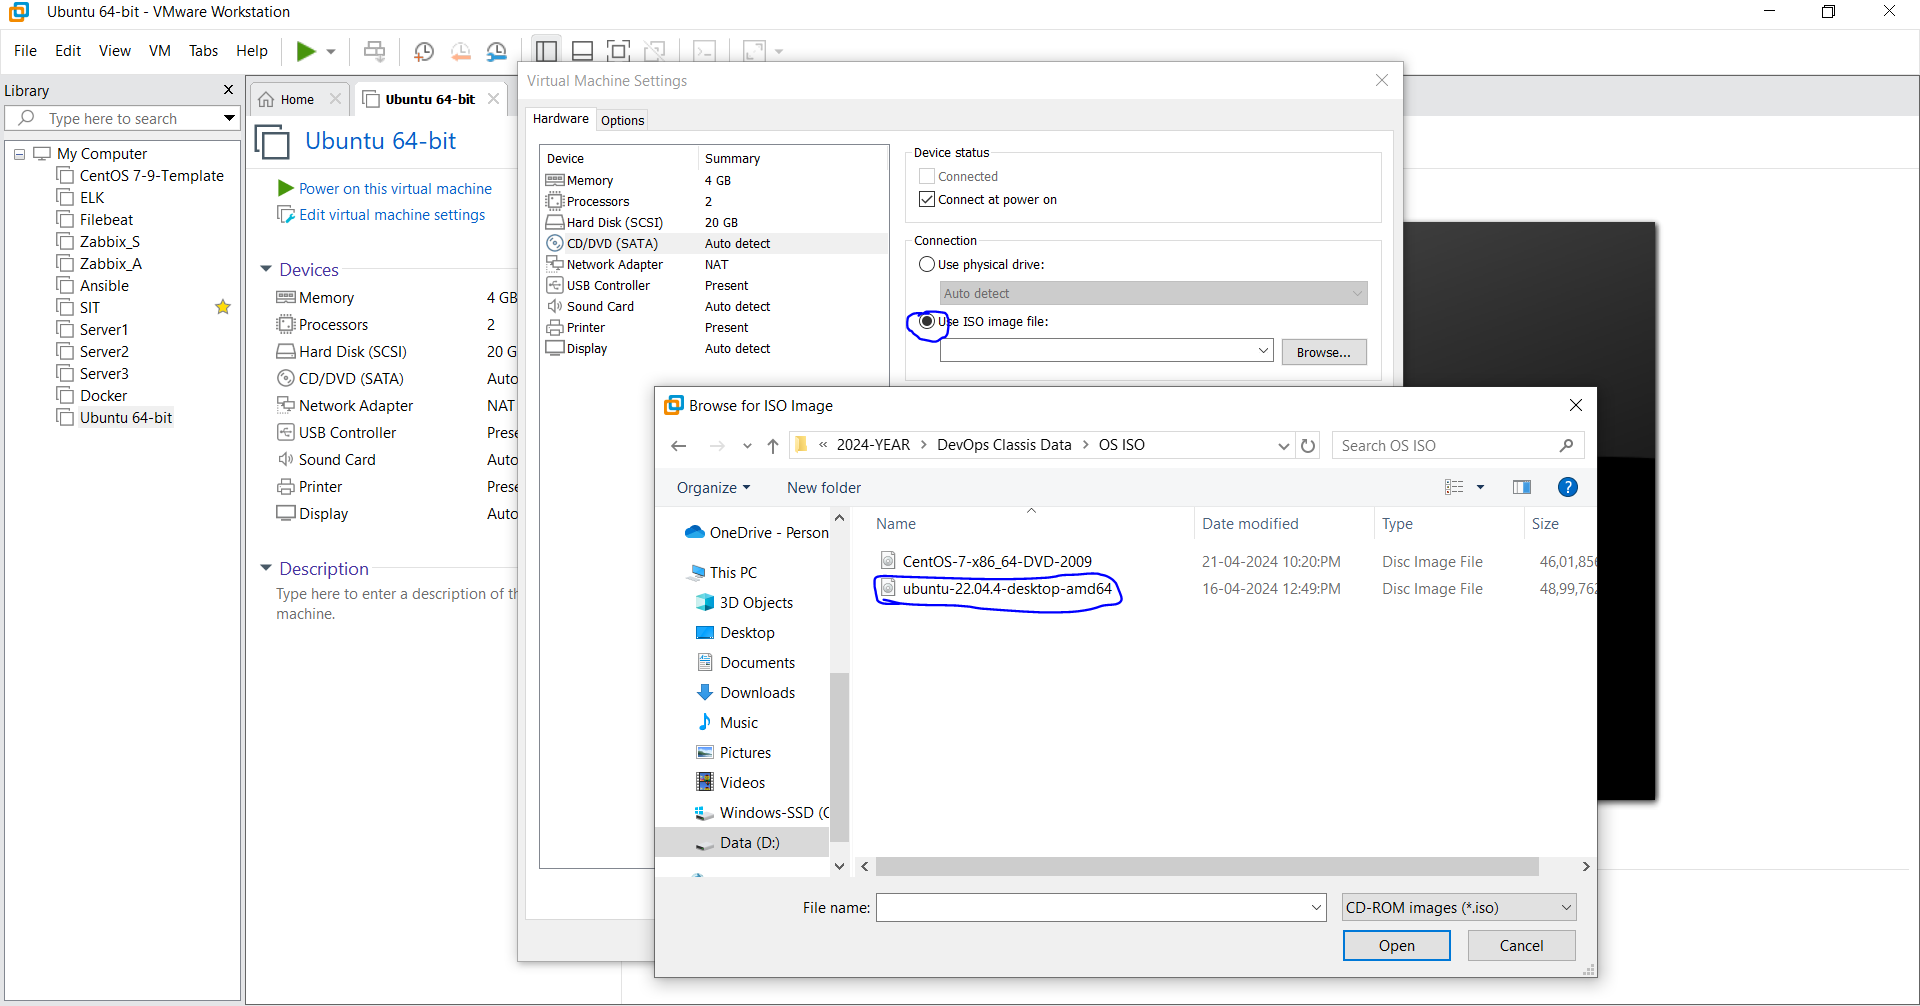
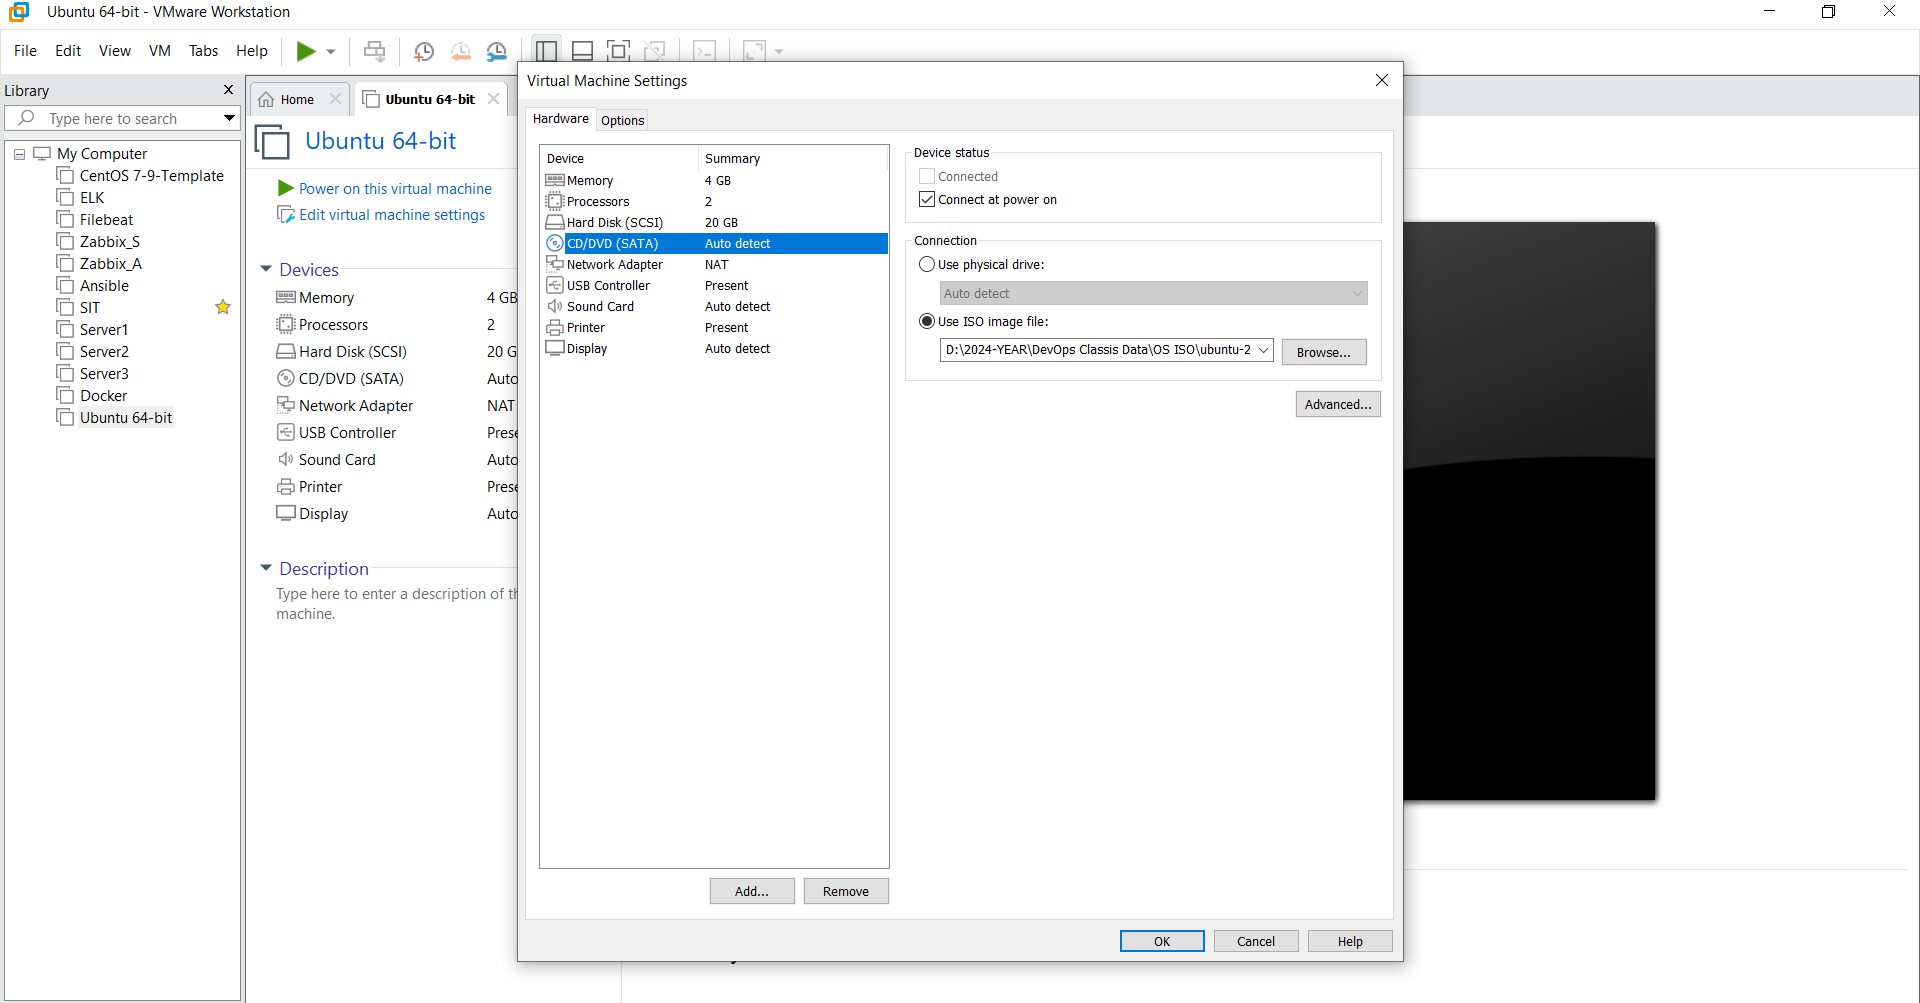
Step 4: Install the Operating System
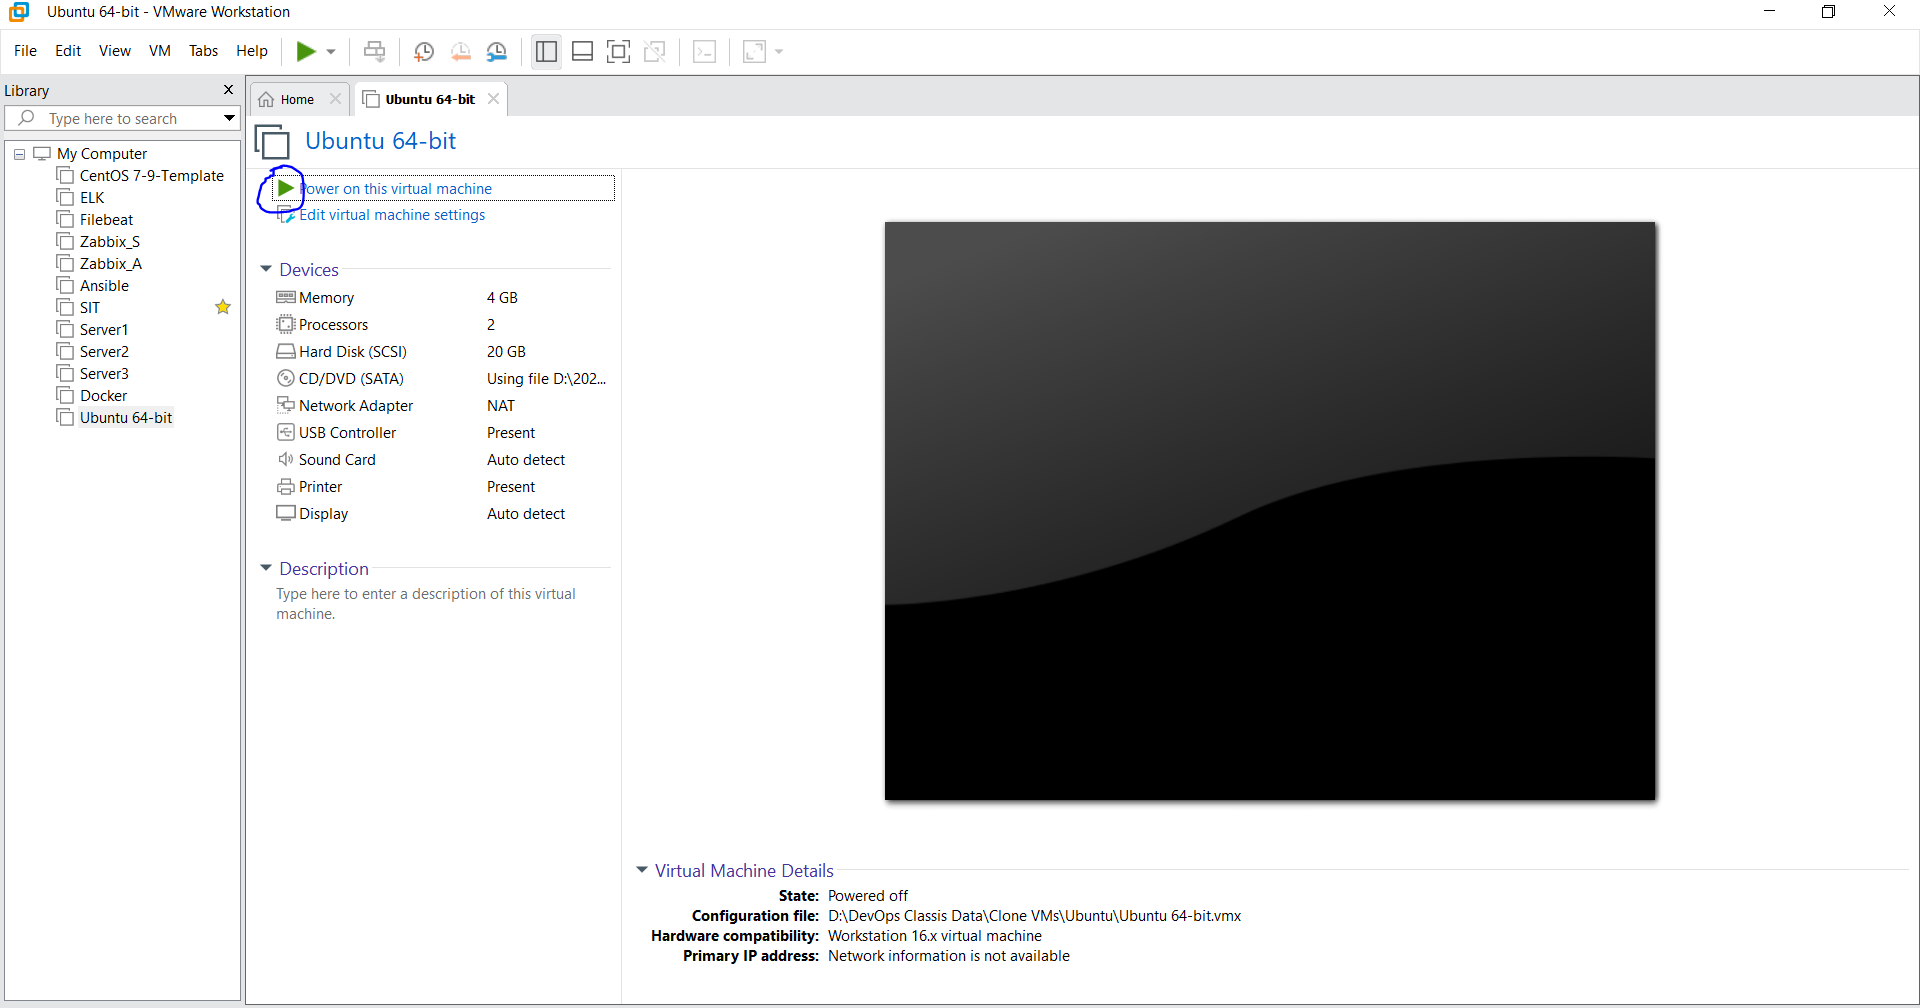
Power on the VM:
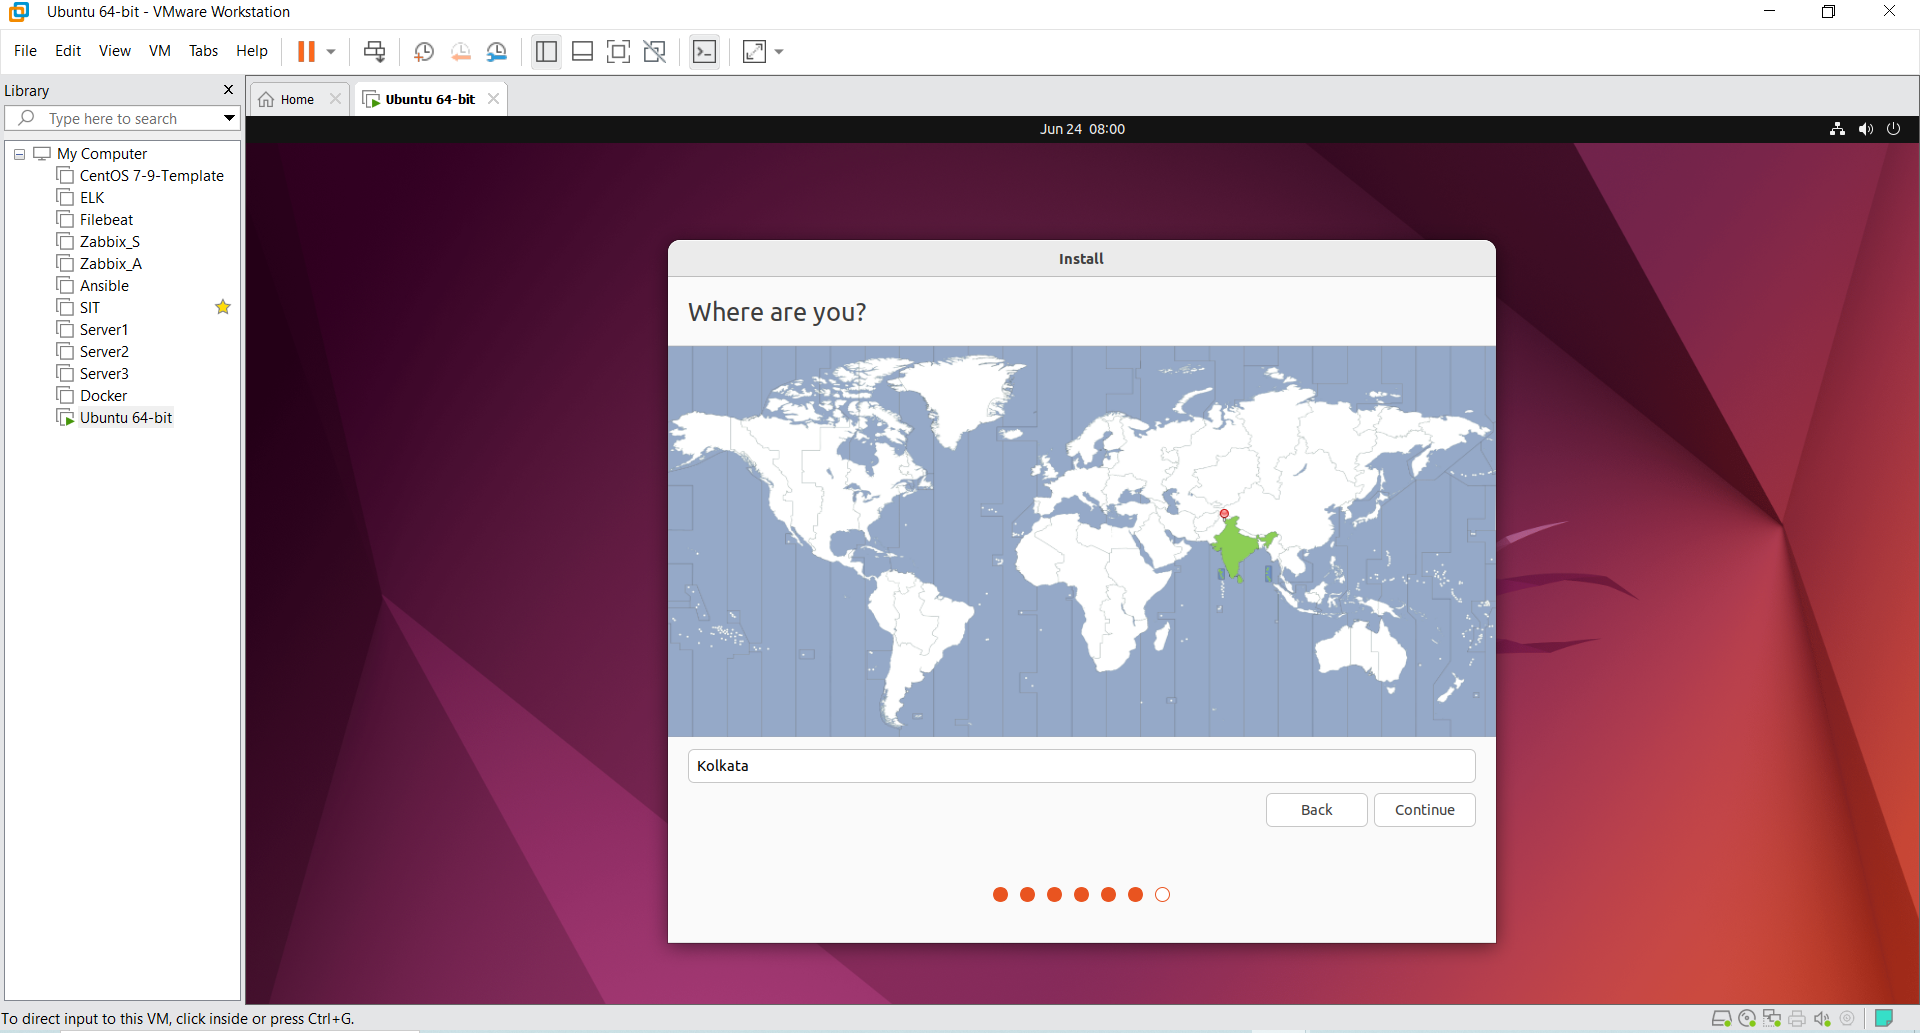
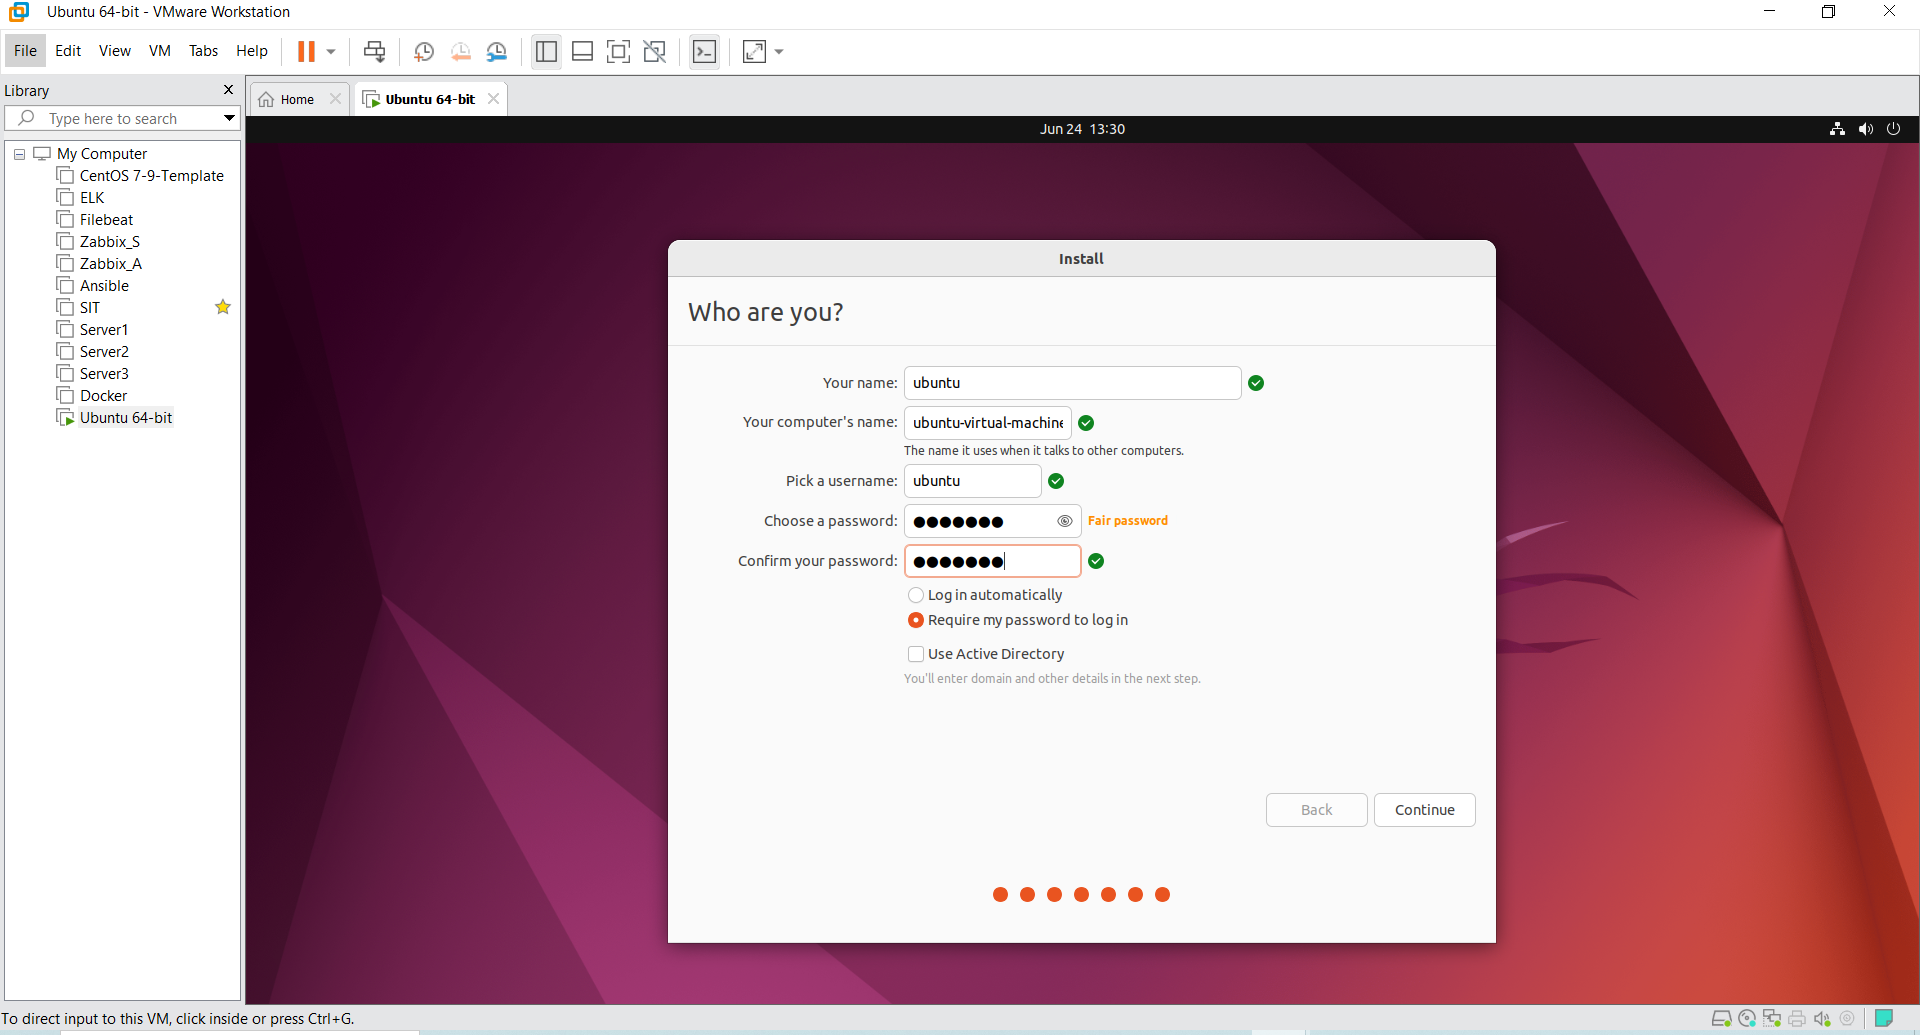
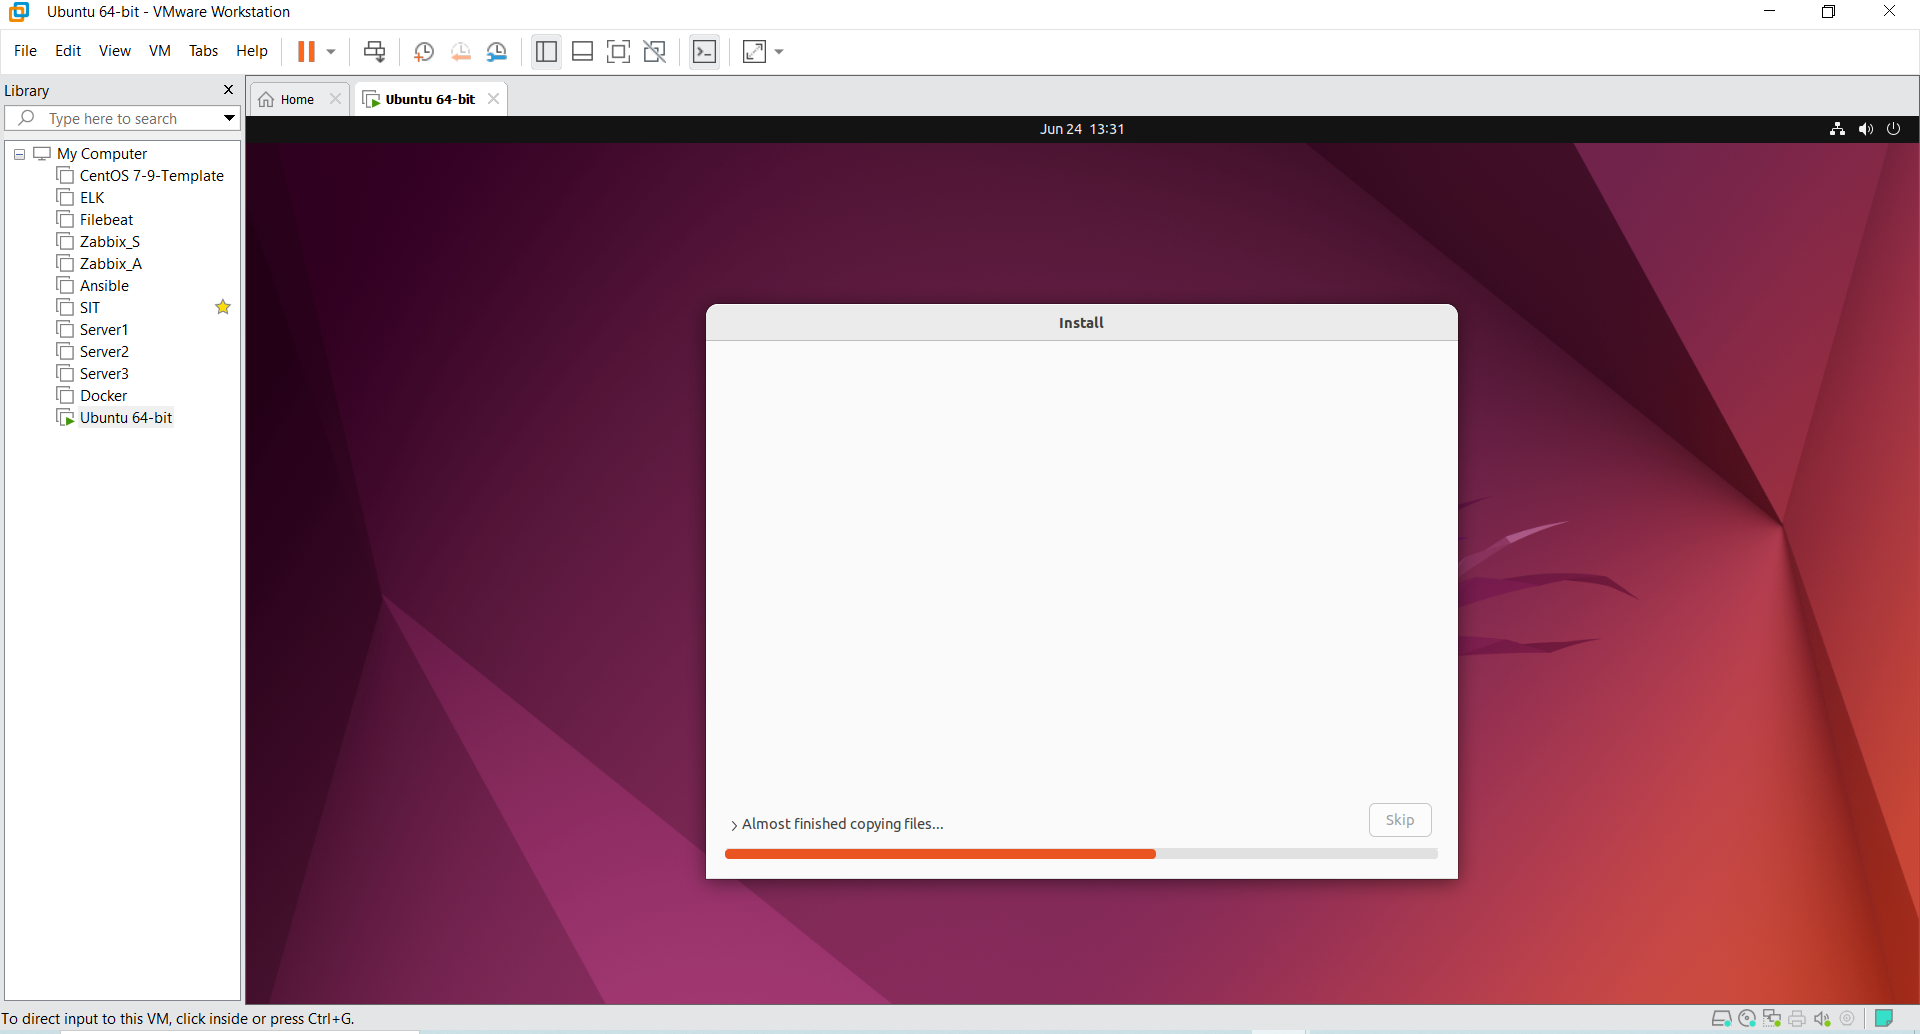
Select your new VM from the library and click “Power on this virtual machine”. Follow the OS Installation Process:
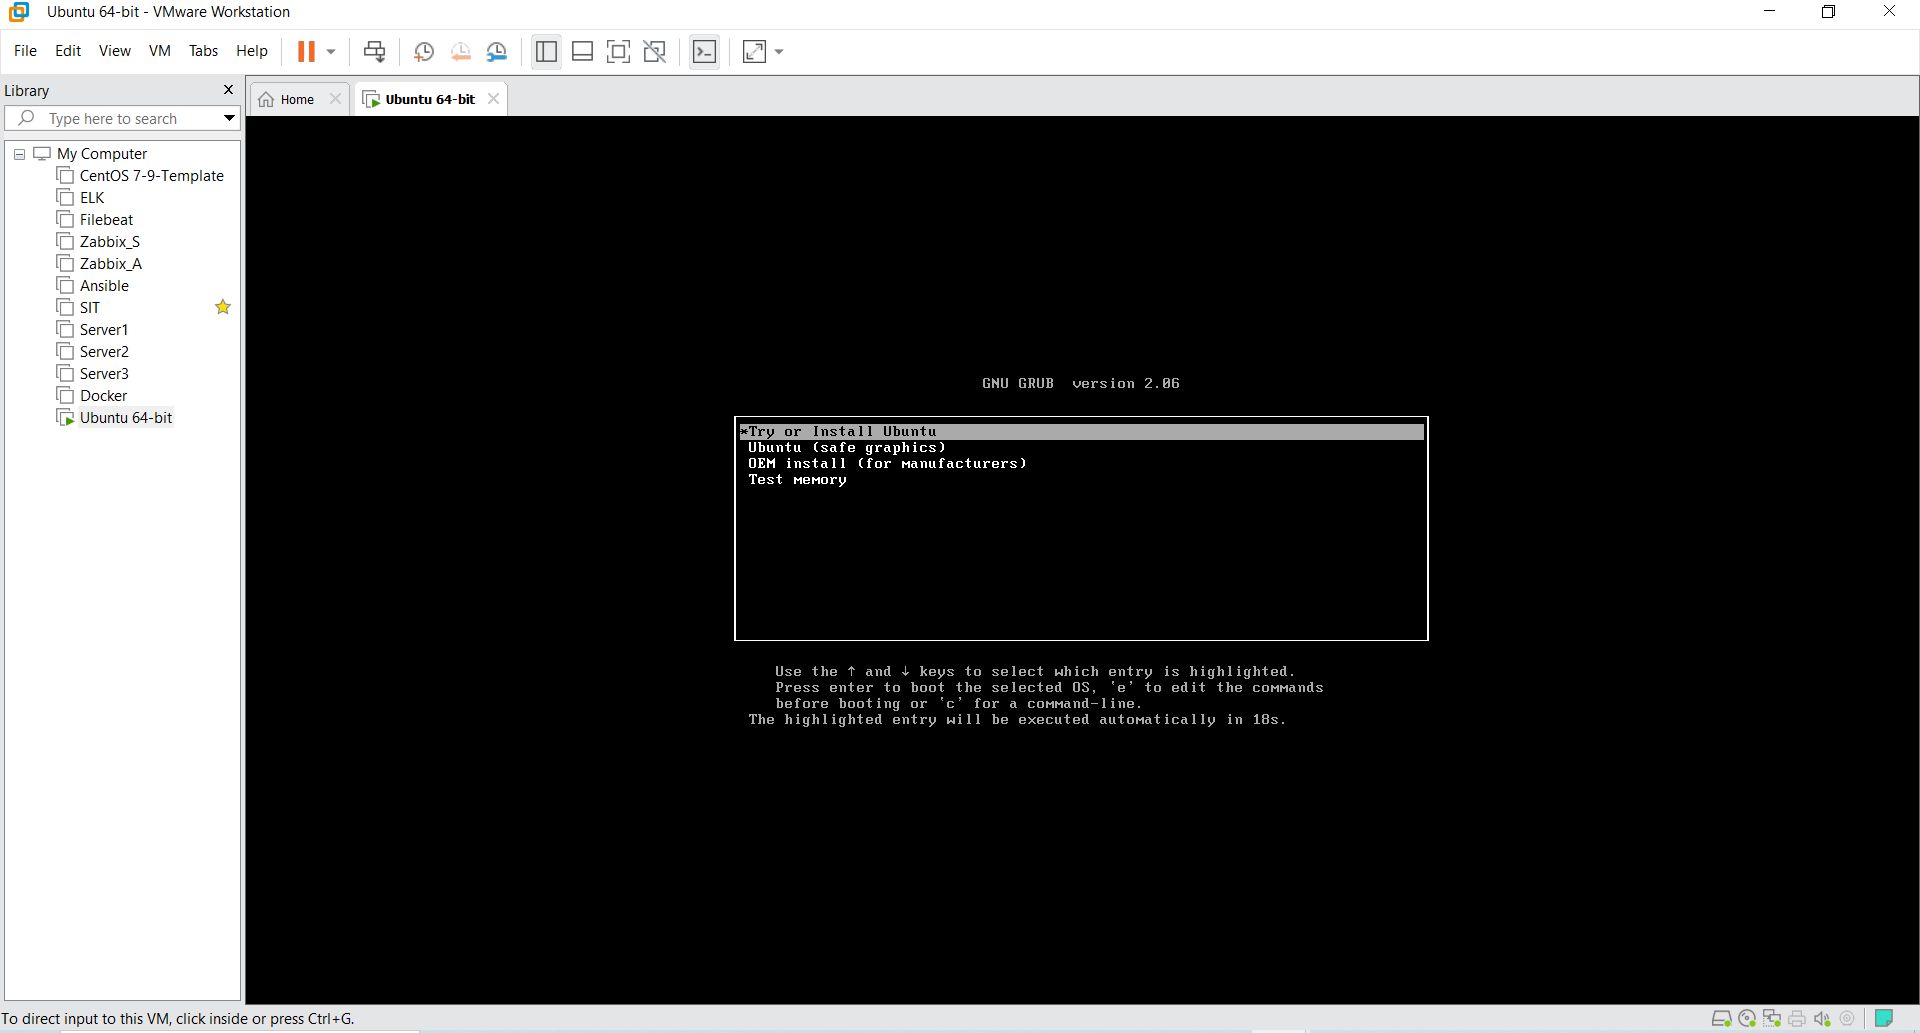
The VM will boot from the installation media you provided.
Follow the on-screen instructions to install the operating system. Install VMware Tools:
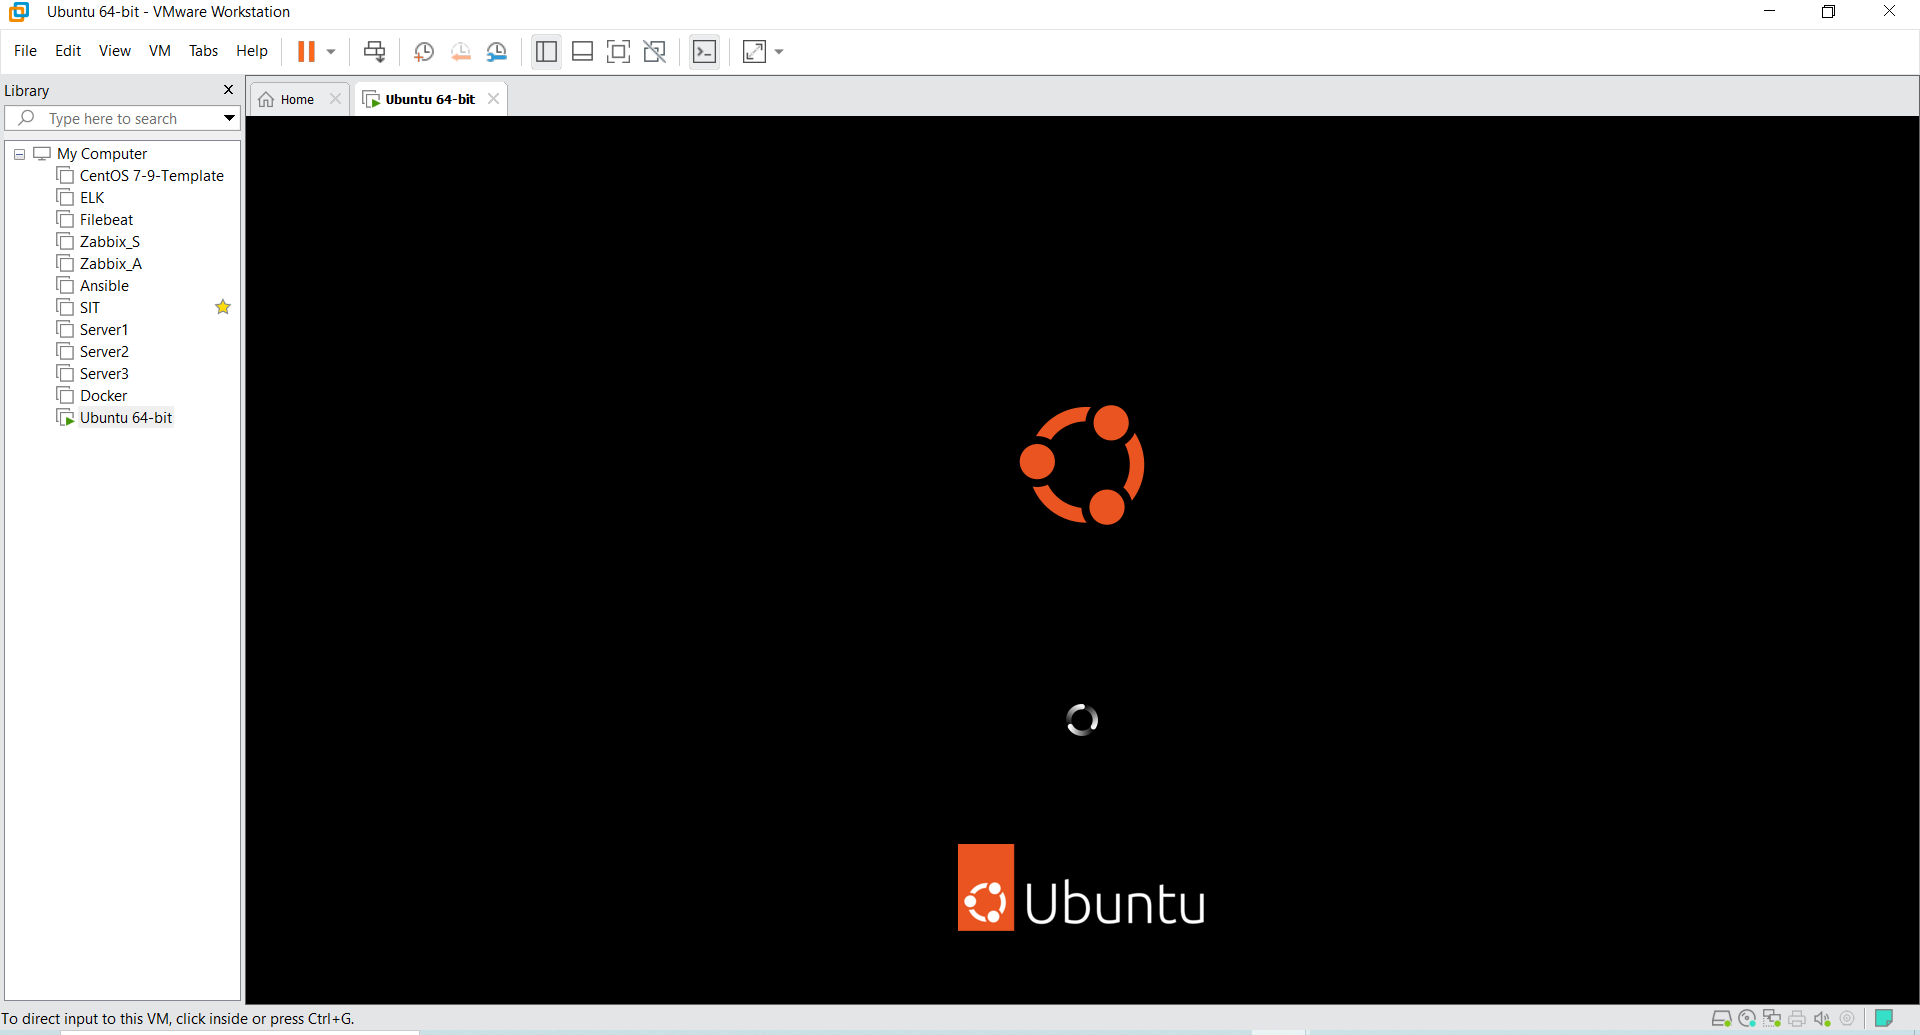
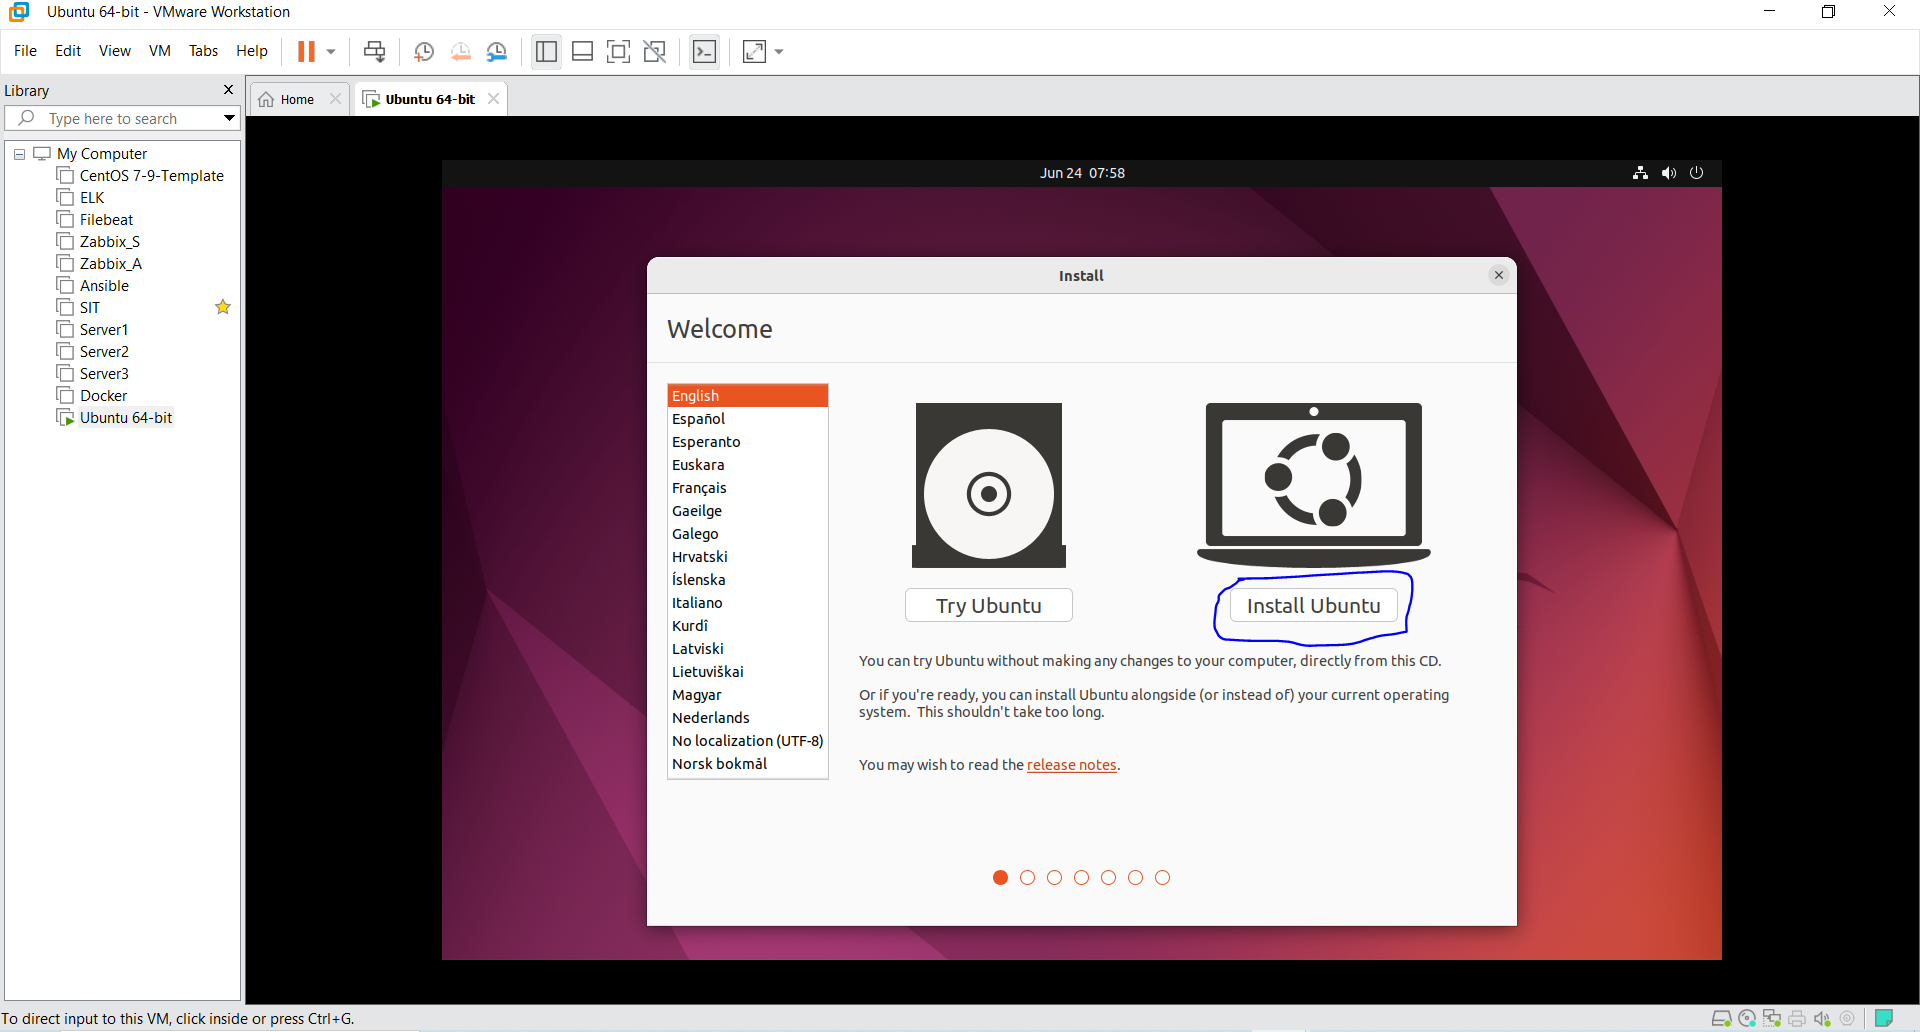
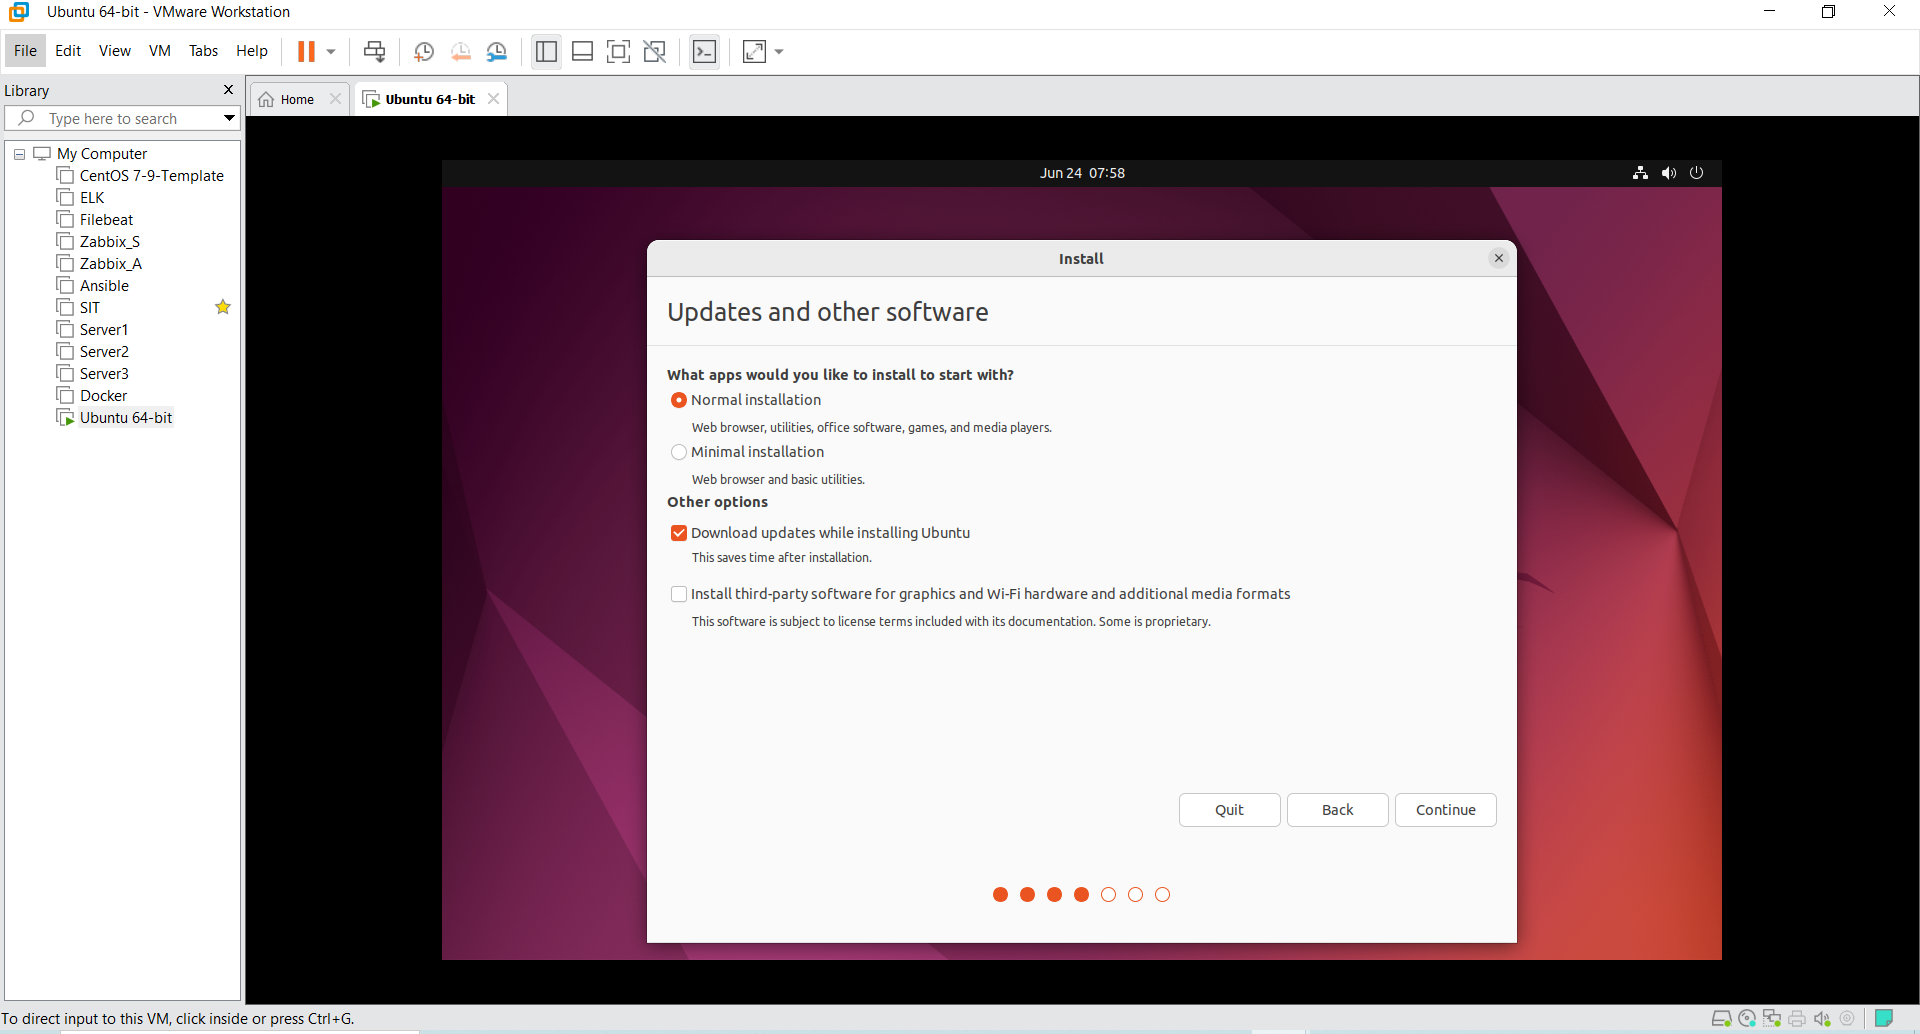
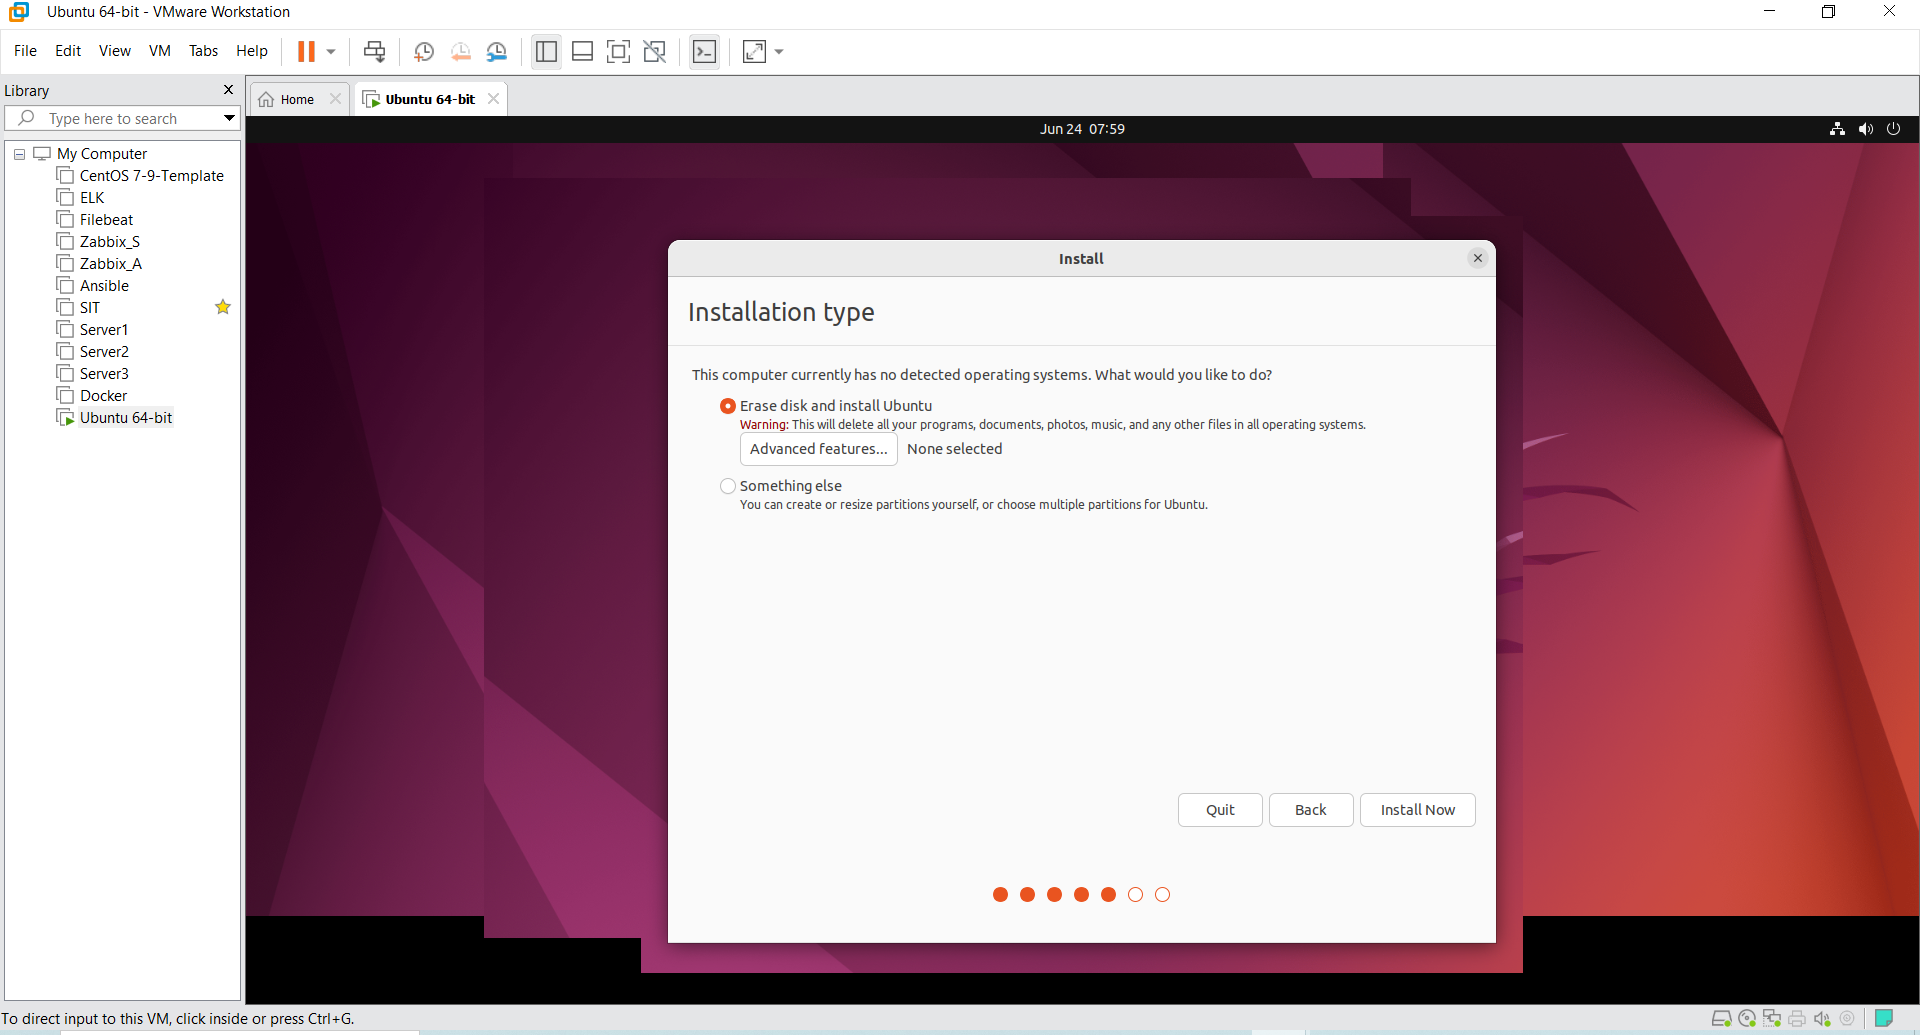
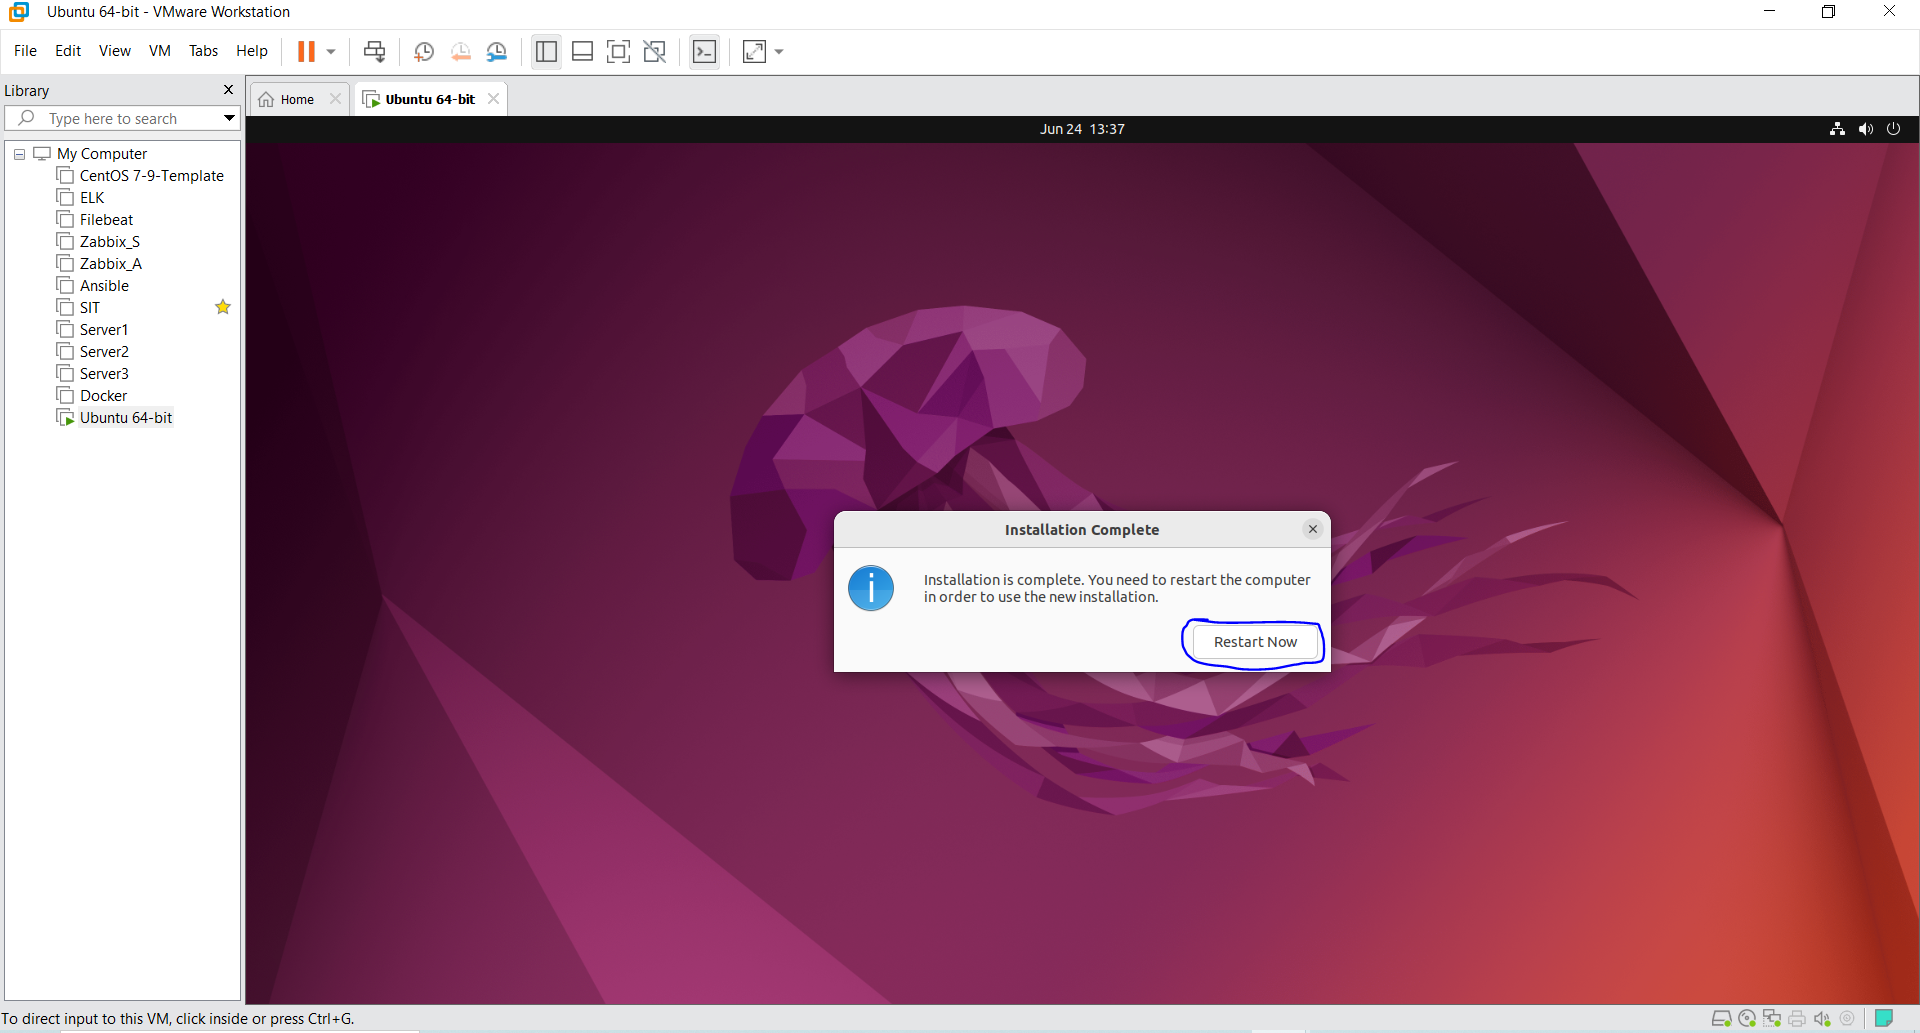
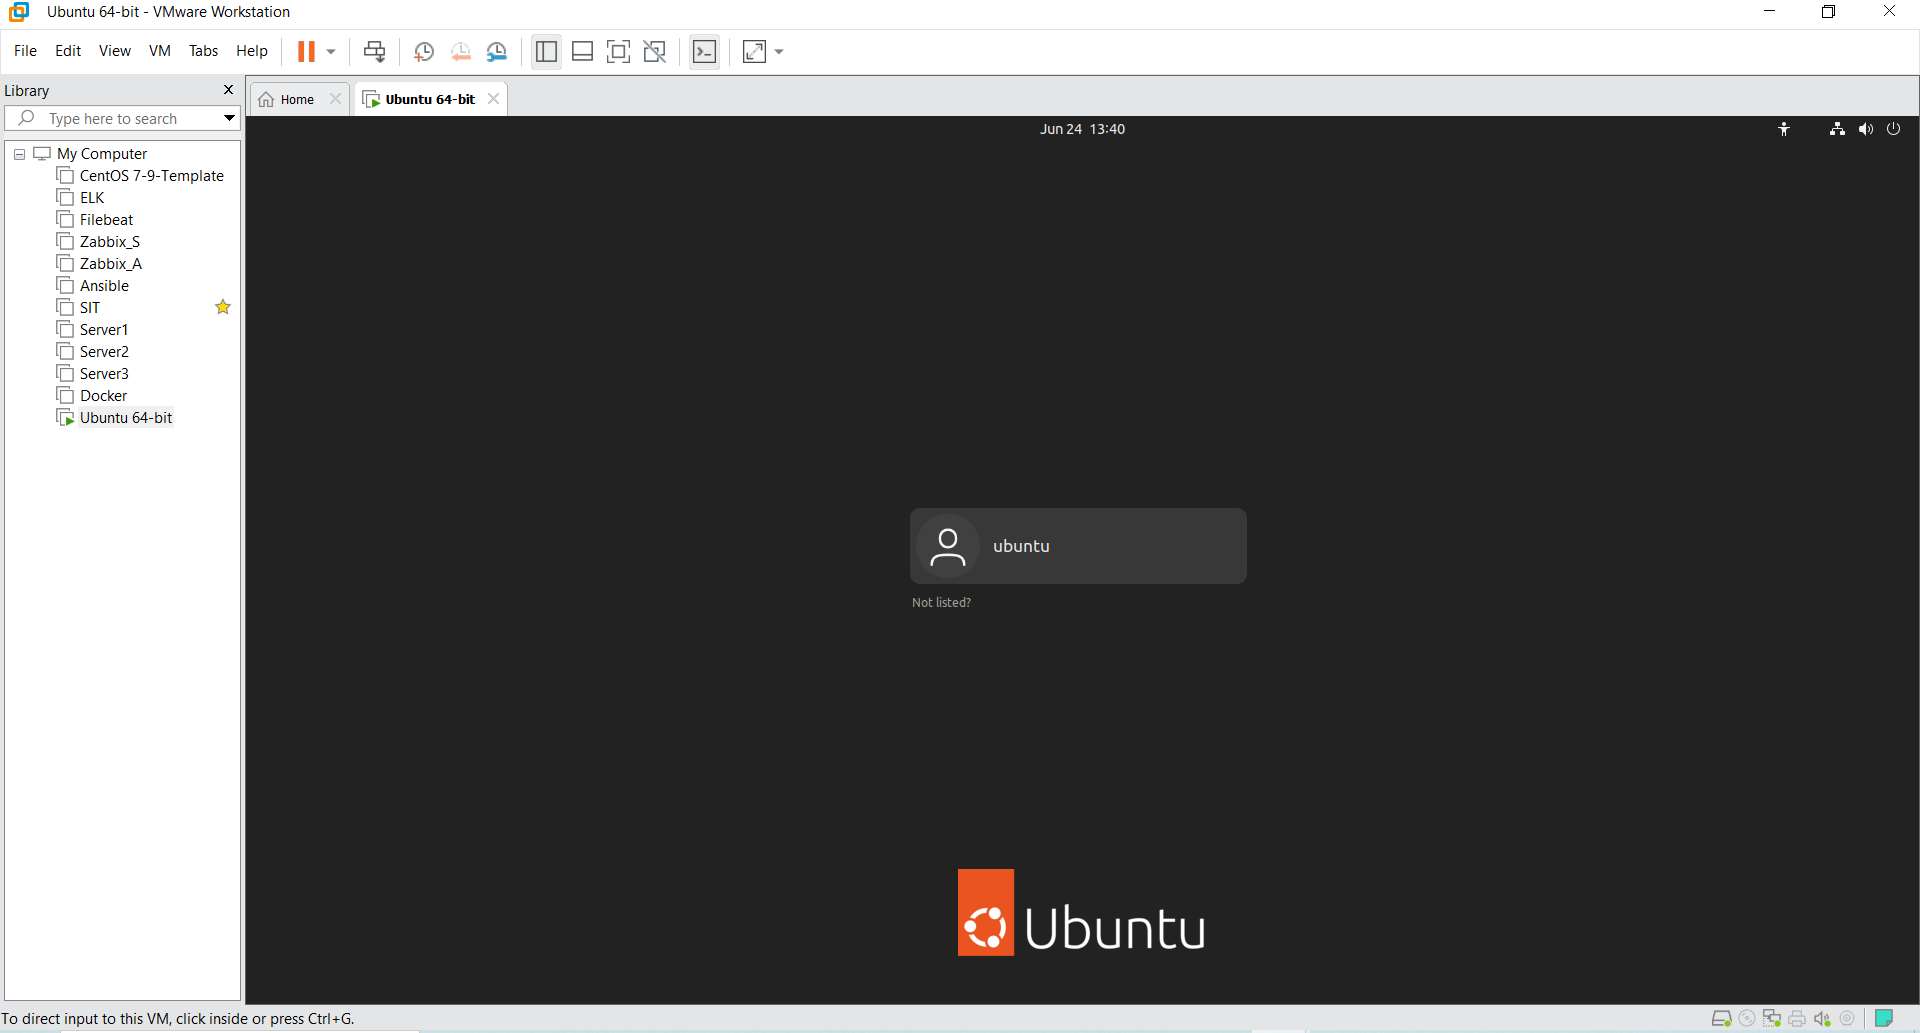
Once the OS is installed, it's recommended to install VMware Tools.
VMware Tools enhance the performance of the VM and improve the integration between the host and guest operating systems.
To install VMware Tools, go to the VM menu and select “Install VMware Tools”.
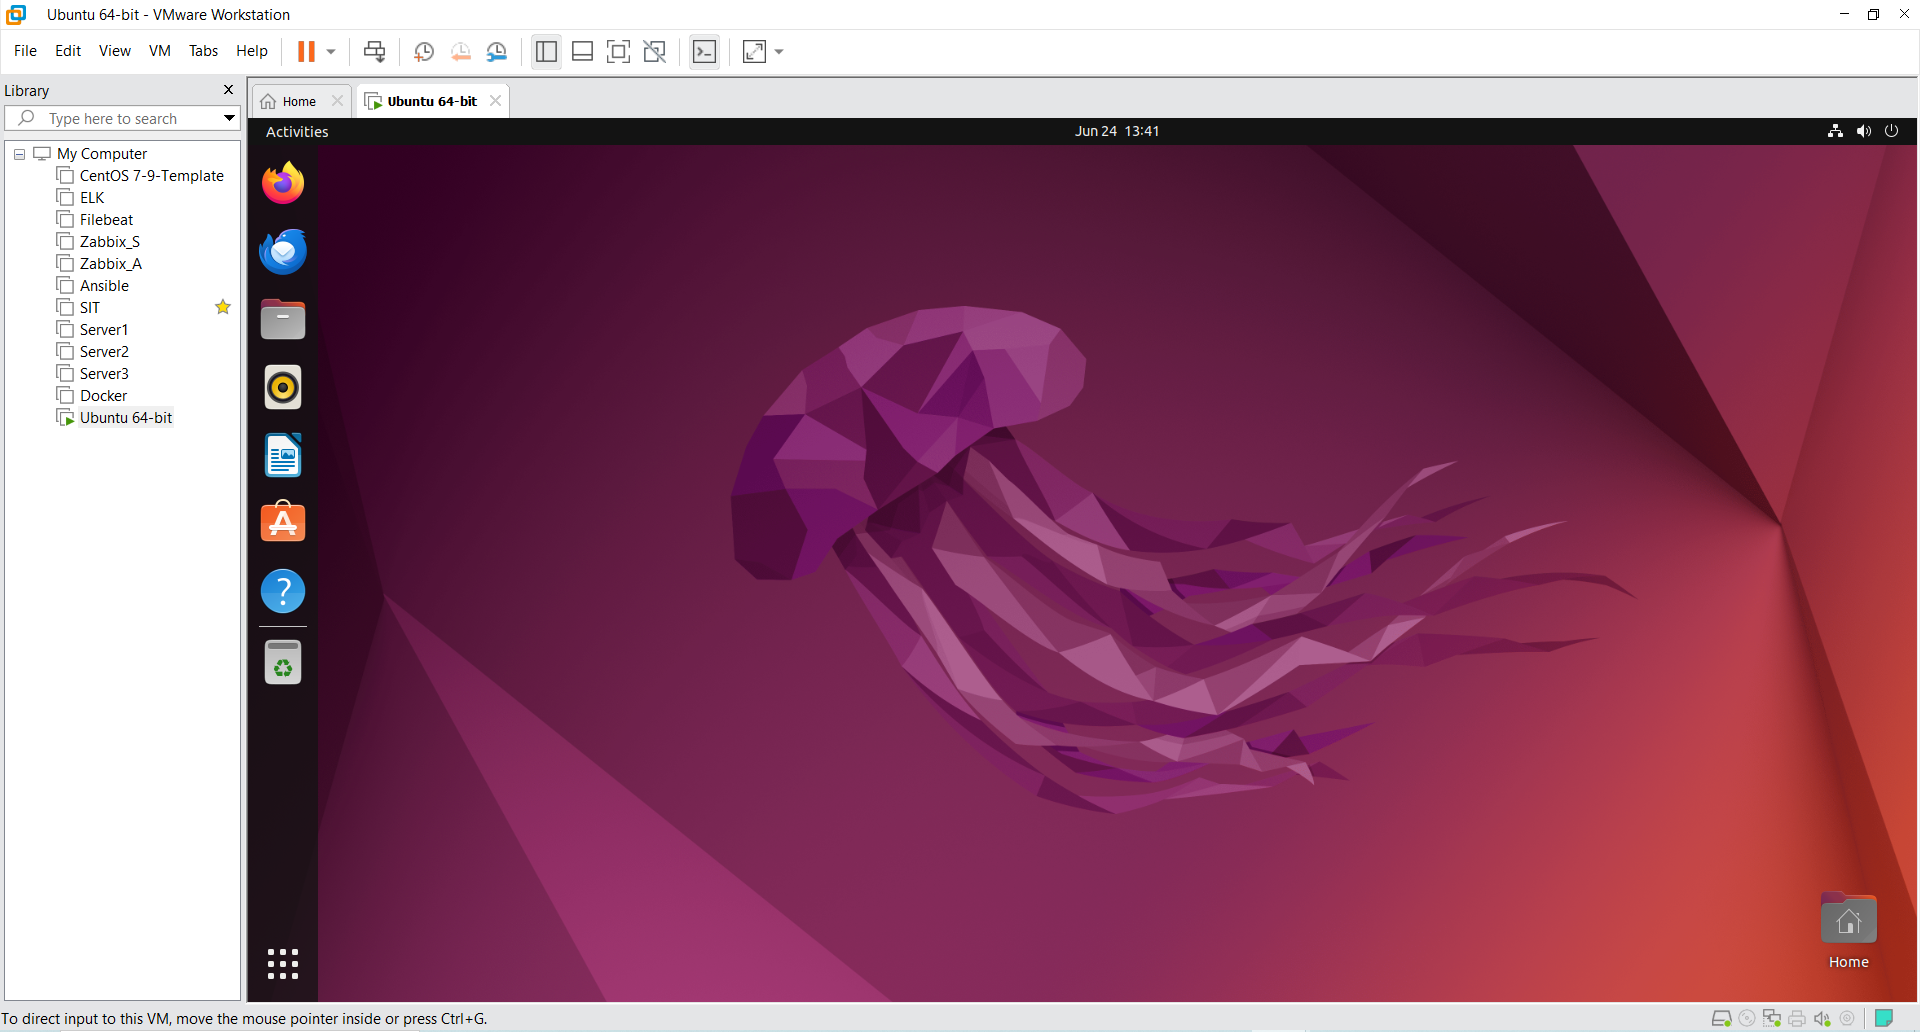
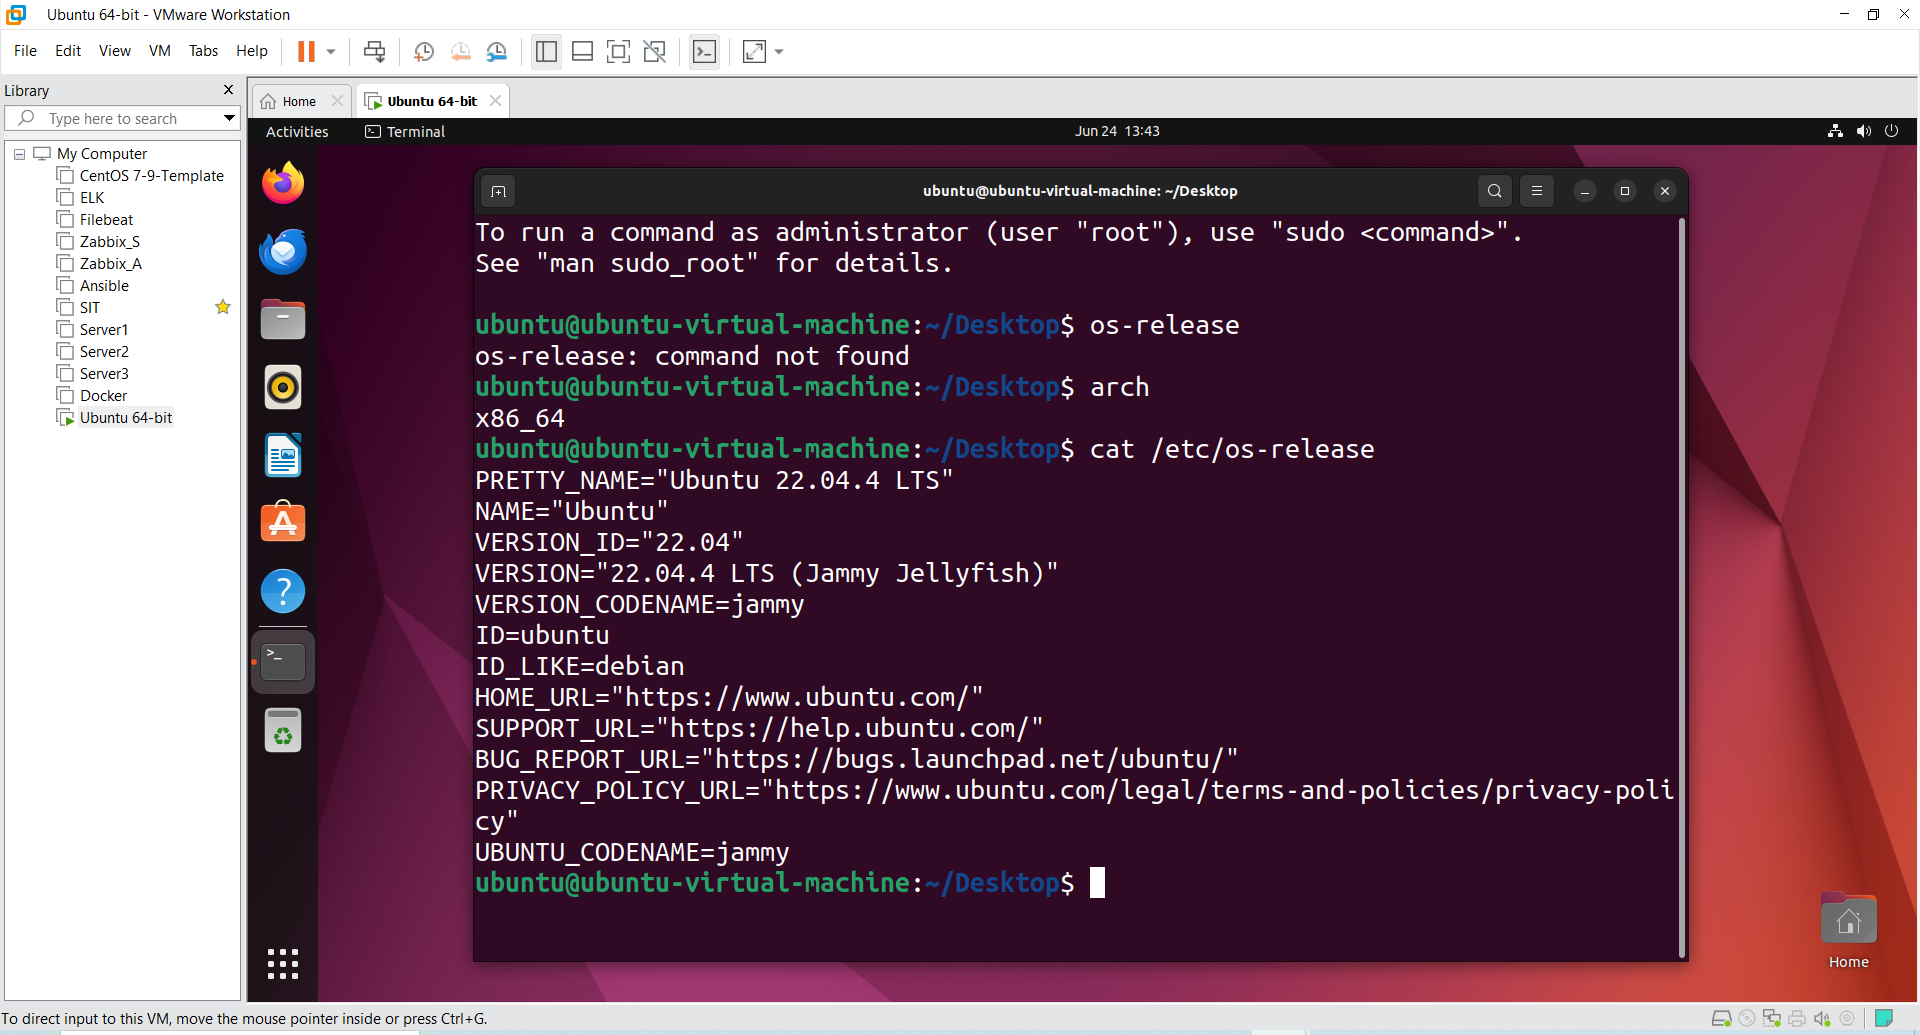
Step 5: Configure Your Virtual Machine
After installing the operating system and VMware Tools, you can further configure your VM:
Adjust Hardware Settings: If needed, adjust the hardware settings by right-clicking on the VM and selecting “Settings”.
Set up Networking: Configure network settings to ensure your VM can access the internet or communicate with other machines on your network.
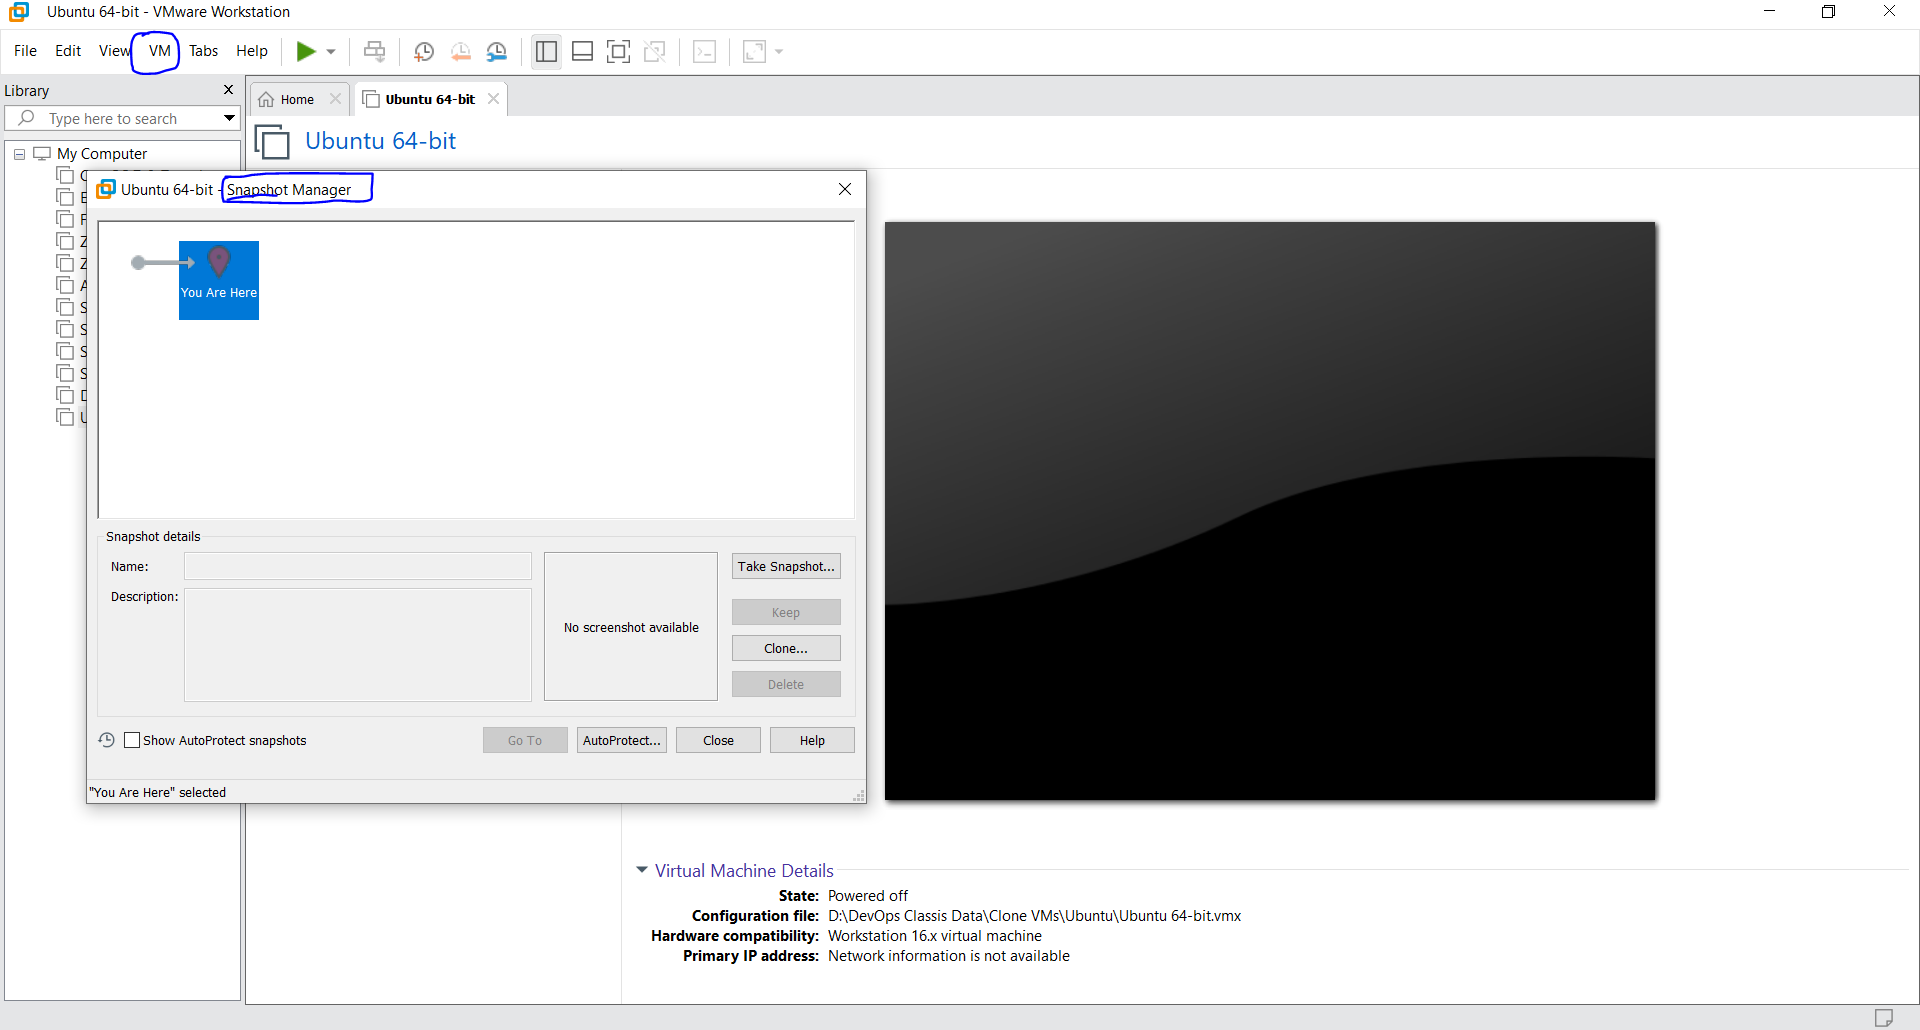
Create Snapshots: Snapshots allow you to save the state of your VM at a particular point in time.
You can create a snapshot by going to the VM menu and selecting “Snapshot” > “Take Snapshot”.
Conclusion
Creating a virtual machine in VMware is a powerful way to maximize the potential of your hardware. Whether you’re a developer, tester, or just someone who likes to experiment with different operating systems, VMware provides a robust platform for virtualization. By following the steps outlined in this guide, you’ll be able to create and manage your virtual machines with ease. Happy virtualizing!
Ref Link. VMWare Software Download
Follow Me On Socials :
Like👍 | Share📲 | Comment💭
Subscribe to my newsletter
Read articles from Nikunj Vaishnav directly inside your inbox. Subscribe to the newsletter, and don't miss out.
Written by

Nikunj Vaishnav
Nikunj Vaishnav
👋 Hi there! I'm Nikunj Vaishnav, a passionate QA engineer Cloud, and DevOps. I thrive on exploring new technologies and sharing my journey through code. From designing cloud infrastructures to ensuring software quality, I'm deeply involved in CI/CD pipelines, automated testing, and containerization with Docker. I'm always eager to grow in the ever-evolving fields of Software Testing, Cloud and DevOps. My goal is to simplify complex concepts, offer practical tips on automation and testing, and inspire others in the tech community. Let's connect, learn, and build high-quality software together! 📝 Check out my blog for tutorials and insights on cloud infrastructure, QA best practices, and DevOps. Feel free to reach out – I’m always open to discussions, collaborations, and feedback!