Day05:Step-by-Step Guide to Creating and Connecting Azure VMs
 Karan Singh Rajawat
Table of contents
- Azure Virtual Machines (VMs):
- What are Azure VMs?
- Benefits of Using Azure VMs:
- Getting Started with Azure VMs:
- Create a Resource Group:
- Create a VM:
- Configure VM settings:
- Getting started with Azure VM
- SSH using Azure CLI
- Download Azure CLI and configure
- Connect your VM using MobaXterm
- Use Cases for Azure VMs:
- Pricing and Options:
- Explore Azure VM Documentation:
Azure Virtual Machines (VMs):
Azure Virtual Machines (VMs) are a key service provided by Microsoft Azure, giving you a flexible and scalable computing environment in the cloud.
What are Azure VMs?
Think of an Azure VM as a virtual computer running on a powerful server farm managed by Microsoft. You can set up these virtual machines with any operating system and software you like, just as you would with a physical computer. With Azure VMs, you get:
Scalability: Easily increase or decrease the size of your VMs based on your needs without managing physical hardware.
Cost-Effectiveness: Pay only for what you use with pay-as-you-go pricing, or save with reserved instances and savings plans.
Reliability: Azure's global infrastructure ensures your VMs are highly available and protected against disasters.
Security: Built-in security features and compliance certifications keep your data and applications safe.
Wide Range of Options: Choose from various VM sizes, configurations, and operating systems to suit your needs.
Benefits of Using Azure VMs:
Run Any Workload: Host web applications, databases, development environments, high-performance computing tasks, and more.
Simplify IT Management: Manage your VMs through the Azure portal or tools like Azure CLI and SDKs.
Integrate with Other Azure Services: Easily use other Azure services like storage, databases, networking, and analytics with your VMs.
Hybrid Cloud Deployments: Extend your on-premises infrastructure to the cloud for a hybrid deployment model.
Getting Started with Azure VMs:
To get started with Azure VMs, follow these steps:
Create a Resource Group:
Before creating your VM, establish a resource group. This acts as a container to organize and manage all related resources, like storage accounts, virtual networks, and the VM itself. Think of it as a folder for your VM project. You can create a resource group through the Azure portal, Azure CLI, or SDKs.
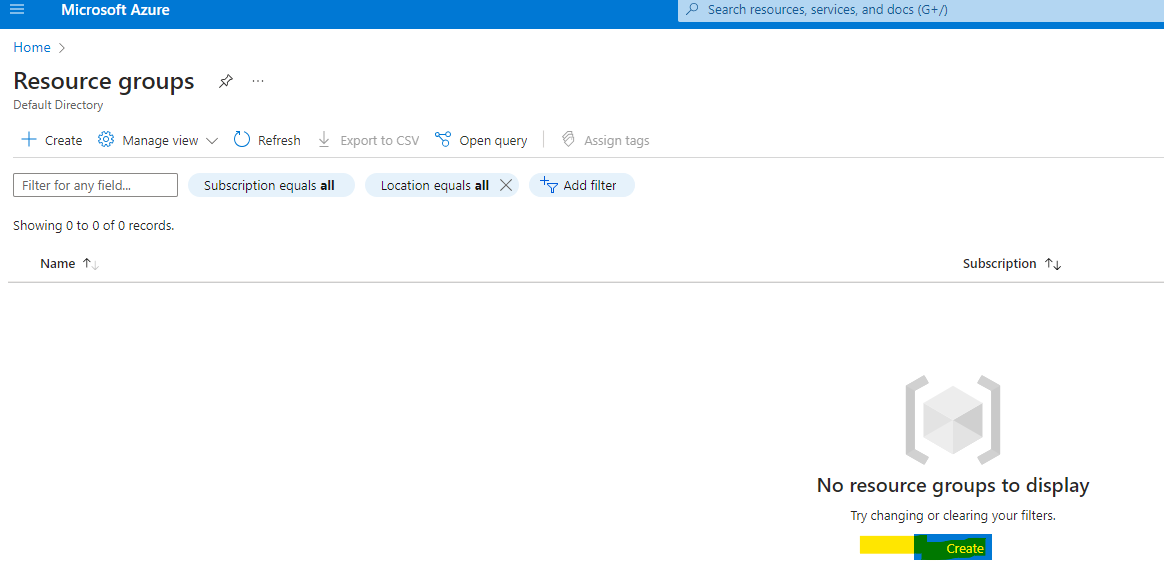
- Search resource group in the search bar and click on the "Resource groups" in the Azure Portal.

- Click on create
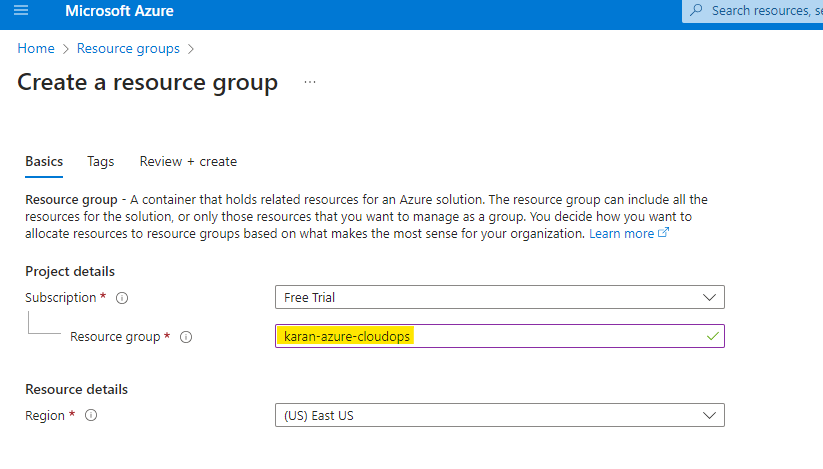
- Put your resource group name and click on "Review+Create"

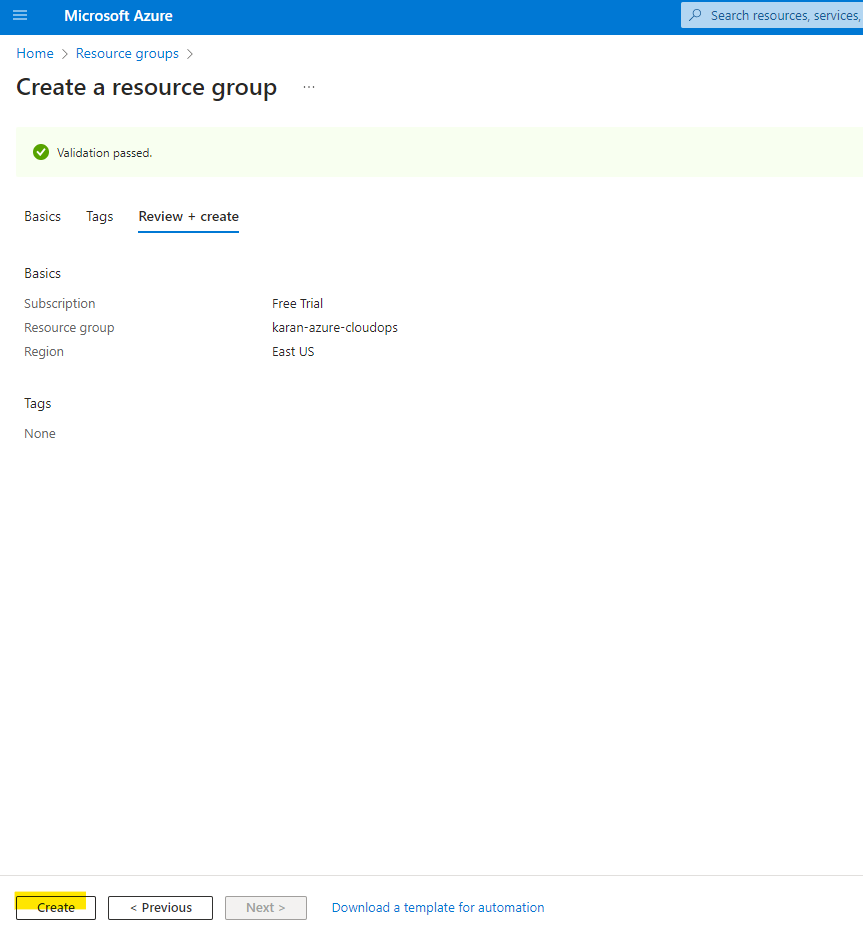
Once, it validates all parameters and click on create
Your resource group will be created

Create a VM:
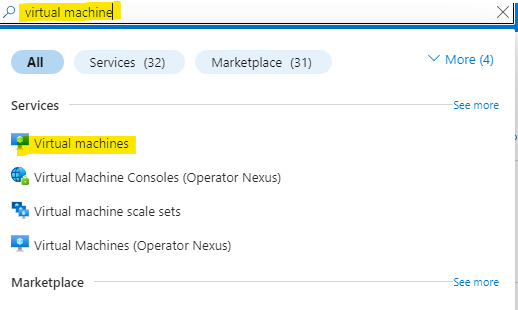
In the Azure search bar, type "virtual machines" and select "Virtual machines" from the search results.
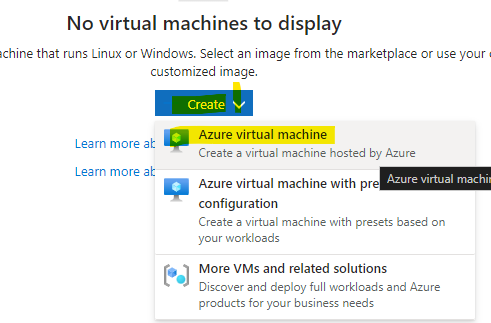
Click the "+ Create" button to begin creating a new virtual machine
Configure VM settings:
The virtual machine creation process involves several settings across different tabs. Let's explore them one by one:
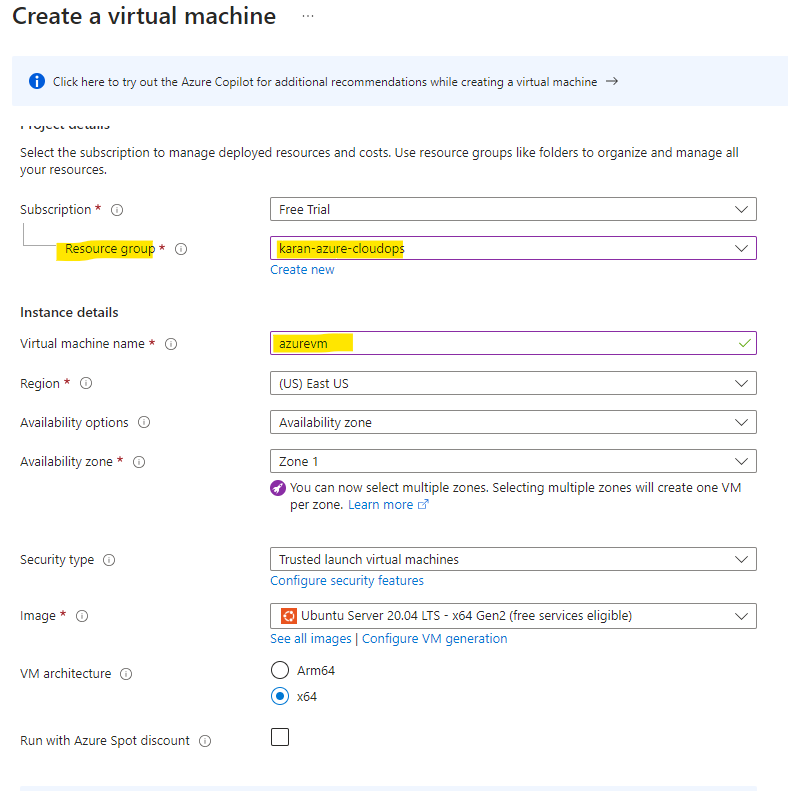
Basics: In this tab, you'll define the following:
Resource group: Choose an existing resource group or create a new one to organize your Azure resources.
Instance details: Enter a name for your VM and choose the desired operating system image (e.g., Ubuntu Server 20.04 LTS).
Region: Select the geographic location where you want your VM to reside.
Disks & Instance: Here, you can configure the storage for your VM, including disk type and size. Please select the minimum instance size if you are using Free-Tier account. In my case, i used B1|S series.

Networking: Define the network settings for your VM, such as virtual network and subnet. You can also configure public inbound ports for remote access (e.g., RDP for Windows).
Management: Choose how you want to manage your VM after deployment.
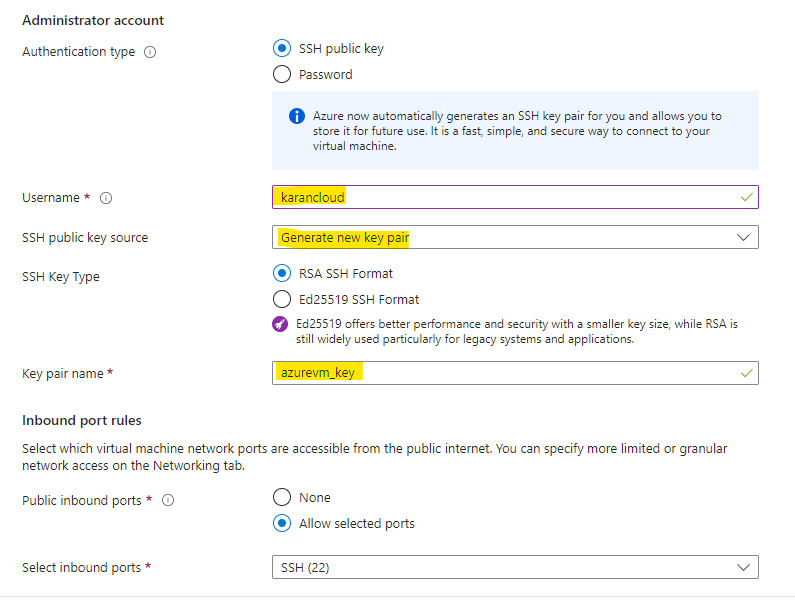
Security: Configure security settings for your VM, including administrator account details and inbound security rules. For the Linux VM, create the keypair name and authentication type. Also create the username for your Linux VM.
Tags: (Optional) Assign tags to categorize your VM for better organization.
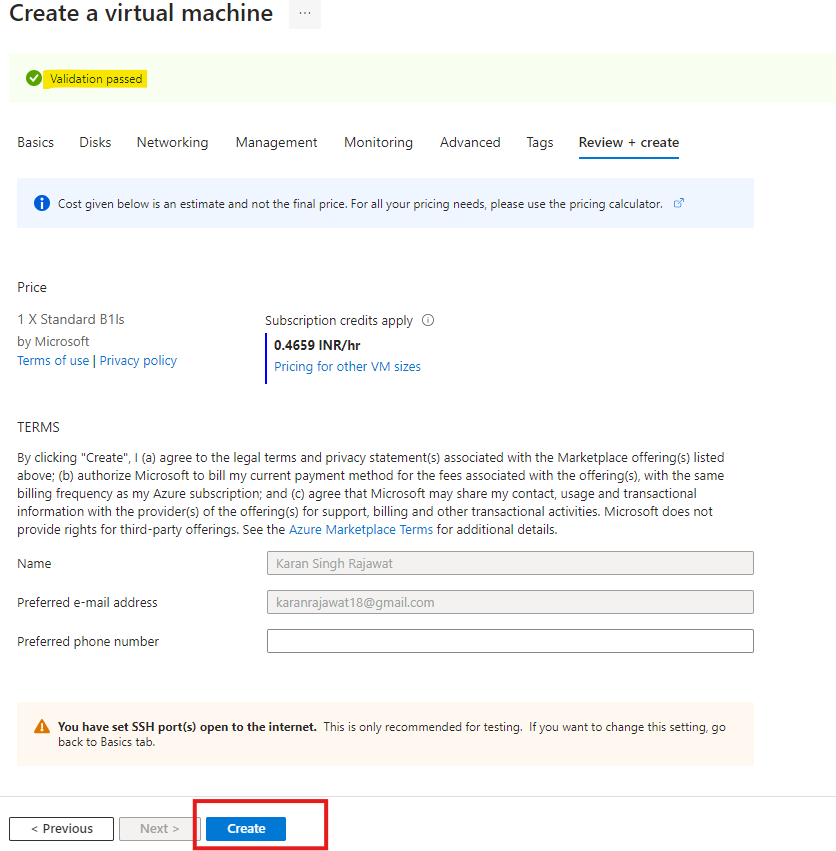
Review + create: Once you've configured all the settings, review the details and click "Create" to deploy your virtual machine.
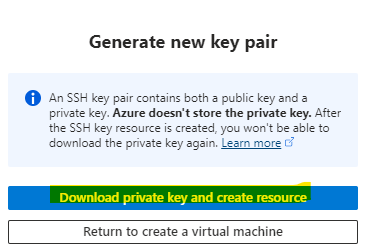
It will ask to download the private key first before deploy your VM.
You can see deployment is in progress

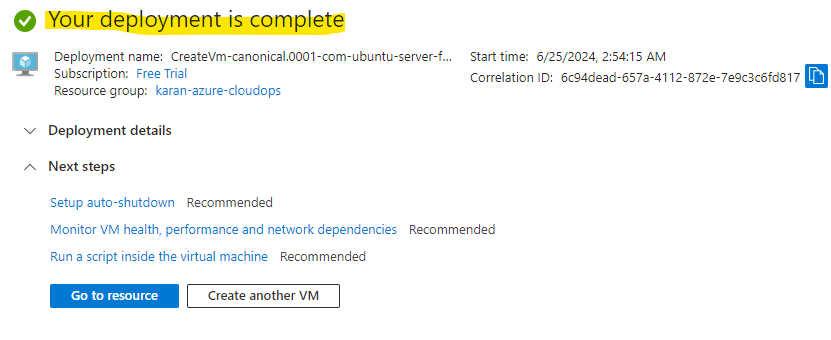
After few seconds, deployment will be completed.
Getting started with Azure VM
There are few ways to connect your Virtual Machine(VM):
A user-friendly web interface for creating and managing VMs using SSH using Azure CLI
You can download Azure CLI and create and configure VM
You can use from third party SSH tool such as putty, MobaXterm. In my case, I used MobaXterm tool. I personally love this tool.
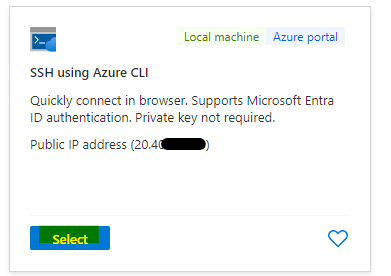
SSH using Azure CLI
To access the VM using Azure CLI in Azure portal. Go to your VM, and click on connect dropdown and select connect

It will ask to select the option
After, it will ask to configure the validation to launch the inbuilt CLI
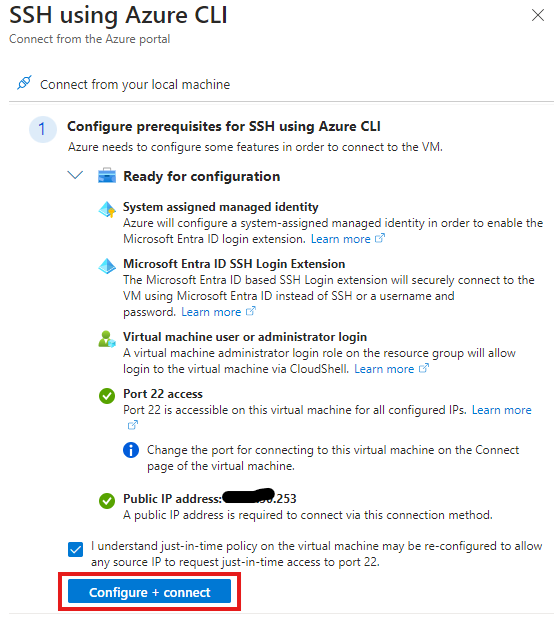
You can use either bash or PowerShell in the cloud shell toolbar

Select the free trial in the subscription and uncheck the option "use an existing private virtual network" if you haven't created earlier

You can switch to bash or PowerShell anytime in the cloud shell toolbar.

Bash


PowerShell

Download Azure CLI and configure
Download Azure CLI using URL : https://learn.microsoft.com/en-us/cli/azure/install-azure-cli-windows?tabs=azure-cli
Download latest version of Azure CLI for Windows
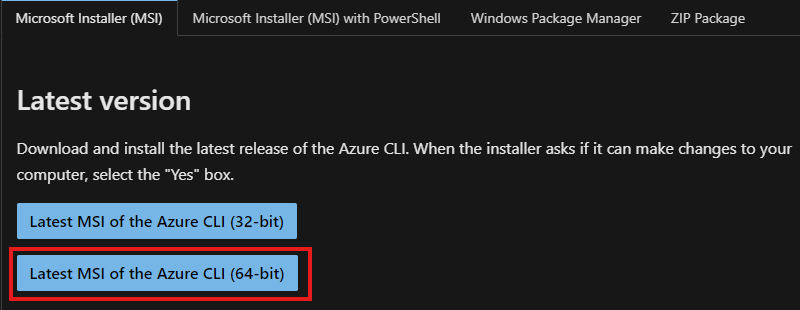
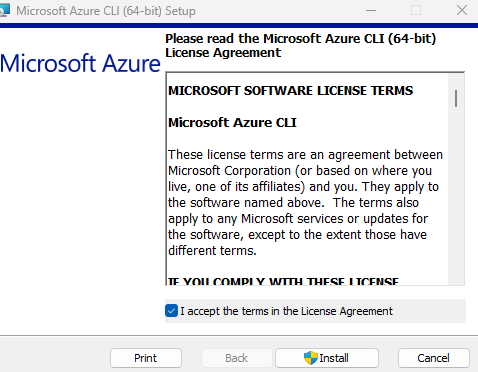
Install the CLI
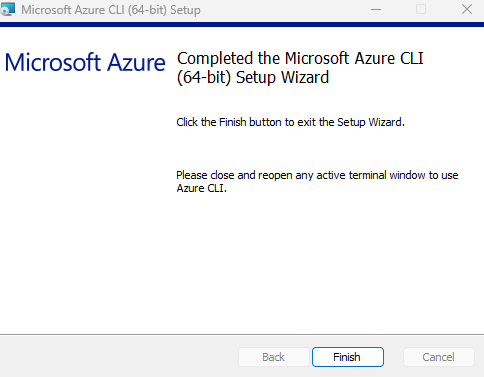
Finish the installation
Configure the Azure CLI : Open any terminal or code editor such as vs code in your system. Type command
az login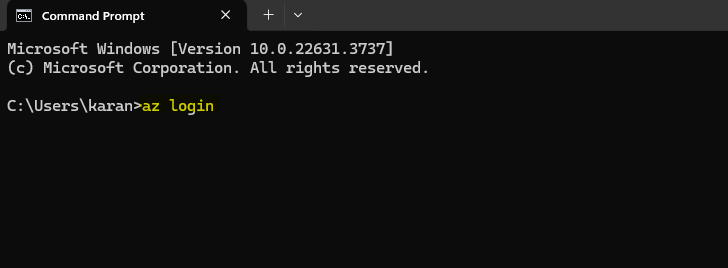
Once you hit enter the command it will ask for authenticate email which is associated with your Azure account.
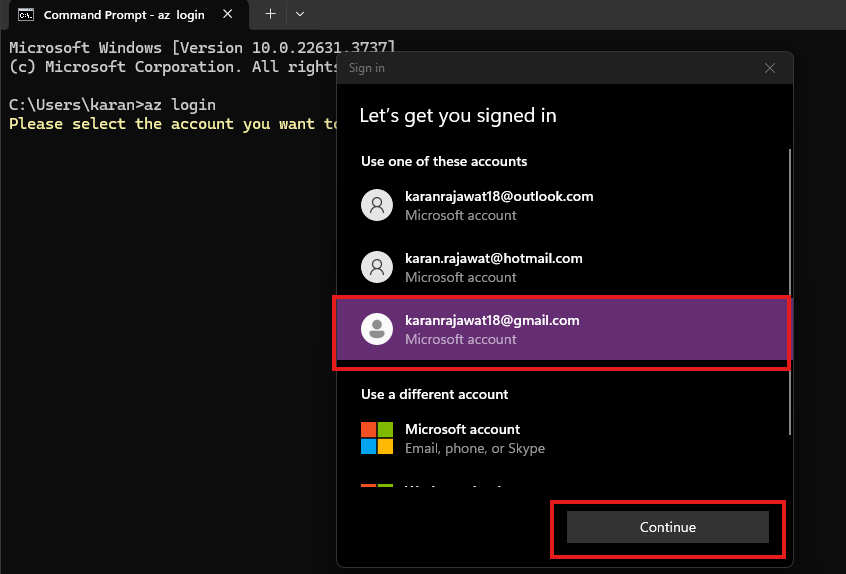
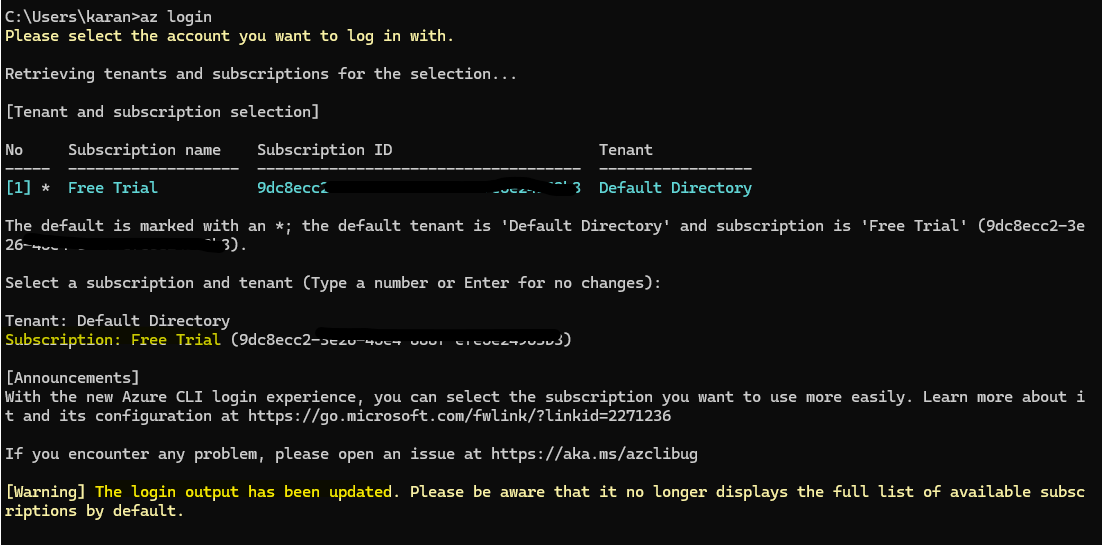
Once, account authenticates it will show the complete information on your terminal.
To check the Azure CLI version, hit command
az --version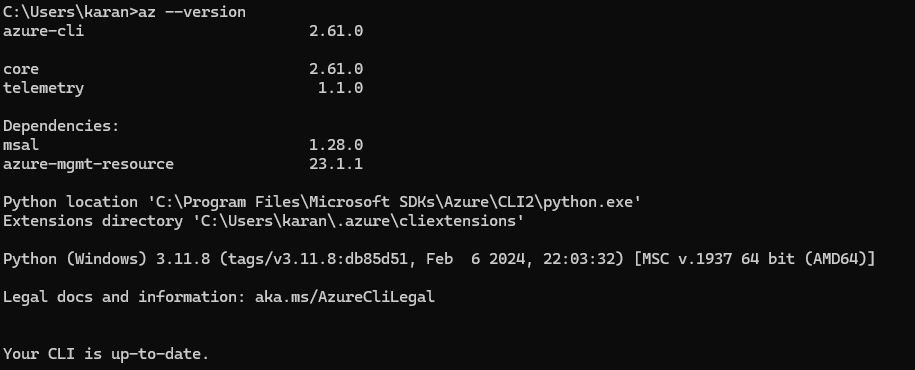
Connect your VM using MobaXterm
Download this tool using URL: https://mobaxterm.mobatek.net/download.html
Install this tool and launch the new session
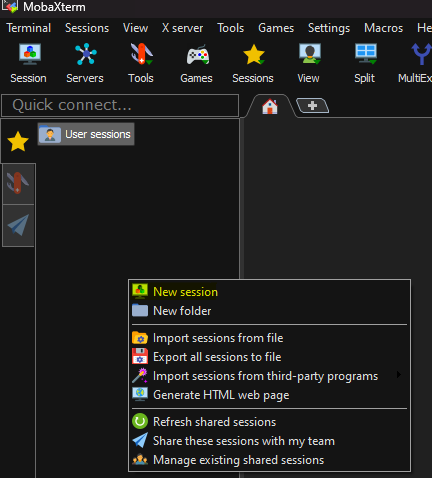
Copy public IP from Azure VM and paste here in the Remote Host section and specify the correct Azure VM username which you have associated on the console.

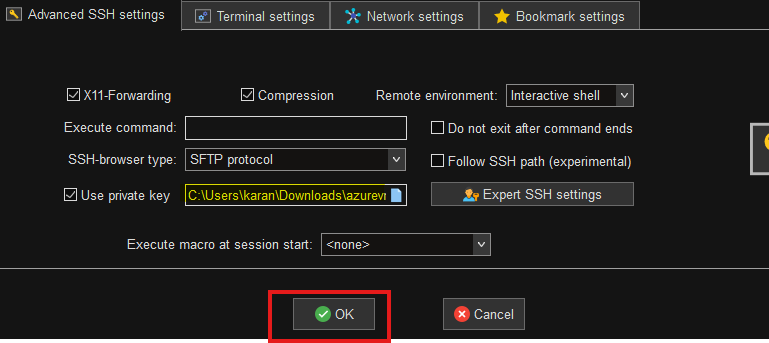
Now, click on Advanced SSH settings

Browse the your private key which you have download earlier and select the checkbox "use the private key" and click on OK.
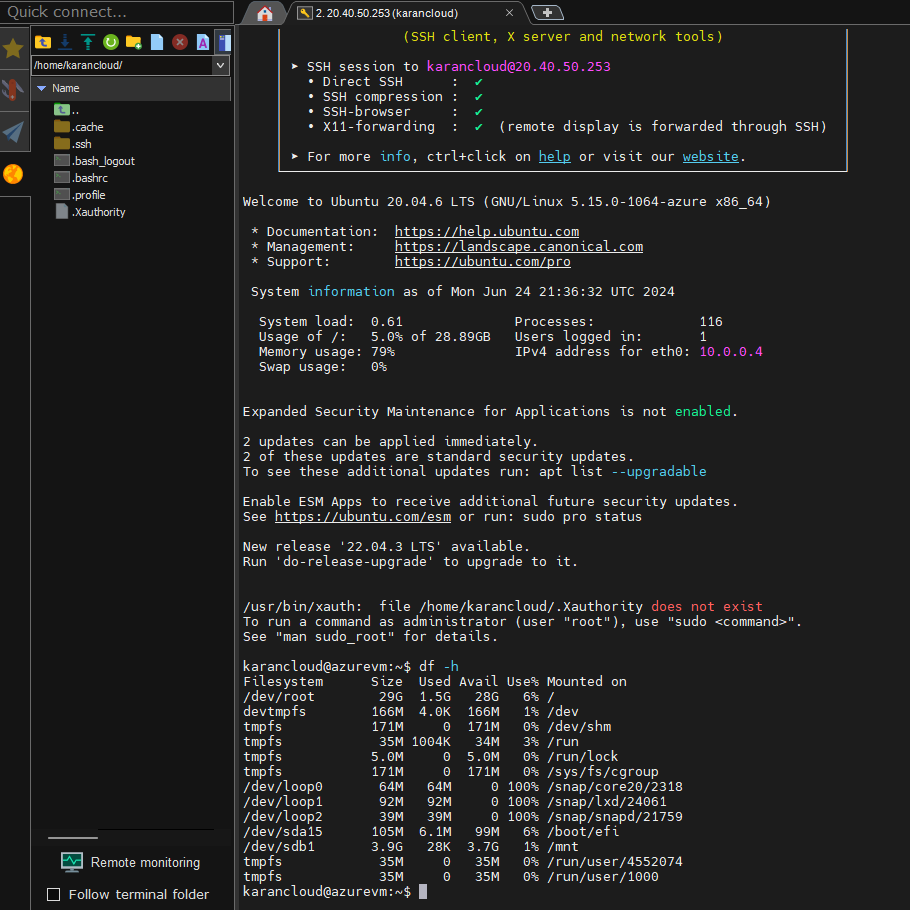
Now, you are all set. you can see your VM in your MobaXterm tool.
Use Cases for Azure VMs:
Development and Testing: Create development and testing environments that mirror production settings.
Web Applications: Host web applications with scalability and high availability.
Databases: Deploy database servers in a secure cloud environment.
Disaster Recovery: Set up VMs in a secondary location for disaster recovery purposes.
High-Performance Computing (HPC): Utilize VMs with GPUs for intensive tasks like scientific simulations and machine learning.
Pricing and Options:
Azure VMs offer flexible pricing models:
Pay-as-you-go: Ideal for short-term workloads or unpredictable usage patterns.
Reserved Instances: Save costs by committing to a VM size and region for one or three years.
Azure Savings Plan: Get deeper discounts by committing to spend a certain amount per hour on compute resources.
Explore Azure VM Documentation:
Microsoft provides comprehensive documentation to help you get started with Azure VMs: https://learn.microsoft.com/en-us/azure/virtual-machines/
Beyond the Basics:
As you explore further, you’ll find advanced features like:
VM Images: Pre-configured virtual machines with popular operating systems and applications.
Availability Sets and Zones: Enhance your VMs' resiliency against hardware failures.
Virtual Machine Scale Sets: Manage a group of identical VMs for horizontal scaling.
Azure Backup: Protect your VMs with automated backups and disaster recovery options.
By leveraging Azure VMs within well-organized resource groups, you can build and deploy scalable, secure, and cost-effective cloud solutions.
Subscribe to my newsletter
Read articles from Karan Singh Rajawat directly inside your inbox. Subscribe to the newsletter, and don't miss out.
Written by

Karan Singh Rajawat
Karan Singh Rajawat
I am a Senior Software Engineer at Cross Country Healthcare. I have 8+ year experience in Infrastructure and CloudOps and three AWS certifications: Cloud Practitioner, Solutions Architect - Associate, and SysOps Administrator - Associate. I started my career as a Service Desk Engineer, where I built a strong foundation in IT support and customer service. I then transitioned to on-premise infrastructure, where I gained valuable experience in diverse technologies and platforms. Inspired by the rapid growth of cloud computing, I specialized in AWS CloudOps.