Project 1: Jenkins Freestyle Project for DevOps Engineers.
 Lalita Kashyap
Step 1: Go through my article to install "Jenkins"
https://lalitakashyapblog.hashnode.dev/a-beginners-guide-to-jenkins-getting-started-with-automation
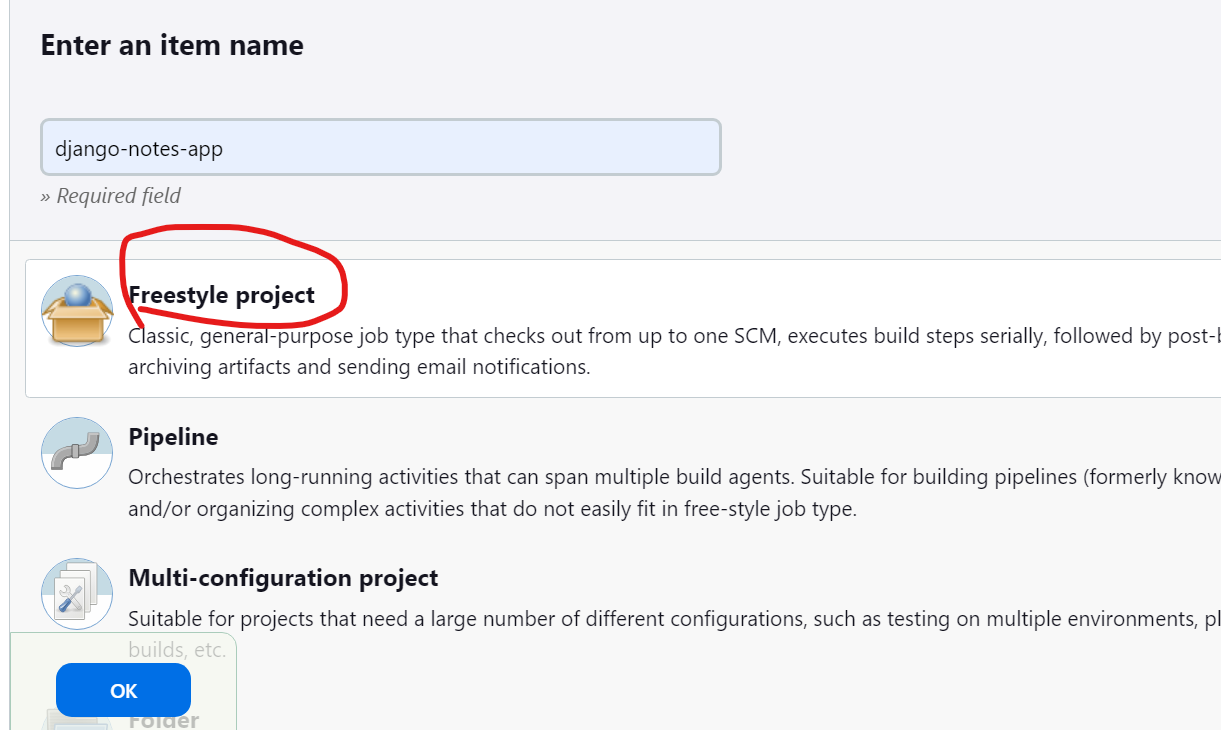
Step 2: Click on create job and enter name, select "Freestyle project" and then click "ok"
Step 3: Add description > ✅ github project url and give the url > ✅git hub repository and give the url > set branch according to repository > ✅Github hook trigger for gitSCM polling > add build steps
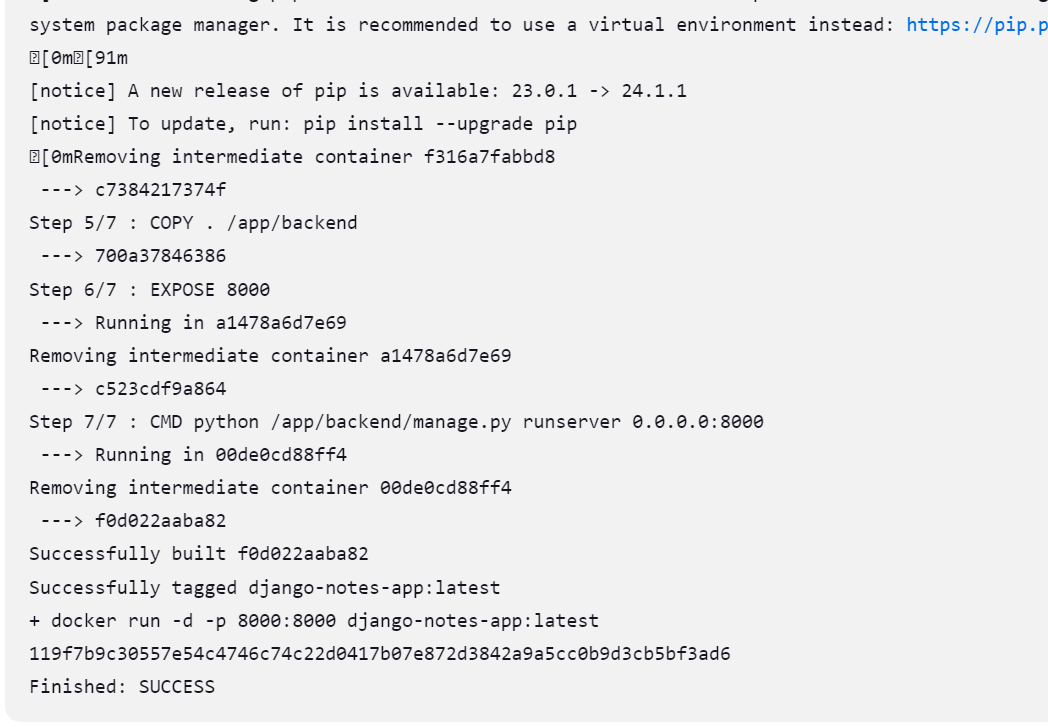
docker build -t django-notes-app:latest .

docker run -d -p 8000:8000 django-notes-app:latest
Step 4: Click on "Save"
Step 5: Before Building the image we have to install docker first
sudo apt-get install docker.io docker-compose -y
Step 6: If we want jenkins and docker to be automatically restart after restarting system will use.
sudo systemctl enable jenkins
sudo systemctl enable docker
Step 7: Give permission to docker
sudo usermod -aG docker $USER
Step 8: Give permission to jenkins
sudo usermod -aG docker jenkins
Step 9: Now, restart docker
sudo systemctl restart docker
Step 10: Now, restart Jenkins
sudo systemctl restart jenkins
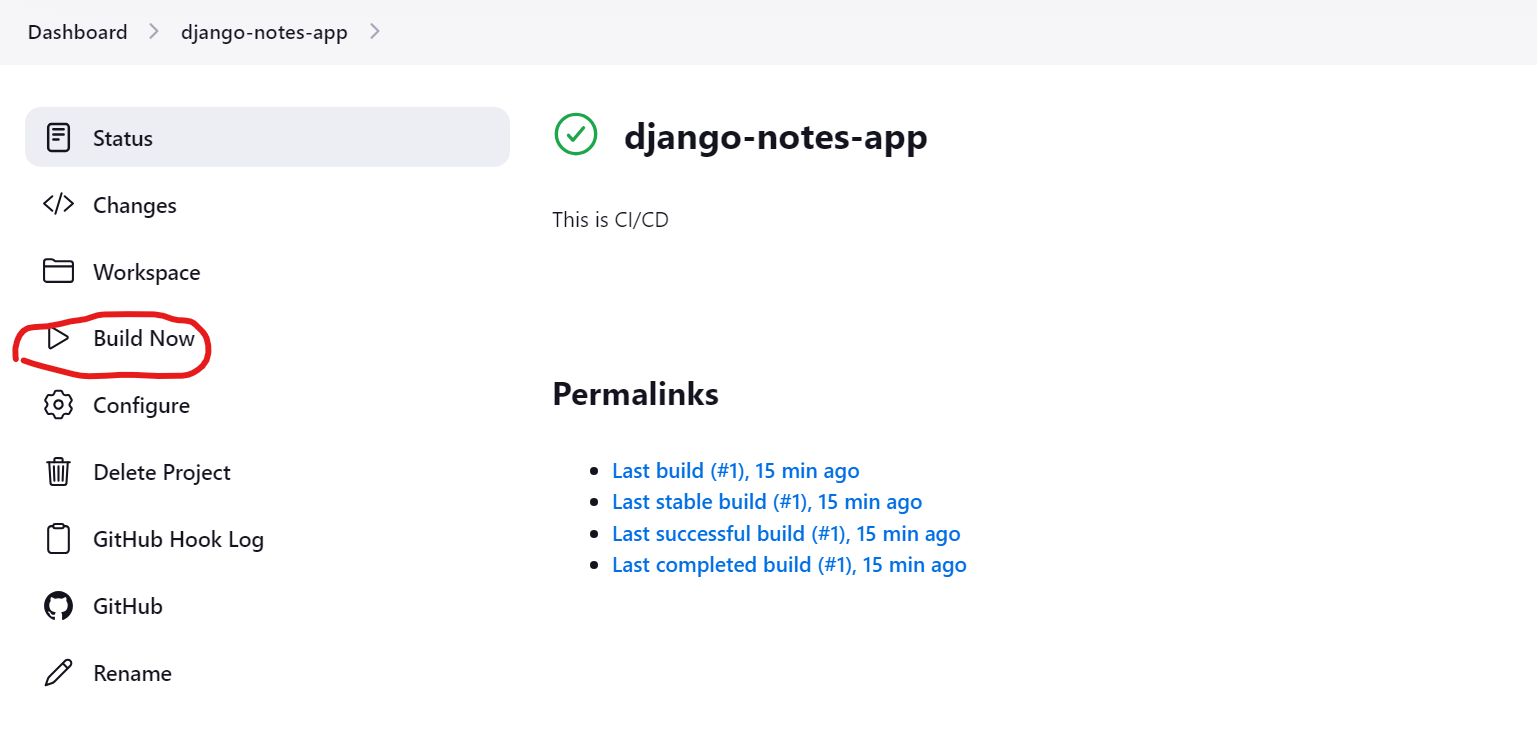
Step 11: Now, Click on "Build Now"
Step 12: Check "Console Output" build successfully
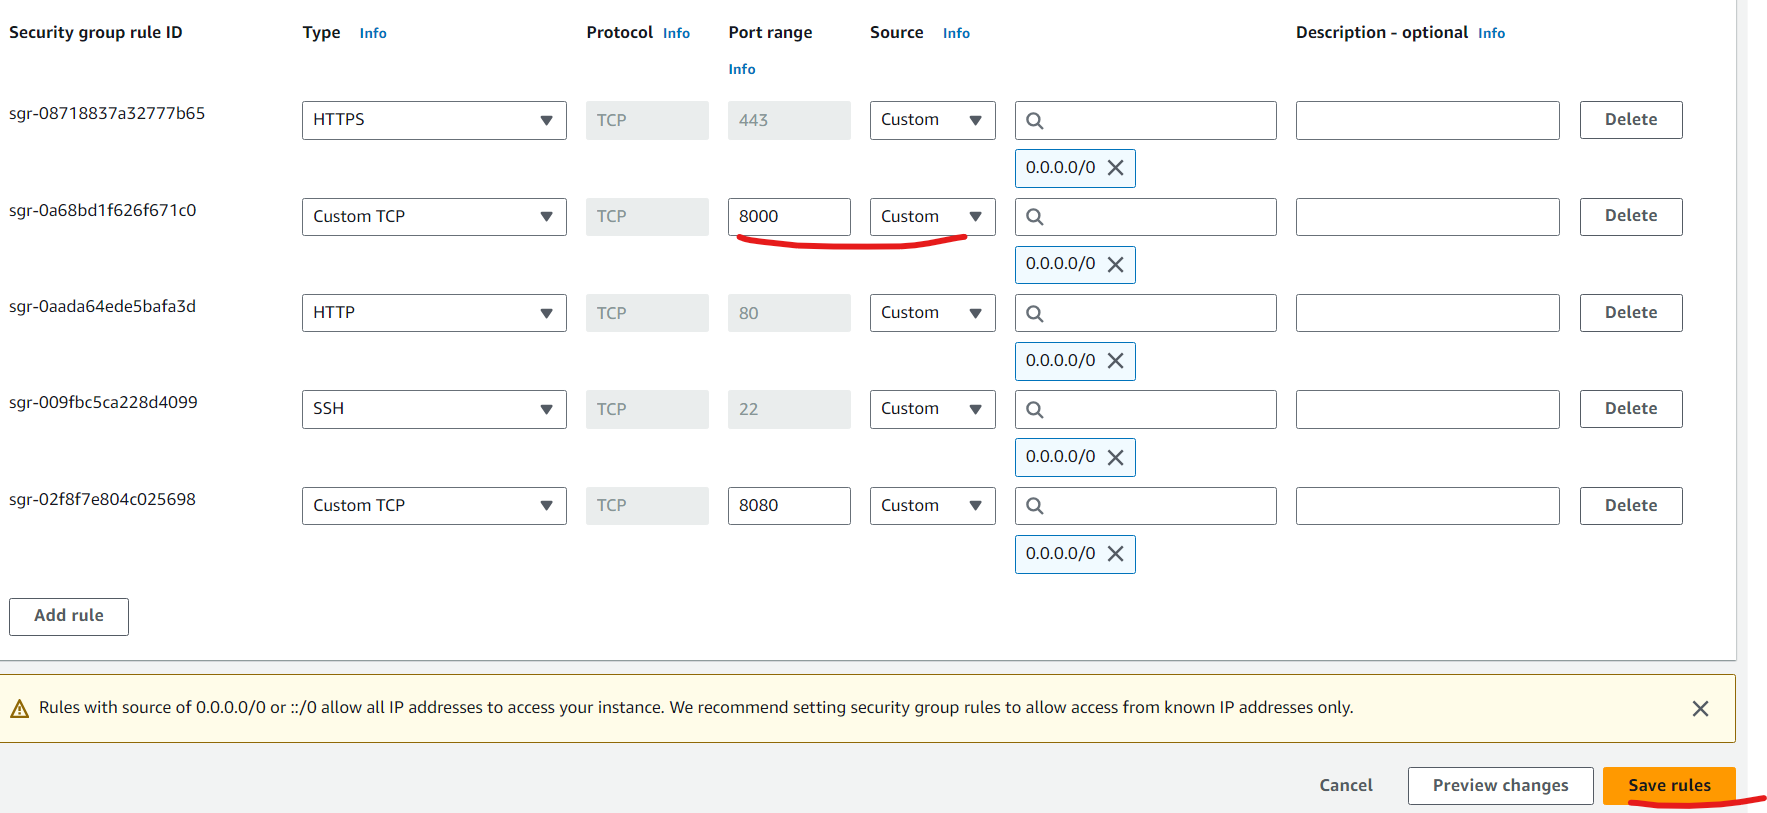
Step 13: Give permission to port "8000" in instance
- Go to security group in instance

- Click SG link

- Click on "edit inbound rules"

- Click on "Add rules"

- Give "8000" in port range and select "Anywhere" in source and click Save
- Copy public dns from instance in networking

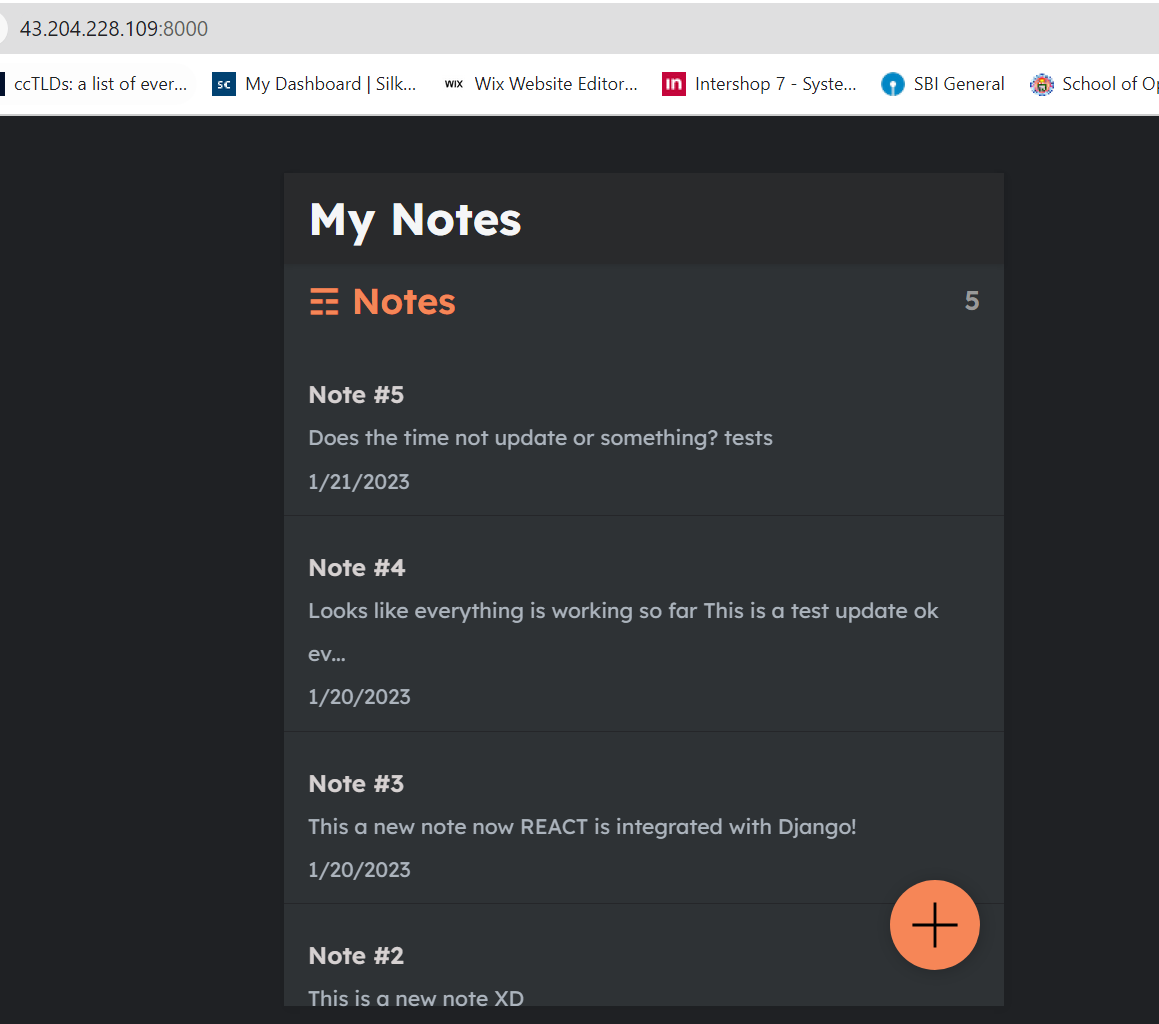
- Now go to browser and paste public ip of instance
Implementing CI/CD for your Django applications with Jenkins is a significant step towards modern software development practices. It empowers your team to focus more on coding and less on the overhead of manual deployments and testing.
Thank you🙏
Keep Learning..
Subscribe to my newsletter
Read articles from Lalita Kashyap directly inside your inbox. Subscribe to the newsletter, and don't miss out.
Written by
