How to Implement Conditional Rendering in React
 Itachidevs
 Table of contents

So far, I have written articles about Introduction, Components, Lists and Keys, and Class Components. Now it's time to discuss decision-making in React.
You can find the practices and challenges here.
Let's dive in..
Conditional Rendering ⁉
Imagine you're creating a Login and Logout page. It displays a message asking the user to log in with a button. Once the user logs in, it shows a button to log out.
For this, we need to decide when the message and text content of the page should change. Just like in programming languages where we use if...else statements and ternary operators, we can use these statements in React.
Conditional Rendering allows us to display different elements or components based on a condition.
Here are different ways to implement Conditional Rendering:
Using an If...Else Statement
Using Element Variables
Using Ternary Operators
Using Logical && Operator
Application 🎯
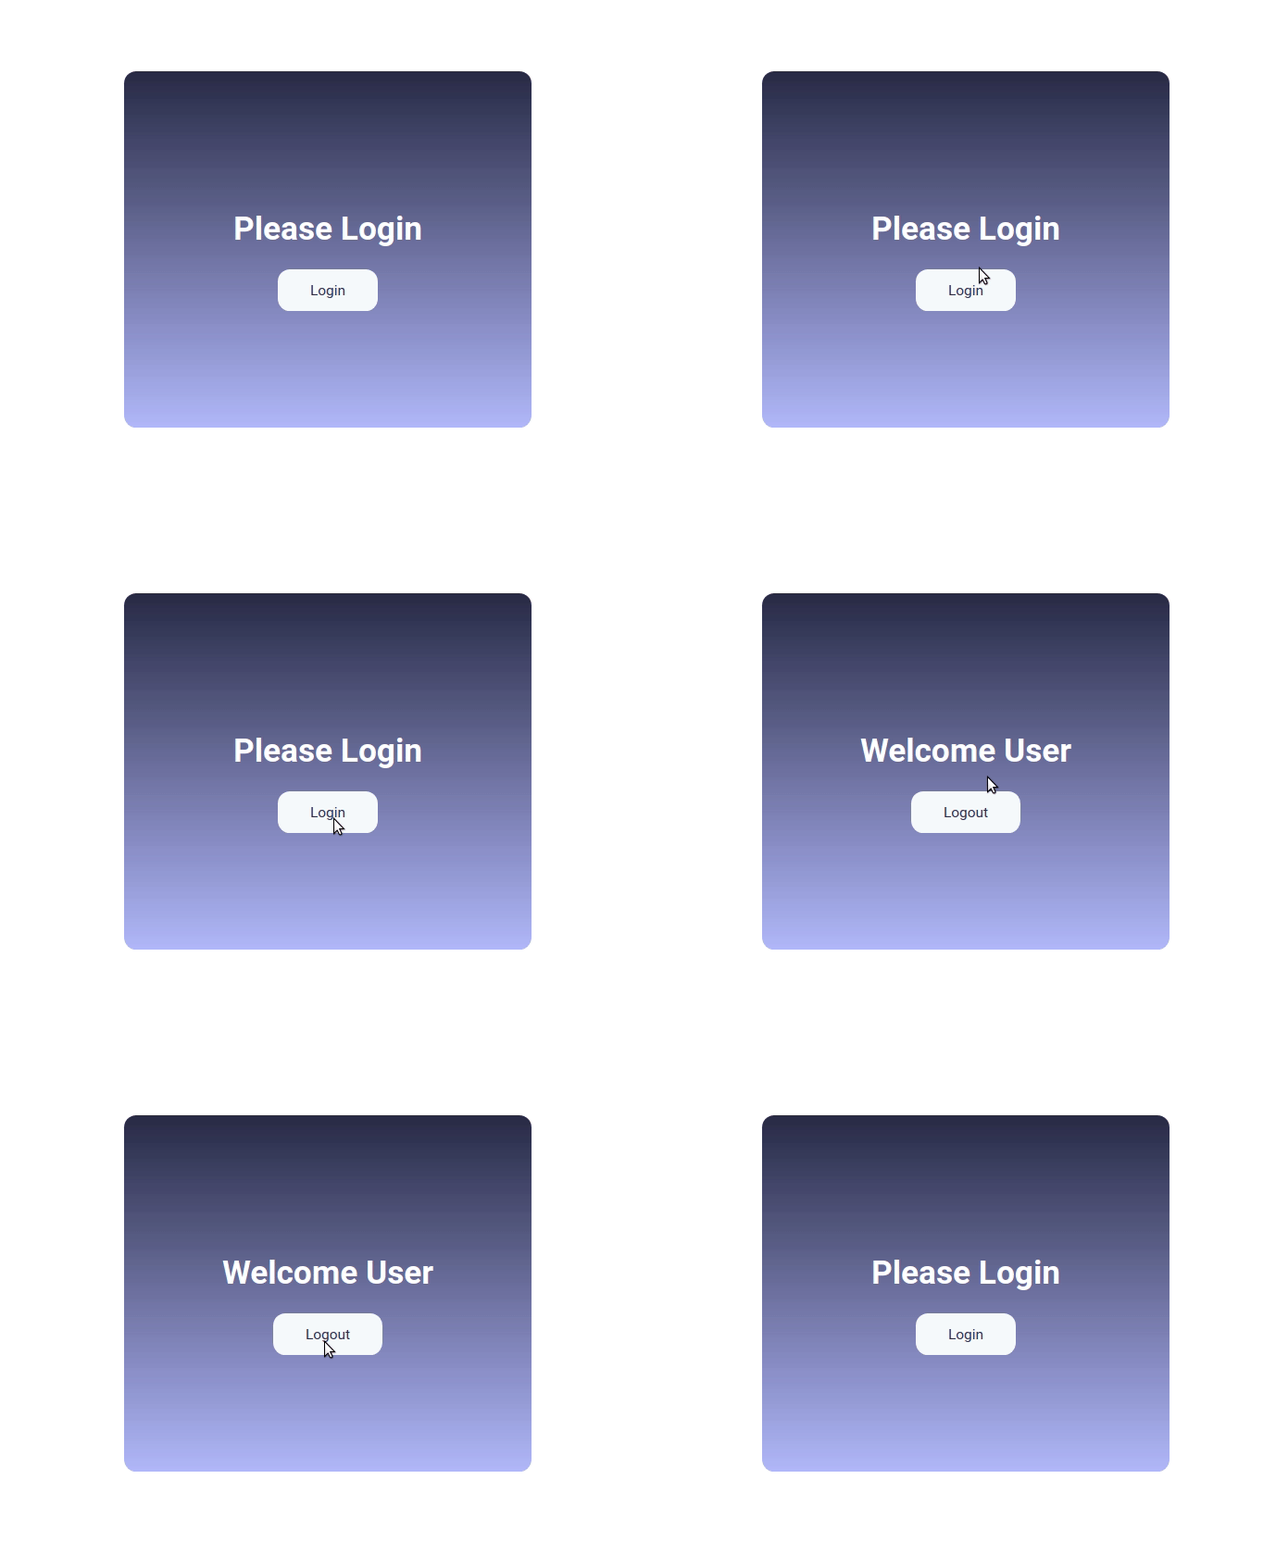
Let's explore with an example. Say we're developing the page below.

Here, if we look at the structure, the container includes both the message and the button.

I separated the elements into Home, Message, Login, and Logout components.
Now that we understand the structure, it's time for implementation.
The Message component will return the default message:
Please Login.const Message = props => { const {message} = props return <h1 className="Message">{message}</h1> } Message.defaultProps = {message: 'Please Login'} export default MessageThe Login component will return the text
Login.const Login = () => 'Login' export default LoginLogout Component will return the text
Logout.const Logout = () => 'Logout' export default LogoutNow let's implement the Home Page using ternary operators.
  import {Component} from 'react'

  import './index.css'

  import Message from '../Message'

  import Login from '../Login'

  import Logout from '../Logout'

  class Home extends Component {
    state = {isClicked: false}

    Onchange = () => {
      this.setState(prevState => ({isClicked: !prevState.isClicked}))
    }

    render() {
      const {isClicked} = this.state
      const pElemnt = isClicked ? <Message message="Welcome User" /> : <Message />
      const textContnet = isClicked ? <Logout /> : <Login />
      return (
        <div className="container">
          {pElemnt}
          <button className="button" type="button" onClick={this.Onchange}>
            {textContnet}
          </button>
        </div>
      )
    }
  }
  export default Home
Here, the Home page imports all components and uses them in this component.
isClicked is the state object that changes over time based on user interactions
You can find the solution with styles in my github profile.
Conclusion 🎉
In this article, we explored how to build a simple React application using functional components and state management.
we can use if-else statement, ternary operators, element variables and && operators.
We created components for login and logout functionality, and used ternary operators to conditionally render content based on user interactions.
By understanding these basic concepts, you can create more dynamic and interactive web applications.
Happy coding! ✨💻
Subscribe to my newsletter
Read articles from Itachidevs directly inside your inbox. Subscribe to the newsletter, and don't miss out.
Written by

Itachidevs
Itachidevs
Hi, Iam a Full stack developer trainee, learning full stack development in Netwave technologies I always love to write code in an innovative way. I love to code and build dynamic webpages.