Chatsimple's AI Chatbot Al Nav: Simple Onboarding for Better Sales
 CreativeTruly
Table of contents
- Creating the AI Agent
- Mock Representation of AI Agent
- Dashboard: Insights and Statistics
- Deploying Chatsimple on Websites
- Managing Teams and Permissions
- Customizing the AI Agent's Look and Feel
- Lead Capture and Contact Form Optimization
- Filtering Visitors and Customizing CTA
- Removing Chatsimple Branding
- Conclusion
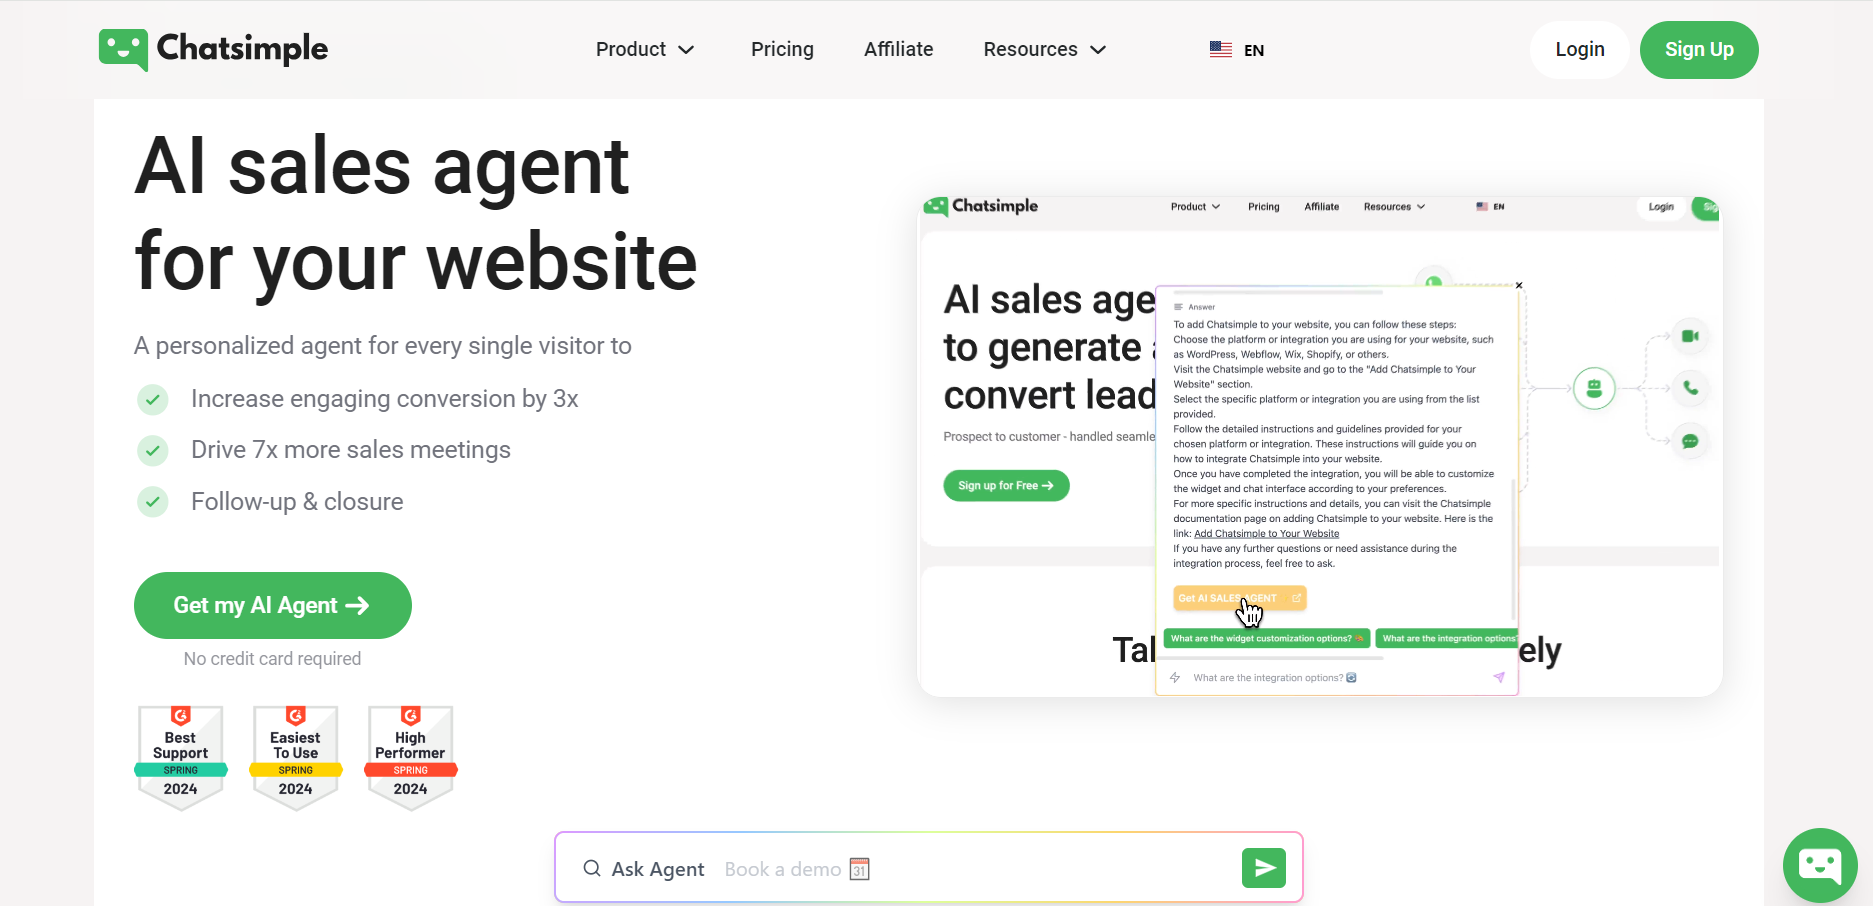
In today's digital age, having an AI chatbot on your website can greatly improve customer engagement and make sales easier. In this blog post, we'll show you the first steps to create and customize an AI agent using the Al Nav platform of Chatsimple. This guide is based on a detailed YouTube tutorial that explains everything from creating the AI agent to customizing its look and features.
Creating the AI Agent
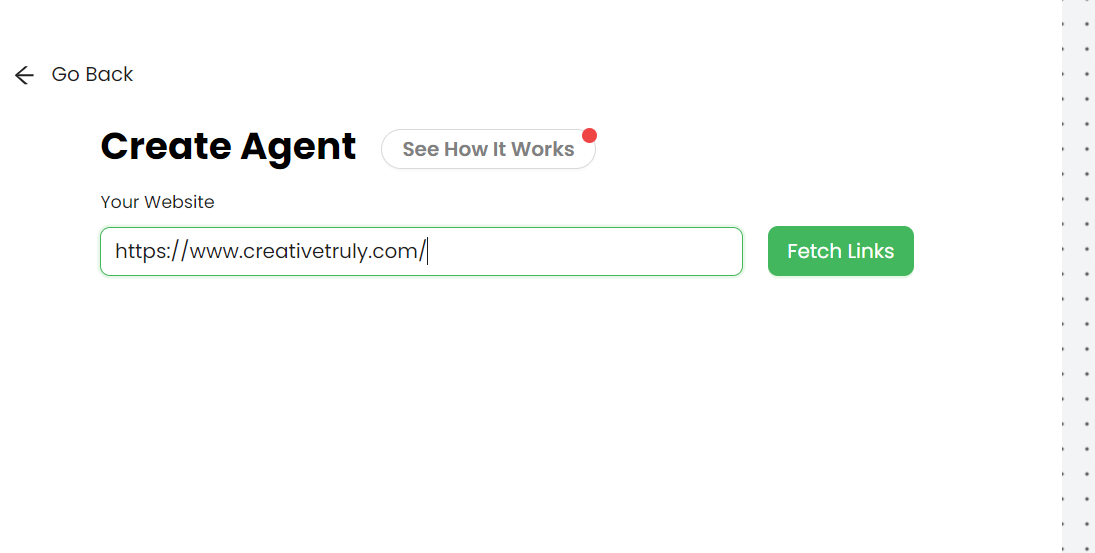
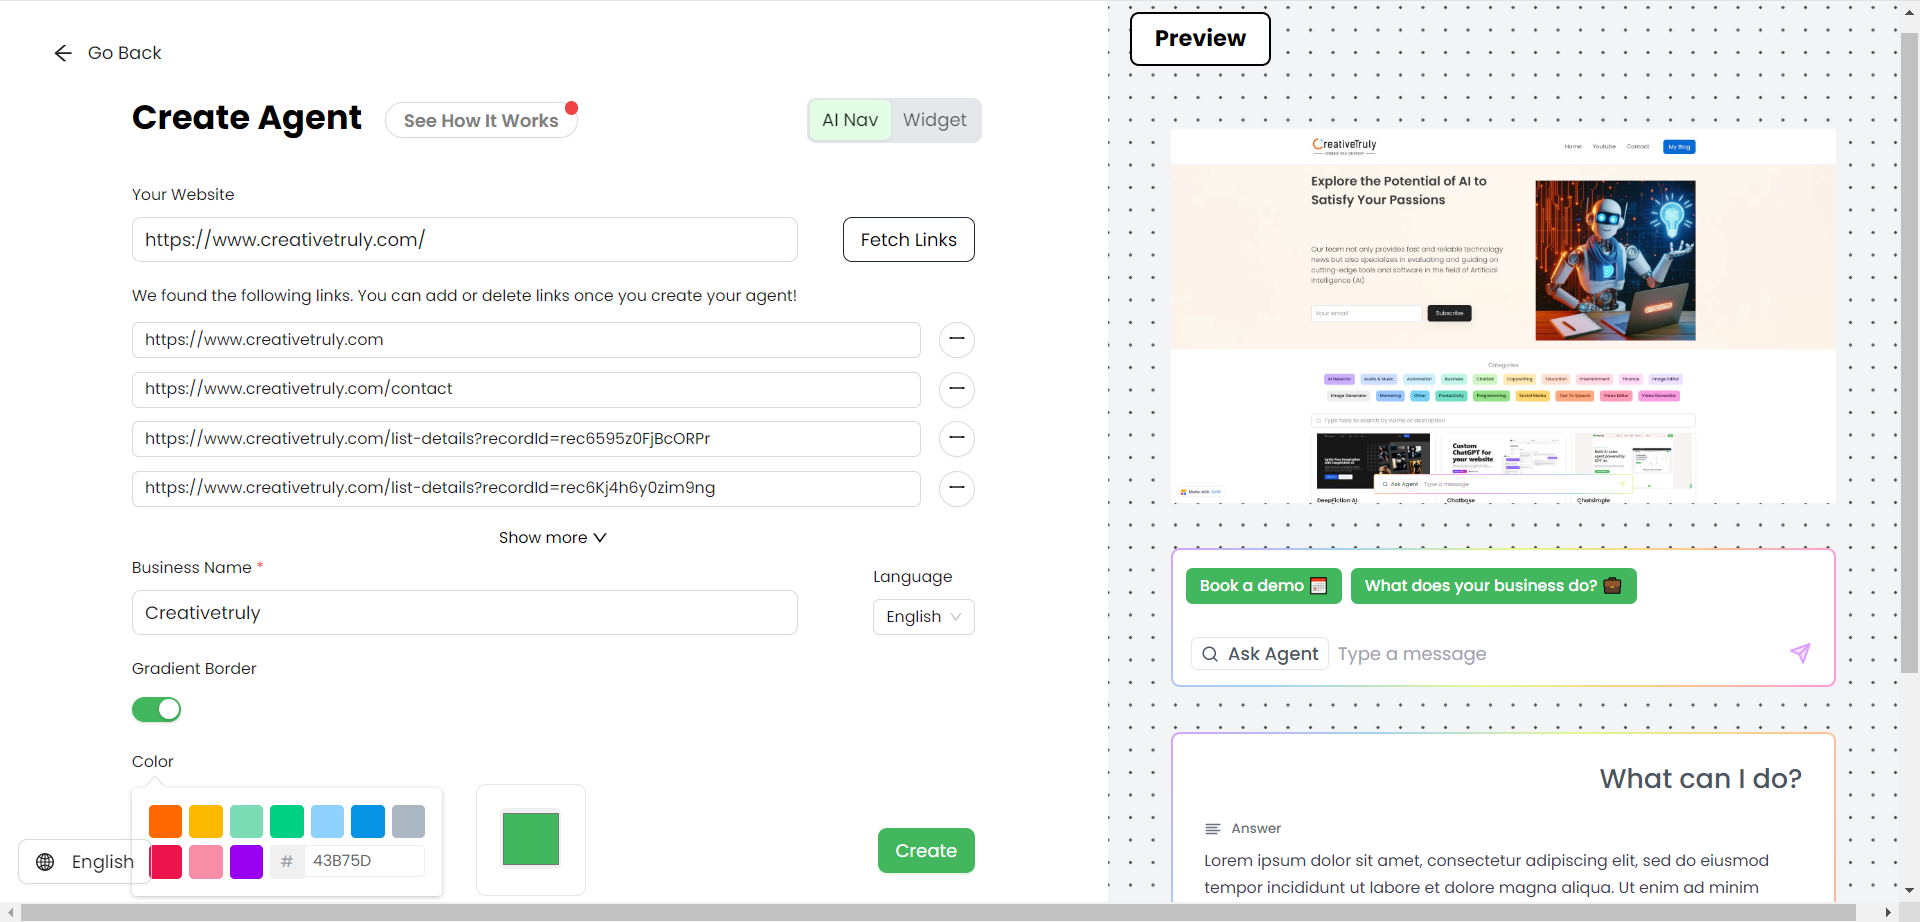
Once you log in to the Al Nav platform, you'll be directed to a page where you can create your AI agent. For instance, if your website is www.creativetruly.com, you can copy and paste this URL into the platform and click on the 'Fetch' button. The AI agent will then read and pull information from your website. You can name your agent (e.g., Mr. Truly) and customize its color before clicking on 'Create'. At this stage, the AI agent is about 60% ready, as it still requires further customization to fully align with your needs.
Mock Representation of AI Agent
After creating the agent, you can view a mock representation of how it will look on your website. This is not the actual deployment but a preview. You can ask the agent questions like "What are your services?" and it will provide answers based on the information it has pulled from your website. You can also customize the contact form that appears after a few interactions.
Dashboard: Insights and Statistics
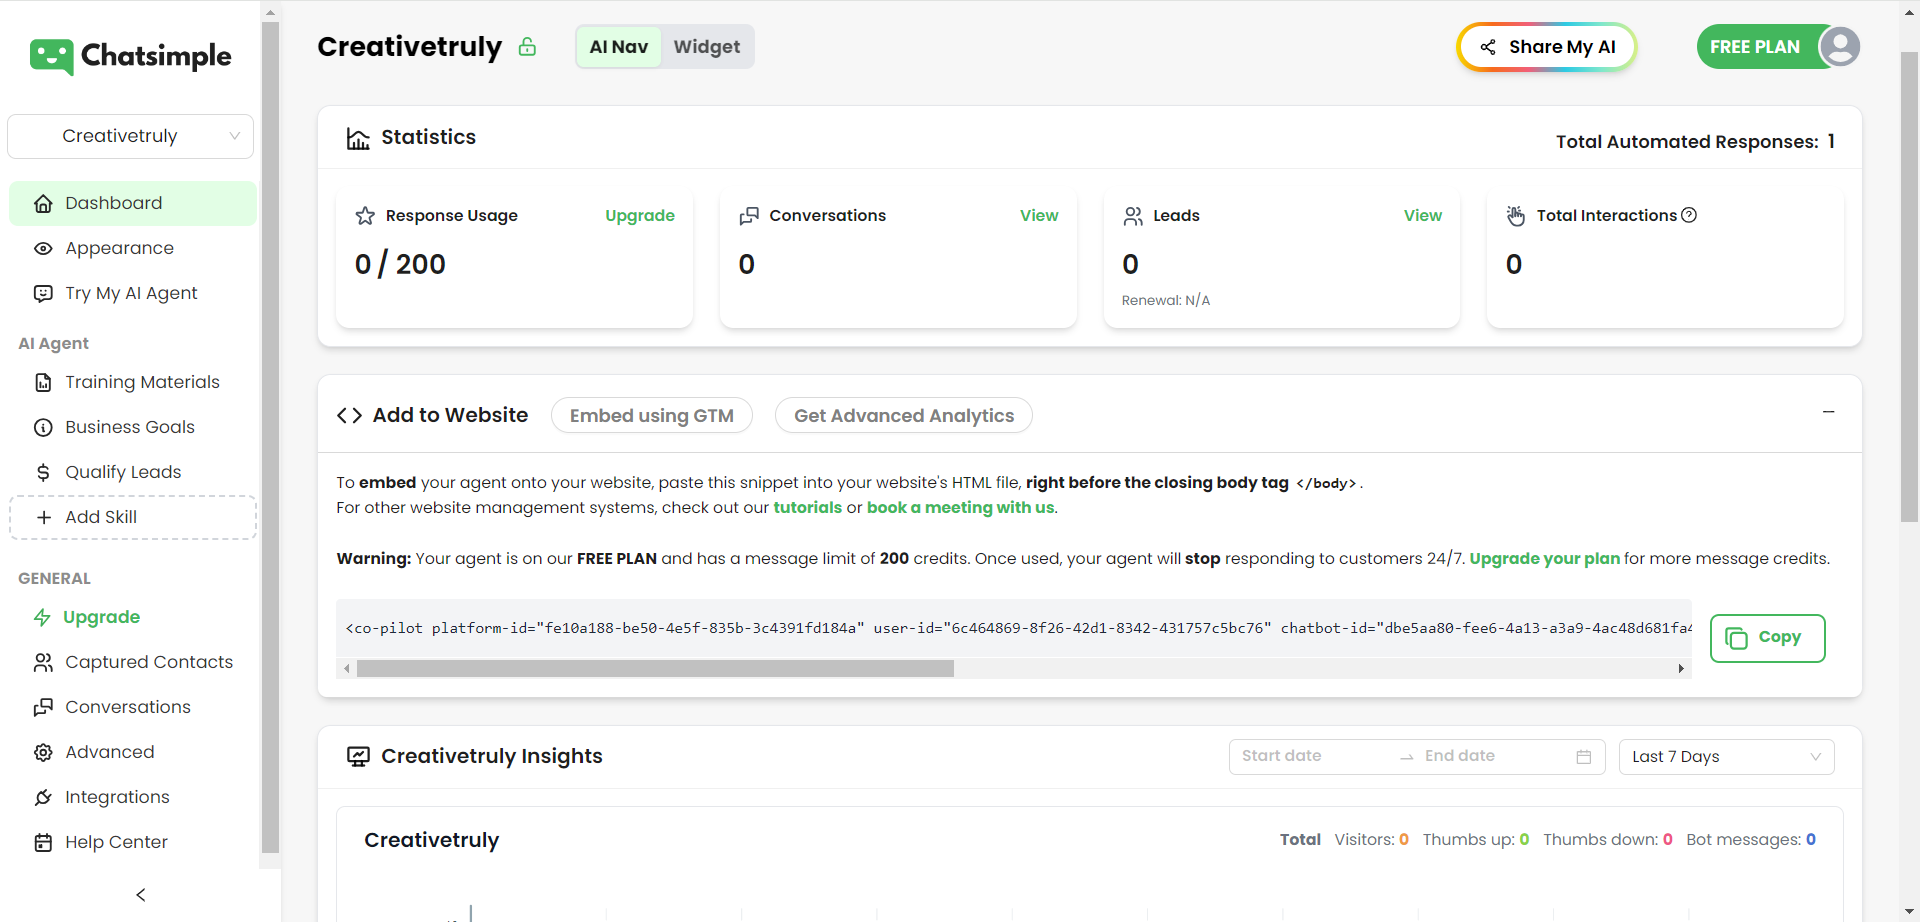
The dashboard is where you can customize your AI agent further. It provides insights and statistics such as the number of responses, conversations, leads, and total interactions. Depending on your plan, you can set a response limit for each agent. For example, if you have a total of 10,000 responses available, you can allocate a specific number to each agent.
Key Features of the Dashboard:
- Response Limit: Set a limit for the number of responses each agent can provide.
- Statistics: View graphs showing the number of visitors, messages exchanged, and user feedback (thumbs up or thumbs down).
- Deployment Code: Copy the provided code to deploy the AI agent on various platforms like WordPress, Wix, Webflow, etc.
Deploying Chatsimple on Websites
Deploying the AI agent on your website is straightforward. The platform provides step-by-step instructions for various types of websites, including WordPress, Wix, and Webflow. Simply copy the deployment code and paste it into the appropriate section of your website's backend.
Managing Teams and Permissions
You can add team members to manage the AI agent. Each team member can be assigned different permissions such as read, write, or admin access. For instance, if you add a team member with read-only access, they can view all the information but cannot make any changes.
Customizing the AI Agent's Look and Feel
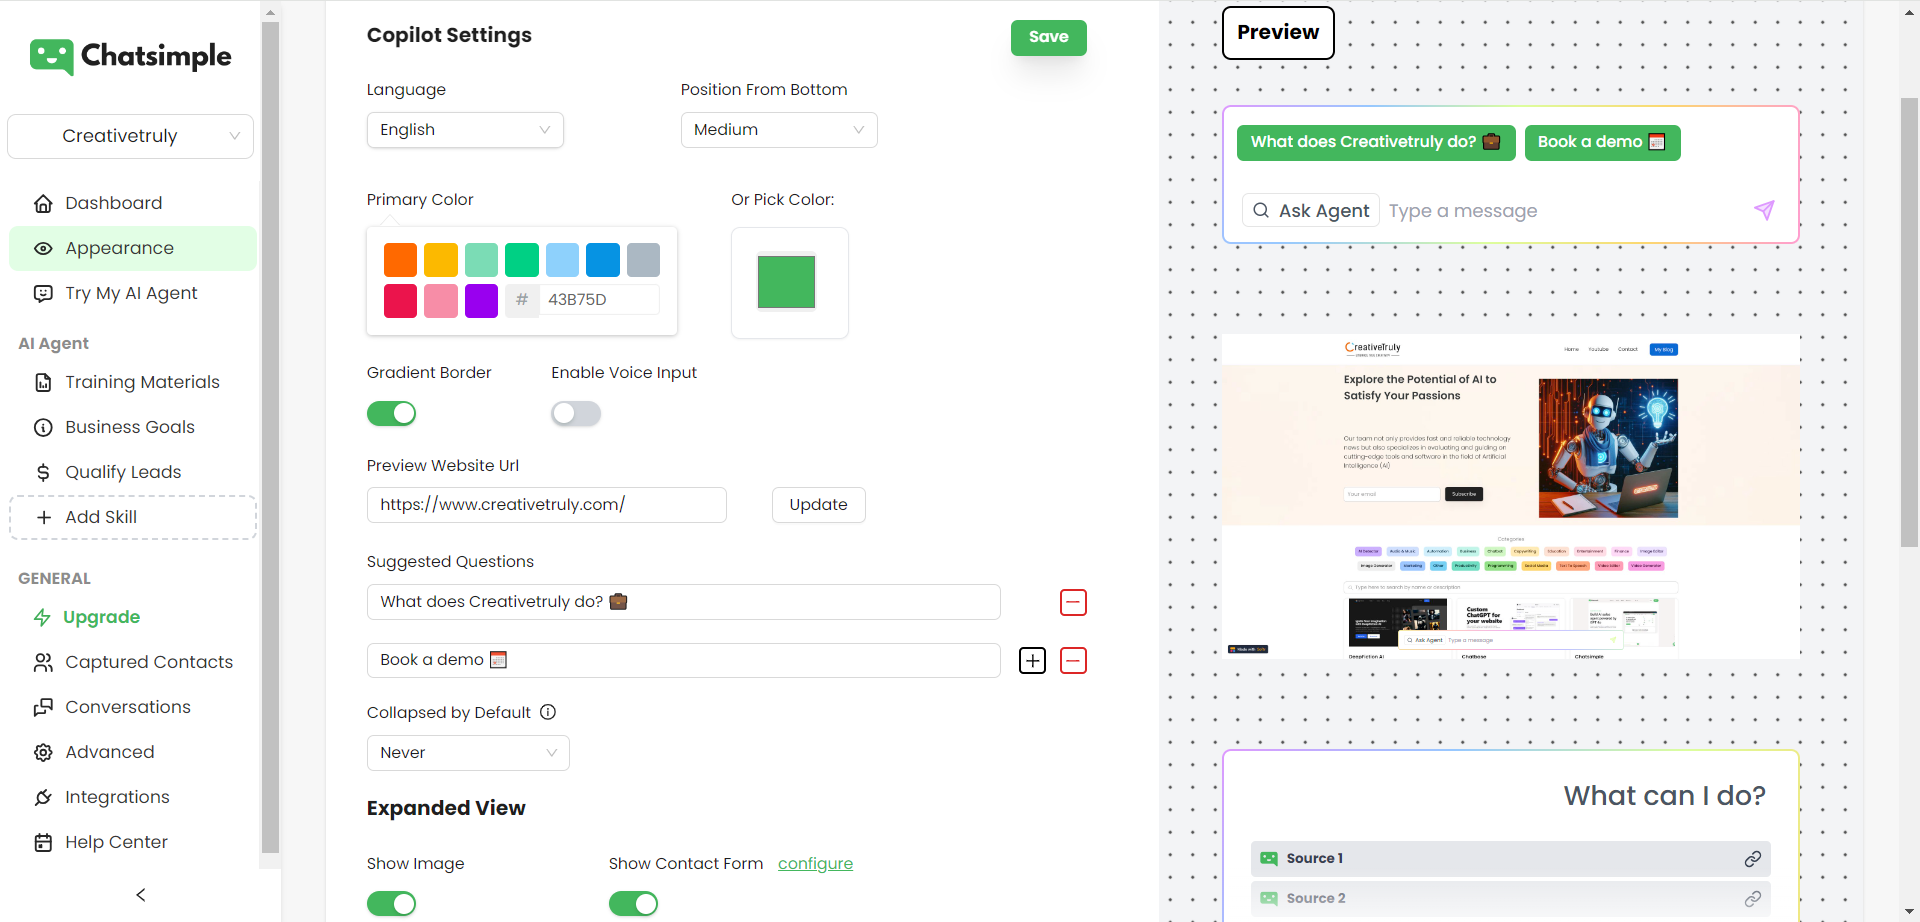
The appearance of your AI agent can be fully customized. You can choose between two main styles: AI Nav and Widget. AI Nav is a more intuitive, welcoming search bar that floats at the bottom of your website, while the Widget is a traditional round icon that pops out when clicked.
Customization Options:
- Color and Position: Adjust the color and position of the AI agent on your website.
- Voice Input: Enable voice input to allow visitors to interact with the AI agent using their voice.
- Suggested Questions: Customize the initial set of questions that appear above the search bar.
- Contact Form: Delay the contact form pop-up to appear after a few interactions, increasing the likelihood of visitors filling it out.
Lead Capture and Contact Form Optimization
Optimizing the contact form is crucial for lead capture. You can delay the contact form to appear after the visitor has asked a few questions, making it more likely for them to provide their contact information. You can also customize the form's title and the number of times it appears.
Filtering Visitors and Customizing CTA
You can filter visitors based on specific conditions, such as whether they are a dealer or an owner. Additionally, you can customize the main Call To Action (CTA) button to direct visitors to perform specific actions like booking a slot or sending an email.
Removing Chatsimple Branding
For a more professional look, you can remove the 'Powered by Chatsimple' branding. This feature is available as an add-on.
Conclusion
Creating and customizing an AI chatbot using Al Nav is a comprehensive process that offers numerous customization options to fit your specific needs. From setting up the agent to optimizing lead capture forms, this platform provides all the tools you need to enhance customer engagement on your website. Stay tuned for part 2 of this onboarding series, where we'll dive deeper into advanced features and functionalities.
Visit website
Subscribe to my newsletter
Read articles from CreativeTruly directly inside your inbox. Subscribe to the newsletter, and don't miss out.
Written by

CreativeTruly
CreativeTruly
Welcome to the CreativeTruly Blog! Here, we not only explore the amazing applications of AI technology in the real world, but also learn about its power to bring extraordinary things into our lives. Let's explore and understand how artificial intelligence is changing our lives and creating incredible opportunities for the future. Live and be passionate in the world of AI and together create wonders.