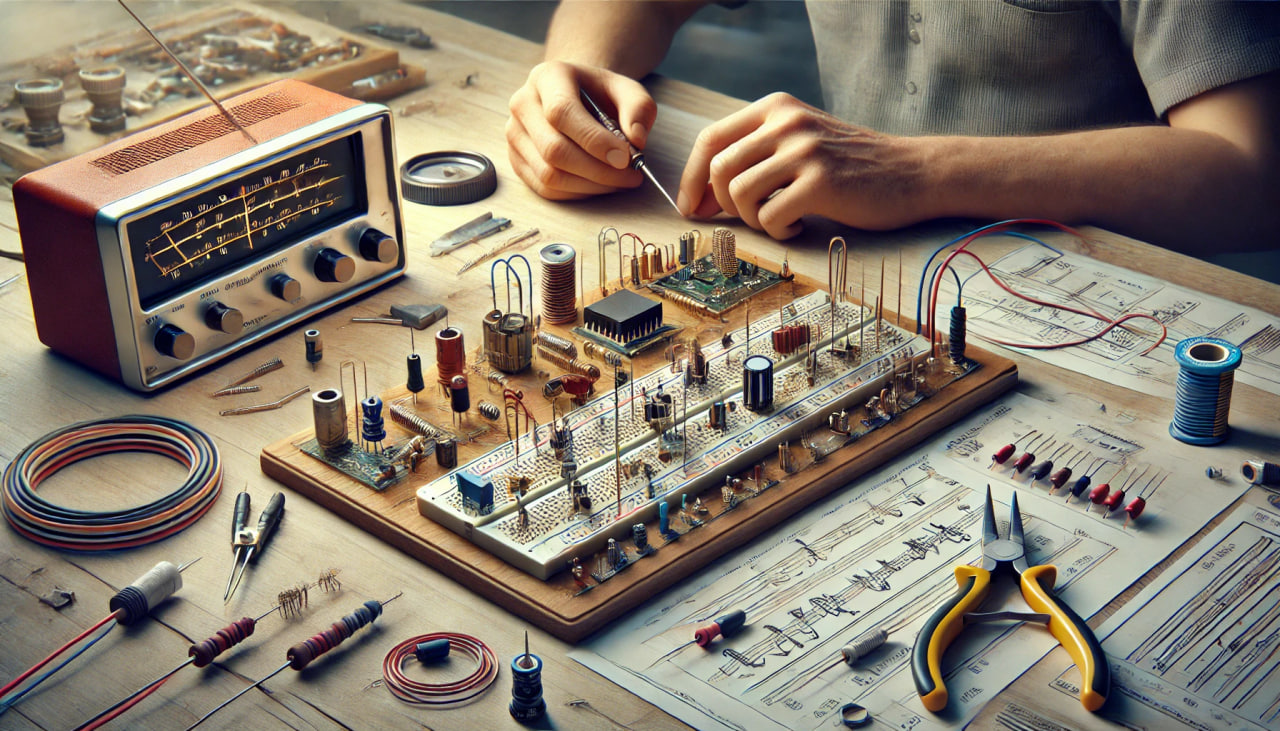
How to Build Your First Radio Receiver: A Step-by-Step Guide
 Christopher Wilson
Building your first radio receiver is an exciting and rewarding project that introduces you to the fascinating world of radio technology. Whether you're a hobbyist, a student, or just curious about electronics, this guide will walk you through the process of constructing a simple radio receiver from scratch.
Understanding the Basics
Before diving into the construction, it's important to understand how a radio receiver works. A radio receiver captures radio waves transmitted by radio stations and converts them into electrical signals. These signals are then processed to produce sound.
Radio receivers typically consist of the following key components:
Antenna: Captures radio waves and converts them into electrical signals.
Tuning Circuit: Selects the desired frequency from the myriad of signals captured by the antenna.
Detector: Extracts the audio signal from the radio frequency signal.
Amplifier: Increases the strength of the audio signal for playback through a speaker or headphones.
Gathering Materials
For this project, you will need:
An antenna (a long piece of wire can suffice)
A variable capacitor for tuning
A diode for signal detection
A transistor for amplification
Resistors and capacitors for circuit stability
A speaker or headphones for audio output
A breadboard and jumper wires for assembling the circuit
A power source (battery or power supply)
Building the Circuit
Antenna Setup: Start by setting up the antenna. A simple long wire can serve as an effective antenna for capturing AM signals. Ensure the wire is as long as possible and positioned away from electrical interference.
Tuning Circuit: The tuning circuit consists of a variable capacitor and an inductor (coil). This circuit is responsible for selecting the frequency you want to listen to. The combination of the capacitor and inductor creates a resonant circuit that can be adjusted to different frequencies by varying the capacitance.
Signal Detection: Connect a diode to the tuning circuit. The diode acts as a detector, demodulating the radio frequency signal to extract the audio signal. This component is crucial for converting the radio waves into a form that can be processed further.
Amplification: Use a transistor to amplify the detected audio signal. The transistor increases the signal strength, making it audible through a speaker or headphones. Connect the transistor's collector to the power source, the emitter to ground, and the base to the detected signal through a resistor.
Audio Output: Finally, connect a speaker or headphones to the amplifier's output. This will allow you to hear the received radio signals. Ensure the speaker or headphones are connected correctly to avoid any damage to the components.
Testing and Tuning
Once the circuit is assembled, it's time to test and tune your radio receiver. Power up the circuit and slowly adjust the variable capacitor to tune into different frequencies. You should hear different radio stations as you vary the capacitance. If the signal is weak, try adjusting the position of the antenna or using a longer wire.
Troubleshooting
If your radio receiver isn't working as expected, here are a few troubleshooting tips:
Check Connections: Ensure all components are connected correctly and securely. Loose connections can cause signal loss or interference.
Component Values: Verify that you are using the correct values for resistors, capacitors, and other components. Incorrect values can affect the circuit's performance.
Power Supply: Make sure the power supply is providing the correct voltage and is stable. Inconsistent power can lead to poor performance or damage to components.
Enhancements and Experimentation
Building a simple radio receiver is just the beginning. Here are a few ways you can enhance and experiment with your receiver:
Improve the Antenna: Experiment with different antenna designs to improve reception. Directional antennas or longer wires can enhance signal strength.
Add a Tuning Dial: Incorporate a tuning dial to make frequency selection easier and more precise.
Amplify Further: Add more stages of amplification for better sound quality and louder audio output.
Explore Different Bands: Modify the circuit to receive different frequency bands, such as FM or shortwave.
Conclusion
Constructing your first radio receiver is a rewarding project that introduces you to the basics of radio technology and electronics. By following this guide, you'll not only build a functional receiver but also gain valuable hands-on experience with electronic components and circuit design. Enjoy the process of experimentation and learning, and who knows, this might be the start of a lifelong passion for radio technology.
https://fileenergy.com/pokupki-v-kitae/pci-usb-3-0-kontroller-adapter-dlya-kompyutera
Subscribe to my newsletter
Read articles from Christopher Wilson directly inside your inbox. Subscribe to the newsletter, and don't miss out.
Written by
