Terminal : Setting Up and Customizing Your Terminal with Oh My Zsh and Powerlevel10k
 Siddu Hussain
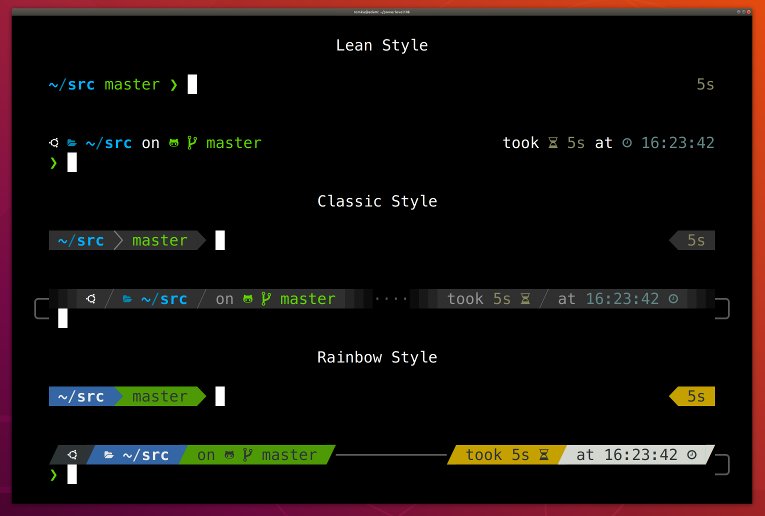
A customized terminal can enhance your productivity and make your development environment more visually appealing. This guide walks you through setting up Oh My Zsh, installing Powerlevel10k for a sleek terminal theme, and configuring the necessary fonts for the best experience.
Step 1: Install and Set Up Oh My Zsh
Open Terminal:
Open your terminal application.
Set zsh as Default:
Ensure that zsh is set as your default shell by typing:
zshInstall Oh My Zsh:
Go to the Oh My Zsh website and follow the installation instructions. Alternatively, run the following command in your terminal:
sh -c "$(curl -fsSL https://raw.githubusercontent.com/ohmyzsh/ohmyzsh/master/tools/install.sh)"On Success:
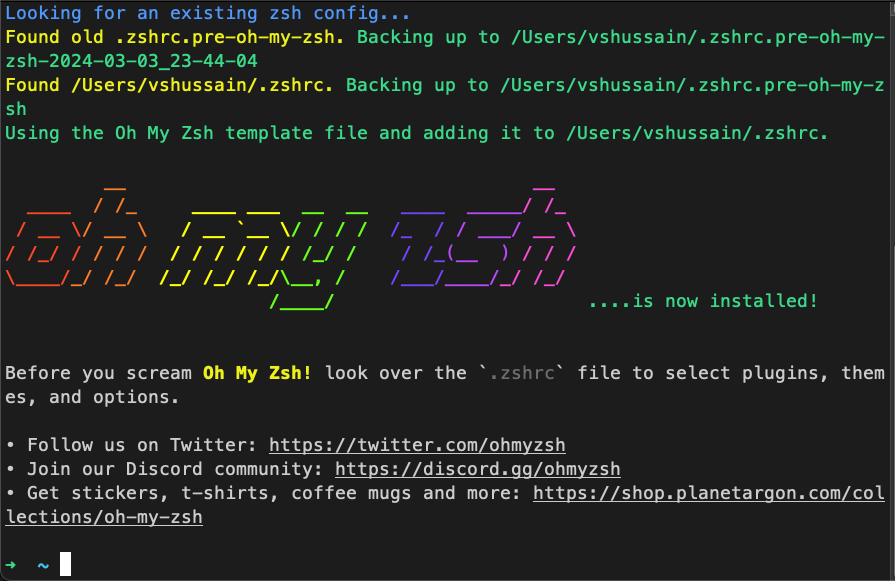
Step 2: Install Powerlevel10k Theme
Clone the Powerlevel10k Repository:
Run the following command to install Powerlevel10k:
git clone --depth=1 https://github.com/romkatv/powerlevel10k.git ${ZSH_CUSTOM:-$HOME/.oh-my-zsh/custom}/themes/powerlevel10kConfigure Powerlevel10k in
.zshrc:Open your
.zshrcfile with a text or code editor. Here, we use VS Code:code ~/.zshrcModify the Theme Setting:
Find the line that sets the theme, which looks like this:
ZSH_THEME="robbyrussell"Replace it with:
ZSH_THEME="powerlevel10k/powerlevel10k"Save and Restart Terminal:
Save the changes and restart your terminal. If you see weird symbols, don't worry; it means you need to install the necessary fonts.
Step 3: Install the Required Fonts
Download Meslo Nerd Fonts:
If you are using iTerm2 or Termux,
p10k configurecan install the recommended font for you. Simply answerYeswhen asked whether to install Meslo Nerd Font. For other terminals, go to the Powerlevel10k Font Installation Guide and download the following four ttf files:MesloLGS NF Regular.ttf
MesloLGS NF Bold.ttf
MesloLGS NF Italic.ttf
MesloLGS NF Bold Italic.ttf
Install Fonts:
Double-click each downloaded font file and click "Install" to make them available on your system.
Set Terminal Font to MesloLGS NF:
Change the terminal font to MesloLGS NF in your terminal settings.
Restart Terminal:
Restart your terminal to apply the new font settings. You should see the correct symbols now.
Step 4: Customize Powerlevel10k
Run Configuration Wizard:
The first time you restart your terminal with Powerlevel10k, a configuration wizard will start. Answer the questions to customize your prompt.
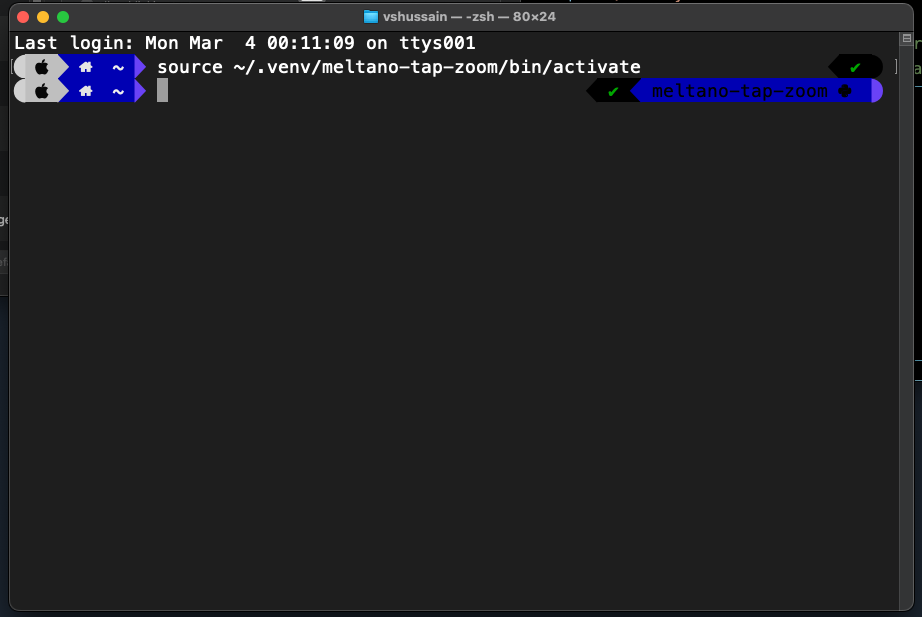
Example Configuration:
Once configured, your terminal should look something like this:
Change Colors:
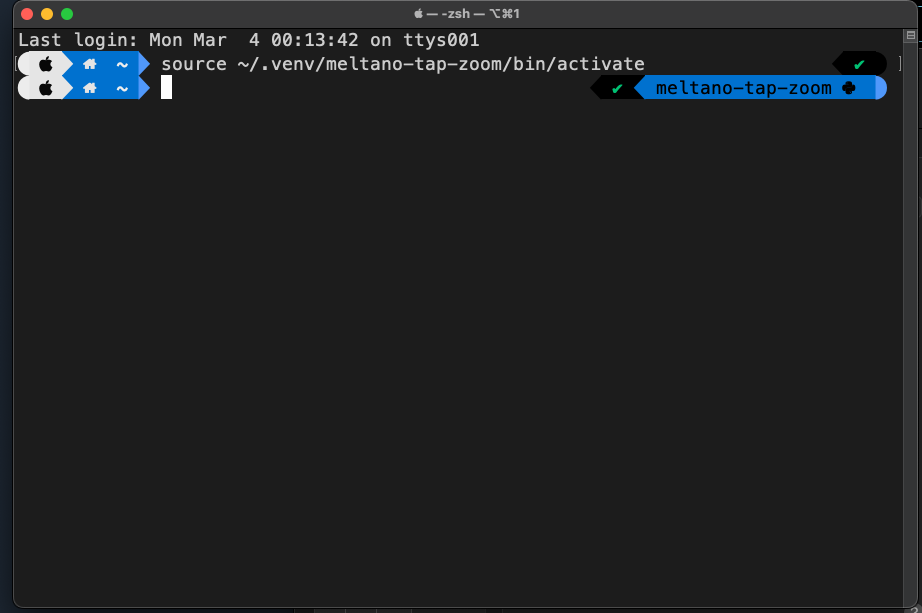
You can change the colors based on the profile you select in the terminal settings. For instance, here’s how it looks with the Visual Studio Code profile:
Step 5: Customize VS Code Terminal
Open VS Code Settings:
On PC: Press
Ctrl+,or go toFile > Preferences > Settings.On Mac: Press
⌘ ,or go toCode > Preferences > Settings.
Set Terminal Font Family:Search for
terminal.integrated.fontFamilyin the settings and set it toMesloLGS NF.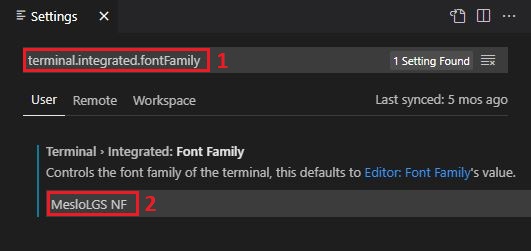
Before and After:
Before:

After:

Bonus: Customizing Terminal Title
You might notice that the terminal title is not changed to an Apple symbol or any other custom title. This setting is not part of the theme but a simple terminal setting you can use even without Oh My Zsh. Read more here
By following these steps, you've enhanced your terminal's appearance and functionality, making it a more productive and visually appealing environment for your development work. Enjoy your new setup!
Happy Coding! Namaste 🙏
One breath at a time
Subscribe to my newsletter
Read articles from Siddu Hussain directly inside your inbox. Subscribe to the newsletter, and don't miss out.
Written by
