What is Web Push Protocol?
 Pradip Chaudhary
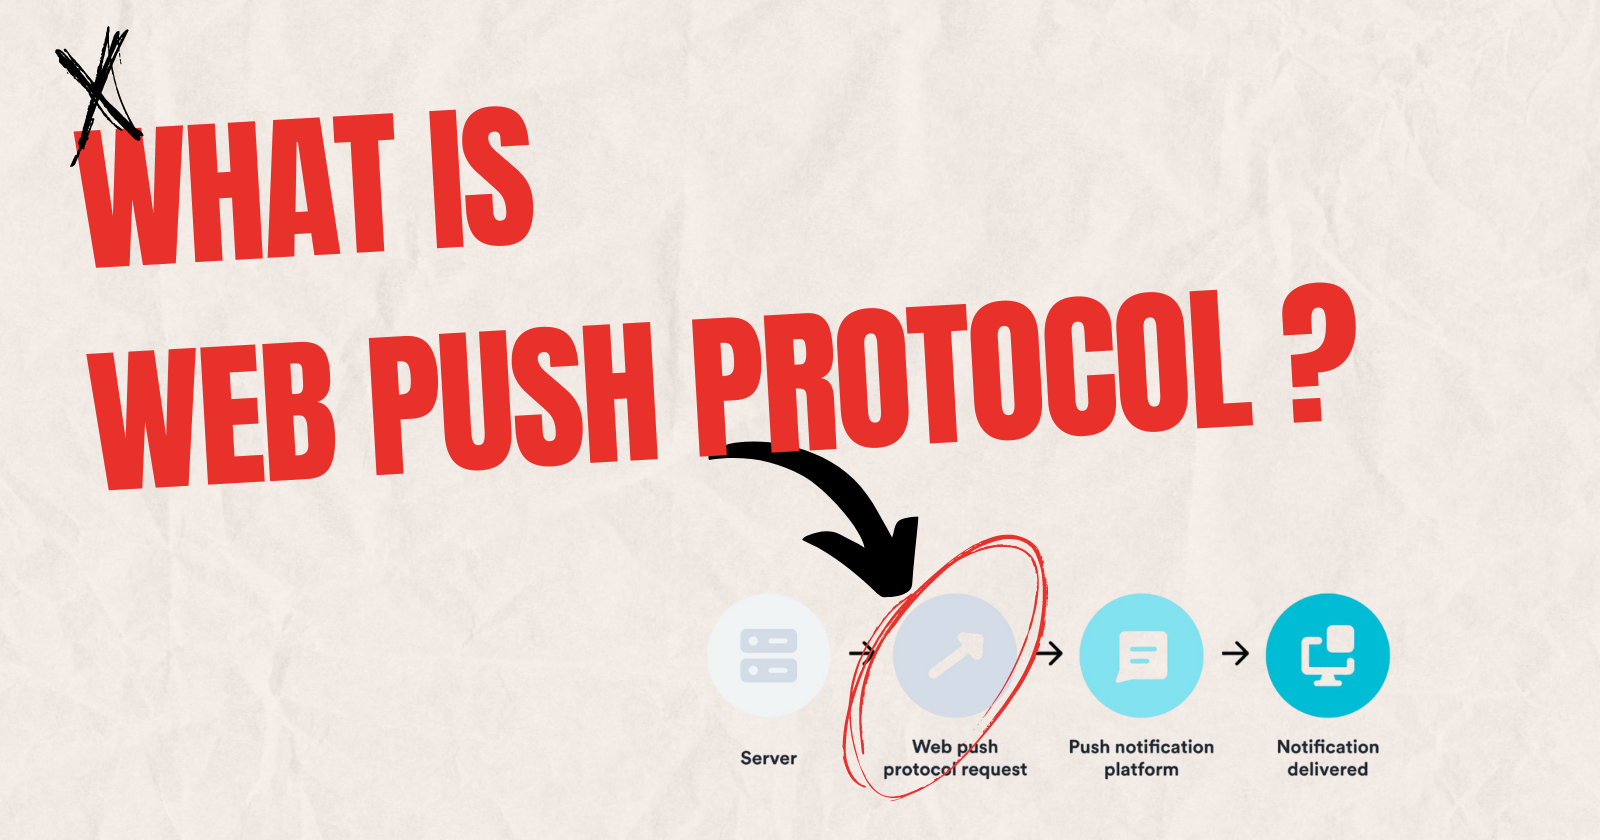
Web Push Protocol is a protocol that is to be followed while sending Push Message requests by anyone who is implementing Web Push Notifications on their website. We don't need to handle every aspect of WPP requests as in we don't need to create raw network requests ourselves. There are plenty of libraries that handle it for us like web-push-libs.

But it's good to know what they are doing. They make the network requests while ensuring they are in the right format. The spec that defines this network request is Web Push Protocol.
Let's see in detail what these libraries do and how all the components involved in this process maintain the authenticity and integrity of the Push Messages.
Application Server Keys
When we try to subscribe a user for the Push Notifications, we have to pass an applicationServerKey to the subscribe function. The browser forwards this key to the Push service which later uses it to verify that the same application which subscribed the user is triggering the push messages.
The Push Service verifies the authenticity of the push message through some headers that we need to set in our request which are defined by the VAPID spec.
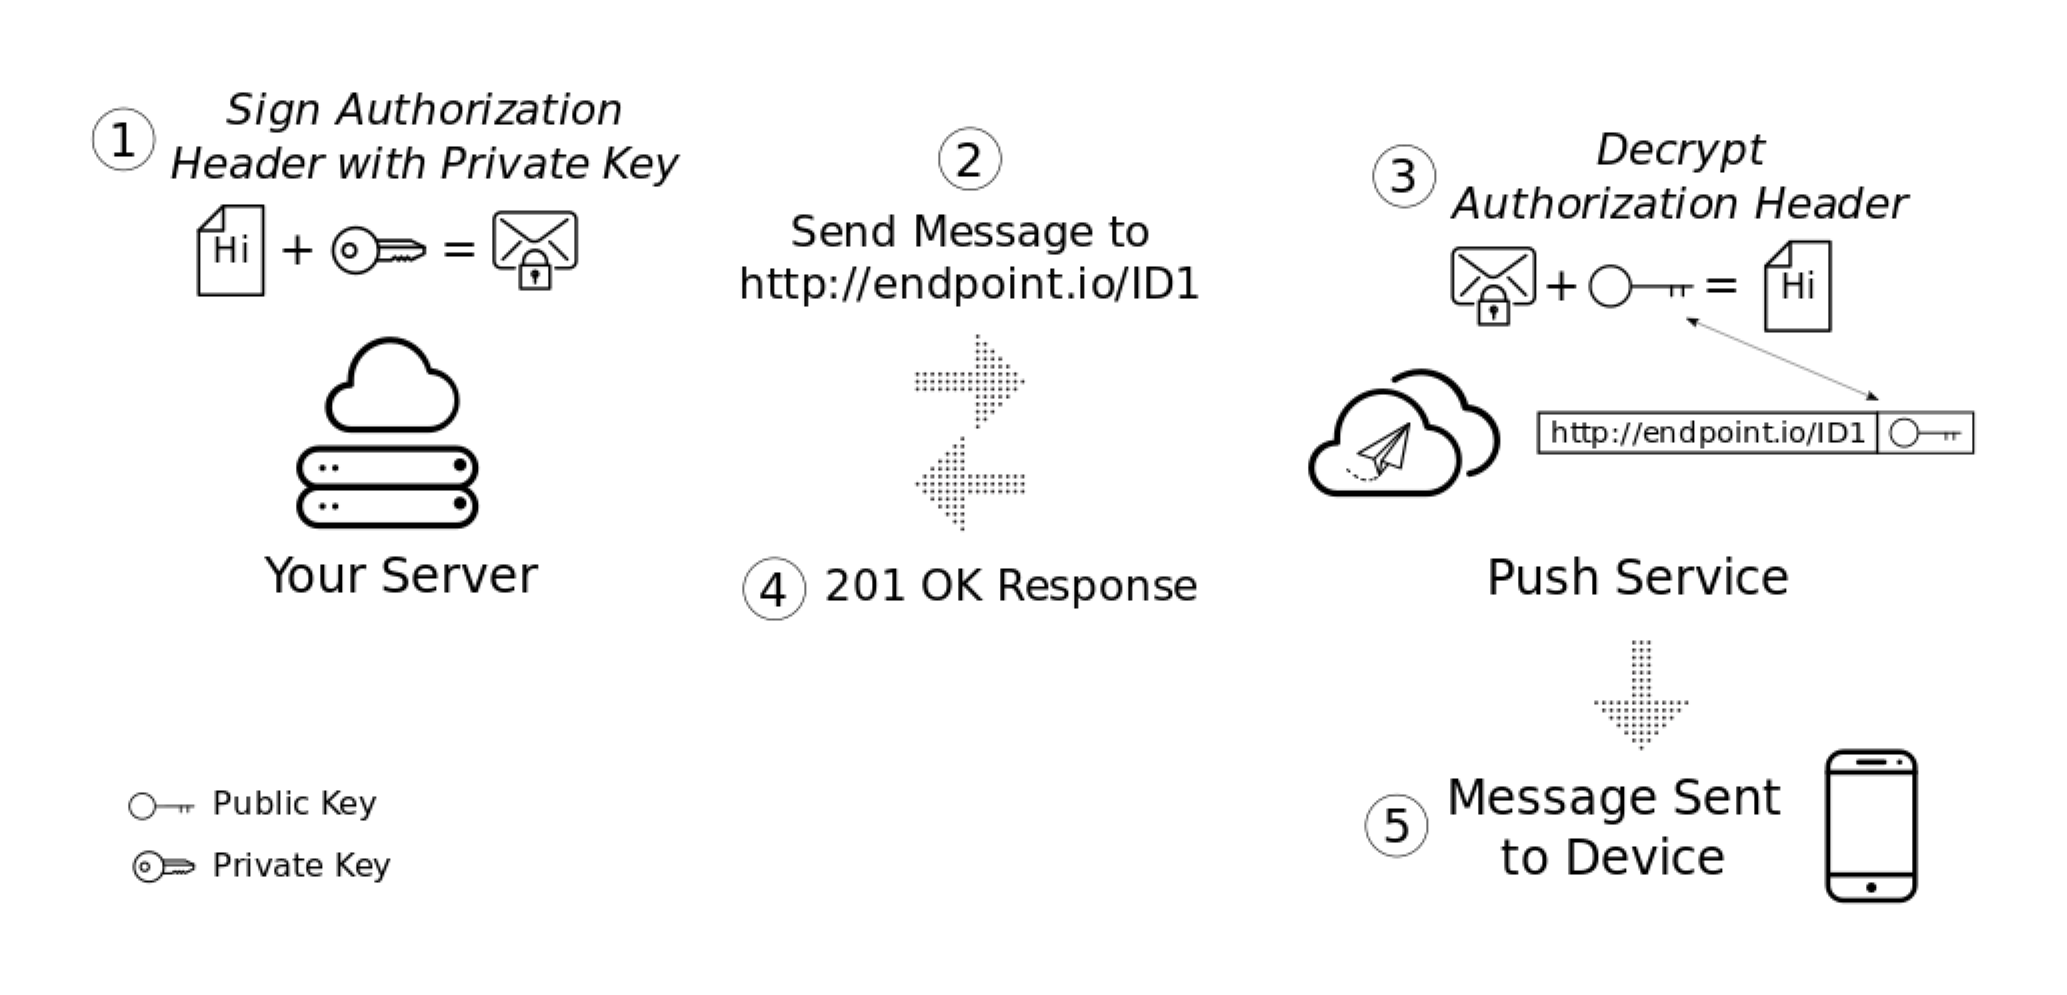
Below I've mentioned the steps of how everything works.
We need to sign some JSON information with our private application key on our server.
Then we send this signed information as a header in a POST request for Push Message.
The Push Service verifies that the Push Message is sent by us using our public key to check the received information is signed by our private key (relating to that public key). The public key is the same applicationServerKey we pass to the subscribe call from our website.
The Push Service sends the push message to the user if the signed information is valid.
Here is an example of this flow of information.

JSON web token (Authentication)
JSON web tokens (JWTs) are used to send a message to any third party such that the receiver can validate who sent it. The "signed information" we add to a header in the request is a JSON web token.
The image below shows an example of the JSON web token. It is just a string, though we can think of it as three strings separated by dots. However, the actual JWTs are way longer, this is just for the visualization.

The first and second strings (the JWT info and JWT data) are JSON objects that are base64 encoded. This means that anyone can read them by decoding them.
The first part of the JWT string
The first string is the information about the JWT, it indicates which algorithm was used to create the signature (the third string which we'll discuss later).
The JWT info for web push must contain the following information:
{
  "typ": "JWT",
  "alg": "ES256"
}
The second part of the JWT string
The second string is the JWT Data. This has the information about the sender of the JWT, who it's intended for, and how long it's valid.
For web push, the JWT data would have this format:
{
  "aud": "https://some-push-service.org",
  "exp": "1469618703",
  "sub": "mailto:example@web-push-book.org"
}
The aud value is the "audience", meaning who the JWT is for. For web push requests the audience is the Push Service, so we set it to the origin of the Push Service.
The exp is the expiration of the JWT. The expiration is a timestamp in seconds and we should not keep it longer than 24 hours to prevent snoopers from being able to re-use it if they somehow intercept it.
Finally, the sub value needs to be a URL or a mailto email address so that the push service can contact the sender if it needs to. (This is why the web-push library also requires an email address)
The third part of the JWT string
The third string, the signature, is the result of taking the first two strings (the JWT info and JWT data), joining them with a dot character, which we'll call the "unsigned token", and signing it.
The signature is obtained by encrypting the "unsigned token" using ES256. According to the JWT spec, ES256 is short for "ECDSA using the P-256 curve and the SHA-256 hash algorithm".
A Push Service can decrypt the signature using the public application server key and verify if it's the same as the "unsigned token" (the first two strings in the JWT) to validate the request it receives.
The signed JWT (the three strings concatenated with dots) is included in the Authorization header, prefixed by "WebPush", and sent to the Web Push service, like this:
Authorization: 'WebPush [JWT Info].[JWT Data].[Signature]';
The Web Push Protocol also states that the public application server key should be sent in the Crypto-Key header as a URL-safe base64 encoded string with p256ecdsa prefix.
Crypto-Key: p256ecdsa=[URL Safe Base64 Public Application Server Key]
The Payload Encryption
Now that we've covered authentication, let's dive into payload encryption. You might wonder why we need to encrypt the payload for web push when other push services don't. Well, it's all about maintaining user privacy across different push services.
With web push, developers don't need to worry about which push service they're using. We just follow the protocol, and our message gets sent. But this convenience comes with a catch - we could potentially send messages through an untrustworthy push service. By encrypting the payload, we ensure that only the user's browser can read the data.
The encryption of the payload is defined in the Message Encryption Spec.
In the below breakdown, I have simply provided the steps for encrypting the payload. I'm not going into the details of various techniques used like ECDH (Elliptic Curve Diffie-Hellman key exchange) and HKDF (HMAC-based Key Derivation Function) etc.
So let's break down the encryption process:
Inputs: We need three things to start - the payload itself, the auth secret, and the p256dh key that we got from the PushSubscription.
Salt and Keys: We generate a random 16-byte salt and create a new set of public/private keys just for this encryption. These are separate from our application server keys.
Shared Secret: Using some fancy crypto magic (ECDH, for the curious), we create a shared secret using the subscription's public key and our new private key.
Pseudo Random Key (PRK): We combine the auth secret and shared secret to create a PRK. This adds an extra layer of security.
Content Encryption Key (CEK) and Nonce: These are derived from the PRK and some additional info. The CEK is what we'll use to actually encrypt our payload.
Encryption: Finally, we encrypt our payload using the CEK and nonce. We also add some padding to prevent eavesdroppers from guessing message types based on size.
Once we've got our encrypted payload, we need to package it up with the right headers:
Encryption Header: This contains the salt used for encrypting the payload.
Encryption: salt=[URL Safe Base64 Encoded Salt]Crypto-Key Header: This contains our local public key (used for this specific encryption) and our application server public key which we added earlier.
Crypto-Key: dh=[URL Safe Base64 Encoded Local Public Key String]; p256ecdsa=[URL Safe Base64 Encoded Public Application Server Key]Content Headers: These specify the length, type, and encoding of our payload.
 Content-Length: [Number of Bytes in Encrypted Payload]
 Content-Type: 'application/octet-stream'
 Content-Encoding: 'aesgcm'
We also have a few optional headers that can control how our push message is handled:
TTL (Time to Live): This tells the push service how long to keep trying to deliver the message.
TTL: [Time to live in seconds]If you set a
TTLof zero, the push service will attempt to deliver the message immediately, but if the device can't be reached, your message will be immediately dropped from the push service queue.Topic: Useful for replacing older messages with newer ones.
Urgency: Helps push services manage battery life by prioritizing messages.
Urgency: [very-low | low | normal | high]
With all this setup, we make a POST request to the endpoint specified in the PushSubscription. The push service will then handle delivering our message to the user's device.
Response from Push Service
After sending our push message, we need to check the response from the push service. The status codes tell us if everything went smoothly or if we need to take action:
| Status Code | Description |
| 201 | Created. The request to send a push message was received and accepted. |
| 429 | Too many requests. This means your application server has reached a rate limit with a push service. The push service should include a 'Retry-After' header to indicate how long before another request can be made. |
| 400 | Invalid request. This generally means one of your headers is invalid or improperly formatted. |
| 404 | Not Found. This is an indication that the subscription is expired and can't be used. In this case, you should delete the `PushSubscription` and wait for the client to resubscribe the user. |
| 410 | Gone. The subscription is no longer valid and should be removed from the application server. This can be reproduced by calling `unsubscribe()` on a `PushSubscription`. |
| 413 | The payload size is too large. The minimum size payload a push service must support is 4096 bytes (or 4kb). |
By following this protocol, we ensure that our push messages are secure, authenticated, and properly handled by push services. It might seem like a lot, but remember - most of this complexity is handled by libraries. As developers, we just need to understand the basics to use these tools effectively.
Conclusion
And there you have it - the Web Push Protocol in a nutshell. It may seem complex, but this intricacy is what makes web push notifications secure and universal across different browsers and devices.
While most of us won't implement this from scratch, understanding the process helps us use push notifications more effectively and troubleshoot issues when they arise. It's a perfect example of how modern web technologies balance user convenience with robust security.
So next time you send a push notification, you'll know exactly what's happening behind the scenes. Happy pushing!
Subscribe to my newsletter
Read articles from Pradip Chaudhary directly inside your inbox. Subscribe to the newsletter, and don't miss out.
Written by
