Micro-Frontends 101
 Howard
Hi folks, welcome to the Micro Frontends Distilled Series on my Blog. It's Howard here!
MicroFrontend is a new architecture in the Frontend World, becoming increasingly popular over time. I already have several years of experience working in the Enterprise MFE codebase.
This series is where I shared everything I know and expanded my knowledge, diving deeper into this topic. In addition, document everything I learned from Stephen Grider and his great learning resource on this topic.
Buckle up. Hope you enjoy it!
Monolithic Single Page Application (SPA)
Let's imagine we're building a React SPA application with the "traditional" approach.
For example, we might want to build an e-commerce application.
That's required to implement some features including Product, Cart, Payment, Admin,...
Theoretically, all the codes to implement these features will contained in ONE SINGLE CODEBASE.
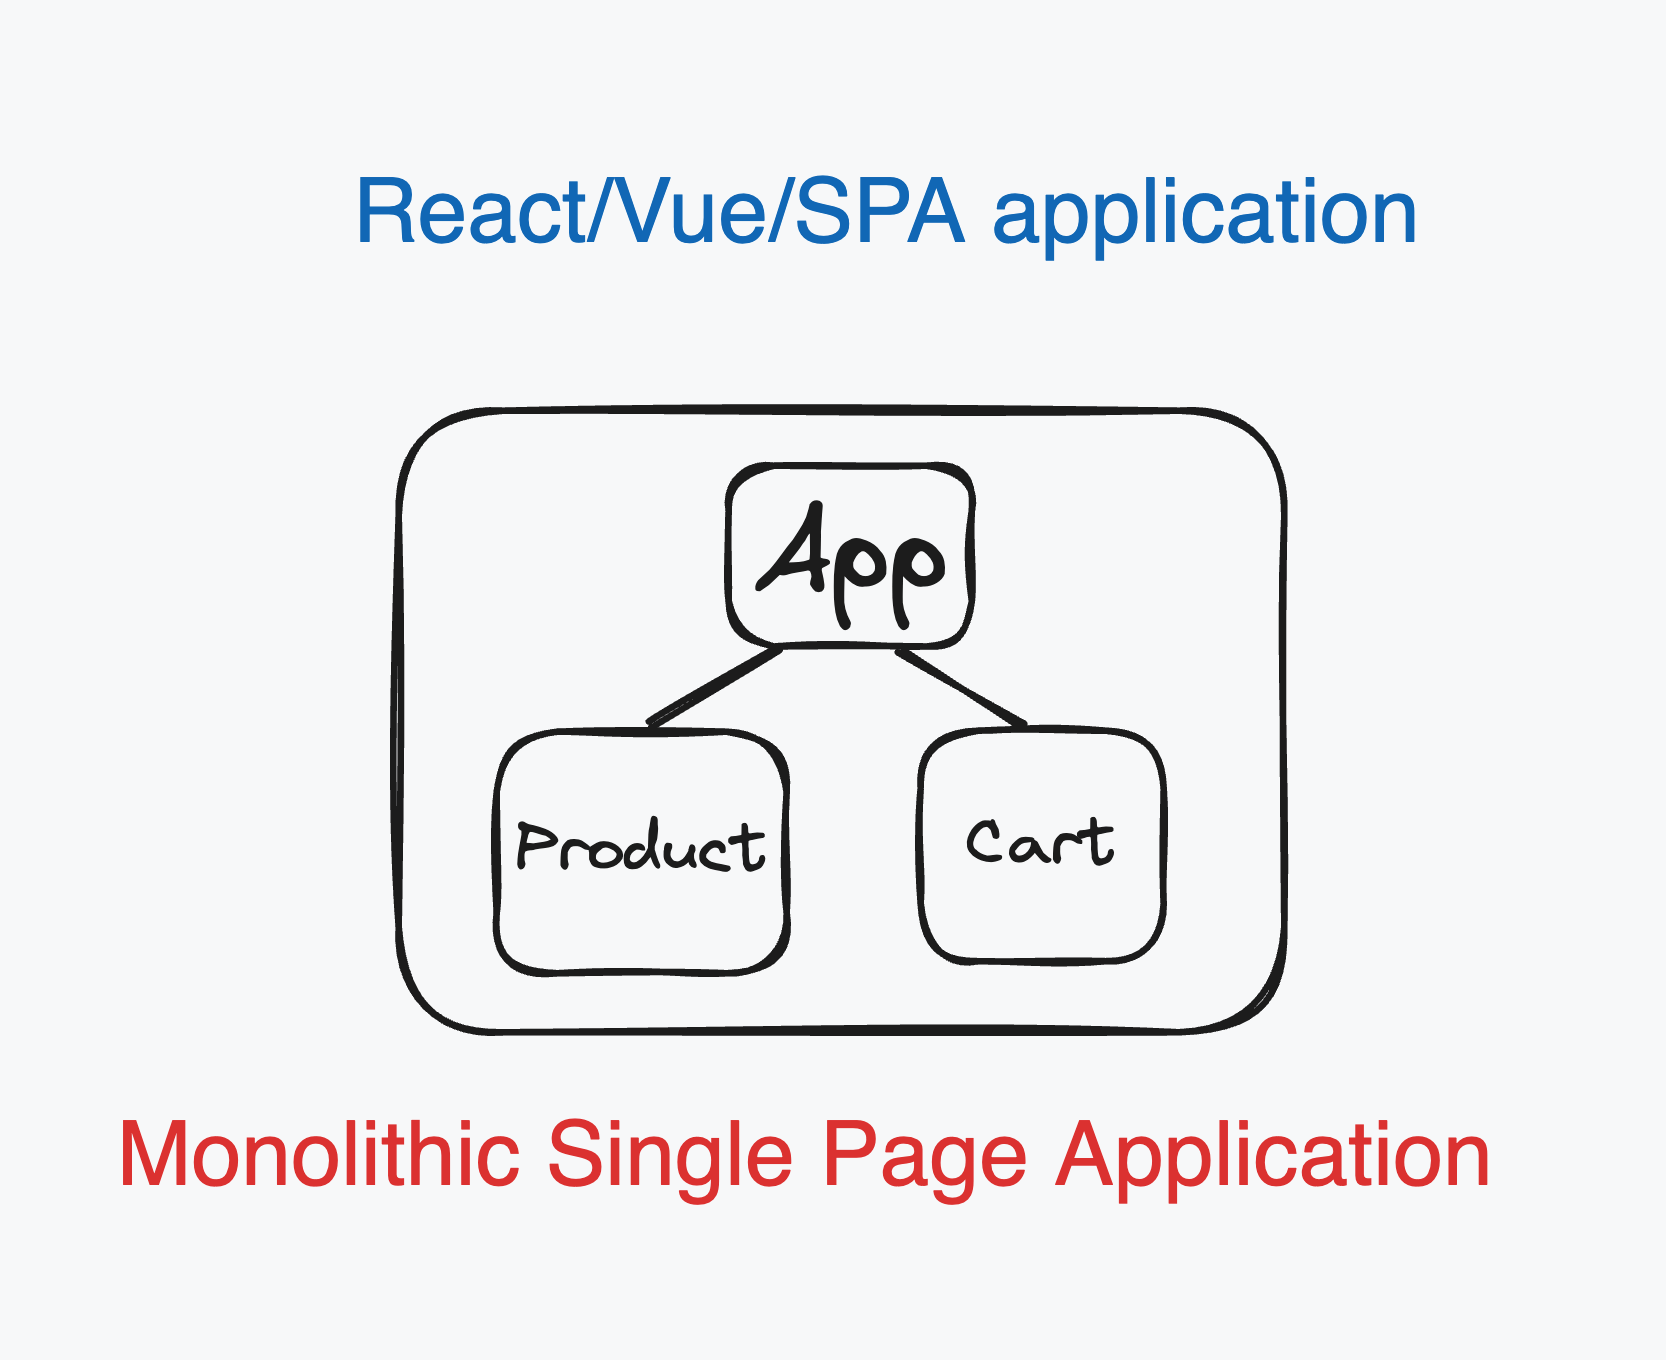
We call this a Monolithic Single Page Application (SPA)
So, what will look like when we turn this traditional SPA application into Micro Frontend applications?
What are a Micro-Frontends?
With that said, we have an e-commerce application.
After identifying each of these major features.
We can split each of them into their own codebase.
Theoretically, micro FE is
👉 Divide a Monolithic app into MULTIPLE SMALLER APPS.
👉 Each Smaller app is responsible for a**distinct feature of the Product.
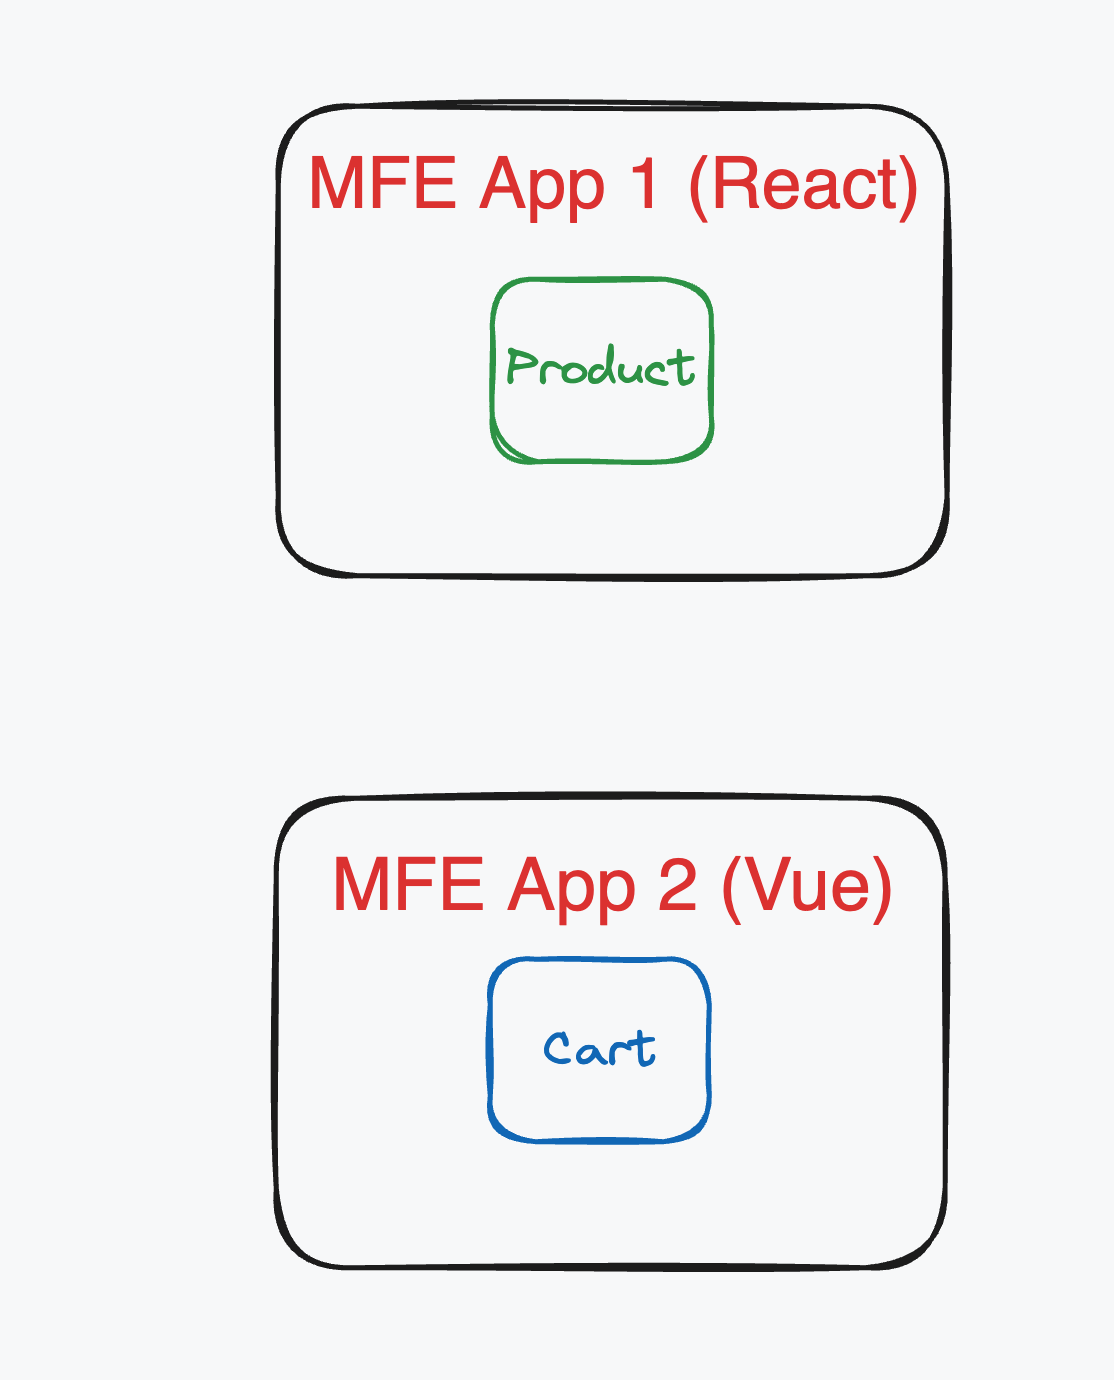
In MFE, we try as much as possible to PREVENT DIRECT COMMUNICATION
YES. We don't want direct communication between MFE Apps.
Instead. We make the communication protocol through API.
Up until this point
We still don't know what's the main benefit of doing this.
Why do we have to split the application into smaller ones?
The process is tedious and feels cumbersome, isn't it?
What are the benefits of doing all of this?
Why do we use MFE?
👉 Multiple engineering teams can WORK in ISOLATION (still in the same OVERALL APPLICATION).
This is one of the big benefits.
Two given features can be built by 2 completely different engineering teams.
They can make tremendously different technical decisions, for instance, different techstack.
Moreover, in the worst case, one engineering team can ship a bug to production, or make some breaking changes to their app, it's not gonna necessarily break the ENTIRE application.
👉 Each smaller app is Easier to Understand (because we reduce the complexity) and Make changes to (without breaking other parts of the entire app).
Integration
Let's go back to our example:
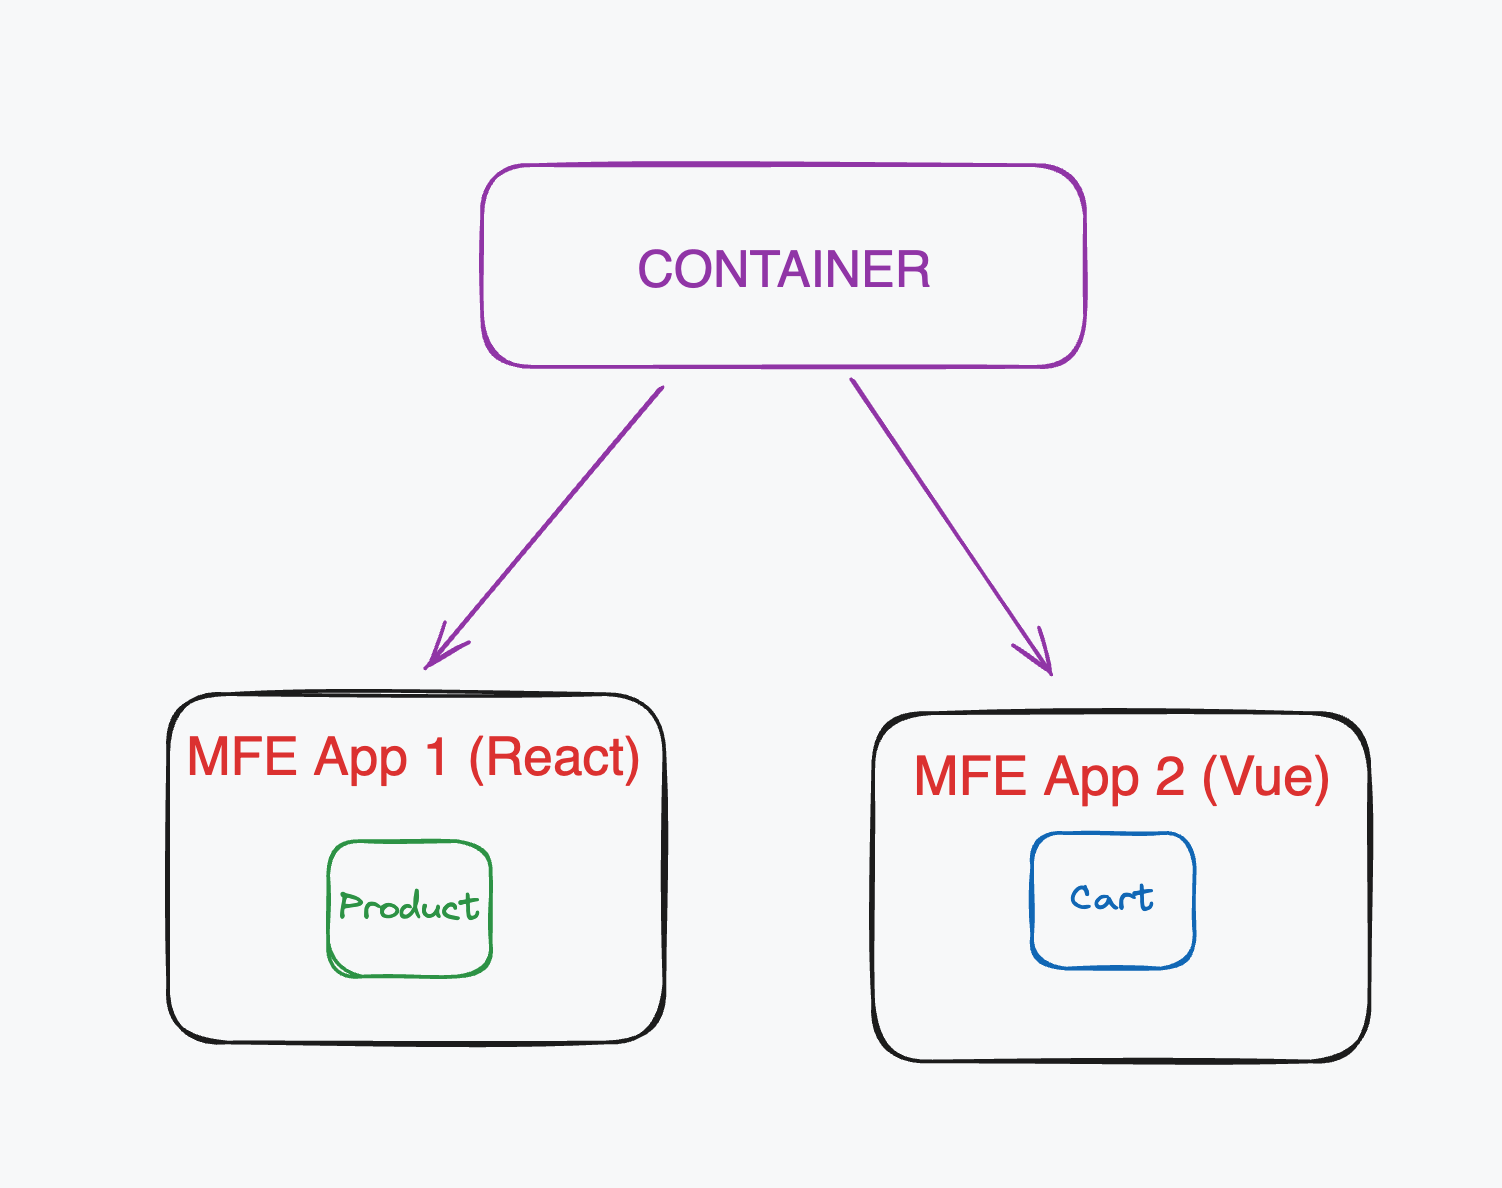
Since we split the product and cart features to their own codebase.
We need another Container application to somehow "import" and decide where to place these 2 independent features in our main application.
HOW and WHEN does the Container get access to the source code in the MFE App 1 and 2?
That's the questions we have to figure out when we do Integration.
Things to keep in mind
👉 There is NO PERFECT Solution to Integration
👉 There are MANY SOLUTIONS, each of them has PROS and CONS
👉 Look at the Requirements, then pick a solution.
A high level overview of categories of Integration
👉 Build Time Integration - Compile Time Integration
BEFORE the Container gets loaded in the browser, it gets access to Product and Cart source code.
👉 Run Time Integration - Client Side Integration
AFTER the Container gets loaded in the browser, it gets access to Product and Cart source code.
👉 Server Integration
While sending down the JS bundle to load up the Container, a SERVER decides whether or not to include Cart or Product source code.
This method requires tons of boilerplate and complex setups. We will not be doing it here.
BUILD TIME INTEGRATION
There are so many methods to implement Build time integration.
From my own experience, I followed this approach myself from my last jobs, and also consumed micro-frontend apps built by other micro teams.
We took this approach
The engineering team develops a
companyName/uias a stand-alone application. This application contains all utility functionality shared between the organization's projects, components documentation, as well as the UI design system...It's time to DEPLOY
Publish the
companyName/uias an NPM packageThe team in charge of the
Containerwill installcompanyName/uias a dependency.Containerteam builds their appThe output bundle of
Containerthat also includes ALL the code fromcompanyName/ui
At my last job, this method is not only used to build the shared library package across multiple teams in the organization. But it's also for some micro teams who want to implement their features independently.
THE UPSIDE
👉 EASY to SETUP and UNDERSTAND
THE DOWNSIDES
👉 The Container has to be re-deployed EVERY TIME companyName/ui is UPDATED
👉 Tempting to tightly COUPLE the Container and the companyName/uiTOGETHER. Coupling software together is something we DON'T really wanna do in MFE architecture!
RUN TIME INTEGRATION
At my job, I used a mix of both integration (at build time and run time).
This is the potential approach we will take.
Engineering team develops
ProductorCartfeaturesIt's time to Deploy
Cartcodes - for instance, deployed athttps://companyName.com/cart.jsUser navigate to
companyName.comtheContainerapp is loadedContainerapp now fetchescart.jsand executes it. In other words, AFTER theContainergets loaded in the browser.
THE UPSIDE
👉 Cart or Product can be deployed independently at ANY TIME
👉 Different versions of Product or Cart can be deployed and Container can decide WHICH one to use.
THE DOWNSIDES
👉 The tooling + setup for Run time integration is FAR MORE COMPLICATED.
The Frontend Architecture and Frontend Software Engineer Lead at my previous company implemented Run Time Integration using Webpack Module Federation many years ago.
Nowadays, we could achieve the same thing (if not better) and so much easier to setup with Vite. Vite also support Module Federation.
It blew my mind when I first saw we can build micro frontend architecture - building UI applications at a large scale by implementing Webpack Module Federation.
In the Micro FE Distilled series, I will dig into Webpack Module Federation.
I believe it's worth the time because
Module Federation is the Hardest to set up and understand. It makes sense to cover in details.
It's the most flexible and performant solution around right now for MFE.
We will focus on setup module federation with webpack.
Project Setup
First, create the product directory.
Open your terminal and type mkdir product
Then npm init -y
Then install these dependencies npm install webpack@5.88.0 webpack-cli@4.10.0 webpack-dev-server@4.7.4 faker@5.1.0 html-webpack-plugin@5.5.0 --save-exact
Next, navigate to the product folder.
Create src/index.js
And fill in the below content.
import faker from 'faker';

let products = '';

for (let i = 0; i < 3; i++) {
    const name = faker.commerce.productName();
    products += `<div>${name}</div>`
 }
Now, we need some background setup for webpack.
In the root directory, go ahead and create webpack.config.js
module.exports = {
    mode: "development"
}
In the package.json change the script:
 "scripts": {
    "start": "webpack"
  },
Let's now run npm run start
The result we get
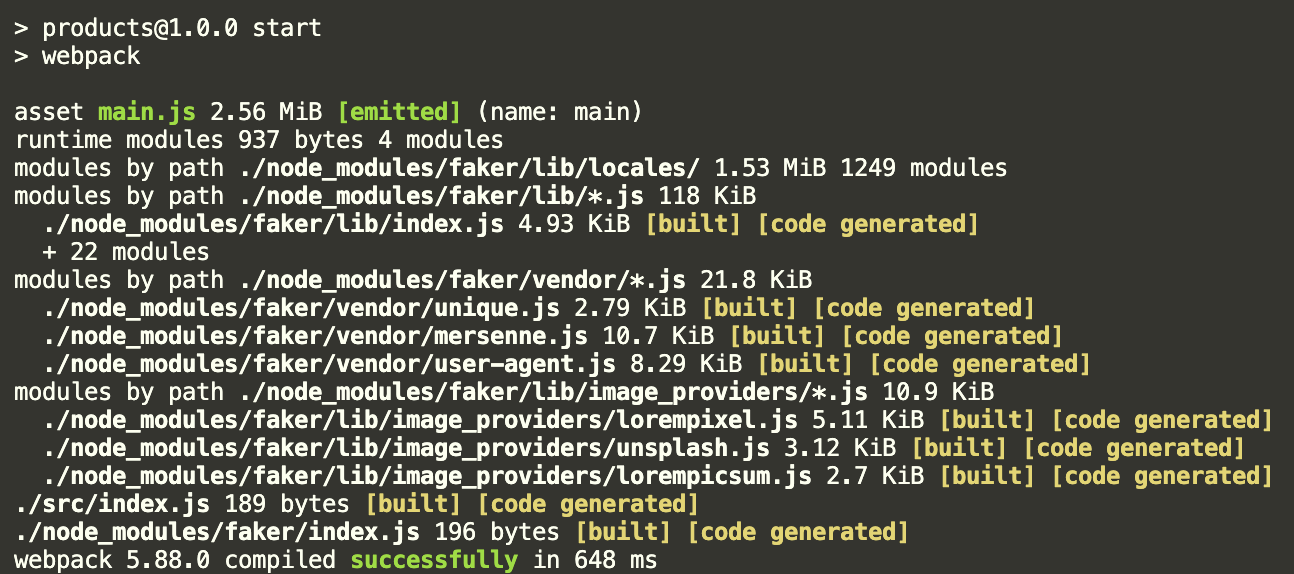
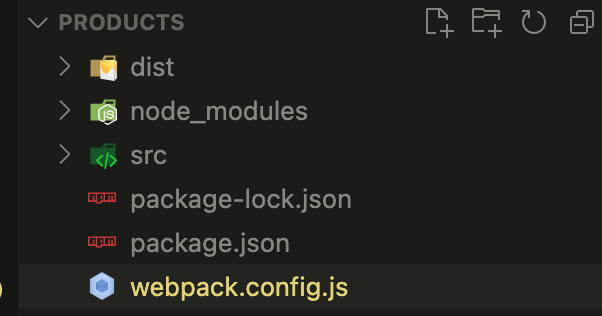
We get the dist folder.
How does Webpack Work?
It helps us to combine many JavaScript files into one single file.
Just because we tried to load as little file as possible in the browser.
The output file can be named bundle.js or main.js
But now we didn't produce any visual output yet.
We need to take the result from webpack and make it available in the browser.
By setup Webpack Dev Server.
Webpack Dev Server makes the output easier to the browser.
Flip back to the webpack.config.js
module.exports = {
    mode: "development",
    devServer: {
        port: 8081,
    }
}
We add the devServer with port 8081.
In the package.json also need to tweak the script.
  "scripts": {
    "start": "webpack serve"
  },
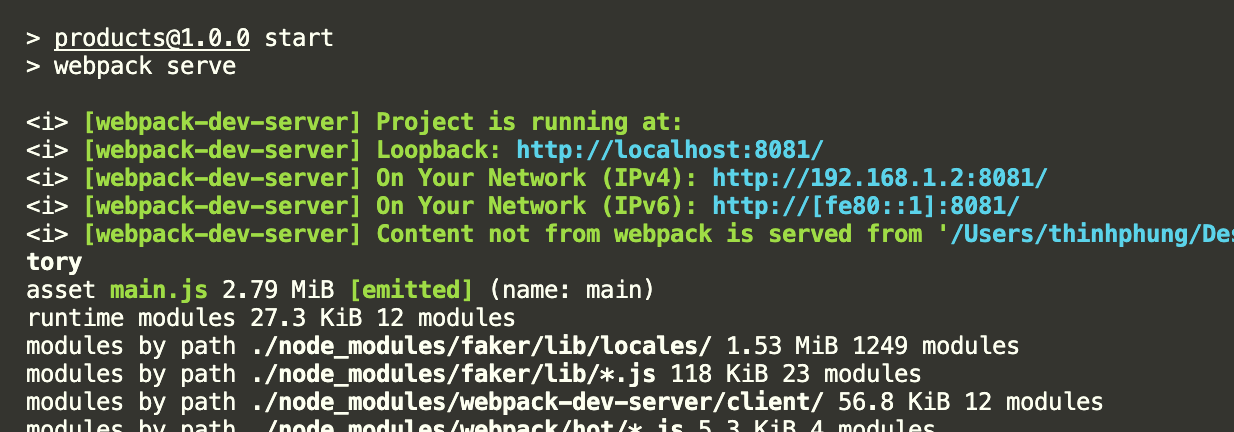
Run the script, it successfully run webpack server at localhost:8081
Create public directory, and index.html
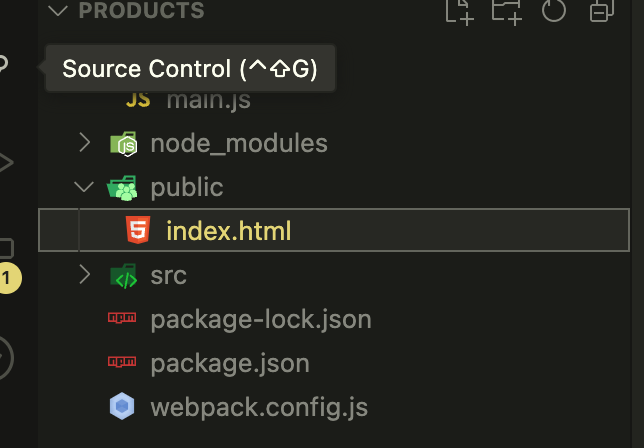
<!DOCTYPE html>
<html lang="en">
<head>
    <meta charset="UTF-8">
    <meta name="viewport" content="width=device-width, initial-scale=1.0">
    <title>Product</title>
</head>
<body>
        <div id="dev-products"></div>
</body>
</html>
Now to view the output of the dist/main.js we will put the script tag inside index.html with src property set to dist/main.js right?
The answer is we don't want to do that.
The output file of webpack can be unpredictable. Right now it named main.js , but it could also be named 124912.bundle.js or blabl12.vendor.js
So we want to dynamically load the file in the script tag.
To achieve that, let's put in the html plugin.
webpack.config.js
const HtmlWebpackPlugin = require('html-webpack-plugin');

module.exports = {
    mode: "development",
    devServer: {
        port: 8081,
    },
    // Add in this lines of code
    plugins: [
        new HtmlWebpackPlugin({
            template: './public/index.html'
        })
    ]
}
Now, the HTML Webpack Plugin will take the output JS file produced by Webpack and then dynamically put it into the template HTML file, behind the scenes.
Now navigate to localhost:8081 and we see the console.log.
Our content is now correctly executed.

Let's render the content to the screen.
Make changes to the below files
index.js
import faker from 'faker';

let products = '';

for (let i = 0; i < 5; i++) {
    const name = faker.commerce.productName();
    products += `<div>${name}</div>`
 }

document.querySelector("#dev-products").innerHTML = products;
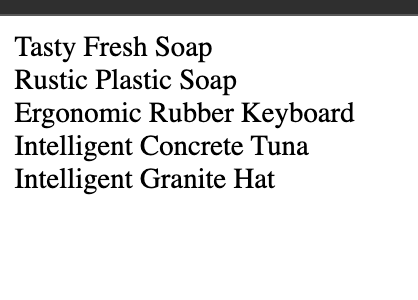
Setup the Container App
Make the container directory. Navigate inside it. Then run the following commands
npm init -y
npm i webpack@5.88.0 webpack-cli@4.10.0 webpack-dev-server@4.7.4 html-webpack-p lugin@5.5.0 nodemon --save-exact
Here is the file we should have. It's similar to the product app.
public/index.html
<!DOCTYPE html>
<html lang="en">
<head>
    <meta charset="UTF-8">
    <meta name="viewport" content="width=device-width, initial-scale=1.0">
    <title>Container</title>
</head>
<body>

</body>
</html>
webpack.config.js
const HtmlWebpackPlugin = require('html-webpack-plugin');

module.exports = {
    mode: "development",
    devServer: {
        port: 8080,
    },
    plugins: [
        new HtmlWebpackPlugin({
            template: './public/index.html'
        })
    ]
}
src/index.js
console.log("HI from Container");
package.json
"scripts": {
    "start": "webpack serve"
  },
Alright, now we have 2 completely independent projects.
It's time to talk about how to integrate them together.
Let's dive in the next article.
Thanks for reading.
Bye. 🙋
Subscribe to my newsletter
Read articles from Howard directly inside your inbox. Subscribe to the newsletter, and don't miss out.
Written by

Howard
Howard
🙋♂️ I'm a Software Engineer, Voracious Reader, Writer (tech, productivity, mindset), LOVE Fitness, Piano, Running.💻 Started coding professionally in 2020 as a full-time Frontend engineer. ⚗️ I make things in the messy world of JS, Computer Science, and Software Engineering more digestible. Or I would like to say “Distilled” 📹 Documenting my learning journey, and working experience along the way. Share how I learn and build my personal projects.