Day 1 - How to Create an AWS Free Tier Account
 Rahul J Kerolli
Table of contents
Welcome to Day 1 of our AWS journey
Today, we’ll walk through the process of creating an AWS Free Tier account. This account will give you access to a range of AWS services for free, allowing you to explore and experiment without any cost. Let’s get started
Step-by-Step Guide to Creating an AWS Free Tier Account
Step 1: Visit the AWS Website
Go to the AWS homepage. Here, you’ll find a wealth of information about the services AWS offers.
Step 2: Click on 'Create an AWS Account'
On the top right corner of the AWS homepage, click on the "Create an AWS Account" button.
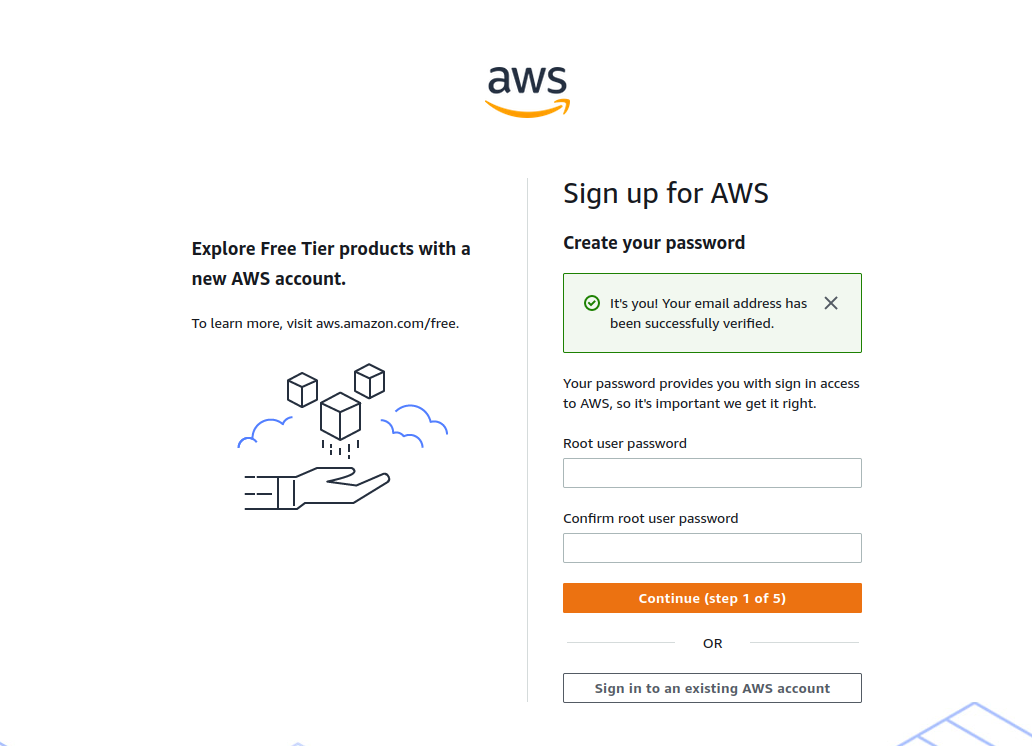
Step 3: Enter Your Email Address and Create a Password
Fill in your email address, choose an account name, and create a password. Click "Continue."
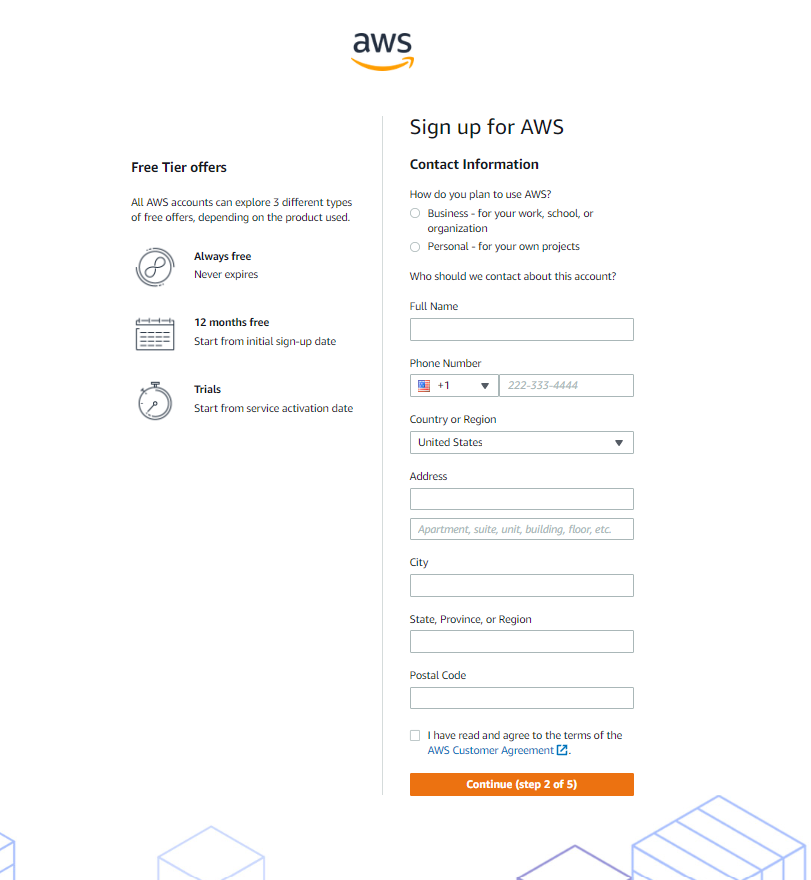
Step 4: Enter Your Contact Information
Choose “Personal – for your own projects, Provide your contact details, including your full name, address, and phone number. Ensure that the information is accurate.
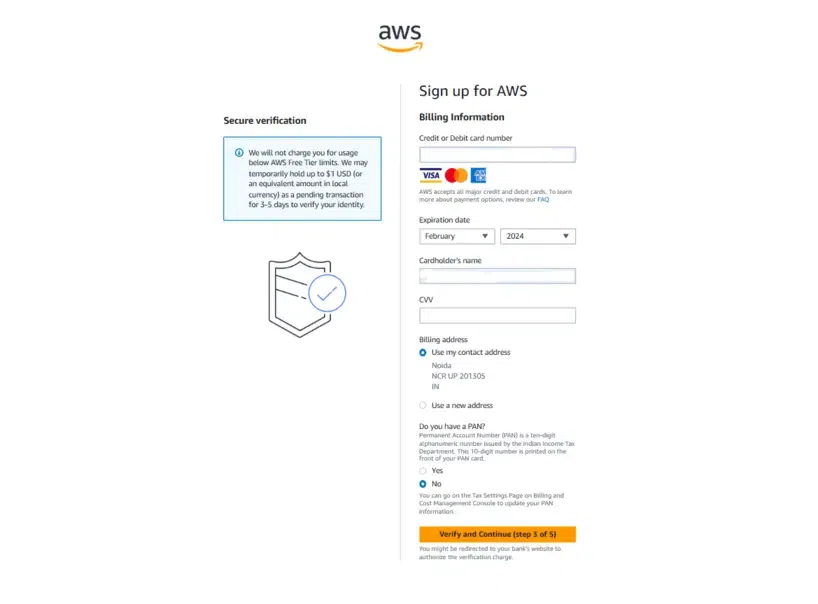
Step 5: Enter Payment Information
Even though the AWS Free Tier provides many free services, AWS requires a credit card to verify your identity. Enter your payment information and click "Verify and Continue."
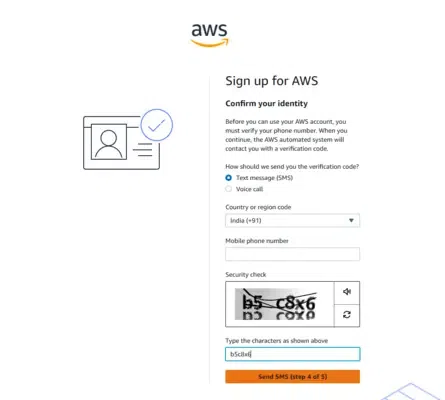
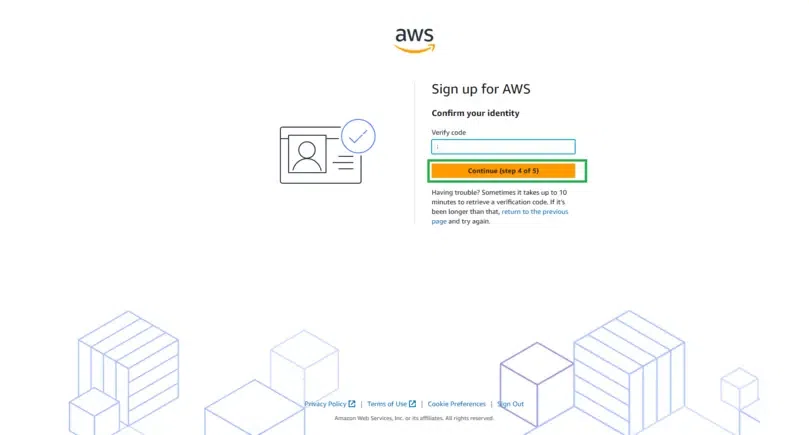
Step 6: Confirm Your Identity
AWS will send a verification code to your phone number. Enter the code you receive to confirm your identity.
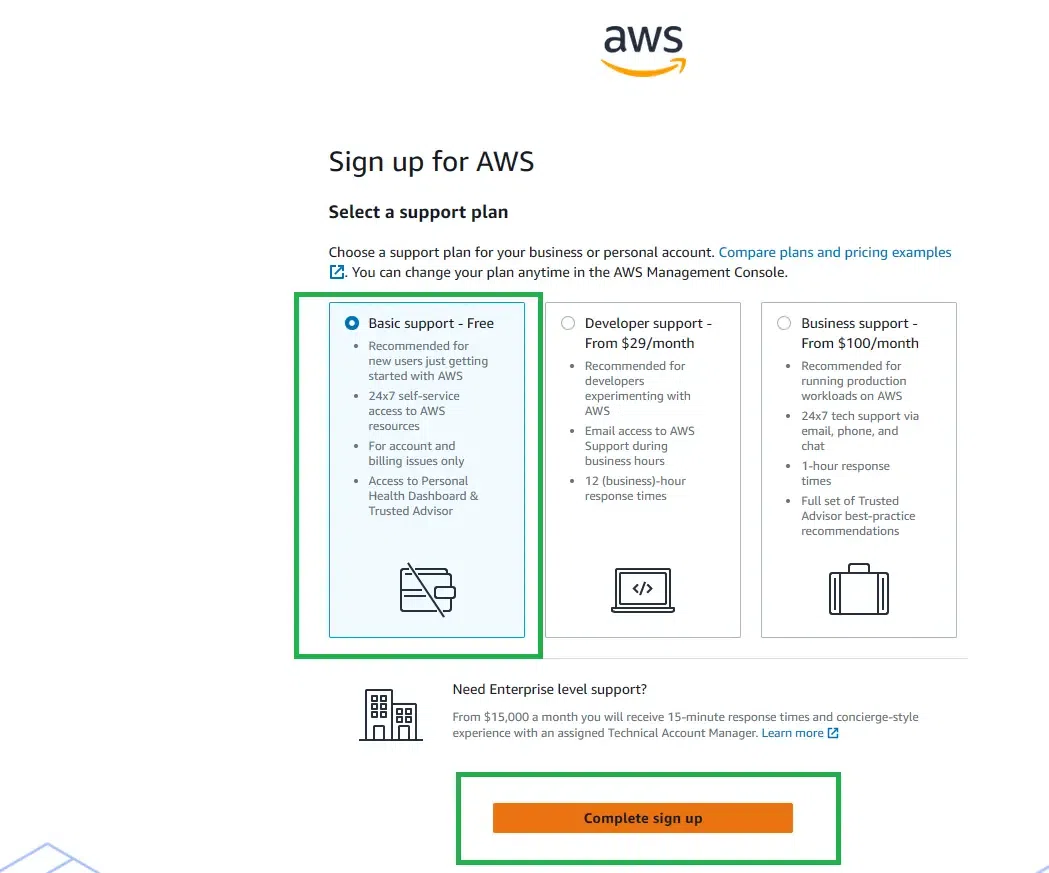
Step 7: Select a Support Plan
Choose the Basic Support Plan, which is free. You can upgrade to a paid support plan later if needed.
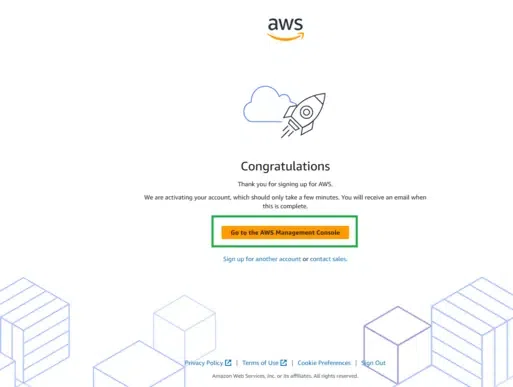
Step 8: Complete the Setup
Review your information and complete the setup. You’ll receive a confirmation email once your account is ready.
Conclusion
Congratulations You’ve successfully created your AWS Free Tier account. With this account, you can start exploring various AWS services and build your cloud skills. In the upcoming posts, we will dive into different AWS services and show you how to make the most out of your Free Tier account. Stay tuned
Subscribe to my newsletter
Read articles from Rahul J Kerolli directly inside your inbox. Subscribe to the newsletter, and don't miss out.
Written by

Rahul J Kerolli
Rahul J Kerolli
Passionate and motivated AWS DevOps enthusiast with hands-on experience in cloud computing, CI/CD pipelines, and infrastructure automation. Proficient in AWS services, Docker, and Jenkins. Eager to leverage my skills to streamline operations and enhance productivity in a dynamic team environment. Always learning and ready to tackle new challenges.