Azure App Service for Developers: How to Take Your Blazor Application to the Cloud
 JAIME ELIAS FLORES QUISPE
Introduction
Deploying web applications in the cloud is essential for making your projects accessible online in a secure and scalable manner. Microsoft Azure offers robust tools and services that streamline this process, allowing you to deploy your Blazor applications to a production environment with ease.
Setting Up the Development Environment
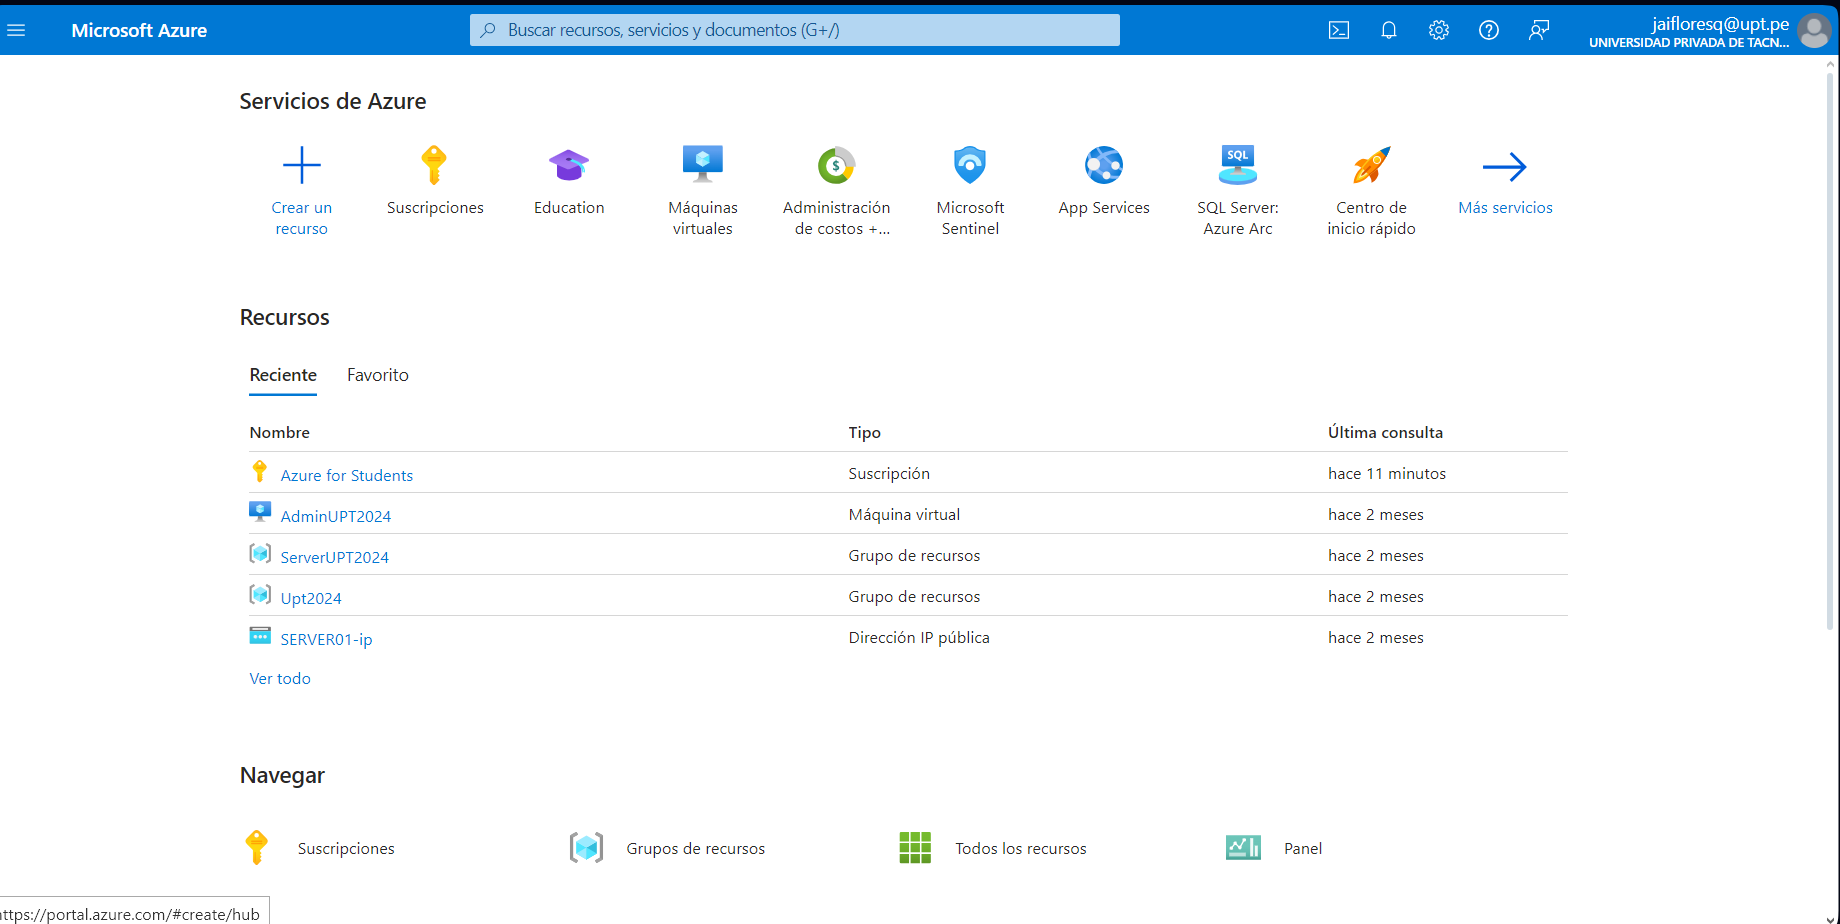
Logging into Azure: Access the Azure website using your university or personal account credentials.
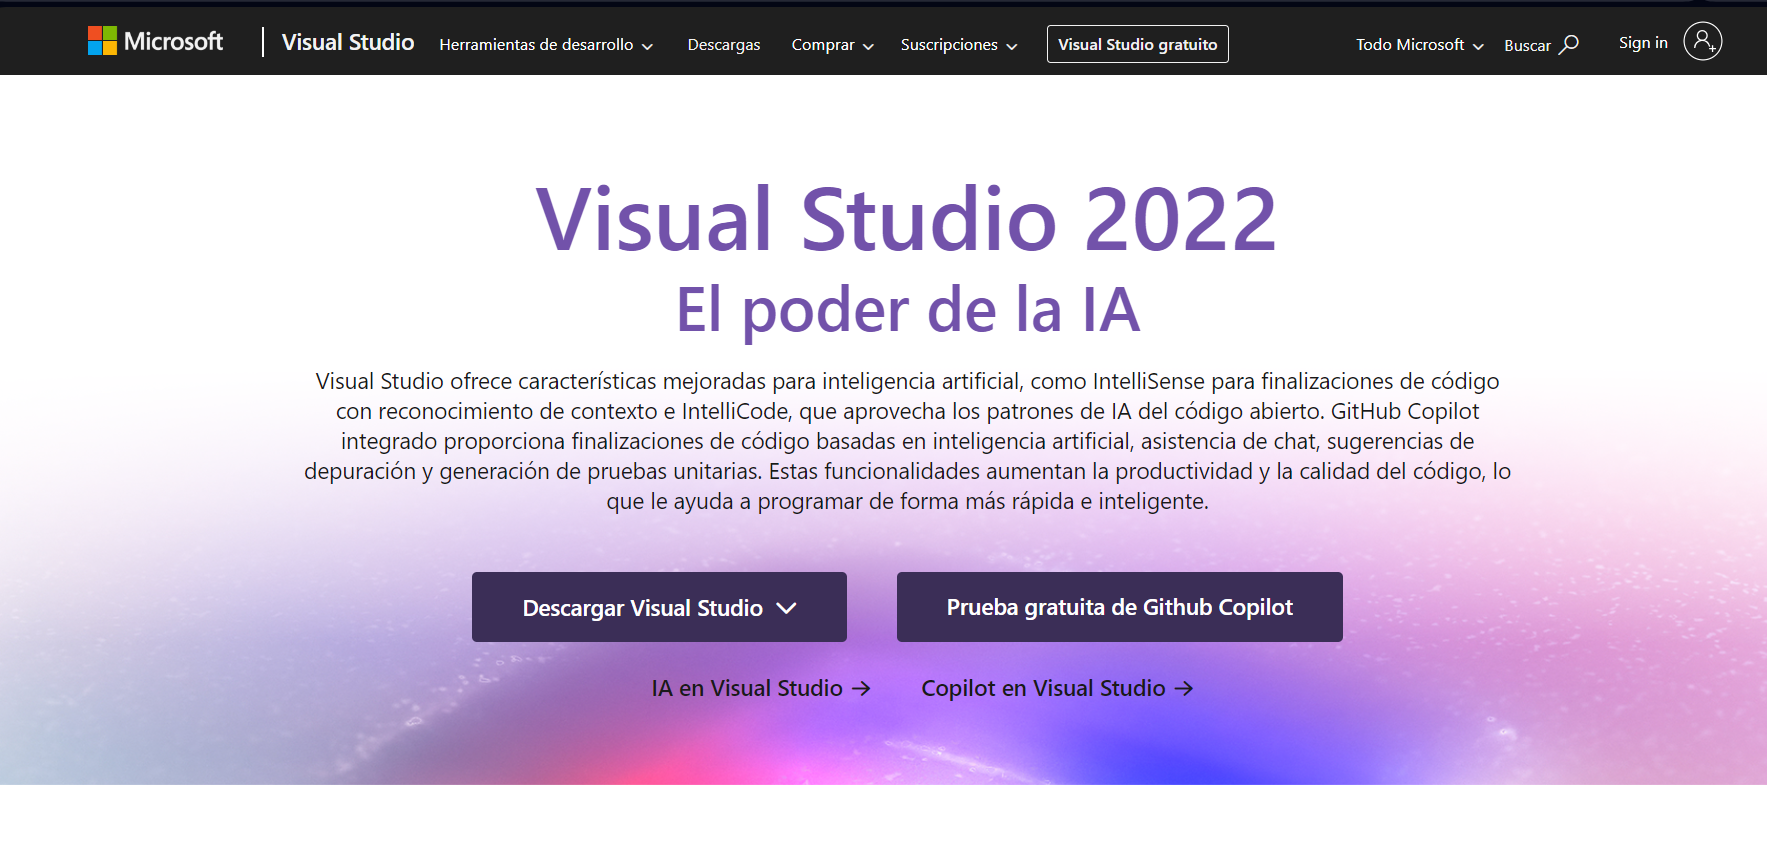
Installing Visual Studio 2022: Download and install Visual Studio 2022 from the Microsoft portal. This IDE is essential for developing, compiling, and publishing Blazor applications to Azure.
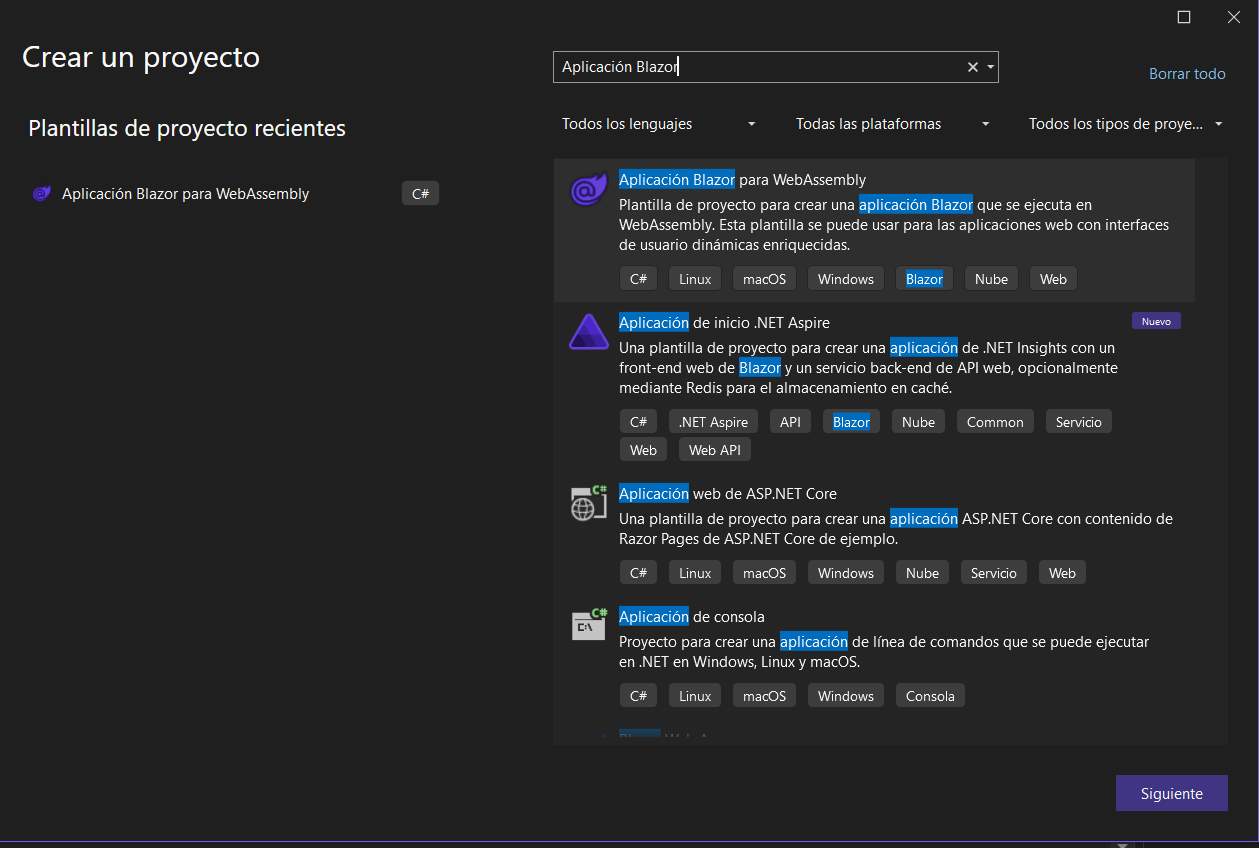
Creating the Blazor Project: Start a new project in Visual Studio 2022 by selecting "Blazor WebAssembly App". This project type enables you to create interactive web applications using C# and Blazor.
Developing the Application
Within the Blazor project, we create the PasswordGenerator.razor file in the Pages folder, which contains logic to generate and copy random passwords. Here, C# is used for server-side logic and JavaScript via IJSRuntime for browser interaction, specifically for copying text to the clipboard.
@page "/"
@page "/generadorcontrasenas"
@using System.Security.Cryptography
@using System.Text
@inject IJSRuntime JSRuntime

<h3 class="mb-4">Generador de Contraseñas</h3>

<div class="mb-4">
    <label class="form-label">Longitud de la contraseña:</label>
    <input type="number" class="form-control" @bind="longitudContraseña" min="6" max="50" />
</div>
<div class="mb-4">
    <label class="form-label">Tipo de caracteres:</label><br />
    <div class="form-check">
        <input type="checkbox" class="form-check-input" id="chkNumeros" checked="@incluyeNumeros" @onchange="ToggleNumeros" />
        <label class="form-check-label" for="chkNumeros">Números (0-9)</label>
    </div>
    <div class="form-check">
        <input type="checkbox" class="form-check-input" id="chkLetras" checked="@incluyeLetras" @onchange="ToggleLetras" />
        <label class="form-check-label" for="chkLetras">Letras (a-z, A-Z)</label>
    </div>
    <div class="form-check">
        <input type="checkbox" class="form-check-input" id="chkSimbolos" checked="@incluyeSimbolos" @onchange="ToggleSimbolos" />
        <label class="form-check-label" for="chkSimbolos">Símbolos (!#$%^&*)</label>
    </div>
</div>
<div>
    <button class="btn btn-primary" @onclick="GenerarContraseña">Generar Contraseña</button>
    @if (!string.IsNullOrEmpty(contraseñaGenerada))
    {
        <button class="btn btn-success ms-2" @onclick="CopiarContraseña">Copiar</button>
    }
</div>

@if (!string.IsNullOrEmpty(contraseñaGenerada))
{
    <div class="alert alert-success mt-3" style="display: @mostrarAlerta ? 'block' : 'none'">
        <strong>Contraseña copiada correctamente:</strong> @contraseñaGenerada
    </div>
}

@code {
    private int longitudContraseña = 12;
    private bool incluyeNumeros = true;
    private bool incluyeLetras = true;
    private bool incluyeSimbolos = false;

    private string contraseñaGenerada = "";
    private bool mostrarAlerta = false;

    private static readonly string CaracteresNumeros = "0123456789";
    private static readonly string CaracteresLetras = "abcdefghijklmnopqrstuvwxyzABCDEFGHIJKLMNOPQRSTUVWXYZ";
    private static readonly string CaracteresSimbolos = "!@#$%^&*()_+-=[]{};:,.<>?";

    private void ToggleNumeros(ChangeEventArgs args)
    {
        incluyeNumeros = (bool)args.Value;
    }

    private void ToggleLetras(ChangeEventArgs args)
    {
        incluyeLetras = (bool)args.Value;
    }

    private void ToggleSimbolos(ChangeEventArgs args)
    {
        incluyeSimbolos = (bool)args.Value;
    }

    private async Task GenerarContraseña()
    {
        StringBuilder contraseña = new StringBuilder();
        Random aleatorio = new Random();

        string conjuntoCaracteres = "";
        if (incluyeNumeros)
            conjuntoCaracteres += CaracteresNumeros;
        if (incluyeLetras)
            conjuntoCaracteres += CaracteresLetras;
        if (incluyeSimbolos)
            conjuntoCaracteres += CaracteresSimbolos;

        for (int i = 0; i < longitudContraseña; i++)
        {
            int indiceAleatorio = aleatorio.Next(0, conjuntoCaracteres.Length);
            contraseña.Append(conjuntoCaracteres[indiceAleatorio]);
        }

        contraseñaGenerada = contraseña.ToString();
        mostrarAlerta = false; // Asegurarse de ocultar la alerta antes de generar una nueva contraseña
        StateHasChanged(); // Actualizar el estado para reflejar los cambios en la interfaz
    }

    private async Task CopiarContraseña()
    {
        if (!string.IsNullOrEmpty(contraseñaGenerada))
        {
            await JSRuntime.InvokeVoidAsync("copyToClipboard", contraseñaGenerada);
            mostrarAlerta = true; // Mostrar la alerta después de copiar la contraseña
            StateHasChanged(); // Actualizar el estado para reflejar los cambios en la interfaz
        }
    }
}

<script>
    function copyToClipboard(text) {
        navigator.clipboard.writeText(text)
            .then(() => {
                console.log('Text copied to clipboard');
                alert('Se ha copiado la contraseña correctamente');
            })
            .catch(err => {
                console.error('Failed to copy text to clipboard: ', err);
                alert('Error al copiar la contraseña');
            });
    }
</script>
Designing the User Interface
The NavMenu.razor file within the Layout folder handles navigation and the application menu. Here, we define the HTML structure and control logic for the navigation menu.
<div class="top-row ps-3 navbar navbar-dark">
    <div class="container-fluid">
        <a class="navbar-brand" href="">Blazor.Azure.Tests</a>
        <button title="Navigation menu" class="navbar-toggler" @onclick="ToggleNavMenu">
            <span class="navbar-toggler-icon"></span>
        </button>
    </div>
</div>

<div class="@NavMenuCssClass nav-scrollable" @onclick="ToggleNavMenu">
    <nav class="flex-column">
        <div class="nav-item px-3">
            <NavLink class="nav-link" href="generadorcontrasenas" Match="NavLinkMatch.All">
                <span class="bi bi-house-door-fill-nav-menu" aria-hidden="true"></span> Generador
            </NavLink>
        </div>
    </nav>
</div>


@code {
    private bool collapseNavMenu = true;

    private string? NavMenuCssClass => collapseNavMenu ? "collapse" : null;

    private void ToggleNavMenu()
    {
        collapseNavMenu = !collapseNavMenu;
    }
}
Publishing to Azure
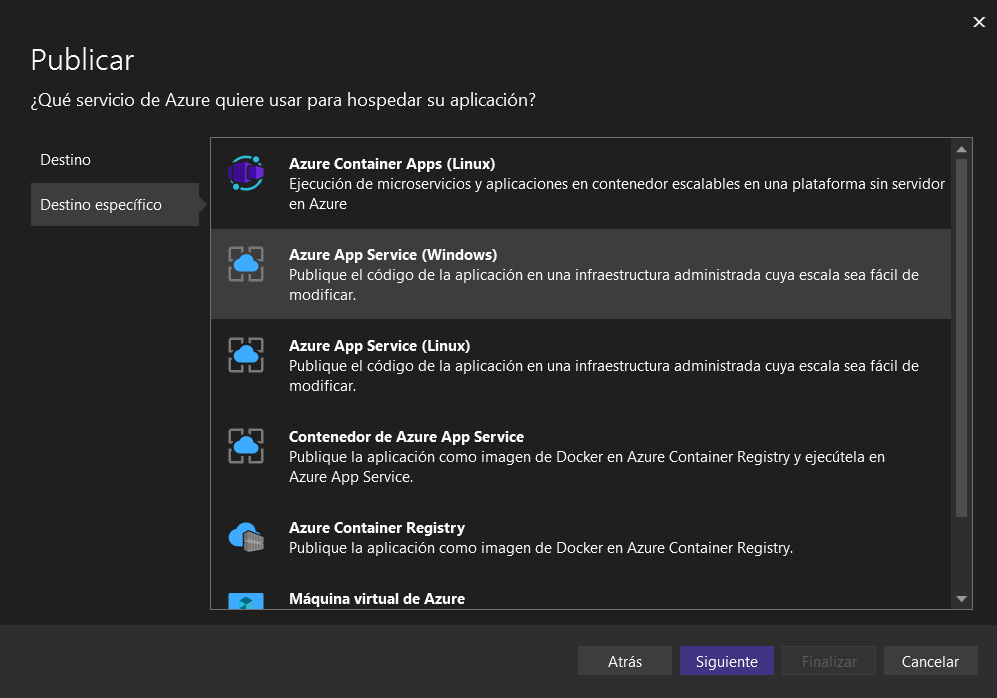
Publishing from Visual Studio: Once the application development is complete, right-click on the project in Visual Studio and select "Publish". Choose "Azure" as the publishing target and then "Azure App Service (Windows)".
Creating an Azure App Service Instance: Configure publication details such as Azure subscription, resource group, and hosting plan. Azure App Service provides a managed environment for hosting web applications, ensuring scalability, security, and ease of management.
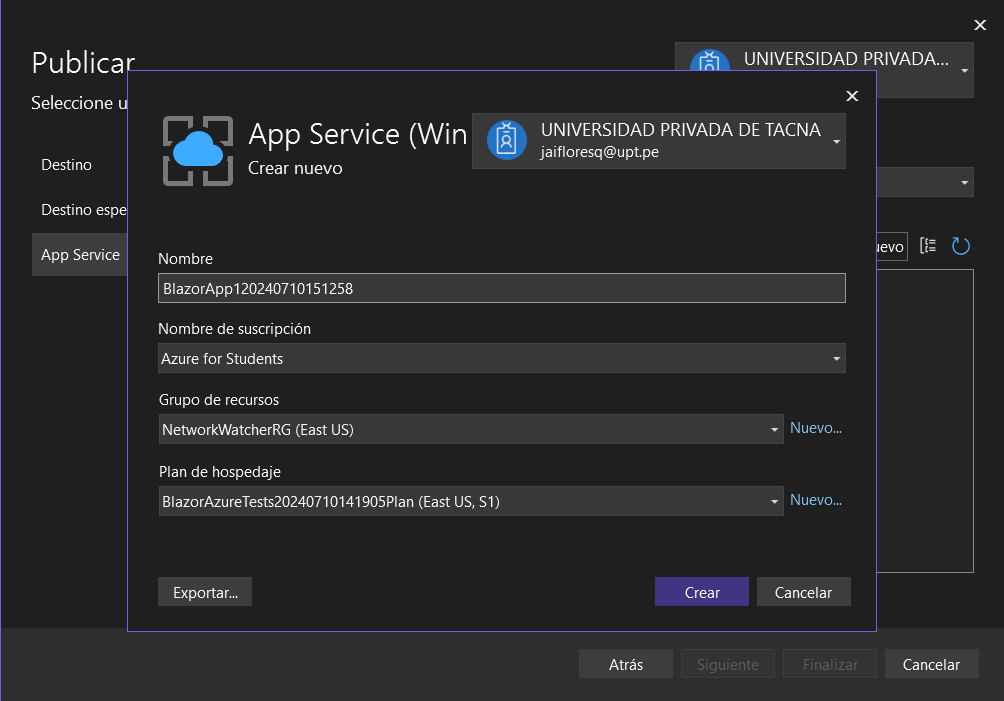
Azure Subscription: For a personal account, charges apply based on Azure service usage. Costs may include runtime of the Azure App Service instance, storage used, and network traffic generated by the application.
Resource Group: A resource group groups related Azure resources (such as App Services, databases, storage) and provides a logical way to manage and organize these resources.
Hosting Plan: Defines the size and characteristics of the hosting environment for the application. Azure App Service offers various pricing plans that vary in terms of automatic scalability, processing capabilities, and memory.
Completing the Publishing Process: Once details are configured, click on "Create" to initiate the creation of the Azure App Service instance. This process will automatically set up the necessary environment to run your Blazor application in the cloud.
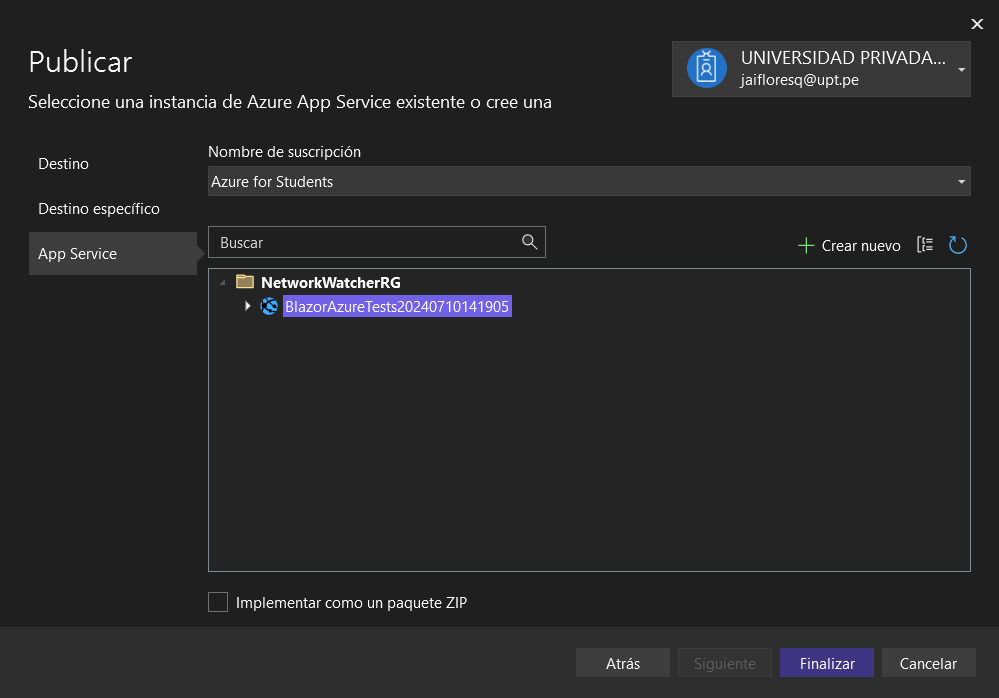
Verifying and Accessing the Application
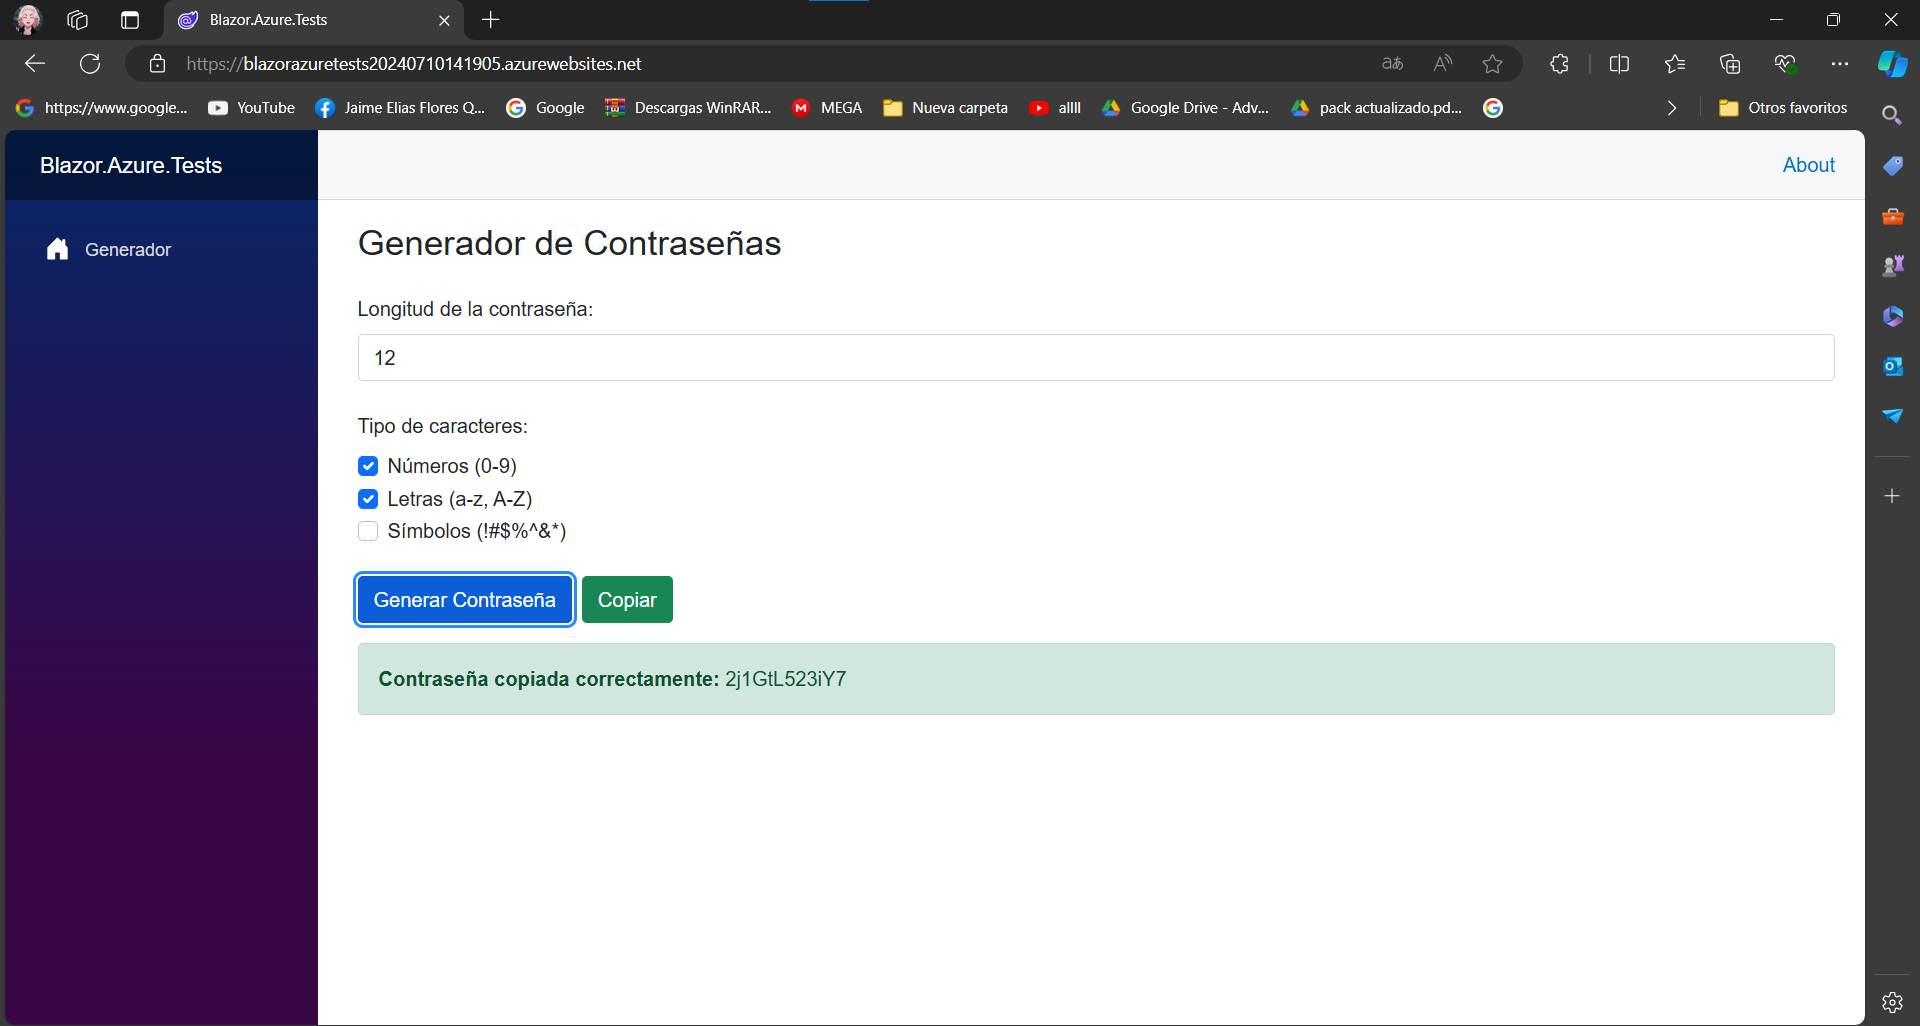
Upon deployment completion, Azure will provide the public URL where your application is hosted. Access this URL to verify that the application has been successfully deployed.
Blazor.Azure.Tests (blazorazuretests20240710141905.azurewebsites.net)
Technologies and Tools Used
Blazor: Microsoft framework for building interactive web applications using C#.
C#: Programming language used for server-side logic in Blazor.
Razor: Markup syntax used in Blazor to combine HTML and C# in
.razorfiles.HTML and CSS: Used for designing and styling the user interface.
JavaScript: Used for interacting with browser features, such as clipboard access.
IJSRuntime: Blazor service interface for invoking JavaScript code from C#.
Conclusion
Deploying a web application with Azure not only simplifies the implementation process but also provides benefits such as scalability, security, and ease of management. Take advantage of Azure's tools to elevate your Blazor applications, allowing you to focus on creating exceptional and scalable user experiences in the cloud.
Subscribe to my newsletter
Read articles from JAIME ELIAS FLORES QUISPE directly inside your inbox. Subscribe to the newsletter, and don't miss out.
Written by
