How I Created a URL Shortener App and Released it on Vercel
 Rahul Boney
In this article, I'll walk you through how I built a URL shortener application using Node.js, Express, MongoDB, and EJS for server-side rendering. Finally, I'll show you how to deploy it on Vercel. Let's dive in!
Prerequisites
Before we start, make sure you have the following installed:
Node.js and npm
MongoDB
Vercel CLI
Step 1: Setting Up the Project
First, create a new directory for your project and initialize it with npm:
mkdir url-shortener
cd url-shortener
npm init -y
Install the necessary dependencies:
npm install express mongoose ejs
Step 2: Defining the Schema
Create a models directory and add a file named url.js:
// models/url.js
const mongoose = require('mongoose');

const urlSchema = new mongoose.Schema({
    shortId: {
        type: String,
        required: true,
        unique: true,
    },
    redirectURL: {
        type: String,
        required: true,
        unique: true,
    },
    visitHistory: [{ timestamp: { type: Number } }],
}, { timestamps: true });

const URL = mongoose.model('URL', urlSchema);
module.exports = URL;
Step 3: Setting Up Routes
Create a routes directory and add url.js:
// routes/url.js
const express = require('express');
const { handleGenerateNewShortUrl, handleGetAnalytics } = require('../controllers/url');
const router = express.Router();

router.post("/", handleGenerateNewShortUrl);
router.get("/analytics/:shortId", handleGetAnalytics);

module.exports = router;
Step 4: Creating the Views
Create a views directory and add home.ejs:
<!-- views/home.ejs -->
<!DOCTYPE html>
<html lang="en">
<head>
    <meta charset="UTF-8">
    <meta name="viewport" content="width=device-width, initial-scale=1.0">
    <title>Home Page</title>
    <style>
        /* Your CSS styles here */
    </style>
</head>
<body>
    <div class="container">
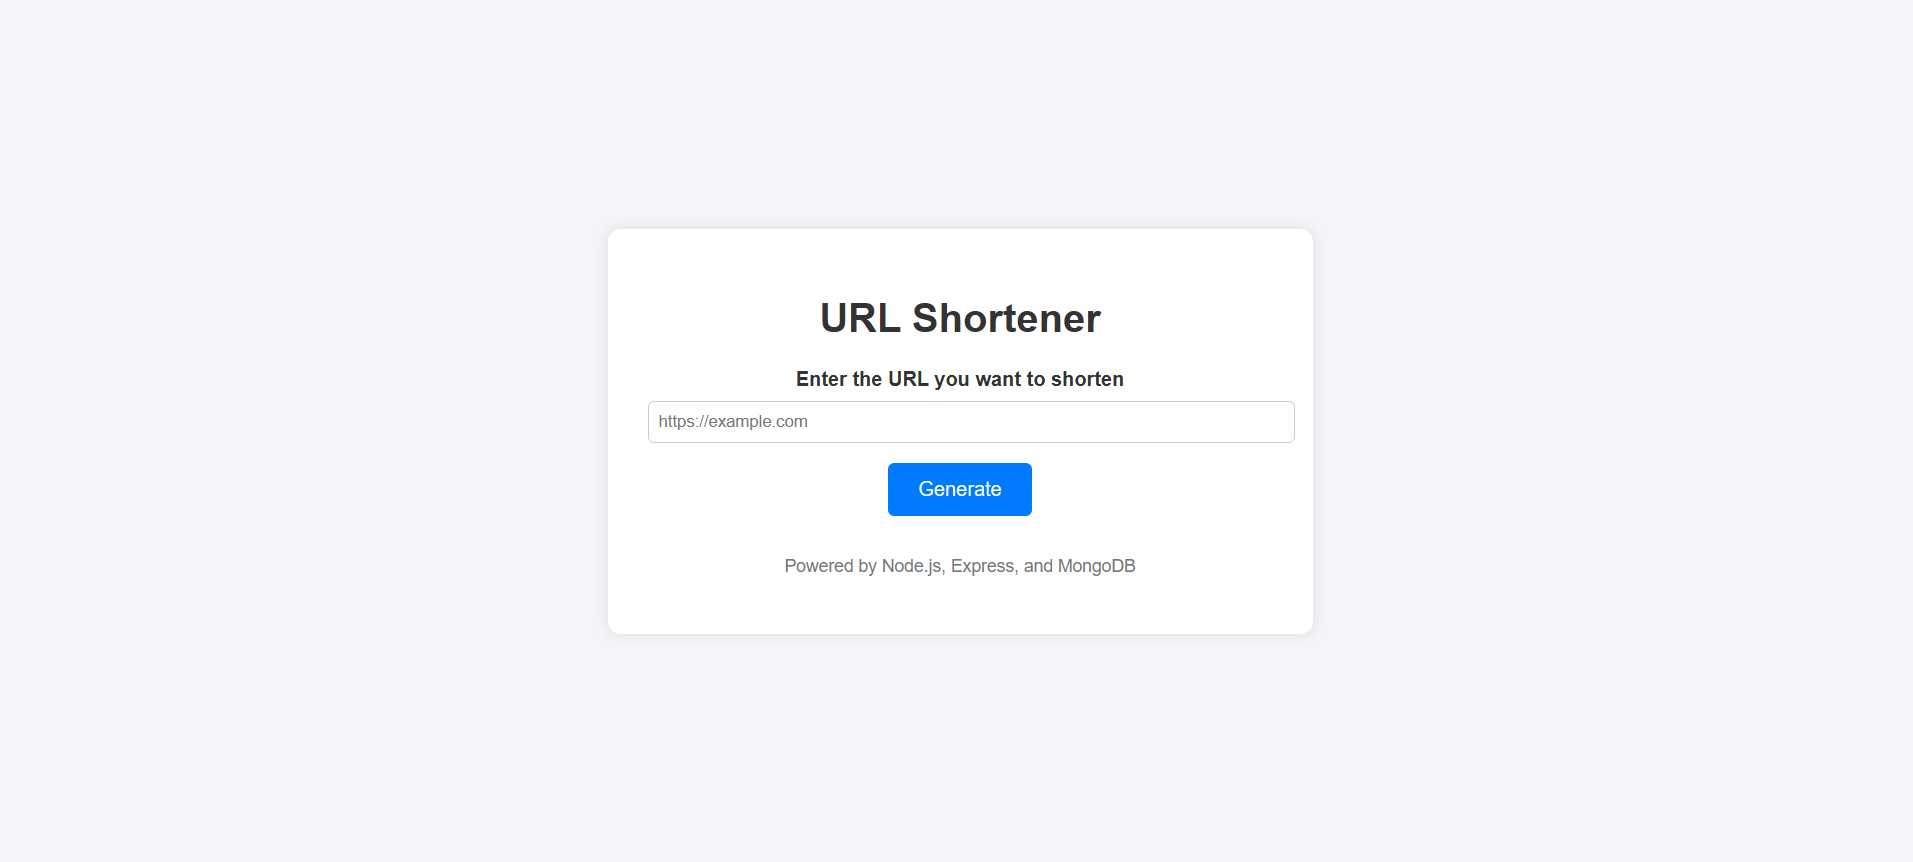
        <h1>URL Shortener</h1>
        <% if (id) { %>
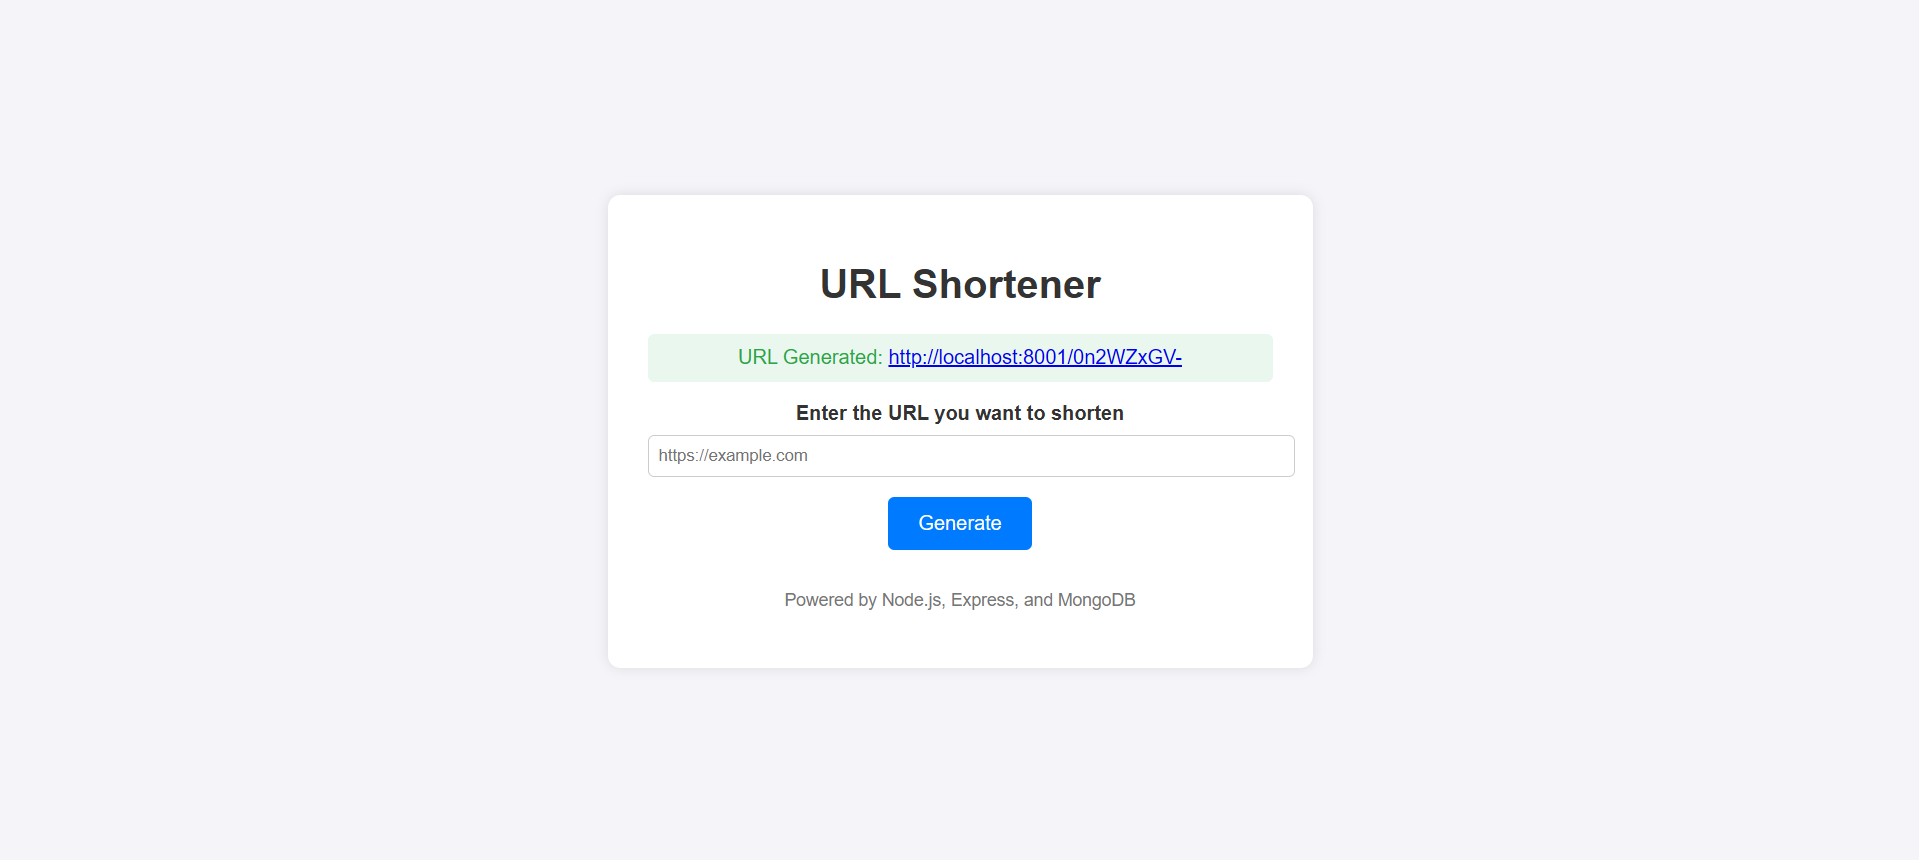
            <p class="generated-url">URL Generated: <a href="http://localhost:8001/<%= id %>">http://localhost:8001/<%= id %></a></p>
        <% } %>
        <div>
            <form method="POST" action="/">
                <label>Enter the URL you want to shorten</label>
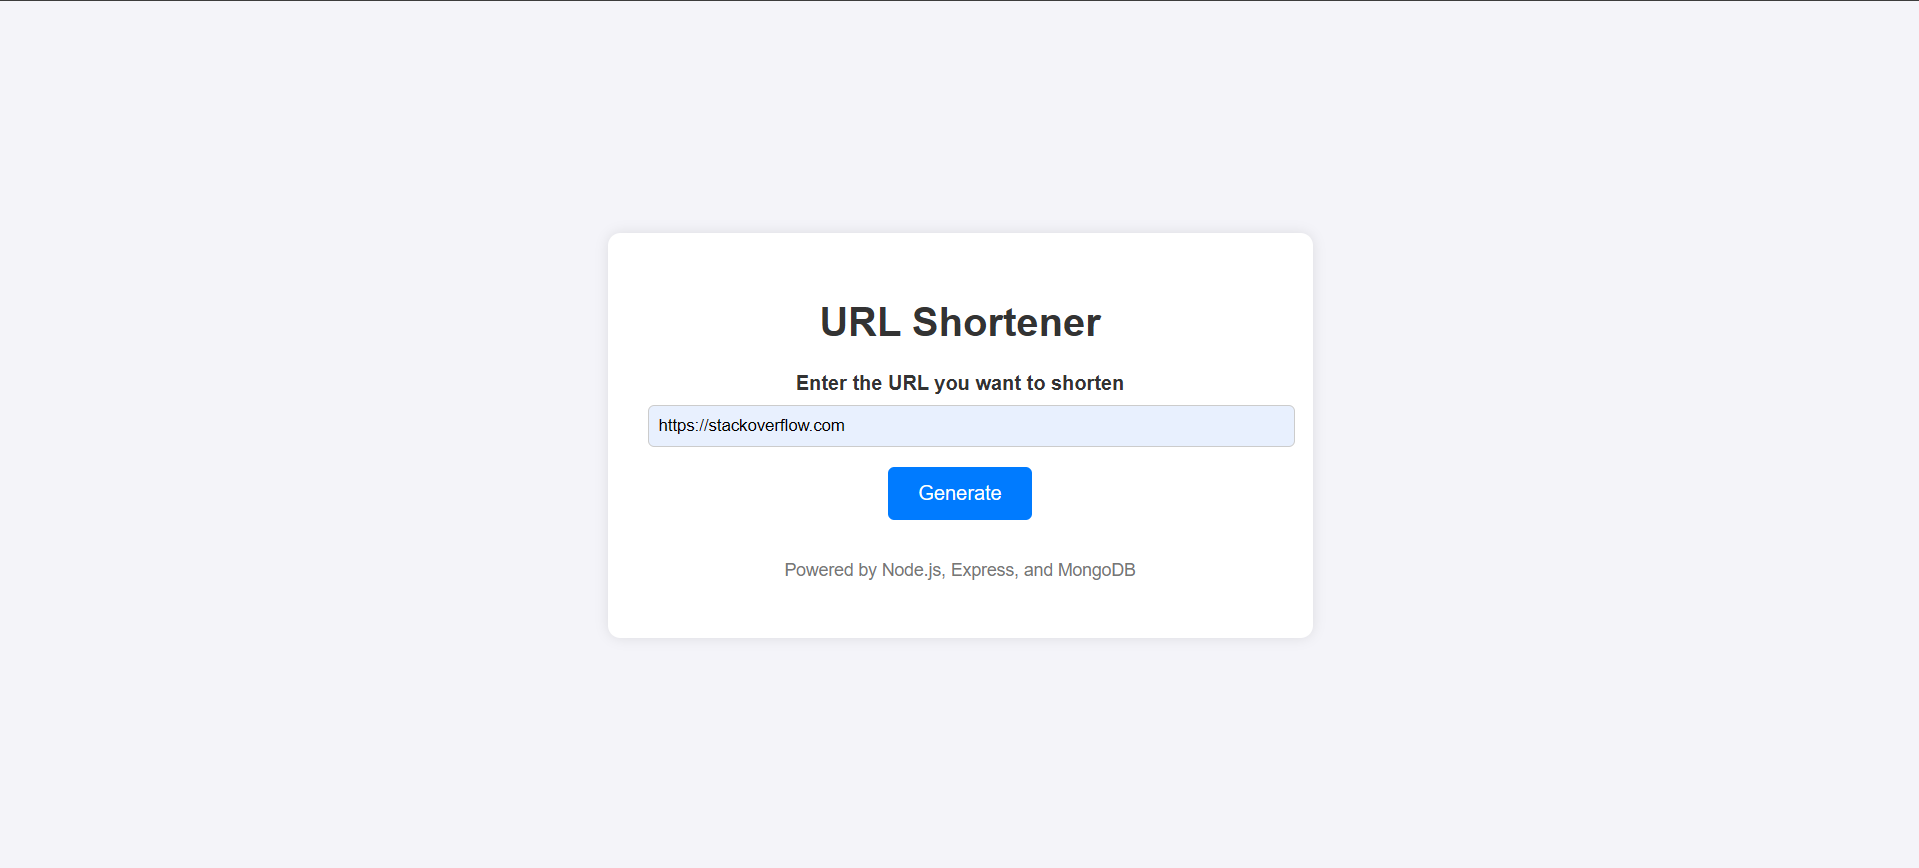
                <input type="text" name="url" placeholder="https://example.com" required />
                <button type="submit">Generate</button>
            </form>
        </div>
        <div class="footer">
            <p>Powered by Node.js, Express, and MongoDB</p>
        </div>
    </div>
</body>
</html>
Step 5: Connecting to MongoDB
Create a connect.js file for the MongoDB connection:
// connect.js
const mongoose = require('mongoose');

async function connectToMongoDB(url) {
    return mongoose.connect(url);
}

module.exports = {
    connectToMongoDB,
};
Step 6: Setting Up the Server
Create app.js:
// app.js
const express = require('express');
const path = require('path');
const urlRoute = require('./routes/url');
const URL = require('./models/url');
const { connectToMongoDB } = require('./connect');

const app = express();
const PORT = 8001;

app.set('view engine', 'ejs');
app.set('views', path.resolve('./views'));

app.use(express.json());
app.use(express.urlencoded({ extended: false }));

connectToMongoDB('mongodb://localhost:27017/short-url')
    .then(() => {
        console.log('Database connected');
        app.listen(PORT, () => console.log(`Server started on PORT: ${PORT}`));
    })
    .catch(err => {
        console.error('Database connection failed', err);
        process.exit(1);
    });

app.use('/url', urlRoute);
app.get('/:shortId', async (req, res) => {
    const shortId = req.params.shortId;

    try {
        const entry = await URL.findOneAndUpdate(
            { shortId: shortId },
            {
                $push: {
                    visitHistory: {
                        timestamp: Date.now(),
                    },
                },
            },
            { new: true }
        );

        if (entry) {
            res.redirect(entry.redirectURL);
        } else {
            res.status(404).send('Short URL not found');
        }
    } catch (error) {
        console.error('Error redirecting:', error);
        res.status(500).send('Server error');
    }
});

module.exports = app;
Step 7: Implementing Controllers
Create a controllers directory and add url.js:
// controllers/url.js
const URL = require('../models/url');
const { nanoid } = require('nanoid');

async function handleGenerateNewShortUrl(req, res) {
    const { url } = req.body;

    if (!url) {
        return res.status(400).send('URL is required');
    }

    const shortId = nanoid(6);
    const newUrl = new URL({
        shortId,
        redirectURL: url,
    });

    await newUrl.save();
    res.render('home', { id: shortId });
}

async function handleGetAnalytics(req, res) {
    const { shortId } = req.params;

    const url = await URL.findOne({ shortId });
    if (url) {
        res.json(url);
    } else {
        res.status(404).send('URL not found');
    }
}

module.exports = {
    handleGenerateNewShortUrl,
    handleGetAnalytics,
};
Step 8: Deploying on Vercel
To deploy your app on Vercel, follow these steps:
Install Vercel CLI:
npm install -g vercelLogin to Vercel:
vercel loginDeploy Your App:
vercel
Follow the prompts to set up and deploy your application. Your URL shortener should now be live on Vercel.
Conclusion
Congratulations! You've successfully built and deployed a URL shortener application. You can expand this project by adding features like user authentication, custom short URLs, and more. Happy coding!
Subscribe to my newsletter
Read articles from Rahul Boney directly inside your inbox. Subscribe to the newsletter, and don't miss out.
Written by

Rahul Boney
Rahul Boney
Hey, I'm Rahul Boney, really into Computer Science and Engineering. I love working on backend development, exploring machine learning, and diving into AI. I am always excited about learning and building new things.