Project DoList: Setup
 Steven Wanderski
Welcome to the first post in the Project: DoList series. In this series we will be building a Todoist (https://todoist.com) clone using the following technologies:
Rails 7
Hotwire
Tailwind
This series assumes that the following tools already exist:
MacOS
Ruby 3.1.2
Bundler
Postgres
Heroku account
Install Rails
Use the following command to create a new Rails app:
rails new dolist -d postgresql --css tailwind --minimal
This command sets up Postgres as the DB and installs Tailwind. Note the --minimal flag. This omits most of the non-critical Rails components such as: JS bundler / tooling, ActionCable, ActionMailer, ActionJob, etc. We may need a few of these but we can simply install them as needed.
Next create the databases:
bin/rails db:create
Finally, run the local server:
./bin/dev
Open a browser and visit the following address:
http://localhost:3000
You should see the Rails default homepage.
Create a Homepage
Let's create a new controller and view and set it to be the root page (homepage) of the app. In a new terminal tab run the following command:
bin/rails g controller Pages home
This command creates a controller file: app/controllers/pages.rb and a view template file: app/views/pages/home.html.erb
Next lets set this new page to be our app homepage. In the file config/routes.rb replace the entire contents with the following:
Rails.application.routes.draw do
  root 'pages#home'
end
Refresh the page at http://localhost:3000 and we should see the contents of the view file: home.html.erb
Change the contents of home.html.erb to be the following:
<div>
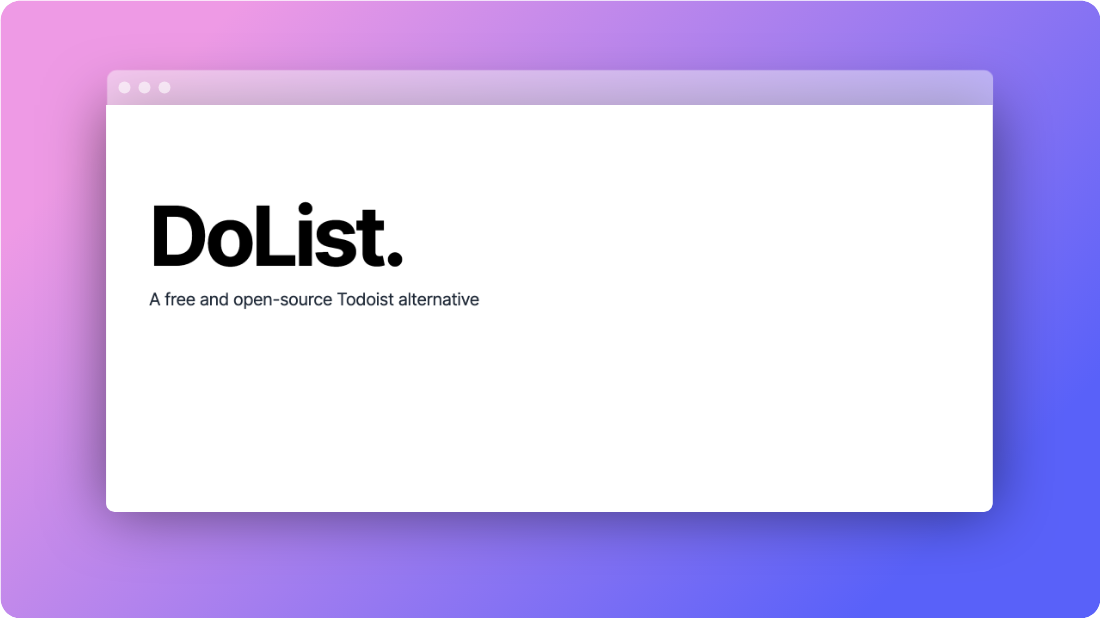
  <h1 class="font-bold text-8xl mb-3 tracking-tighter">DoList.</h1>
  <p class="text-gray-800 text-xl tracking-tight">
    A free and open-source Todoist alternative
  </p>
</div>
Your homepage should now look like the following:

Deploy to Heroku
From the Heroku dashboard create a new app named dolist-production. Then add the following Add-ons to the Heroku app:
Heroku Postgres (our DB)
Papertrail (for easy log viewing)
In the Rails app add a new file named Procfile and add the following contents:
web: bundle exec puma -C config/puma.rb
This file will instruct Heroku how to initialize and run our web server on the web dyno.
Next add the Heroku git remote source so that we can push and deploy:
git remote add heroku https://git.heroku.com/dolist-production.git
Finally commit all changes in our Rails app and push to Heroku:
git commit -am 'Init commit'
git push heroku main
We should now be able to view our app at a Heroku domain (found in the app "Settings" tab). The URL looks something like this:
https://dolist-production-01140a2950b0.herokuapp.com/
The following tasks were completed in this article:
A new Rails app was created and configured locally.
A new homepage was created and styled using Tailwind.
A new Heroku app was created and configured.
The Rails app was deployed to Heroku.
Subscribe to my newsletter
Read articles from Steven Wanderski directly inside your inbox. Subscribe to the newsletter, and don't miss out.
Written by
