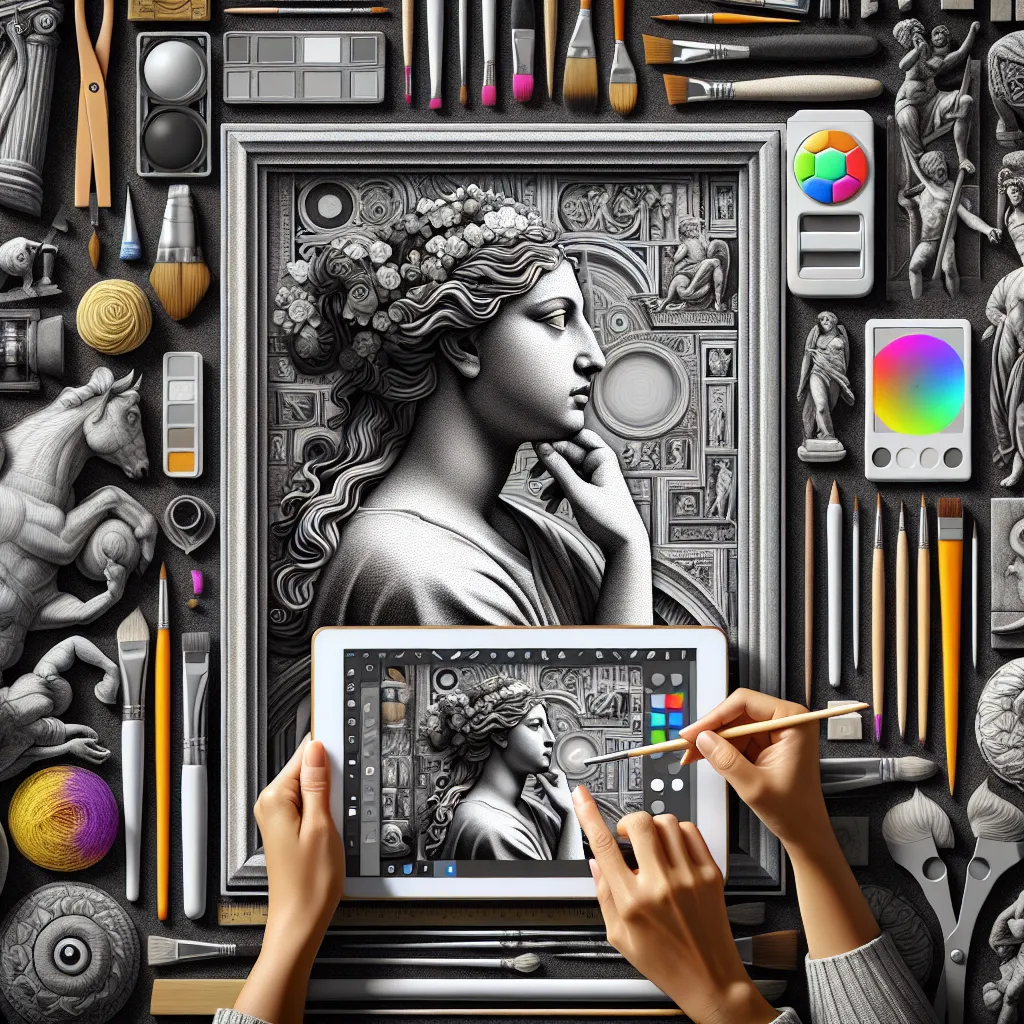
Beginners Guide to Digital Painting Using Procreate on the iPad
 Quantum Cyber Solutions
Published on
Saturday, February 3, 2024
Beginners Guide to Digital Painting Using Procreate on the iPad
===================================================================
Authors

Name
Elon Tusk 😄
Twitter
Beginners Guide to Digital Painting Using Procreate on the iPad
Welcome, budding digital artists! If you’ve been awe-struck by the beautiful artwork created on Procreate and are itching to start your own digital painting journey, you’ve come to the right place. This guide will walk you through the essentials of using Procreate on the iPad, focusing on critical features like brushes, layers, and color theory.
Getting Started with Procreate
What is Procreate?
Procreate is an incredibly powerful digital painting app designed for the iPad. It's favored by professionals and hobbyists alike for its versatility, intuitive interface, and the sheer variety of tools at your disposal. Whether you're sketching, painting, or creating intricate designs, Procreate provides everything you need to bring your imagination to life.
Setting Up Your Workspace
To begin, open Procreate on your iPad and create a new canvas by tapping the “+” icon. Here's a pro tip: explore the different canvas sizes and resolutions to find one that suits your project. For high-quality prints, a resolution of at least 300 DPI (dots per inch) is recommended.
Understanding Brushes
One of the most dynamic tools in Procreate is its extensive brush library. Brushes can simulate anything from oils and acrylics to pencils and inks, giving your artwork realistic texture and depth.
Finding the Right Brush
Navigate to the brush library by tapping the brush icon. Procreate offers pre-installed brushes categorized into different sets such as Sketching, Inking, Painting, and more. Spend some time experimenting with these to understand their properties.
Customizing Brushes
For more control, Procreate allows you to customize each brush. Tap on a brush to access its settings, where you can tweak aspects like its size, opacity, and grain. Additionally, you can create your own brushes from scratch or download custom brushes from various online marketplaces.
Mastering Layers
What are Layers?
Imagine layers as sheets of transparent material stacked on top of each other. Each layer can hold individual elements of your painting, which you can manipulate independently without affecting other parts of your artwork.
Creating and Managing Layers
To add a new layer, tap the “Layers” icon (two stacked squares) and then the “+” icon. You can rename, reorder, and merge layers by tapping and holding on the layer’s thumbnail. Utilizing layers effectively can significantly streamline your workflow and make complex compositions more manageable.
Blending Modes and Opacity
Experiment with different blending modes (Normal, Multiply, Screen, Overlay, etc.) to achieve different effects. Adjusting a layer's opacity can also add depth and subtlety to your artwork. Blend modes and opacity settings can be found in the layer options.
Diving into Color Theory
Choosing Colors
Procreate’s color picker (wheel or disc) offers a range of hues and saturation levels. It is crucial to understand color theory principles, such as the color wheel, complementary colors, and analogous colors, to create a harmonious palette.
Creating Custom Palettes
Make custom color palettes by tapping the color circle in the top-right corner and selecting the “Palettes” tab. Here, you can save frequently used colors and even create palettes from images using the photo icon.
Utilizing Color Harmony Tools
Procreate’s color harmony tools can help you choose colors that work well together. You can find these in the “Harmony” section of the color picker, offering various schemes like complementary, split-complementary, and triadic color schemes.
Final Tips and Tricks
- QuickLine & QuickShape: Draw straight lines and perfect shapes by holding your pencil down after drawing.
- Gesture Controls: Master Procreate’s gesture controls, such as the two-finger tap to undo and three-finger swipe to redo.
- Exporting Artwork: Export your artwork in multiple file formats (JPEG, webp, PSD, etc.) suitable for different purposes.
Conclusion
Digital painting on Procreate opens a world of possibilities for artists of all levels. By mastering brushes, understanding layers, and applying color theory, you’ll be well on your way to creating stunning digital artwork. So grab your iPad, fire up Procreate, and let your creativity flow!
Happy painting! 🎨🎉
Feel free to share your thoughts and creations in the comments below. Let’s inspire each other on this artistic journey!
Discuss on Twitter • View on GitHub
Tags
Previous Article
Quantum Research & Applications From Theory to Transformation 🔬
Next Article
Subscribe to my newsletter
Read articles from Quantum Cyber Solutions directly inside your inbox. Subscribe to the newsletter, and don't miss out.
Written by
