Start Building Your First Library in NX: A Simple Guide
 Gilles Ferrand
Introduction
Hello friends 🚀! In a monorepo, the mindset shifts from thinking in terms of applications to thinking in terms of libraries. This approach encourages the creation of reusable, modular code that can be shared across multiple applications. To illustrate this concept, I will demonstrate how to create a reusable button component.
Initially, I could implement this button directly within the apps directory because my immediate need is to display it in my register-front application. However, by doing so, I limit the reusability of this component. What if, in the future, I need to use this button in a different application within the same monorepo? By coding it as a library from the start, I ensure that this button is easily accessible across all my applications.
Creating the button as a library doesn't require much extra effort, but it brings significant benefits:
Reusability: Libraries are designed to be reusable across multiple applications. By placing the button component in a library, I can import and use it in any current or future applications within the monorepo.
Maintainability: Centralizing the button component in a library makes maintenance easier. Any updates or bug fixes to the button can be made in one place, and all applications using the library will automatically benefit from the changes.
Consistency: Using a library ensures that the button component behaves consistently across all applications. This helps in maintaining a uniform user experience and reduces the risk of discrepancies.
Separation of Concerns: Libraries promote the separation of concerns by encapsulating specific functionalities. This modularity makes the codebase cleaner and easier to understand.
NX Advantages: NX provides powerful tools for managing libraries, such as dependency graph visualization, and efficient incremental builds. Leveraging these tools enhances the development experience and optimizes the build process.
By coding the button component as a library, I am taking full advantage of NX's capabilities, ensuring my code is modular, reusable, and maintainable. This approach aligns with best practices in modern software development and sets the foundation for scalable and efficient applications.
Let's create our first library
The first step to create a library is to create a folder libs at the root of the project
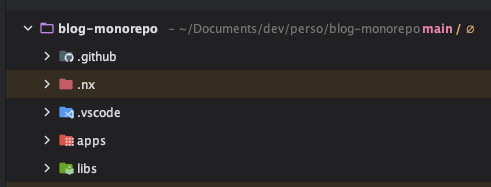
To determine the scope of my library, I need to ask where this feature will be used. For a button, it's straightforward—I need to use it everywhere. So, I will create a new folder called shared. This shared folder can be considered as a scope.

I could put my library directly in the shared folder, but with more experience, you'll see that it's easier to be very precise. So, I will create a grouping folder for all my shared dumb components and another grouping folder for my button.
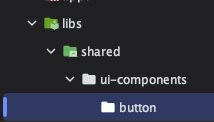
Finally, I can create my library. As a developer, I appreciate simplicity, and thankfully NX makes it easy. I will use the NX CLI to create it. However, since using the CLI can be tedious, I will use the NX Console instead.
I use Angular so I choose Library @nx/angular in NX Console, and I can fill the form
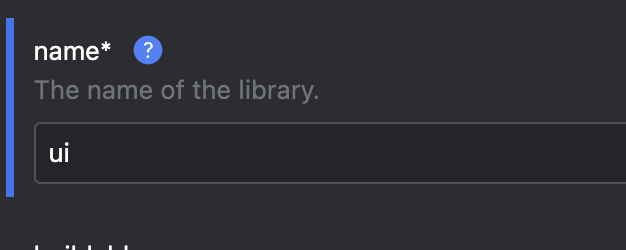
Library name: It's a good practice to name libraries in their grouping folders by their types. We will discuss library types in the next article. I will use ui for the name. "ui" will be the type of library for every dumb component.
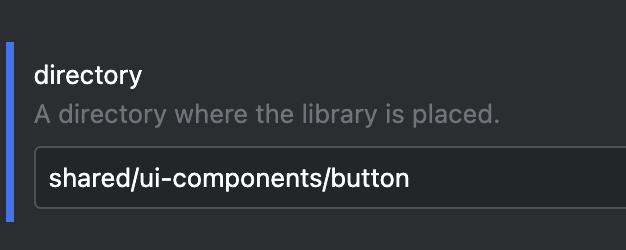
Directory : Pretty straightforward, I need to put my library in shared/ui-components/button.
Tags: In a future article, you will see that tags are very important. The scope of my library is shared, and the type of my library is UI: scope:shared,type:ui.
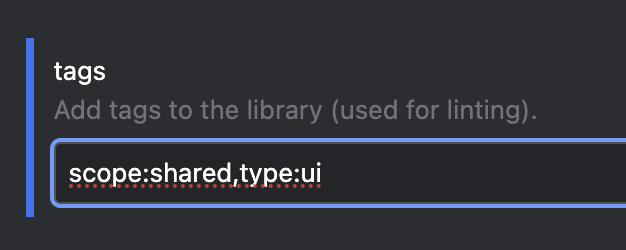
In your console you can see the command that will be launched when you are done. What you see is called a dry run. A "dry run" in NX allows you to simulate the effects of a command without making actual changes. This is done using the --dry-run (or -d) flag.
nx g @nx/angular:library --name=ui --directory=shared/ui-components/button --projectNameAndRootFormat=derived --skipTests=true --tags=scope:shared,type:ui --no-interactive --dry-run
Now you understand why it's easier to generate a library with NX Console!
You can also check the result in the console to make sure it's correct:
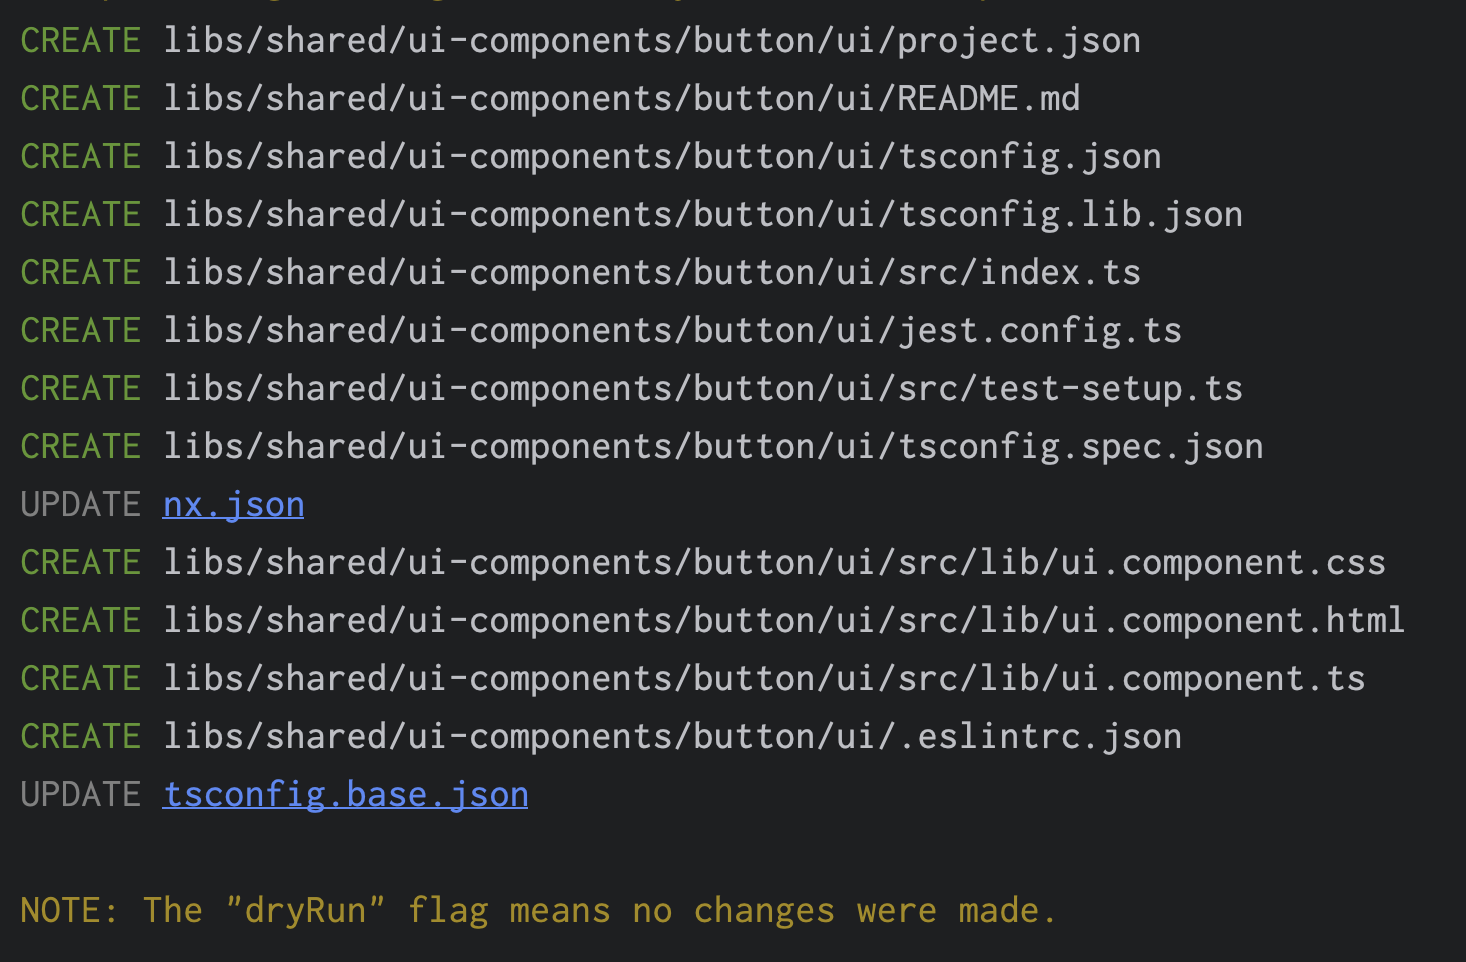
Then you can just run it :
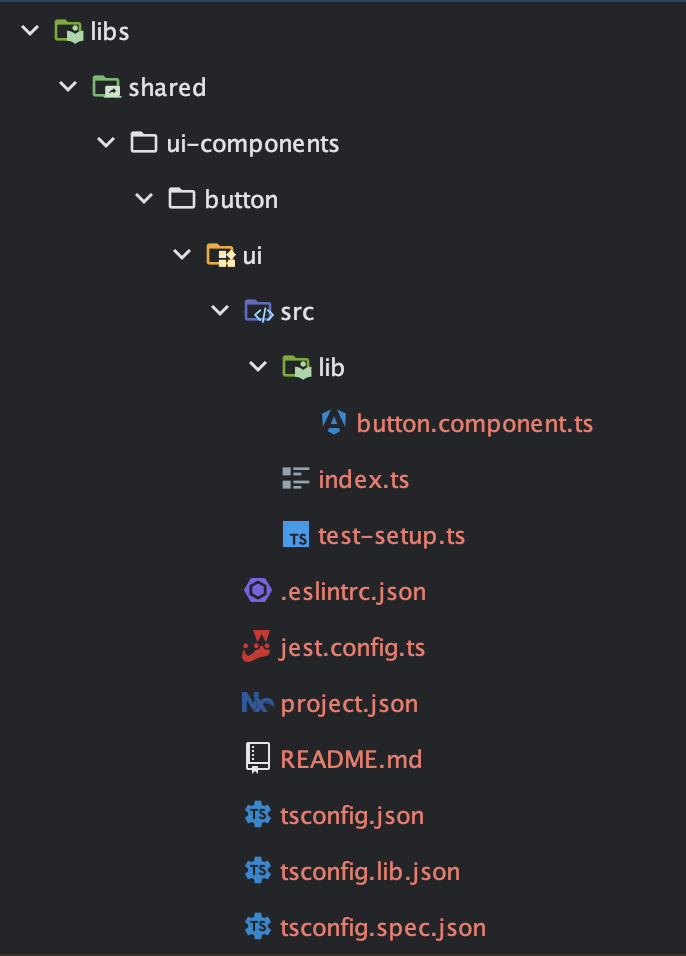
Here you go! Your first library is generated. In the next article, I will explain module boundaries and how to use scope and types.
In the future I will explain how we can just infer the task and get rid of all these configuration files.
Ressources
NX Console for your IDE : https://nx.dev/getting-started/editor-setup#official-integrations
Project Crystal NX, Inferred Tasks : https://nx.dev/concepts/inferred-tasks
Module boundaries : https://nx.dev/features/enforce-module-boundaries
Subscribe to my newsletter
Read articles from Gilles Ferrand directly inside your inbox. Subscribe to the newsletter, and don't miss out.
Written by

Gilles Ferrand
Gilles Ferrand
Full stack engineer but passionnated by front-end Angular Expert / NX / JavaScript / Node / Redux State management / Rxjs