#4 :Build a Web Application and IDE in AWS
 Namdev Pratap
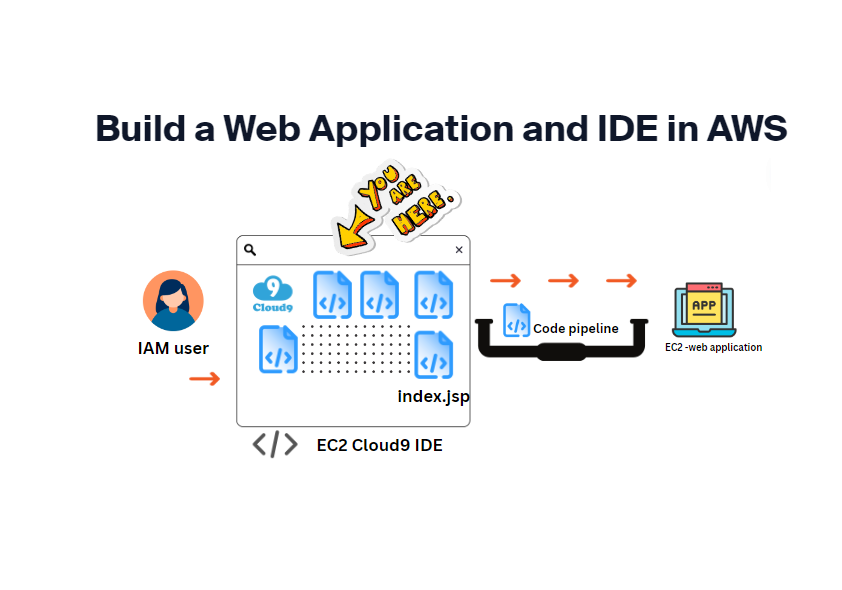
Step 1 : Lets Set up an IAM user
Understanding IAM Users in AWS
What is an IAM user and why do we need one?
In AWS, an IAM user is like a member of your team who can do things in the AWS cloud, such as running applications or managing data.
The Root User: Your AWS Account's Super Administrator
When you first sign up for AWS, you get a special login called the root user. This user has full access to everything in your AWS account—like all the services and even your billing details.
Why Not Use the Root User Every Day?
AWS recommends against using the root user for regular tasks because it's so powerful. Using it all the time could make your account vulnerable to security risks.
Introducing IAM Users: Team Members with Limited Powers
To keep your AWS account secure, it's better to create IAM users. These users act like individual team members. They have their own usernames and passwords and can only access specific parts of your AWS account that you allow them to.
Why Use IAM Users for This Project?
For security reasons, certain AWS services (including ones we'll use in this project) can't be accessed using the root user. So, we'll definitely need to set up an IAM user to safely manage and use these services.
Setting Up an IAM User: Step-by-Step
- Access Your AWS Account Using the Root User Credentials.
Open the AWS IAM Console
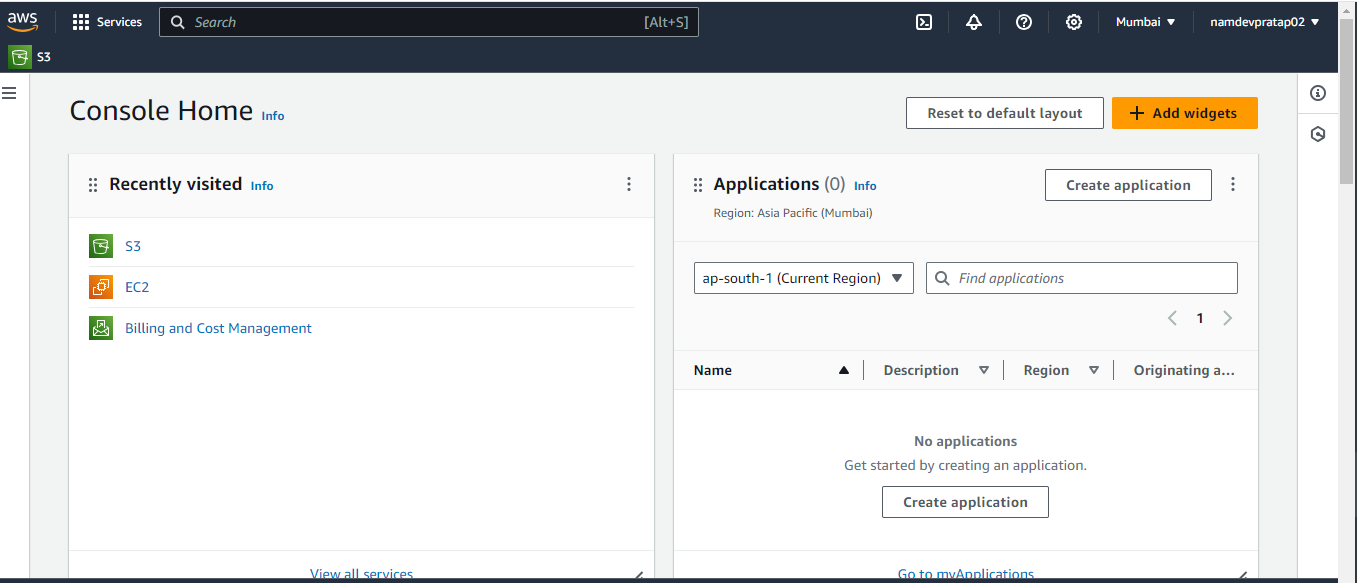
Search for IAM and open IAM console

Click into user

Click on create user
Check mark : Provide user access to the AWS Management Console

Enter your password and click next

Importance of Setting Permissions
Now, it's crucial to pay close attention to setting permissions when creating an IAM user. This process involves defining which actions and resources the IAM user can access within your AWS account, dictating their level of control and authority over AWS services and resources.
In the permissions option select "Attach policies directly" , under "Permissions policies" select " administrator access"
You will see statement says

On all recourses on account allow this account the permission to perform any action
Ok now click next and lets create the account !

Now a IAM user is created login using the user name you created with the password , Perfect now you are logged in as an IAM user :)

Launching a New Cloud9 IDE
Understanding IDEs and AWS Cloud9
An Integrated Development Environment (IDE) is software designed to assist developers in writing, debugging, and managing code efficiently. It encompasses a complete toolkit that typically includes a text editor, tools for executing and testing code, and other features essential for software development.

AWS Cloud9 is a specific type of IDE provided by Amazon Web Services (AWS). Unlike traditional IDEs that require installation on your local computer, AWS Cloud9 operates entirely within the AWS cloud and can be accessed through a web browser. This cloud-based IDE allows developers to work flexibly from any location without the need for heavy software installations on their machines.
Now search for cloud9 console in search bar and select Cloud 9

Now give a name to your ID :namdev-cloud9-IDE (give any name)
Select New EC2 instance, instance type : select t2.micro (1 GiB RAM + 1 vCPU)
Platform: Select Amazon Linux 2, leave rest all to default and click on get started


Done your cloud 9 IDE will be ready in couple of minutesWhile you wait, see Best practices for using AWS Cloud9
Hola ! now your ID is created successfully

Click on Open to open up the IDE

Now you will see the IDE for first time on Cloud :)
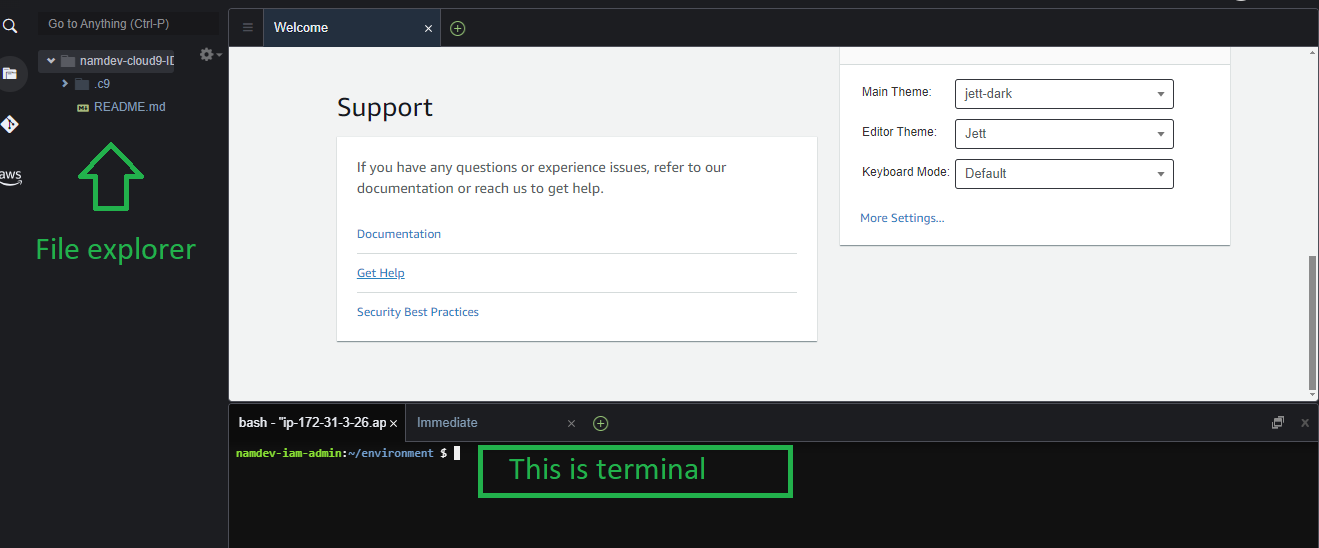
Next step is installing Maven and Java
With our Cloud9 development environment set up and operational, let's proceed to Create a basic web application.
Understanding Web Applications
What is a web application?
A web application, also known as a web app, is a type of website that is not just static but dynamic and interactive.
You might wonder how web apps differ from regular websites. Well, a web app is a specific kind of website. Regular websites are often static—they display the same content to everyone who visits.
In contrast, a web app is much more interactive and dynamic. When you're sending emails, scrolling through a social media feed, editing documents like in Google Docs, or entering data into forms, you're using a web app. Here's a simple way to think about it: if different users see different content or have a unique experience on your site (like personalized email inboxes or customized social media feeds), then you're probably using a web app.
Install Apache Maven by copying and pasting the following commands into your IDE's terminal prompt:
Understanding Apache Maven
What is Apache Maven?
Apache Maven is a powerful tool that automates the process of building software.
Building software involves several important steps to convert code, written by developers like yourself, into a final product ready for computers to use:
Compiling: This step translates your code (written in languages like Java) into machine-readable instructions that computers can directly execute.Linking: Here, the compiled code is combined with any additional resources or dependencies needed for your application to function properly.Packaging: Maven organizes your code into a packaged format. For Java projects, this often means creating a JAR (Java Archive) file, which simplifies distributing or deploying your program to different environments.Testing: Maven can automate the process of running tests to ensure your software works correctly and is free of bugs.
Each of these steps is essential in creating functional software applications. Apache Maven streamlines these tasks, making development more efficient and reliable.Now copy the below code to to install Maven
\> sudo wget https://repos.fedorapeople.org/repos/dchen/apache-maven/epel-apache-maven.repo -O /etc/yum.repos.d/epel-apache-maven.repo
\>sudo sed -i s/\$releasever/6/g /etc/yum.repos.d/epel-apache-maven.repo These commands begin by downloading a setup file that instructs your computer on where to locate Apache Maven sudo yum install -y apache-maven
To install Maven
Now Maven is installed successfully Yaaa! you are closer now keep going !
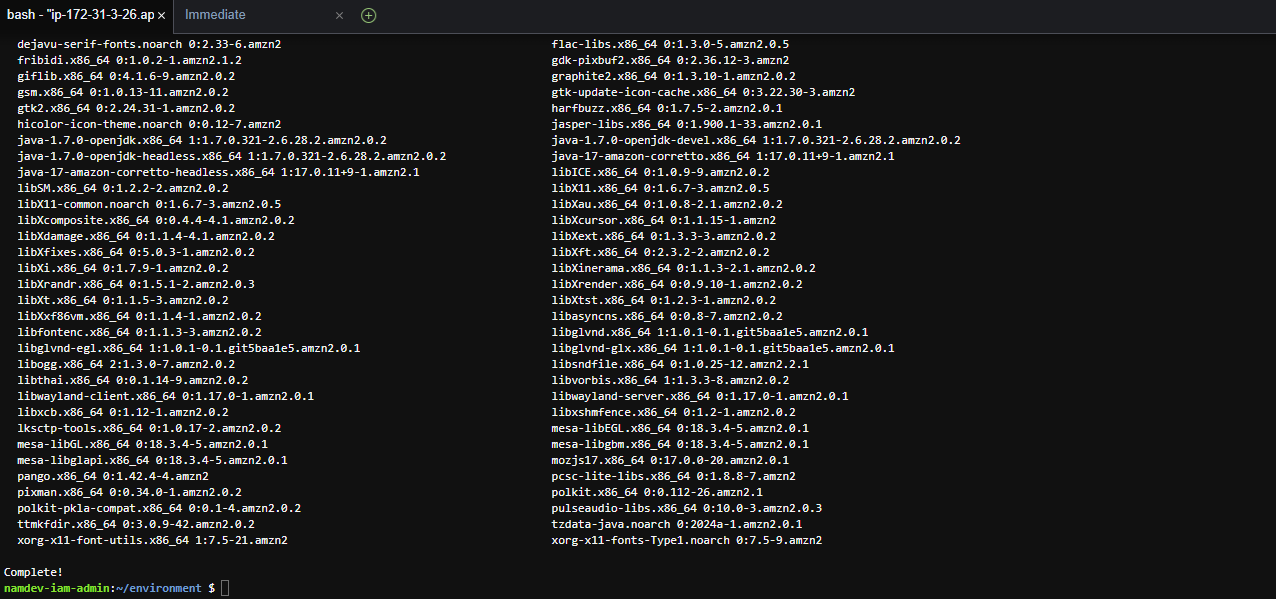
We will now install Java 8 ( Corretto 8)
Java is a widely-used programming language known for developing various applications, ranging from mobile apps to complex enterprise systems.
For this project, we're using Amazon Corretto 8, a free and reliable version of Java offered by Amazon.
Now copy this code one by one and install your corretto 8sudo amazon-linux-extras enable corretto8 sudo yum install -y java-1.8.0-amazon-corretto-devel export JAVA_HOME=/usr/lib/jvm/java-1.8.0-amazon-corretto.x86_64 export PATH=/usr/lib/jvm/java-1.8.0-amazon-corretto.x86_64/jre/bin/:$PATH
Once installation is completed use the code shows in pic to confirm the version of java that is installed in turn this confirms java is successfully installed

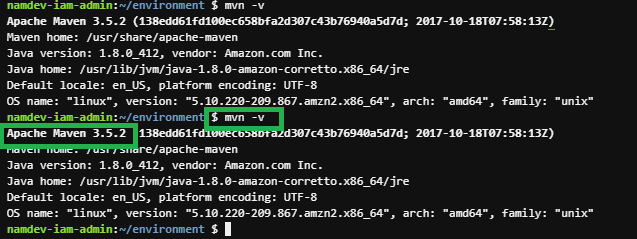
To ensure that Maven is installed correctly, execute the following command:mvn -v
mvn -v
Lets now begin to create out first application on Cloud9 IDE
To create an application using Maven, you typically follow these steps:
Define Project Structure:
Create a directory structure for your project, or use an IDE that supports Maven to generate the structure automatically.
mvn archetype:generate -DgroupId=com.nextwork.app-DartifactId=nextwork-web-project -DarchetypeArtifactId=maven-archetype-webapp -DinteractiveMode=falseLet's break down what each part of the command does:
mvn archetype:generate: This Maven command generates a project from an archetype (a template or blueprint).-DgroupId=com.example: Specifies the Group ID for your project. Replacecom.examplewith your desired Group ID.-DartifactId=my-webapp: Specifies the Artifact ID for your project. Replacemy-webappwith your desired Artifact ID.-DarchetypeArtifactId=maven-archetype-webapp: Specifies the Maven archetype to use for generating a web application project.-DinteractiveMode=false: Disables the interactive mode, so Maven doesn't prompt for additional information during project generation.
After running these commands, Maven will create a basic Java web application structure in a directory named my-webapp (or whatever Artifact ID you specified). You can then proceed to develop and build your web application using Maven.
Now you will see in the top left a folder called nextwork-web-project is now in your IDE's file explorer!

Now you will see an file called index.jsp open this file

and lets take help of out all time friend chat GPT to help us create an HTML file that extracts My CV from my Google drive location with click on button
<!DOCTYPE html> <html lang="en"> <head> <meta charset="UTF-8"> <meta name="viewport" content="width=device-width, initial-scale=1.0"> <title>My CV</title> </head> <body> <h1>My CV</h1> <iframe src="https://drive.google.com/file/d/your-file-id/view?usp=sharing" width="100%" height="600px"></iframe> </body> </html>
Replace your-file-id in the src attribute of the iframe tag with the actual ID of your Google Drive file. You can obtain this ID by following these steps:
Open Google Drive and locate your CV file.
Right-click on the file and select "Get link".
Copy the file ID from the link provided (it's the long string of characters between
/d/and/view).
Ensure your CV file is set to "Anyone with the link can view" in Google Drive's sharing settings to ensure it displays correctly on your webpage. Adjust the width and height attributes of the iframe tag as needed to fit your CV document's dimensions.
Perfect there you have it , you have deployed your first application on Cloud 9 IDE on AWS

Don't worry if your code do not run this is just small project about how you install IDE and write codes on IDE we will dive in further on our next projects !
In the initial project of this series, you'll grasp the fundamental concepts of constructing a web application and utilizing Cloud9 as your integrated development environment (IDE). This groundwork will serve as the cornerstone for your DevOps journey throughout the following projects! stay tunes ...Don't forget to follow me!
![]()
Subscribe to my newsletter
Read articles from Namdev Pratap directly inside your inbox. Subscribe to the newsletter, and don't miss out.
Written by

Namdev Pratap
Namdev Pratap
Come along with me on a public learning journey into AWS Cloud and DevOps, designed specifically for those without a technical background. I'll be documenting each step in straightforward, easy-to-understand language to help others make a smooth transition into DevOps. Together, we'll delve into continuous integration, deployment, and automation, breaking down complex concepts into manageable, actionable insights.