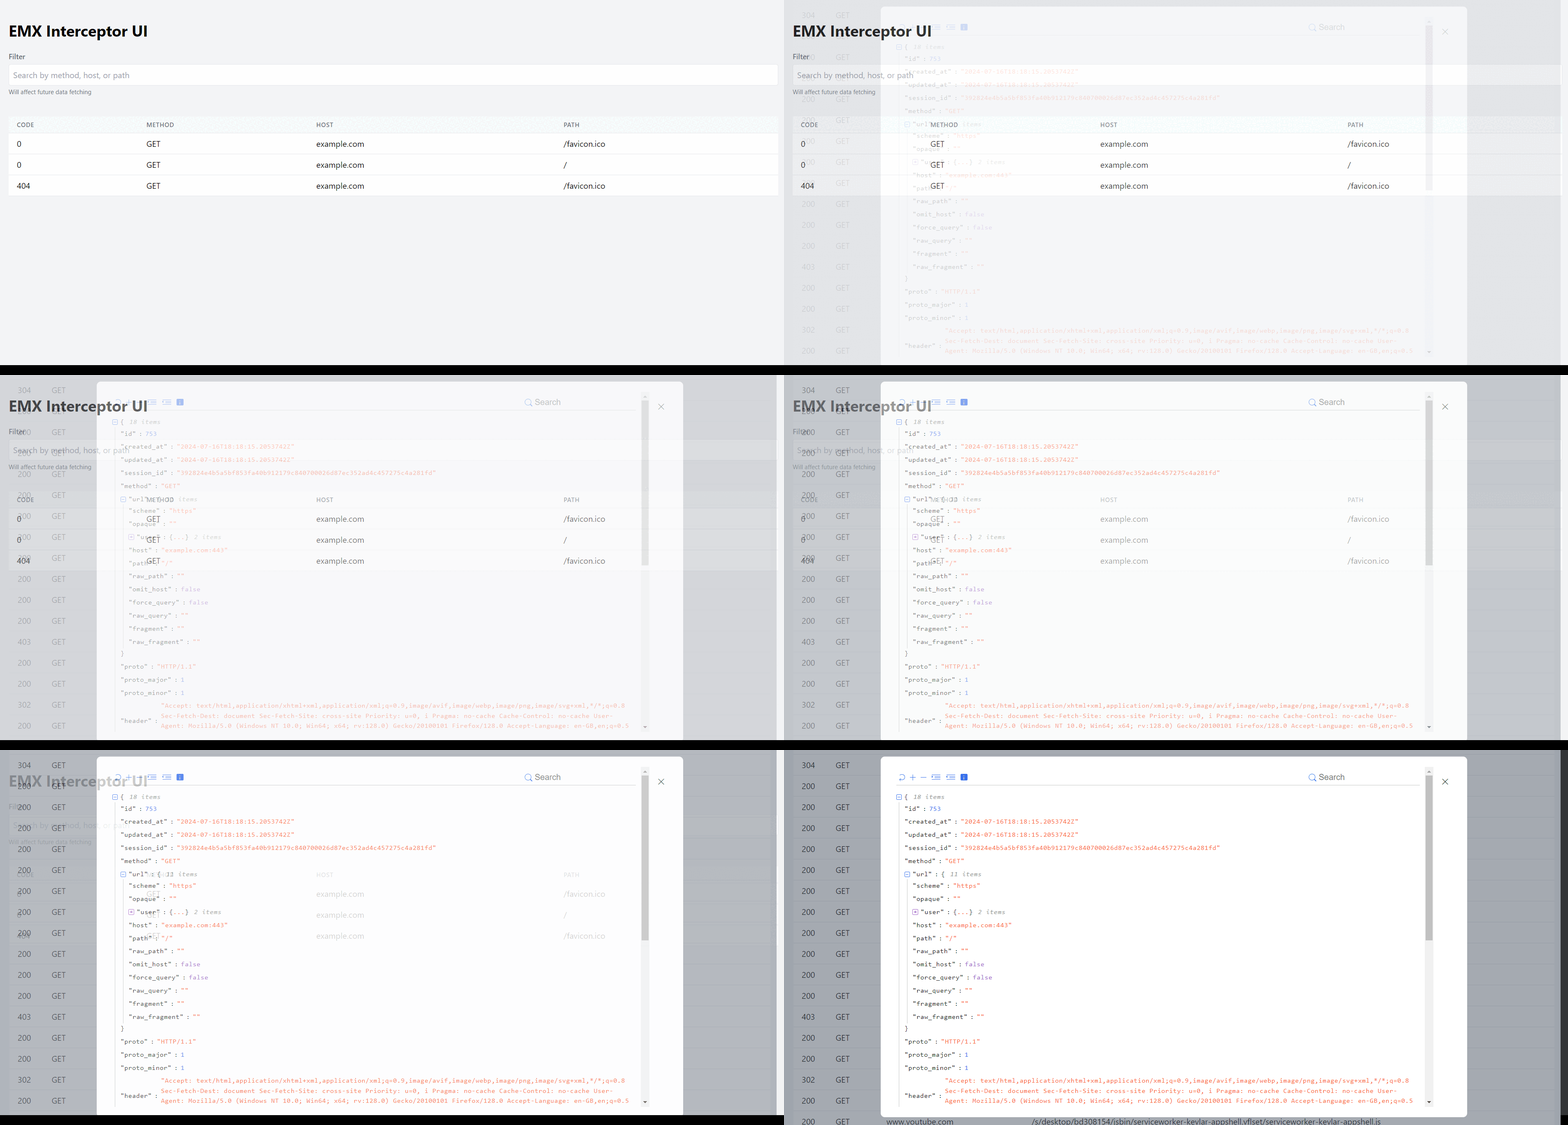
The Ultimate Real-Time Proxy Interceptor - EMX
 Emin Muhammadi
In the world of network management and cybersecurity, having the right tools can make all the difference. Introducing emx, a powerful real-time proxy interceptor designed to facilitate seamless interaction with both application layers and databases. Whether you're a developer, a security analyst, or a network administrator, emx provides the insights you need to monitor and manage network traffic effectively.
Why Choose emx?
emx stands out with its robust set of features that cater to various network monitoring needs:
Comprehensive Logging: Easily retrieve logs to analyze network activity.
Detailed Requests and Responses: Gain in-depth visibility into HTTP requests and responses, including methods, status codes, hosts, URIs, and bodies.
Real-Time Interception: Monitor network traffic in real-time to quickly identify and address issues.
Installation Made Easy
Getting started with emx is straightforward. You can download the binary files for your platform from the latest releases on GitHub. Here’s a quick installation guide for macOS:
Download the Binary:
curl -o emx.tar.gz -L https://github.com/eminmuhammadi/emx/releases/download/v1.0.0/emx_1.0.0_darwin_amd64.tar.gzExtract and Install:
tar -xf emx.tar.gz && chmod +x ./emx && sudo mv ./emx /usr/local/bin
For more detailed installation instructions and troubleshooting, visit the emx GitHub page.
Building from Source
If you prefer to build emx from source, you'll need to have Go and OpenSSL installed on your system. Follow these steps:
Once the prerequisites are in place, build and install emx:
go build -o ./emx . && mv emx /usr/local/bin
Configuration and Usage
Before running emx, configure the necessary environment variables:
export PROXY_HOST=0.0.0.0
export PROXY_PORT=8080
export APP_HOST=127.0.0.1
export APP_PORT=8888
export PROXY_DECRYPT_CERT_FILE=_certs/ca.crt
export PROXY_DECRYPT_KEY_FILE=_certs/ca.key
export TLS_MODE=off
export SQLITE_DSN=:memory:?cache=shared
Start emx by simply running:
emx
To access the proxy logs, visit http://127.0.0.1:8888/ui.
Advanced Configuration
emx offers extensive configuration options to tailor it to your specific needs. For more information on environment variables, visit this link.
API Mocking
One of the standout features of emx is its ability to mock API responses using a YAML configuration file. Here’s an example of a simple mock.yaml:
patterns:
  - method: "GET"
    host: "example.com"
    path: "/"
    response:
      status_code: 200
      headers: |
        Content-Type: application/json
      body: |
        {
          "message": "Hello, World!"
        }
Intercepting HTTPS Traffic
To intercept HTTPS requests, emx requires a trusted CA certificate. If you don't have one, generate it using the provided script:
chmod +x ./openssl_gen.sh && ./openssl_gen.sh
Distribute the CA certificate and follow your operating system’s procedures to trust it:
Windows: Add to Trusted Root Certification Authorities.
MacOS: Use Keychain Access.
iPhone and Android: Follow respective guidelines for trusting CA certificates.
Conclusion
emx is a versatile and powerful tool for anyone needing to monitor, manage, and secure network traffic. Its robust feature set, ease of installation, and flexible configuration options make it an indispensable tool in the toolkit of network professionals. Download emx today and take control of your network traffic with confidence.
Subscribe to my newsletter
Read articles from Emin Muhammadi directly inside your inbox. Subscribe to the newsletter, and don't miss out.
Written by

Emin Muhammadi
Emin Muhammadi
Software & QA Engineer, Cybersec enthusiast. Website https://eminmuhammadi.com