Making a Real-Time Figma Clone: Next.js and Liveblocks Explained
 Ashutosh Mohanty
Introduction
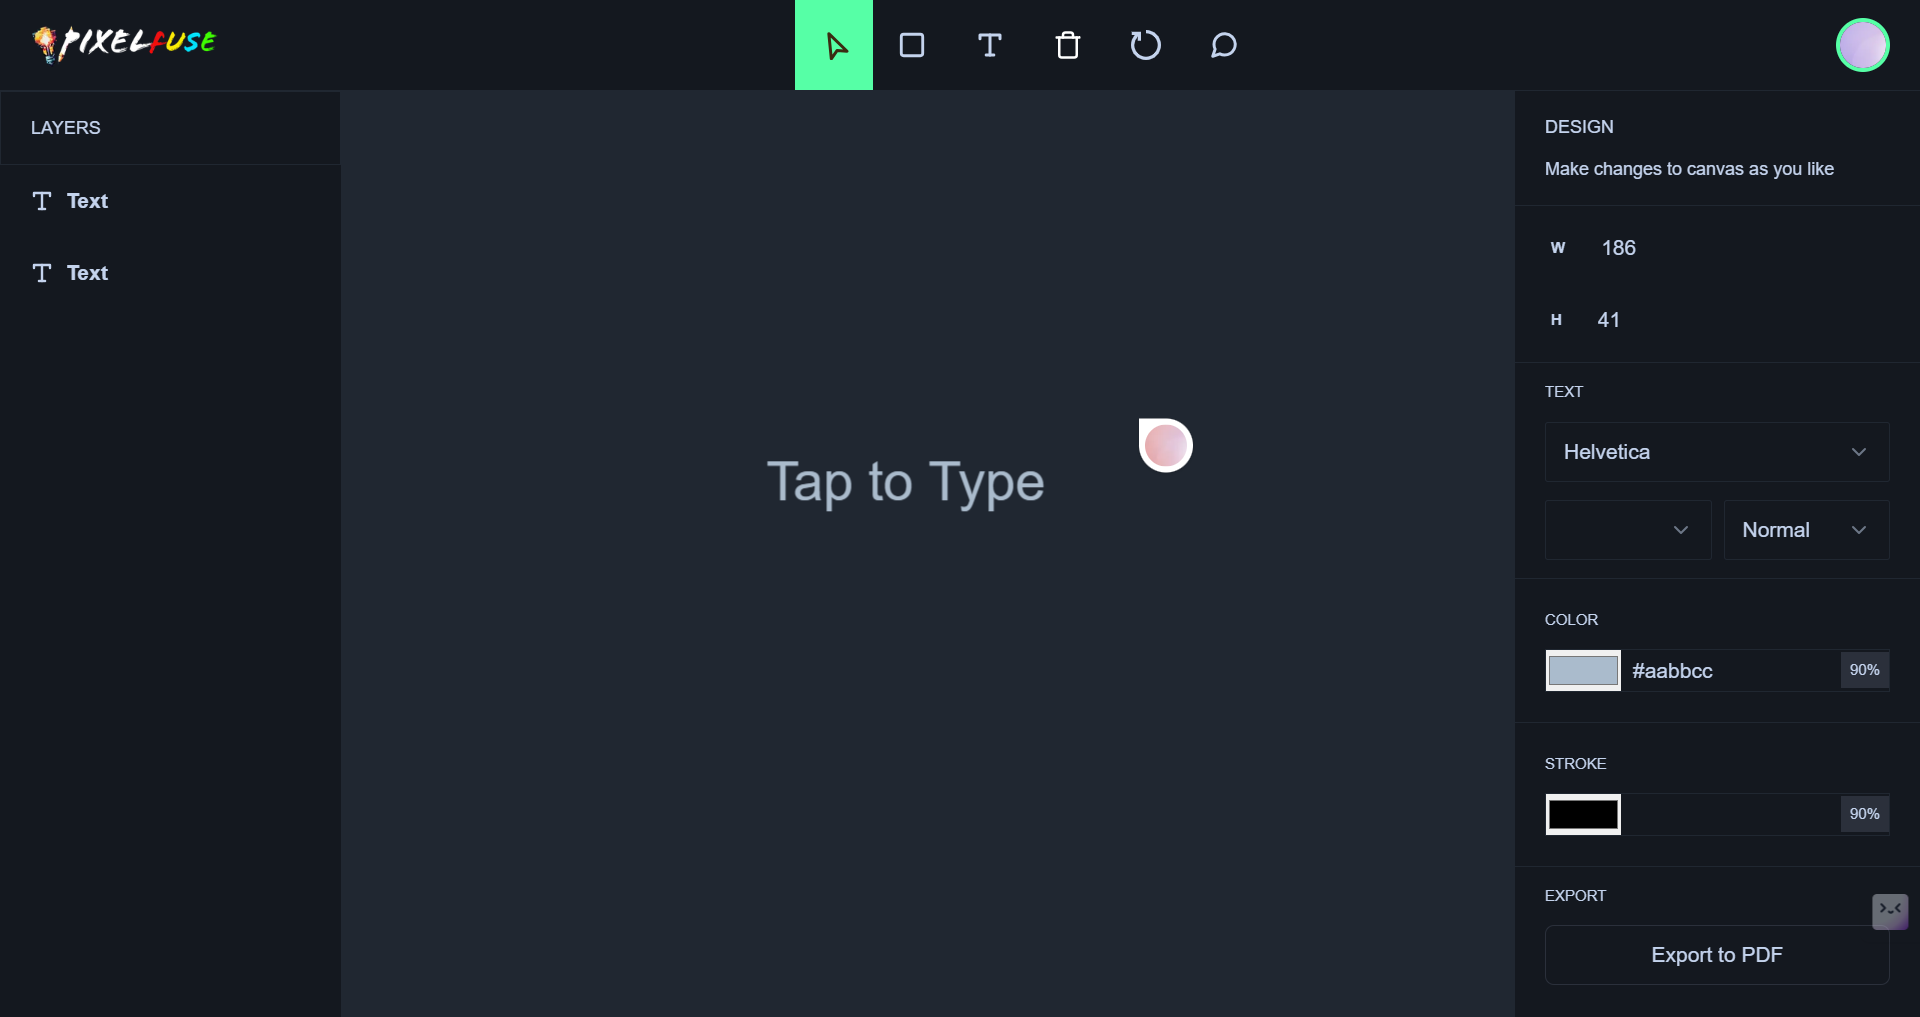
Creating a real-time collaborative design tool like Figma is a challenging yet rewarding project. In this article, we'll explore how to build a Figma clone using Next.js and Liveblocks. We'll cover the essential components, from setting up the development environment to implementing real-time collaboration features.
Setting Up the Development Environment
Before we dive into the code, let's set up our development environment. We'll need Node.js, Next.js, and Liveblocks. Follow these steps to get started:
Install Node.js: Download and install Node.js from the official website.
Create a Next.js App: Use the following command to create a new Next.js application:
 npx create-next-app figma-clone
 cd figma-clone
Install Liveblocks: Add Liveblocks to your project by running:
npm install @liveblocks/client @liveblocks/react
Building the User Interface
The user interface (UI) is a crucial part of any design tool. We'll use Next.js to create a responsive and interactive UI. Here's a basic structure for our Figma clone:
Create Components: Start by creating the necessary components such as
Canvas,Toolbar, andSidebar.Layout: Use CSS or a CSS-in-JS solution to style your components and create a user-friendly layout.
Canvas Component: Implement the
Canvascomponent where users can draw and design. Use HTML5 Canvas or a library like Fabric.js for this purpose.
Implementing Real-Time Collaboration
Real-time collaboration is the heart of a Figma clone. Liveblocks makes it easy to add real-time features to your application. Here's how to do it:
Initialize Liveblocks: Set up Liveblocks in your Next.js app by creating a client instance.
 import { createClient } from '@liveblocks/client';

 const client = createClient({
   publicApiKey: 'your-public-api-key',
 });
Create a Room: Create a room where users can collaborate in real-time.
 import { RoomProvider } from '@liveblocks/react';

 function MyApp({ Component, pageProps }) {
   return (
     <RoomProvider id="figma-clone-room" client={client}>
       <Component {...pageProps} />
     </RoomProvider>
   );
 }

 export default MyApp;
Sync State: Use Liveblocks hooks to sync the state of your components. For example, sync the position and properties of shapes on the canvas.
 import { useRoom, useUpdateMyPresence } from '@liveblocks/react';

 function Canvas() {
   const room = useRoom();
   const updateMyPresence = useUpdateMyPresence();

   // Sync shapes and other state
   // ...

   return (
     <div>
       {/* Render shapes and other UI elements */}
     </div>
   );
 }
Adding Features
To make your Figma clone more functional, consider adding the following features:
User Authentication: Implement user authentication to manage user sessions and permissions.
Shape Tools: Add tools for creating and manipulating shapes, such as rectangles, circles, and lines.
Text Editing: Allow users to add and edit text on the canvas.
Export Options: Provide options to export designs in various formats like PNG, SVG, or PDF.
Conclusion
Building a real-time Figma clone with Next.js and Liveblocks is an exciting project that combines front-end development with real-time collaboration features. By following the steps outlined in this article, you can create a powerful design tool that allows users to collaborate seamlessly. Happy coding!
Demo
Pixel-Fuse click the link to see the demo
Author
DevAshu:
Subscribe to my newsletter
Read articles from Ashutosh Mohanty directly inside your inbox. Subscribe to the newsletter, and don't miss out.
Written by

Ashutosh Mohanty
Ashutosh Mohanty
👨💻 Passionate Web Developer | Open-Source Contributor 👨💼
