How To Install Django On Ubuntu
 Pooja Raut
Installing Django in Ubuntu: A Step-by-Step Guide:
Django is a high-level Python web framework that allows rapid development and clean, pragmatic design. In this tutorial, we’ll walk you through the steps to install Django on an Ubuntu system.
Before we begin, ensure that you have the following:
An Ubuntu system (22.04)
A user account with sudo privileges
Basic knowledge of using the terminal
Step 1: Update Your System
Open your terminal.
Run the following command to update package lists:
sudo apt update
sudo apt upgrade
Step 2: Install Python and pip
Check if Python 3 is already installed:
python3 --version
If not installed, update the package lists again and install Python 3 and pip (package manager):
sudo apt update
sudo apt install python3 python3-pip
Step 3: Install Django
install Django using pip :
pip install django
Verify the installation by checking the Django version:
django-admin --version
Step 4: Create a Django Project
Start a New Project:
Create a new directory for your project (e.g.,
DijangoWorkSpace).Navigate to the project directory:
cd DijangoWorkspace
- Use
django-adminto create a project namedTestProject:
django-admin startproject TestProject
Run the Development Server:
- Navigate to the project's main directory:
cd TestProject
- Start the development server:
python3 manage.py startapp TestApp
python3 manage.py runserver
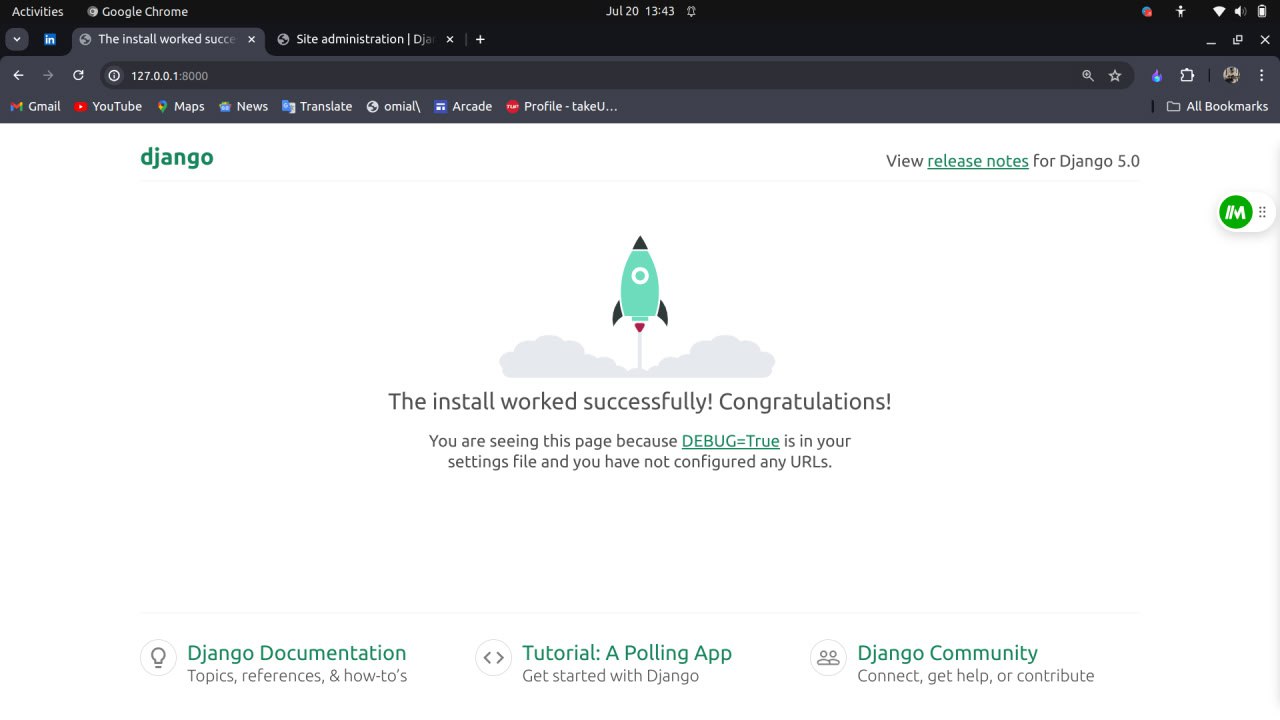
Access the Django welcome page in your web browser at http://127.0.0.1:8000/.

Congratulations! You've successfully installed and set up Django in your Ubuntu environment. Now you're ready to build amazing web applications!!!
Happy coding!! 🌻
Subscribe to my newsletter
Read articles from Pooja Raut directly inside your inbox. Subscribe to the newsletter, and don't miss out.
Written by

Pooja Raut
Pooja Raut
👨💻 BE Student | Enthusiastic about DevOps and Full-Stack Development | Passionate about Technology and Innovation | Exploring the world of development and operations to create seamless software solutions.