Mastering Kubernetes: An Easy Guide to Setting Up an Ingress Controller on Your Cluster
 Malhar Kauthale
Table of contents
- What is a Kubernetes Service?
- Types of Kubernetes Services
- ClusterIP
- NodePort
- Load Balancer
- Ingress Controller
- Why Ingress Controller is Very Efficient
- Step-by-Step Guide
- Create an IAM OIDC provider for your cluster
- Create IAM role
- Install cert manager
- Install AWS Load Balancer Controller
- Verify that the controller is installed

What is a Kubernetes Service?
A Kubernetes Service is like a middleman that helps different parts of your application talk to each other, no matter where they are running. Imagine you have several workers (Pods) doing a job, but their positions keep changing. A Kubernetes Service ensures that anyone who needs to talk to these workers can always find them, even if their positions change.
Here’s a simple breakdown:
Logical Grouping: It groups together a set of Pods (workers) that perform the same task.
Consistent Access: It gives a consistent way to reach these Pods, so you don’t have to worry about their changing positions.
Communication: It allows parts of your application to communicate with each other reliably.
External Exposure: It can also help expose your application to the outside world in a controlled manner.
Even if the actual Pods running the service change (like some stop working and new ones start), the Service makes sure that the communication remains uninterrupted.
Types of Kubernetes Services
ClusterIP
NodePort
Load Balancer
Ingress Controller
ClusterIP
Description: The default type of service in Kubernetes.
How it Works:
Exposes the service on an internal IP address within the cluster.
The service is only accessible within the cluster.
Use Case:
- Ideal for internal communication between different services within the same Kubernetes cluster.
Example:
yamlCopy codeapiVersion: v1
kind: Service
metadata:
  name: my-clusterip-service
spec:
  type: ClusterIP
  selector:
    app: my-app
  ports:
    - protocol: TCP
      port: 80
      targetPort: 8080
NodePort
Description: Allows external access to the services on the network IP of each node at a static port.
How it Works:
Exposes the service on each Node’s IP address at a specified port.
Makes the service accessible from outside the cluster using
<NodeIP>:<NodePort>.
Use Case:
- Useful for exposing services for development and testing environments without requiring an external load balancer.
Example:
yamlCopy codeapiVersion: v1
kind: Service
metadata:
  name: my-nodeport-service
spec:
  type: NodePort
  selector:
    app: my-app
  ports:
    - protocol: TCP
      port: 80
      targetPort: 8080
      nodePort: 30007
Load Balancer
Description: Exposes the service externally using a cloud provider’s load balancer.
How it Works:
Automatically creates an external load balancer (e.g., AWS ELB, Google Cloud Load Balancer) and assigns a fixed external IP to the service.
The load balancer routes traffic to the NodePort of the service.
Use Case:
- Suitable for production environments where you need to expose services to the internet with a single, stable IP address.
Example:
yamlCopy codeapiVersion: v1
kind: Service
metadata:
  name: my-loadbalancer-service
spec:
  type: LoadBalancer
  selector:
    app: my-app
  ports:
    - protocol: TCP
      port: 80
      targetPort: 8080
Ingress Controller
Description: Manages external access to services in a Kubernetes cluster, typically HTTP and HTTPS.
How it Works:
Uses a collection of rules to route external traffic to the appropriate services within the cluster.
Can perform advanced routing, such as path-based routing, subdomain routing, SSL termination, and load balancing.
Use Case:
- Efficiently manages external access to multiple services, especially for web applications requiring HTTP/HTTPS access.
Example:
yamlCopy codeapiVersion: networking.k8s.io/v1
kind: Ingress
metadata:
  name: my-ingress
spec:
  rules:
  - host: myapp.example.com
    http:
      paths:
      - path: /
        pathType: Prefix
        backend:
          service:
            name: my-service
            port:
              number: 80
Why Ingress Controller is Very Efficient
Consolidation of Rules: Instead of creating multiple Load Balancer or NodePort services, an Ingress Controller allows you to define routing rules in a single resource, simplifying management.
Advanced Routing: Handles advanced routing scenarios, such as path-based routing, subdomain routing, and URL rewrites, which is not possible with simple Load Balancer or NodePort services.
SSL Termination: Manages SSL certificates and offloads the SSL/TLS processing from the application, improving performance and security.
Cost Efficiency: Reduces costs by eliminating the need for multiple external load balancers, which can be expensive in cloud environments.
Centralized Management: All routing rules are managed centrally, making it easier to update and maintain the routing rules without modifying individual services.
By using an Ingress Controller, you can efficiently manage external access to your Kubernetes services, optimize resource usage, and maintain a clean and manageable configuration.
To start with ingress controller we need to have eks cluster setup first to know more about the how to do that you can checkout this guidehttps://hashnode.com/edit/clyt2gqgz000308k370t8gj7w
Step-by-Step Guide
Step 1 : Make a folder of docker-bike, docker-airtag and Create a Dockerfile inside it.

FROM nginx:latest
RUN mkdir /usr/share/nginx/html/airtag
COPY index.html /usr/share/nginx/html/airtag/.
CMD ["nginx", "-g", "daemon off;"]
FROM nginx:latest
RUN mkdir /usr/share/nginx/html/bike
COPY index.html /usr/share/nginx/html/bike/.
CMD ["nginx", "-g", "daemon off;"]
now create a index.html file in the both the folders
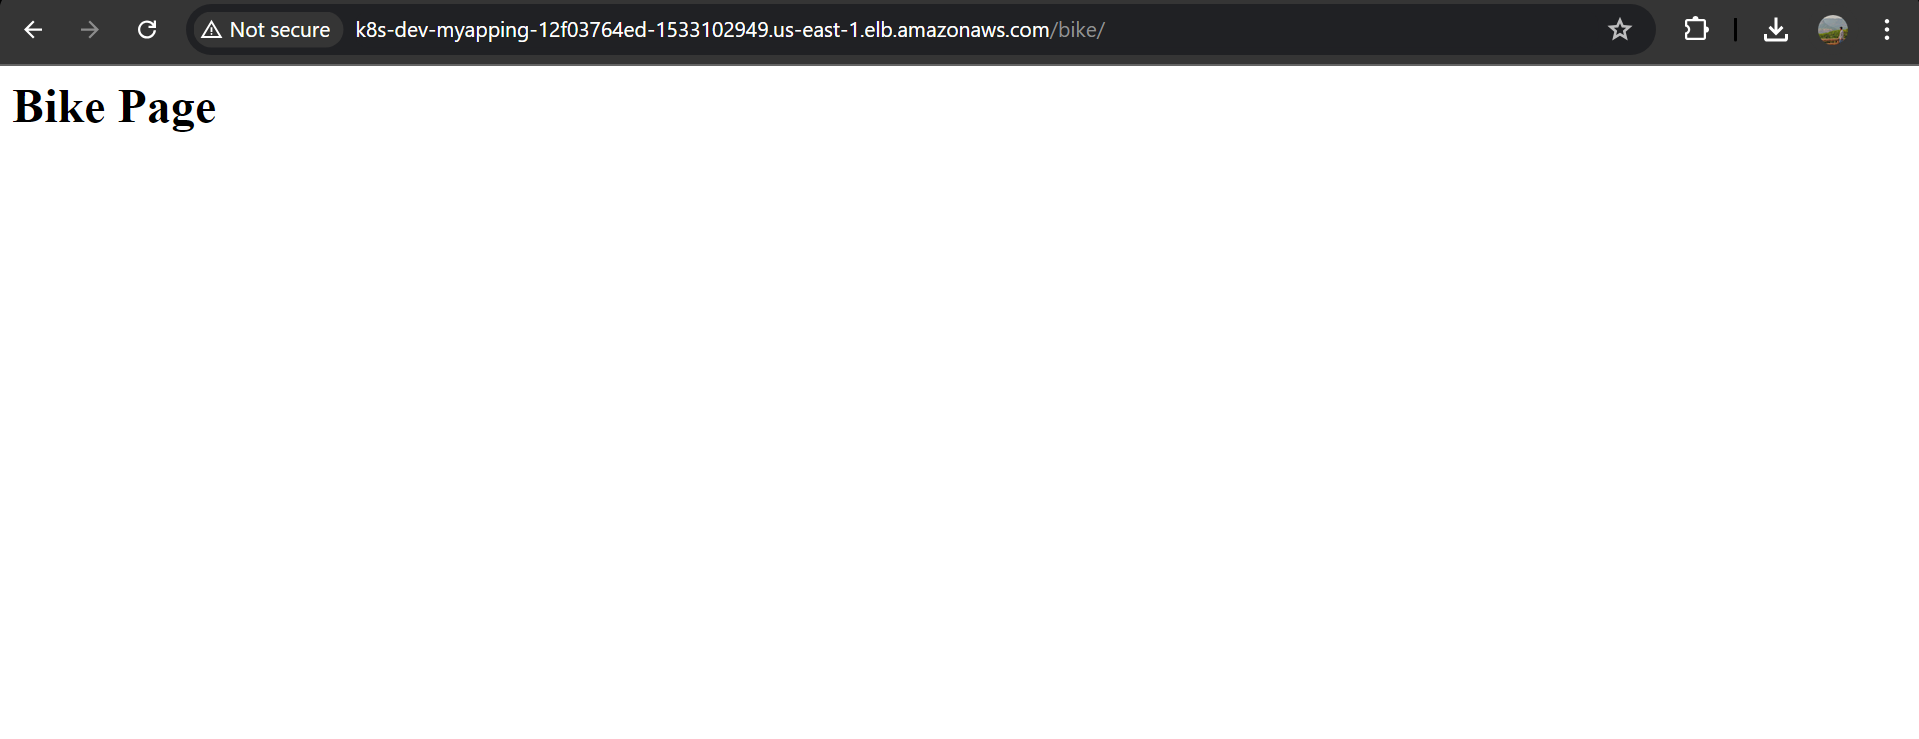
echo "<h1>Bike page</h1>" > index.html
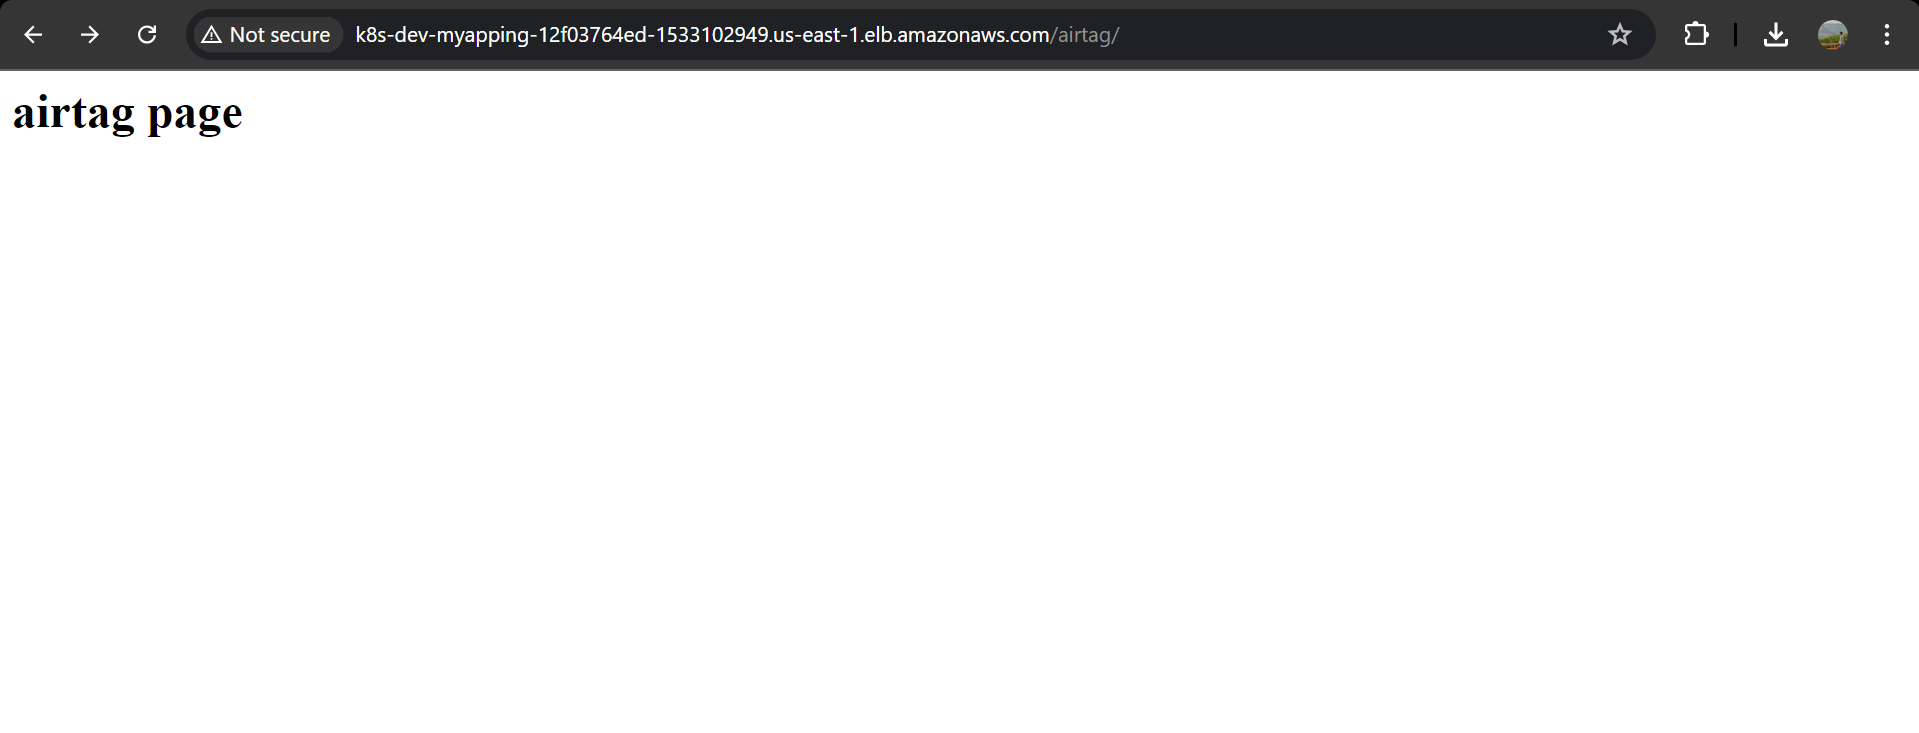
echo "<h1>airtag page</h1>" > index.html


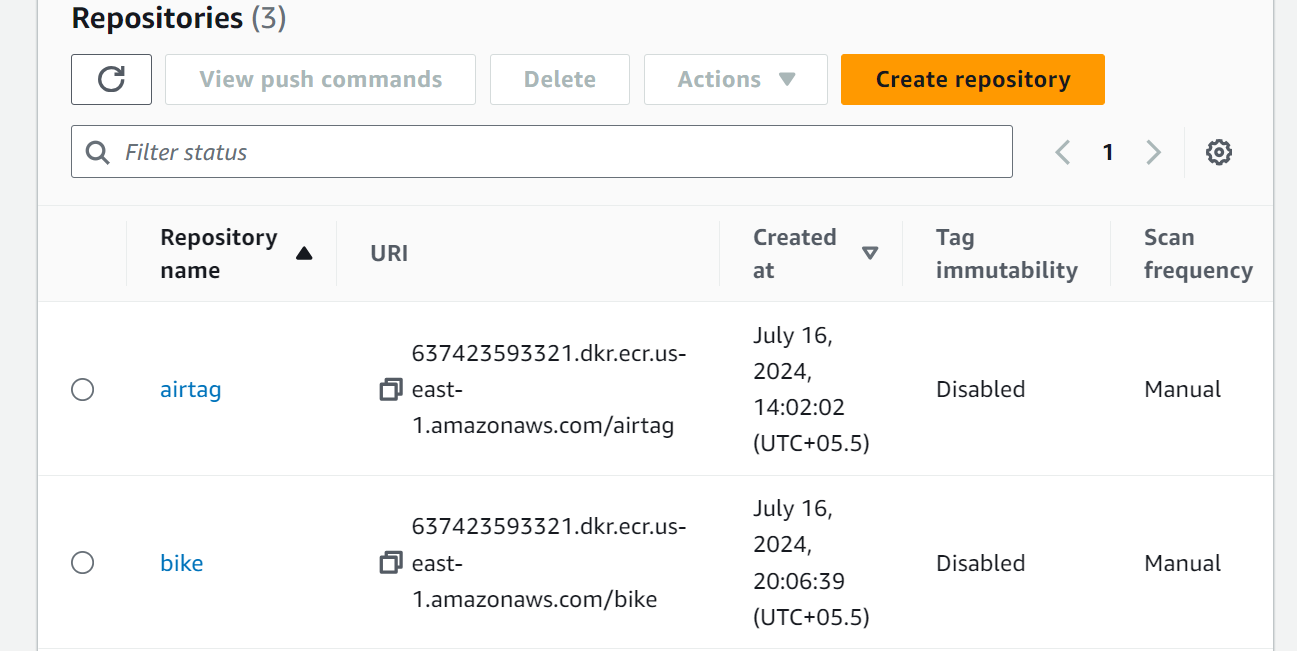
Goto to AWS ECR service and create repo with same name
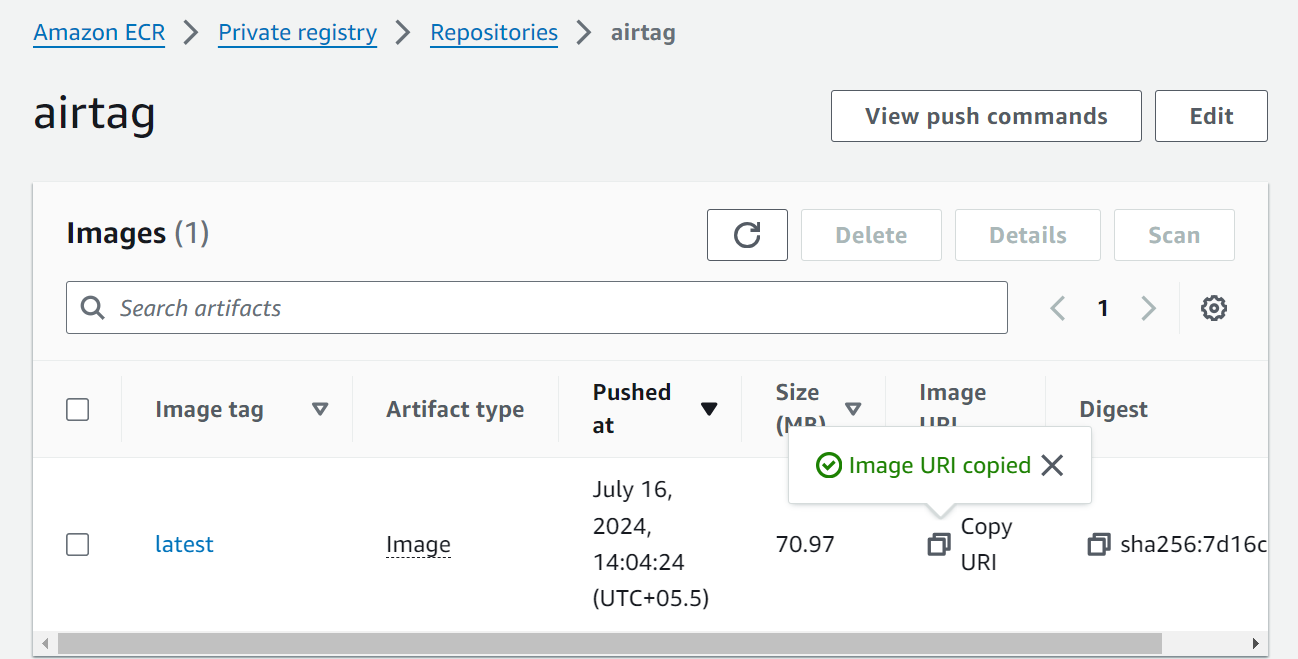
After creating the repos go inside that and run all the push commands inside your specific directory in linux machine, your image will be build and pushed to the aws ecr

Step 2 : Create the Deployment file
firstly create the namespace :
kubectl create ns dev
kubectl get ns

apiVersion: apps/v1
kind: Deployment
metadata:
  name: airtag-deployment
  namespace: dev
  labels:
    app: airtag
spec:
  replicas: 1
  selector:
    matchLabels:
      app: airtag
  template:
    metadata:
      labels:
        app: airtag
    spec:
      containers:
      - name: airtag
        image: 637423593321.dkr.ecr.us-east-1.amazonaws.com/airtag:latest
        ports:
        - containerPort: 80

---

apiVersion: apps/v1
kind: Deployment
metadata:
  name: bike-deployment
  namespace: dev
  labels:
    app: bike
spec:
  replicas: 1
  selector:
    matchLabels:
      app: bike
  template:
    metadata:
      labels:
        app: bike
    spec:
      containers:
      - name: bike
        image: 637423593321.dkr.ecr.us-east-1.amazonaws.com/bike:latest
        ports:
        - containerPort: 80
(make sure to paste the ecr image uri in the image section of the deployment file generated after the running the push command as mentioned in the earlier step)

kubectl apply -f deployment.yaml -n dev

Step 3 : Create the Service file
apiVersion: v1
kind: Service
metadata:
  name: airtag-service
spec:
  type: ClusterIP
  selector:
    app: airtag
  ports:
    - protocol: TCP
      port: 80
      targetPort: 80
---

apiVersion: v1
kind: Service
metadata:
  name: bike-service
spec:
  type: ClusterIP
  selector:
    app: bike
  ports:
    - protocol: TCP
      port: 80
      targetPort: 80
kubectl apply -f svc.yaml -n dev

Step 4 : Setup ingress controller
Create an IAM OIDC provider for your cluster
mention your cluster name and region where ever necessary
cluster_name=eks #your cluster name
oidc_id=$(aws eks describe-cluster --name $cluster_name --query "cluster.identity.oidc.issuer" --output text | cut -d '/' -f 5)
echo $oidc_id
aws iam list-open-id-connect-providers | grep $oidc_id | cut -d "/" -f4
eksctl utils associate-iam-oidc-provider --cluster $cluster_name --approve
Create IAM role
curl -O https://raw.githubusercontent.com/kubernetes-sigs/aws-load-balancer-controller/v2.7.2/docs/install/iam_policy.json
aws iam create-policy \
    --policy-name AWSLoadBalancerControllerIAMPolicy \
    --policy-document file://iam_policy.json
eksctl create iamserviceaccount \
  --cluster=my-cluster \
  --namespace=kube-system \
  --name=aws-load-balancer-controller \
  --role-name AmazonEKSLoadBalancerControllerRole \
  --attach-policy-arn=arn:aws:iam::111122223333:policy/AWSLoadBalancerControllerIAMPolicy \
  --approve
Install cert manager
kubectl apply \
    --validate=false \
    -f https://github.com/jetstack/cert-manager/releases/download/v1.13.5/cert-manager.yaml
Install AWS Load Balancer Controller
curl -Lo v2_7_2_full.yaml https://github.com/kubernetes-sigs/aws-load-balancer-controller/releases/download/v2.7.2/v2_7_2_full.yaml
sed -i.bak -e '612,620d' ./v2_7_2_full.yaml
apiVersion: v1
kind: ServiceAccount
metadata:
  labels:
    app.kubernetes.io/component: controller
    app.kubernetes.io/name: aws-load-balancer-controller
  name: aws-load-balancer-controller
  namespace: kube-system
---
sed -i.bak -e 's|your-cluster-name|my-cluster|' ./v2_7_2_full.yaml
sed -i.bak -e 's|public.ecr.aws/eks/aws-load-balancer-controller|111122223333.dkr.ecr.region-code.amazonaws.com/eks/aws-load-balancer-controller|' ./v2_7_2_full.yaml
kubectl apply -f v2_7_2_full.yaml
curl -Lo v2_7_2_ingclass.yaml https://github.com/kubernetes-sigs/aws-load-balancer-controller/releases/download/v2.7.2/v2_7_2_ingclass.yaml
kubectl apply -f v2_7_2_ingclass.yaml
Verify that the controller is installed
kubectl get deployment -n kube-system aws-load-balancer-controller

Step 5 : Create ingress file
apiVersion: networking.k8s.io/v1
kind: Ingress
metadata:
  namespace: dev
  name: myapp-ingress
  annotations:
    alb.ingress.kubernetes.io/scheme: internet-facing
    alb.ingress.kubernetes.io/target-type: ip
spec:
  ingressClassName: alb
  rules:
    - http:
        paths:
        - path: /
          pathType: Prefix
          backend:
            service:
              name: homepage-service
              port:
                number: 80
        - path: /airtag
          pathType: Prefix
          backend:
            service:
              name: airtag-service
              port:
                number: 80
        - path: /bike
          pathType: Prefix
          backend:
            service:
              name: bike-service
              port:
                number: 80
kubectl apply -f ingress.yaml -n dev

Now the load balancer should have been created lets check out

Yayy!!🥳congratulations we did it 😊
now copy the dns name of the load balancer and paste it in any browser, you app should work


CONCLUSION : This article provides a comprehensive guide on Kubernetes Services, explaining their role in ensuring reliable communication between different parts of an application. It covers the four types of Kubernetes Services: ClusterIP, NodePort, Load Balancer, and Ingress Controller, detailing their functionalities and use cases. The article also includes a step-by-step guide to set up an Ingress Controller with AWS EKS, including creating Docker images, deploying services, and setting up ingress rules for advanced routing and SSL termination. By following these instructions, you can efficiently manage external access to your Kubernetes services, optimize resource usage, and maintain a manageable configuration.
Subscribe to my newsletter
Read articles from Malhar Kauthale directly inside your inbox. Subscribe to the newsletter, and don't miss out.
Written by

Malhar Kauthale
Malhar Kauthale
Aspiring Cloud DevOps Engineer ♾️ | AWS Enthusiast ☁️ | Python & Shell Scripting 🐍 | Docker 🐳 | Terraform 🛠️ | Kubernetes ☸️ | Web Development 🌐 | Automation & Troubleshooting 🤖🔍 | Always exploring the latest in DevOps tools and practices.