Multilingual using react-i18next
 Aryan kadam
React i18next Tutorial
Welcome to the blog on setting up Multilingual feature in a React application using i18next. This guide will take you through the process of creating a multilingual React app with step-by-step instructions.
Introduction
In this blog, we will learn how to add multilingual feature (i18n) to a React application using i18next. By the end of this guide, you will have a React app that supports multiple languages and allows users to switch between them.
Setting Up the Environment
To get started, we need to create a new React application using Vite. Open your terminal and run the following command:
npm create vite@latest my-react-app --template react
cd my-react-app
Next, we need to install the necessary dependencies, including i18next and react-i18next, i18next-browser-languagedetector:
npm install i18next react-i18next i18next-browser-languagedetector
Basic Structure of the React App:
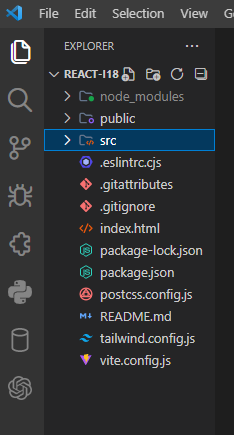
Setting Up i18next
Create a new file named i18.js in the src directory to configure i18next:
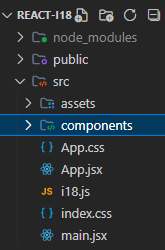
//i18.js
import i18n from "i18next";
import LanguageDetector from "i18next-browser-languagedetector";
import { initReactI18next } from "react-i18next";

i18n
  .use(LanguageDetector)
  .use(initReactI18next)
  .init({
    debug: true,
    fallbackLng: "en",
    returnObjects:true,
    resources: {
      en: {
        translation: {
          heading:"Multilingual",
          greeting: "Hello, welcome!",
          descriptions:{
            line1:"Welcome again",
            line2: "You are on the Multilingual website."
          }
        },
      },
      hi: {
        translation: {
          heading:"बहुभाषी",
          greeting: "नमस्ते, स्वागत है!",
          descriptions:{
            line1:"पुन: स्वागत है",
            line2: "आप बहुभाषी वेबसाइट पर हैं."
          }
        },
      },
      mr: {
        translation: {
          heading:"बहुभाषिक",
          greeting: "नमस्कार स्वागत आहे!",
          descriptions:{
            line1:"पुन्हा स्वागत",
            line2: "तुम्ही बहुभाषिक वेबसाइटवर आहात."
          }
        },
      },
      gu: {
        translation: {
          heading:"બહુભાષી",
          greeting: "હેલો, સ્વાગત છે!",
          descriptions:{
            line1:"ફરી સ્વાગત છે",
            line2: "તમે બહુભાષી વેબસાઇટ પર છો."
          }
        },
      },
    },
    detection: {
      order: ['localStorage', 'sessionStorage', 'navigator', 'htmlTag'],
      caches: ['localStorage', 'sessionStorage'],
    },
    react: {
      useSuspense: false,
    },
  });

export default i18n;
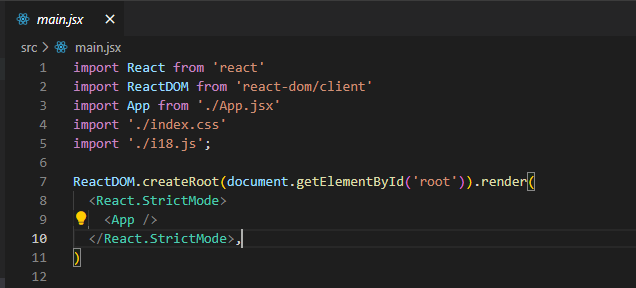
Also import 'i18.js' file in 'main.jsx' file:
Purpose
The i18.js file is used to configure multilingual feature in a React application using the i18next library. It manages language detection, defines translation resources for multiple languages, and integrates i18next with React to handle and display translations based on user preferences.
Dependencies
i18next: Core library for internationalization.i18next-browser-languagedetector: Detects the user's language preferences.react-i18next: Integrates i18next with React, enabling translation hooks in components.
This setup ensures that the application supports multiple languages and provides a localized experience based on user settings.
Creating the Language Selector Component
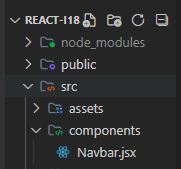
//Navbar.jsx
import React from "react";
import { useTranslation } from "react-i18next";

function Navbar() {

  const { t } = useTranslation();

  const languages = [
    { code: "en", lang: "English" },
    { code: "hi", lang: "Hindi" },
    { code: "mr", lang: "Marathi" },
    { code: "gu", lang: "Gujarati" },
  ];

  const { i18n } = useTranslation();

  const changeLanguage = (e) => {
    const selectedLanguage = e.target.value;
    i18n.changeLanguage(selectedLanguage);
  };

  return (
    <>
      <nav className="flex w-full h-20 bg-slate-900 text-white justify-between p-3 px-5 items-center">
        <div className="flex space-x-2 items-center">
          <h2 className="text-xl text-white font-mono font-semibold">
         {t('heading')}
          </h2>
        </div>
        <div>
          <label
            htmlFor="language-select"
            className="block text-sm font-medium text-gray-900"
          >
            Language
          </label>
          <div className="flex space-x-2 items-center">
            <select
              id="language-select"
              className="w-full rounded-lg border-gray-300 text-gray-700 font-mono"
              onChange={changeLanguage}
              value={i18n.language}
            >
              {languages.map((lng) => (
                <option key={lng.code} value={lng.code}>
                  {lng.lang}
                </option>
              ))}
            </select>
          </div>
        </div>
      </nav>
    </>
  );
}

export default Navbar;
Purpose
The Navbar.jsx file defines a React component that renders a navigation bar with a language selection dropdown. It uses the react-i18next library to handle translations and allows users to switch between multiple languages dynamically.
Dependencies
react-i18next: Provides translation functionalities and integration with the i18next library.
Component Overview
Language Selection:
Displays a dropdown menu to select the language.
Options include English, Hindi, Marathi, and Gujarati.
Changes the application language using
i18n.changeLanguagebased on user selection.
Translation:
Uses the
useTranslationhook to access translation functions.Displays the translated heading text using
{t('heading')}.
This component enables users to switch languages easily and see the updated translations throughout the application.
Results:
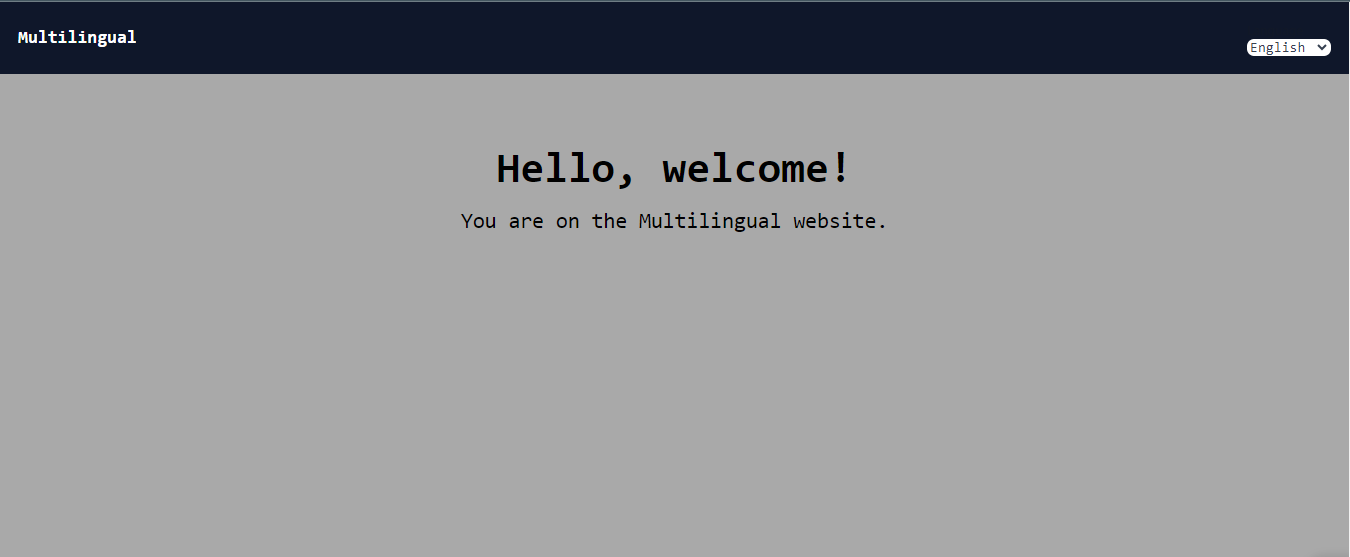
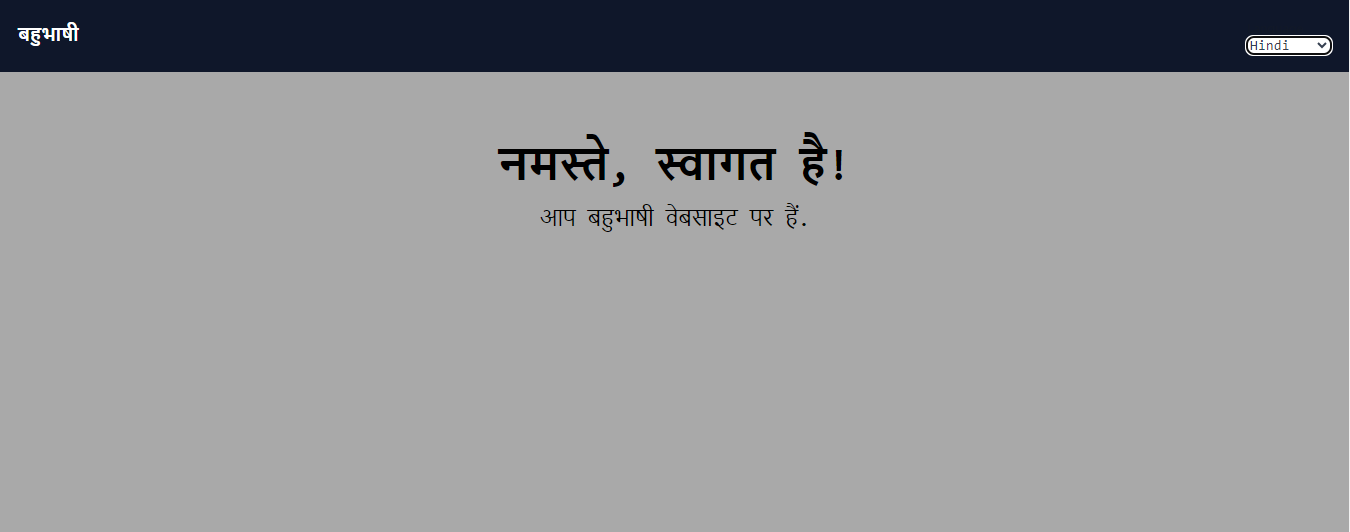
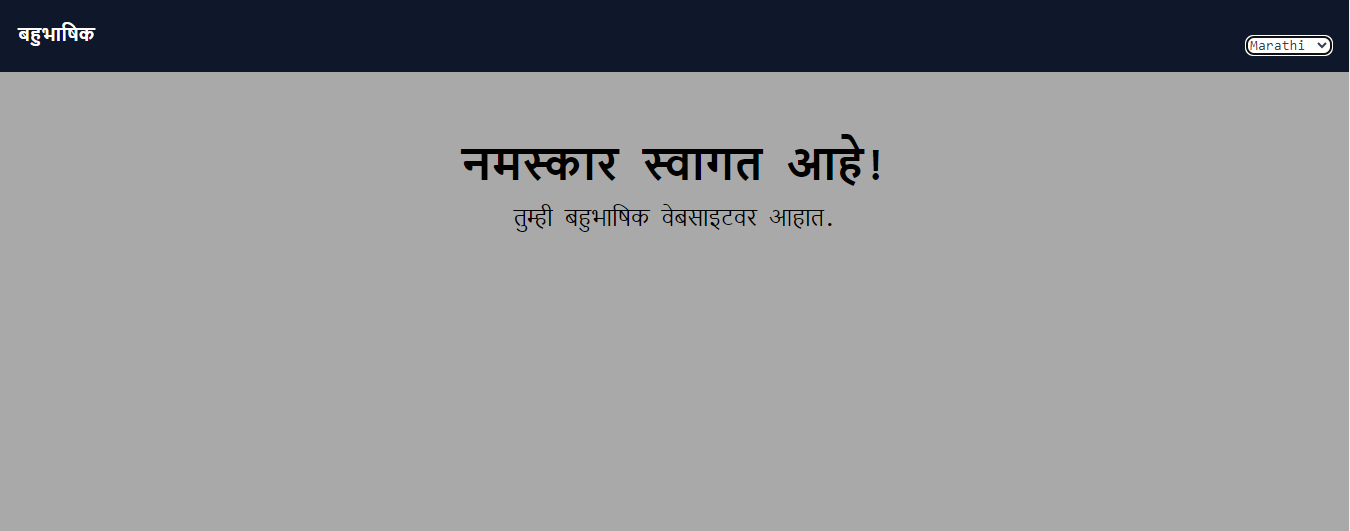
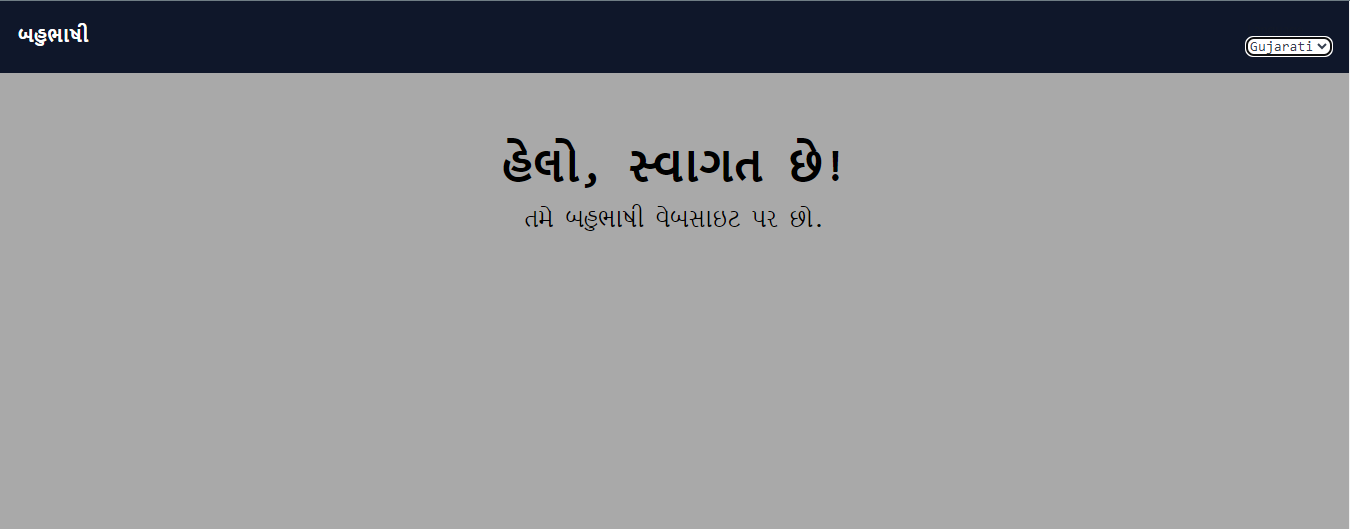
Conclusion:
Congratulations! You have successfully added multilingual to your React application using i18next. Your app now supports multiple languages and allows users to switch between them seamlessly.
Further Improvements:
- Add more languages and translations.
- Store translations in separate JSON files.
- Create a context provider to manage the current language state across your app.
You can find the source code for this on GitHub.
Subscribe to my newsletter
Read articles from Aryan kadam directly inside your inbox. Subscribe to the newsletter, and don't miss out.
Written by

Aryan kadam
Aryan kadam
I am a student, coder, tech enthusiast, open source contributor, whatever you say.