Automate Static website deployment using CodePipeline
 Rosaria Quenum
Table of contents
🚀 Project Overview 📑💻
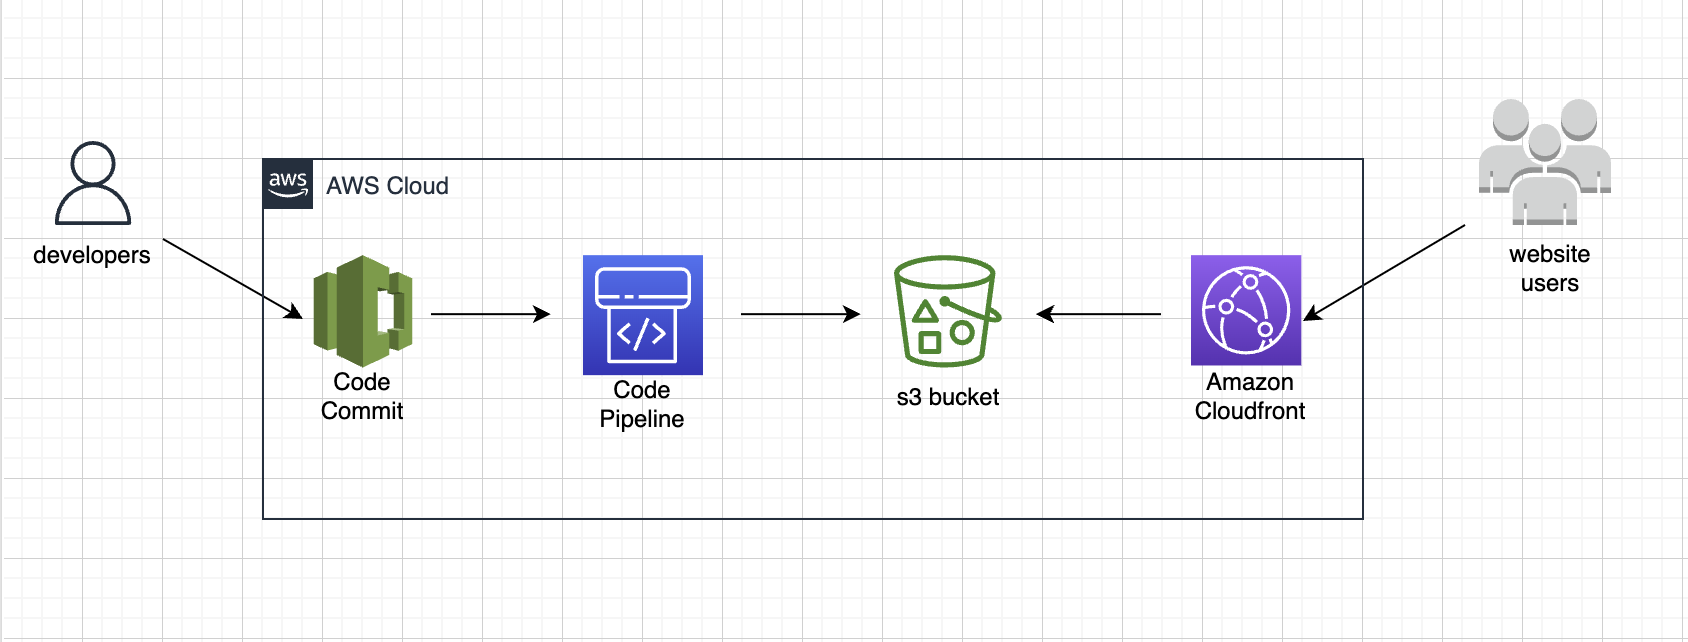
This project aims to host a static website on S3. We will be using CodePipeline to automatically deploy changes made from our source repository where is hosted our code. Then we'll setup CloudFront as a CDN (Content Delivery Network) that will redirect HTTP requests to HTTPS.
⚒️ Problem Solved
Hosting a website can be costly sometimes. But Amazon S3 provides a cost-effective solution for hosting static websites. You only pay for data storage and transfer fee. S3 allows you to store your website files securely and benefit from high availability and reliability. It can handle large amounts of traffic without compromising performance. By leveraging CloudFront as a CDN our static website is delivered quickly to users worldwide.
⚙️ Technology Stack
● CDN: AWS CloudFront
● Storage: AWS S3 for file storage.
● CI/CD: Automate deployment using AWS Code Pipeline
📌 Architecture Diagram
📋 Table of Contents
Step1: set up an s3 bucket
Step2: create the code commit repository
Step3: set up the pipeline
Step4: test the pipeline
step5: set up the CloudFront
step6: test the website
📑 Instructions
✨ Step1: set up an s3 bucket
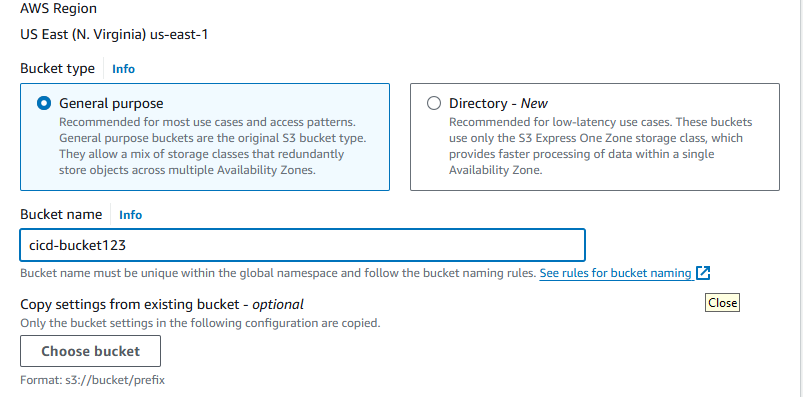
Let log in into our AWS Account and go to s3. Let create a bucket and give it a name.
create ---> bucket name: cicd-bucket123
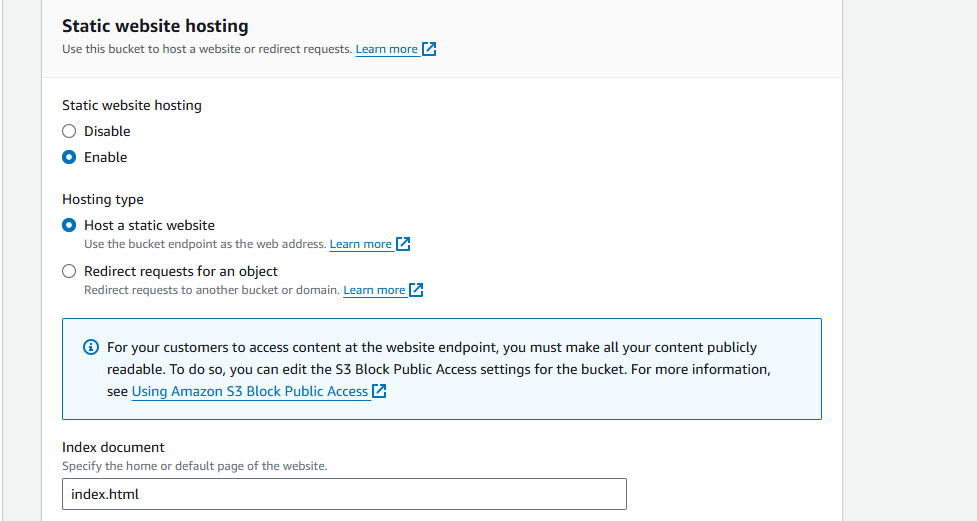
Let navigate to properties ---> static website hosting --> edit ---> enable. Let scroll down to index document --> put index.html --> scroll down to save changes.
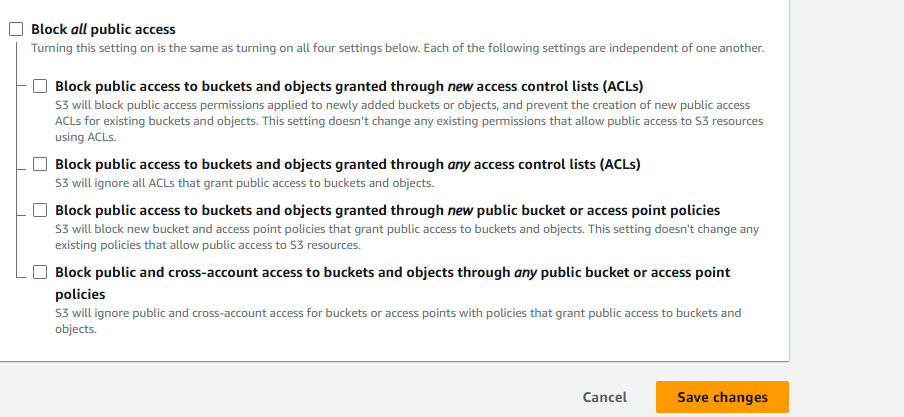
Let allow public access for our bucket. Navigate to permissions --> Block public access --> edit --> uncheck Block all public access --> scroll down to save changes and also confirm.
Next, we need to scroll down to Bucket policy and edit. The following will allow everyone to access the bucket using the GetObject command.
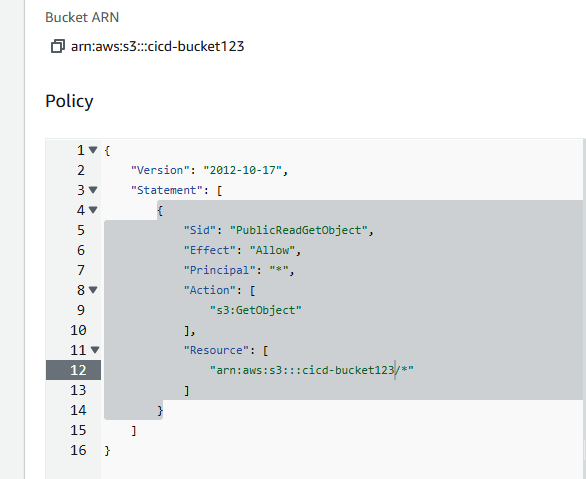
{
    "Version": "2012-10-17",
    "Statement": [
        {
            "Sid": "PublicReadGetObject",
            "Effect": "Allow",
            "Principal": "*",
            "Action": [
                "s3:GetObject"
            ],
            "Resource": [
                "arn:aws:s3:::Bucket-Name/*"
            ]
        }
    ]
}
✨ Step2: create the code commit repository
We will navigate to CodeCommit and create our source repository.
CodeCommit --> create repository --> repository name: website-s3 --> create. On the new screen let copy the link to clone the repository into our local machine.
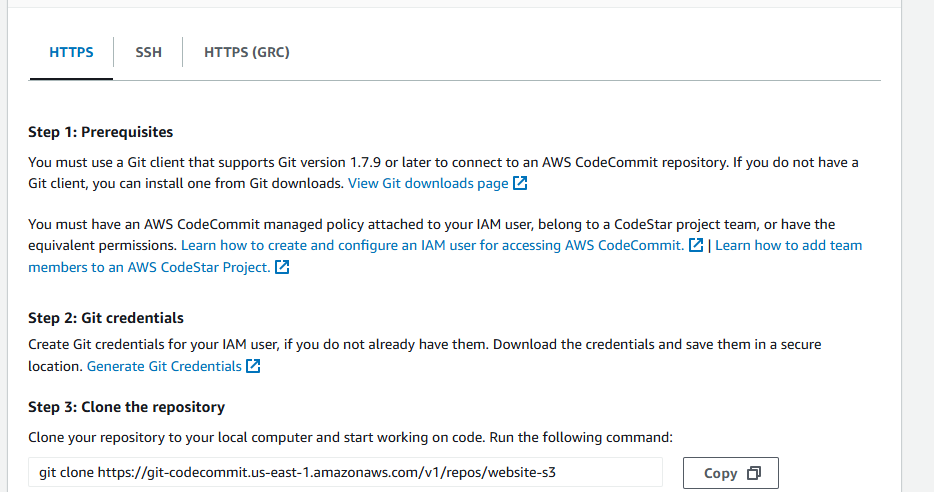
We will be using vscode to interact with our local machine.

Let cd into the repository and upload the website code into the repository. You can get the website code from my github repository here RosariaQuenum/htmltemplates (github.com)
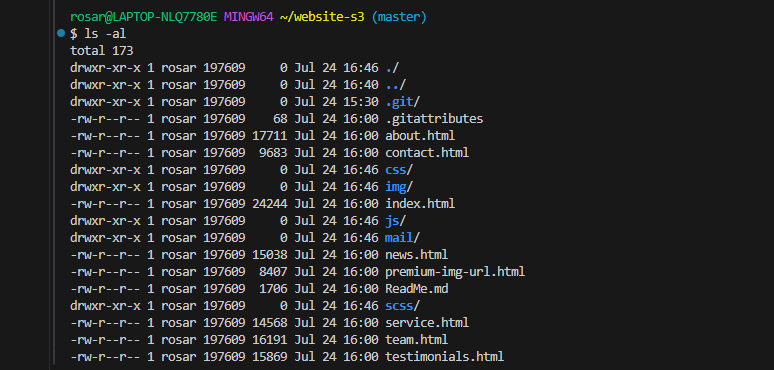
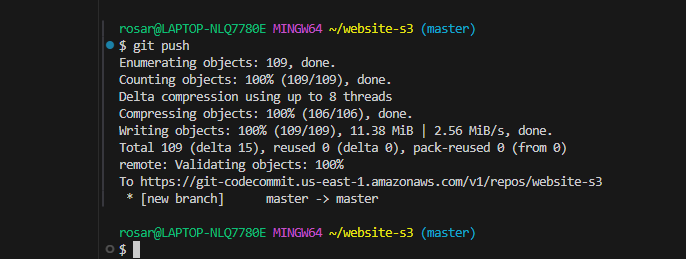
Let push it back to our CodeCommit by saving changes --> git add . --> git commit -m "first commit" --> git push
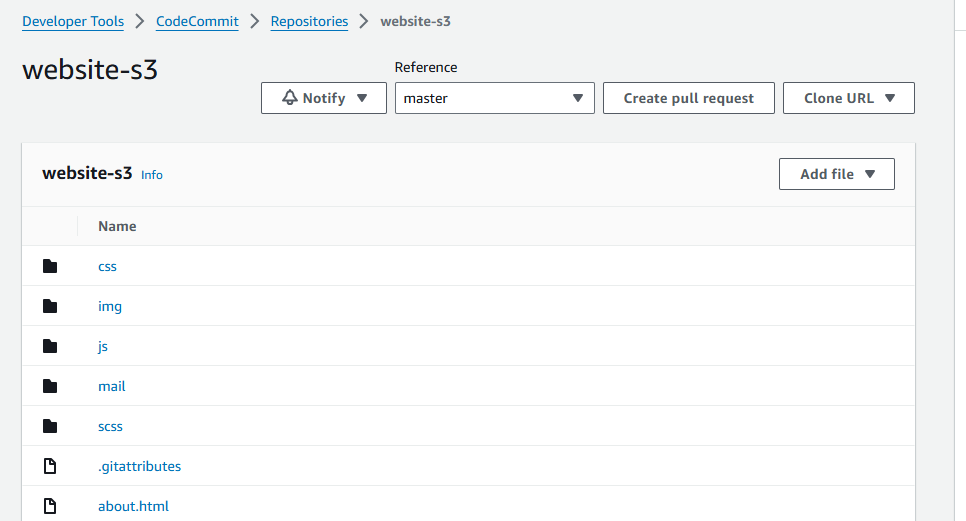
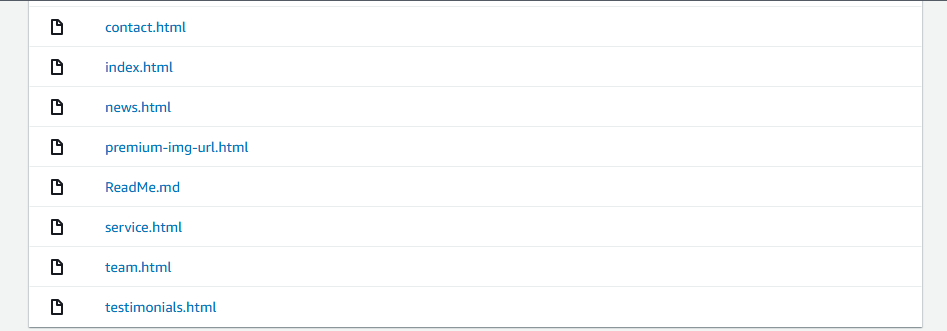
Here are our files in the CodeCommit repository
✨ Step3: set up the pipeline
Let now navigate to CodePipeline
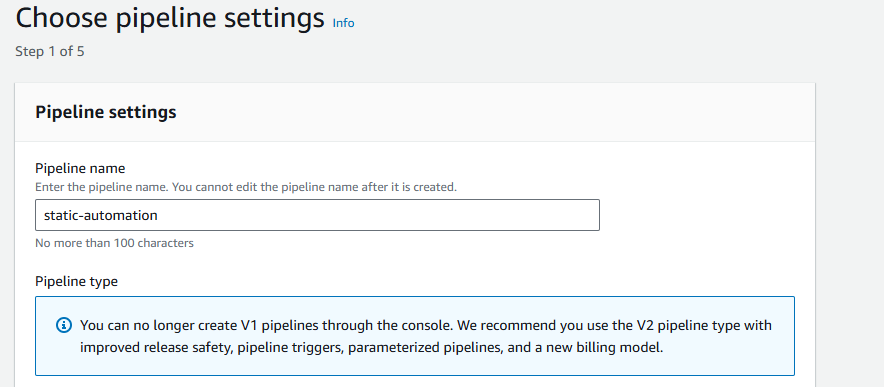
CodePipeline --> Create pipeline --> Pipeline name: static-automation
Let click next to add the source stage
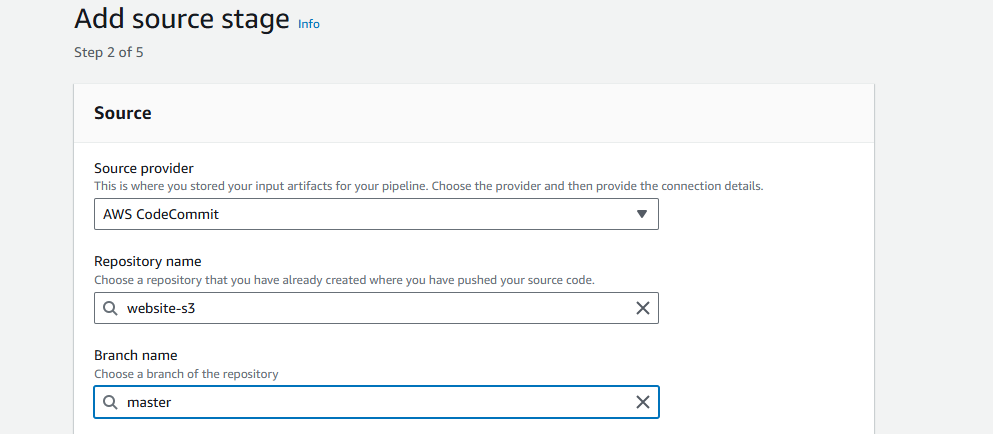
Source provider --> select CodeCommit --> Repository name: website-s3 --> Branch name: master --> we will leave everything default and click next.
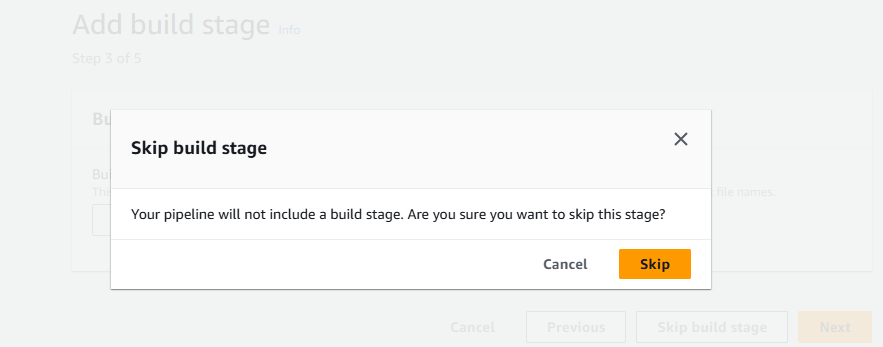
We will skip the Build stage because we don't need the build stage
Let click next to the deploy stage.
Deploy provider --> Amazon s3 --> Bucket --> cicd-bucket123 --> check the Extract file before deploy box --> click next to review everything.
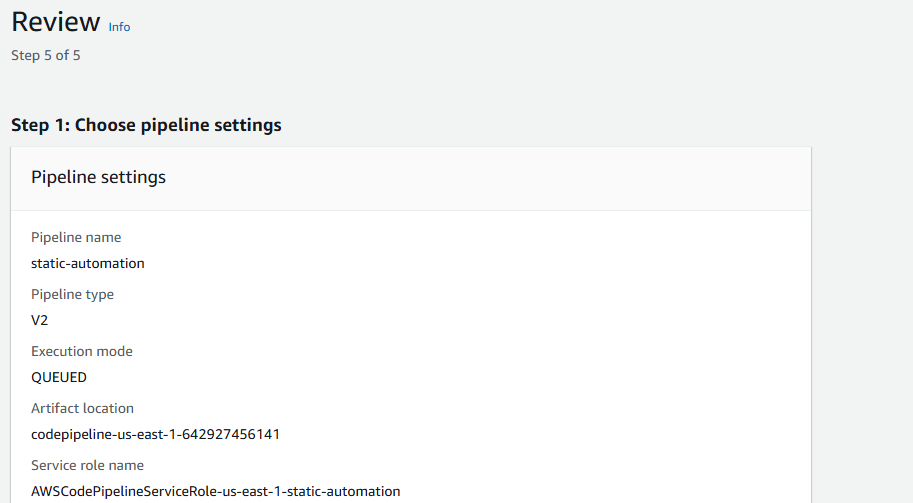
After reviewing everything and all the stage click on create pipeline.
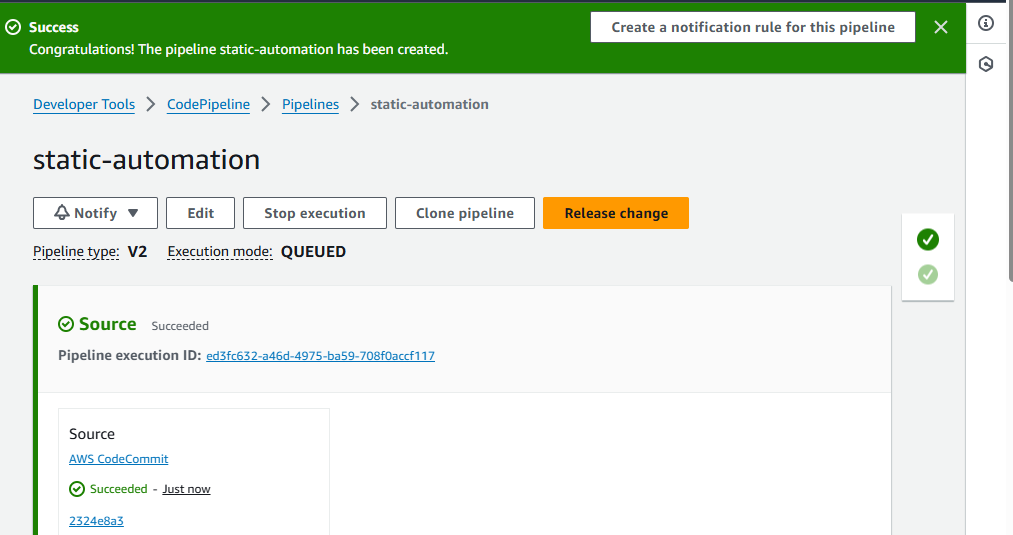
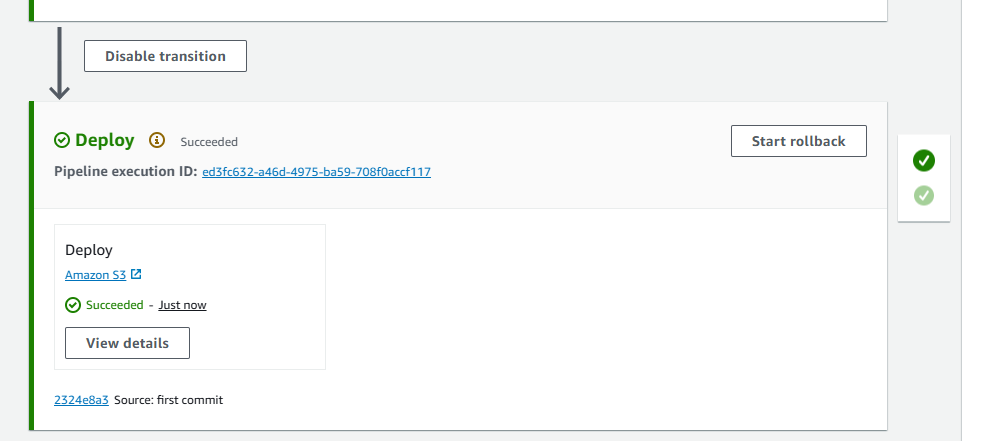
We can see that the deployment was successful.
✨ Step4: test the pipeline
Let go now to s3 bucket and copy the bucket endpoint and paste on the browser.
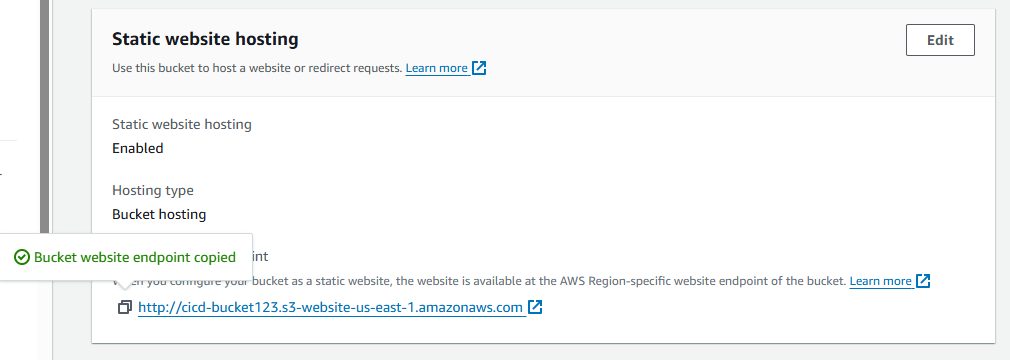

Here is our website.
✨ Step5: set up the CloudFront
First let go to the CloudFront in the AWS Console and click on Create Distribution.
create distribution --> origin domain: cicd-bucket123.s3.us-east-1.amazonaws.com
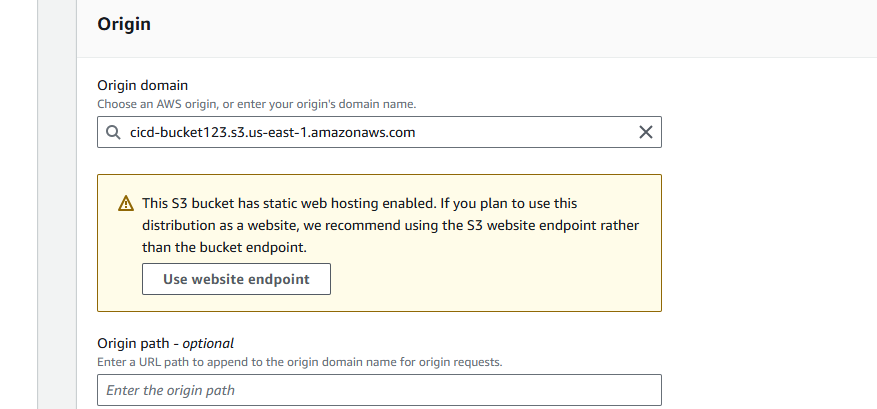
Let scroll down a little bit and change the view to Redirect HTTP to HTTPS and then create distribution.
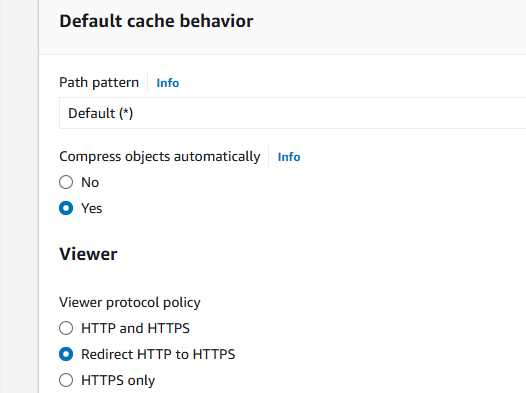
This should send any HTTP request to HTTPS.

Let leave any other session default and then create distribution.
Let wait about 10 mins for the status to change from Deploying to Enabled.
✨ Step6: test the website
Next, let click on your distribution and copy the Distribution domain name.
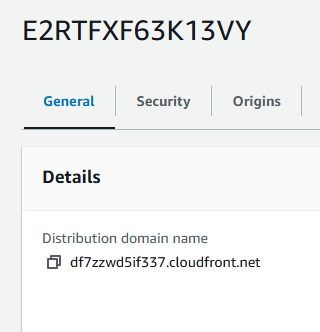
Let paste it into the browser. Since we want to make sure that the redirect we set works. We’re going to put http in the front and append our index.html file to the end.
http://df7zzwd5if337.cloudfront.net/index.html

Now that we enter, we can see the request was redirected to HTTPS.
👏 We are now at the end of our project. We were able to create a static website using CodePipeline and were able to setup CloudFront for Content Delivery Network.
Subscribe to my newsletter
Read articles from Rosaria Quenum directly inside your inbox. Subscribe to the newsletter, and don't miss out.
Written by

Rosaria Quenum
Rosaria Quenum
My name is Rosaria Quenum, I am a Cloud Engineer. I have a Bachelor in Bank and Finance. I've transitioned into cloud computing since 2021 because I was impressed by how Cloud Computing could help organization archive faster time to market. I started attending AWS Bootcamps and passing AWS certifications. I have been collaborating along with Cloud Engineer, Solution Architects, Devops Engineers to designed highly available and fault tolerant distributed systems in the cloud. I'm really passionate about this field and I’m excited to explore new challenges and contribute my skills to innovative projects where I can make a meaningful impact. Let’s connect and create something awesome together!