Dockerizing NetBox with PostgreSQL, Redis, and Cache: A Step-by-Step Guide
 Pawan Kumar
NetBox is a powerful open-source tool for network and infrastructure management. While the official netbox-docker repository provides a convenient way to deploy NetBox using Docker, it uses prebuilt images, limiting the flexibility to modify the codebase. In this guide, I will walk you through the process of Dockerizing NetBox from the ground up, using your own code, alongside PostgreSQL, Redis, and cache services.
By following this guide, you'll be able to spin up a fully functional NetBox instance with just a few commands. Let's get started!
Prerequisites
Before we dive into the setup, make sure you have the following installed on your system:
Docker: Install Docker
Docker Compose: Install Docker Compose
Step 1: Clone the Repository
First, clone my GitHub repository containing the necessary configuration files:
git clone https://github.com/pawannitk/netbox-code-dockerization.git
cd netbox-code-dockerization
Step 2: Configuration
The repository includes a docker-compose.yml file that defines the services required for NetBox, including PostgreSQL, Redis, and the cache service. It also includes multiple .env files in env folder where you can specify environment variables for configuration for all the services.
Environment Variables
In the root directory of the repository, you'll find an env folder containing four environment variable files:
netbox.env - Configuration for NetBox:
 DB_HOST=netbox-postgres
 DB_NAME=netbox
 DB_PASSWORD=mypassword
 DB_USER=netbox
 DB_PORT=5432
 REDIS_CACHE_DATABASE=1
 REDIS_CACHE_HOST=redis-cache
 REDIS_CACHE_INSECURE_SKIP_TLS_VERIFY=false
 REDIS_CACHE_PASSWORD=t4Ph722qJ5QHeQ1qfu36
 REDIS_CACHE_SSL=false
 REDIS_CACHE_PORT=6379
 REDIS_DATABASE=0
 REDIS_PORT=6379
 REDIS_HOST=netbox-redis
 REDIS_INSECURE_SKIP_TLS_VERIFY=false
 REDIS_PASSWORD=H733Kdjndks81
 REDIS_SSL=false
 SECRET_KEY='r(m)9nLGnz$(_q3N4z1k(EFsMCjjjzx08x9VhNVcfd%6RF#r!6DE@+V5Zk2X'
postgres.env - Configuration for PostgreSQL:
 POSTGRES_DB=netbox
 POSTGRES_PASSWORD=mypassword
 POSTGRES_USER=netbox
redis.env - Configuration for Redis:
REDIS_PASSWORD=H733Kdjndks81redis-cache.env - Configuration for Redis Cache:
REDIS_CACHE_PASSWORD=t4Ph722qJ5QHeQ1qfu36
Ensure that these files are correctly set up with your desired values.
Step 3: Build and Run the Containers
Now, let's build the NetBox image and start the containers:
docker-compose up -d
This command will:
Build the NetBox image from the code in the repository.
Start the NetBox, PostgreSQL, Redis, and cache containers.
You can check the status of the containers using:
docker-compose ps
Step 4: Check for the logs of netbox container
Once the containers are up and running, you need to wait to become the netbox container healthy as it is running multiple commands specified in startup.sh file on startup so it will take some time to become healthy check logs and wait for the healthcheck command to run :
docker-compose logs -f netbox
Create a superuser to access the NetBox admin interface:
docker-compose exec netbox python3 /opt/netbox/netbox/manage.py createsuperuser
Follow the prompts to set up the superuser credentials.
Step 5: Access NetBox
Your NetBox instance should now be running and accessible. Open your web browser and navigate to:
http://localhost:8002
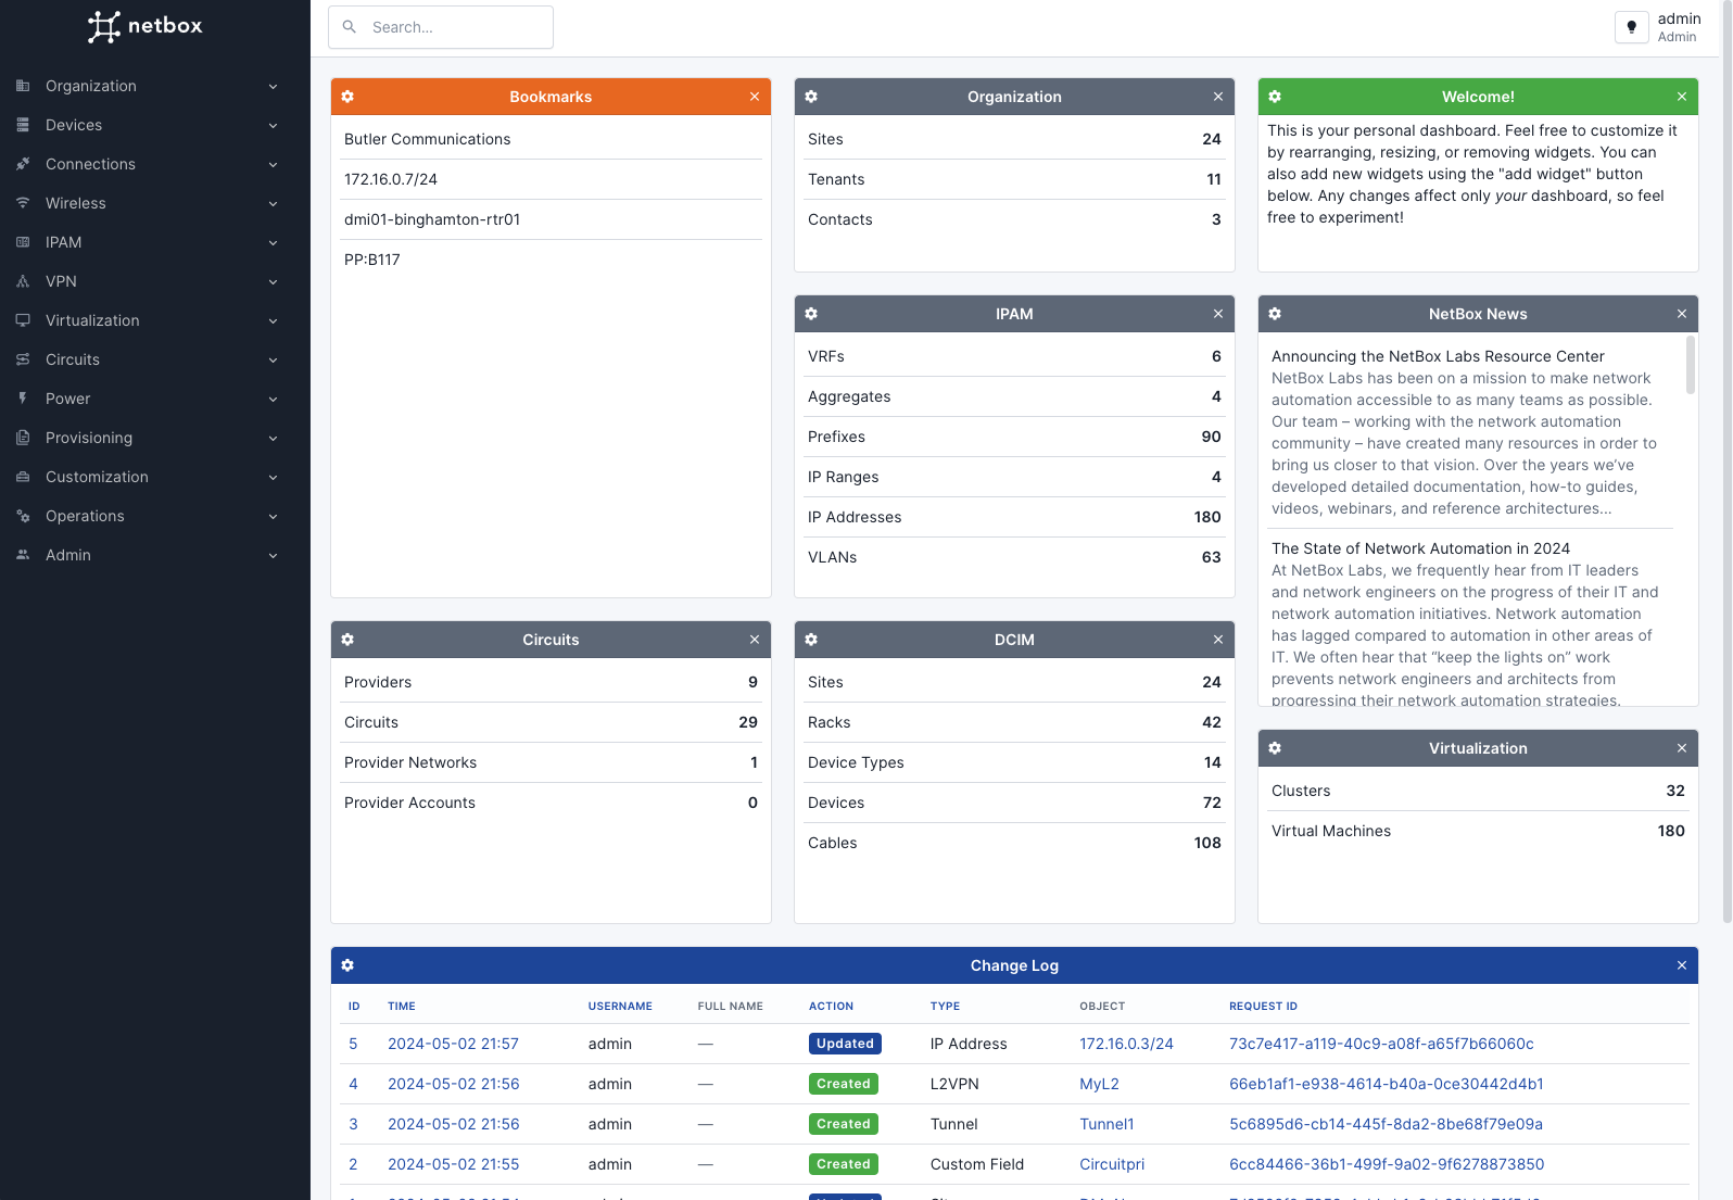
Log in with the superuser credentials you created earlier. You should now see the NetBox dashboard!

Conclusion
Congratulations! You've successfully Dockerized NetBox using your own code along with PostgreSQL, Redis, and cache services. This setup provides flexibility for development and customization, allowing you to modify the NetBox codebase as needed.
Feel free to explore and make changes to the code. If you have any questions or run into issues, please don't hesitate to reach out or create an issue on the GitHub repository.
Check out the repository here: NetBox Code Dockerization
Happy Dockerizing!
Subscribe to my newsletter
Read articles from Pawan Kumar directly inside your inbox. Subscribe to the newsletter, and don't miss out.
Written by