Day-22 : Getting Started with Jenkins 😃
 Pooja Bhavani
What is Jenkins?
Jenkins is an open source continuous integration-continuous delivery and deployment (CI/CD) automation software DevOps tool written in the Java programming language. It is used to implement CI/CD workflows, called pipelines.
Jenkins is a tool that is used for automation, and it is an open-source server that allows all the developers to build, test and deploy software. It works or runs on java as it is written in java. By using Jenkins we can make a continuous integration of projects(jobs) or end-to-endpoint automation.
Jenkins achieves Continuous Integration with the help of plugins. Plugins allow the integration of Various DevOps stages. If you want to integrate a particular tool, you need to install the plugins for that tool. For example Git, Maven 2 project, Amazon EC2, HTML publisher etc.
Jenkins is a automation server used for continuous integration and continuous delivery (CI/CD) processes. It's an open-source tool designed to automate various tasks involved in building, testing, and deploying software applications.
Jenkins acts as the backbone of CI/CD pipelines, streamlining the development workflow by automating repetitive tasks, thereby improving productivity and software quality.
Continuous Integration (CI): Jenkins enables developers to integrate their code changes into a shared repository regularly. And automates the build process, runs tests whenever a new code is committed, allowing teams to detect issues early in the development cycle.
Continuous Delivery/Deployment (CD): Jenkins facilitates the automation of deploying applications to different environments, such as staging or production, after successful builds and tests. It helps in delivering software changes reliably and efficiently to different environments.
Pipelines: Jenkins uses pipelines to define workflows as code. Pipeline scripts (written in Groovy DSL or declarative syntax) orchestrate the entire software delivery process, incorporating stages like build, test, and deployment, allowing for complex, customizable workflows.
Create a freestyle pipeline to print "Hello World!!"
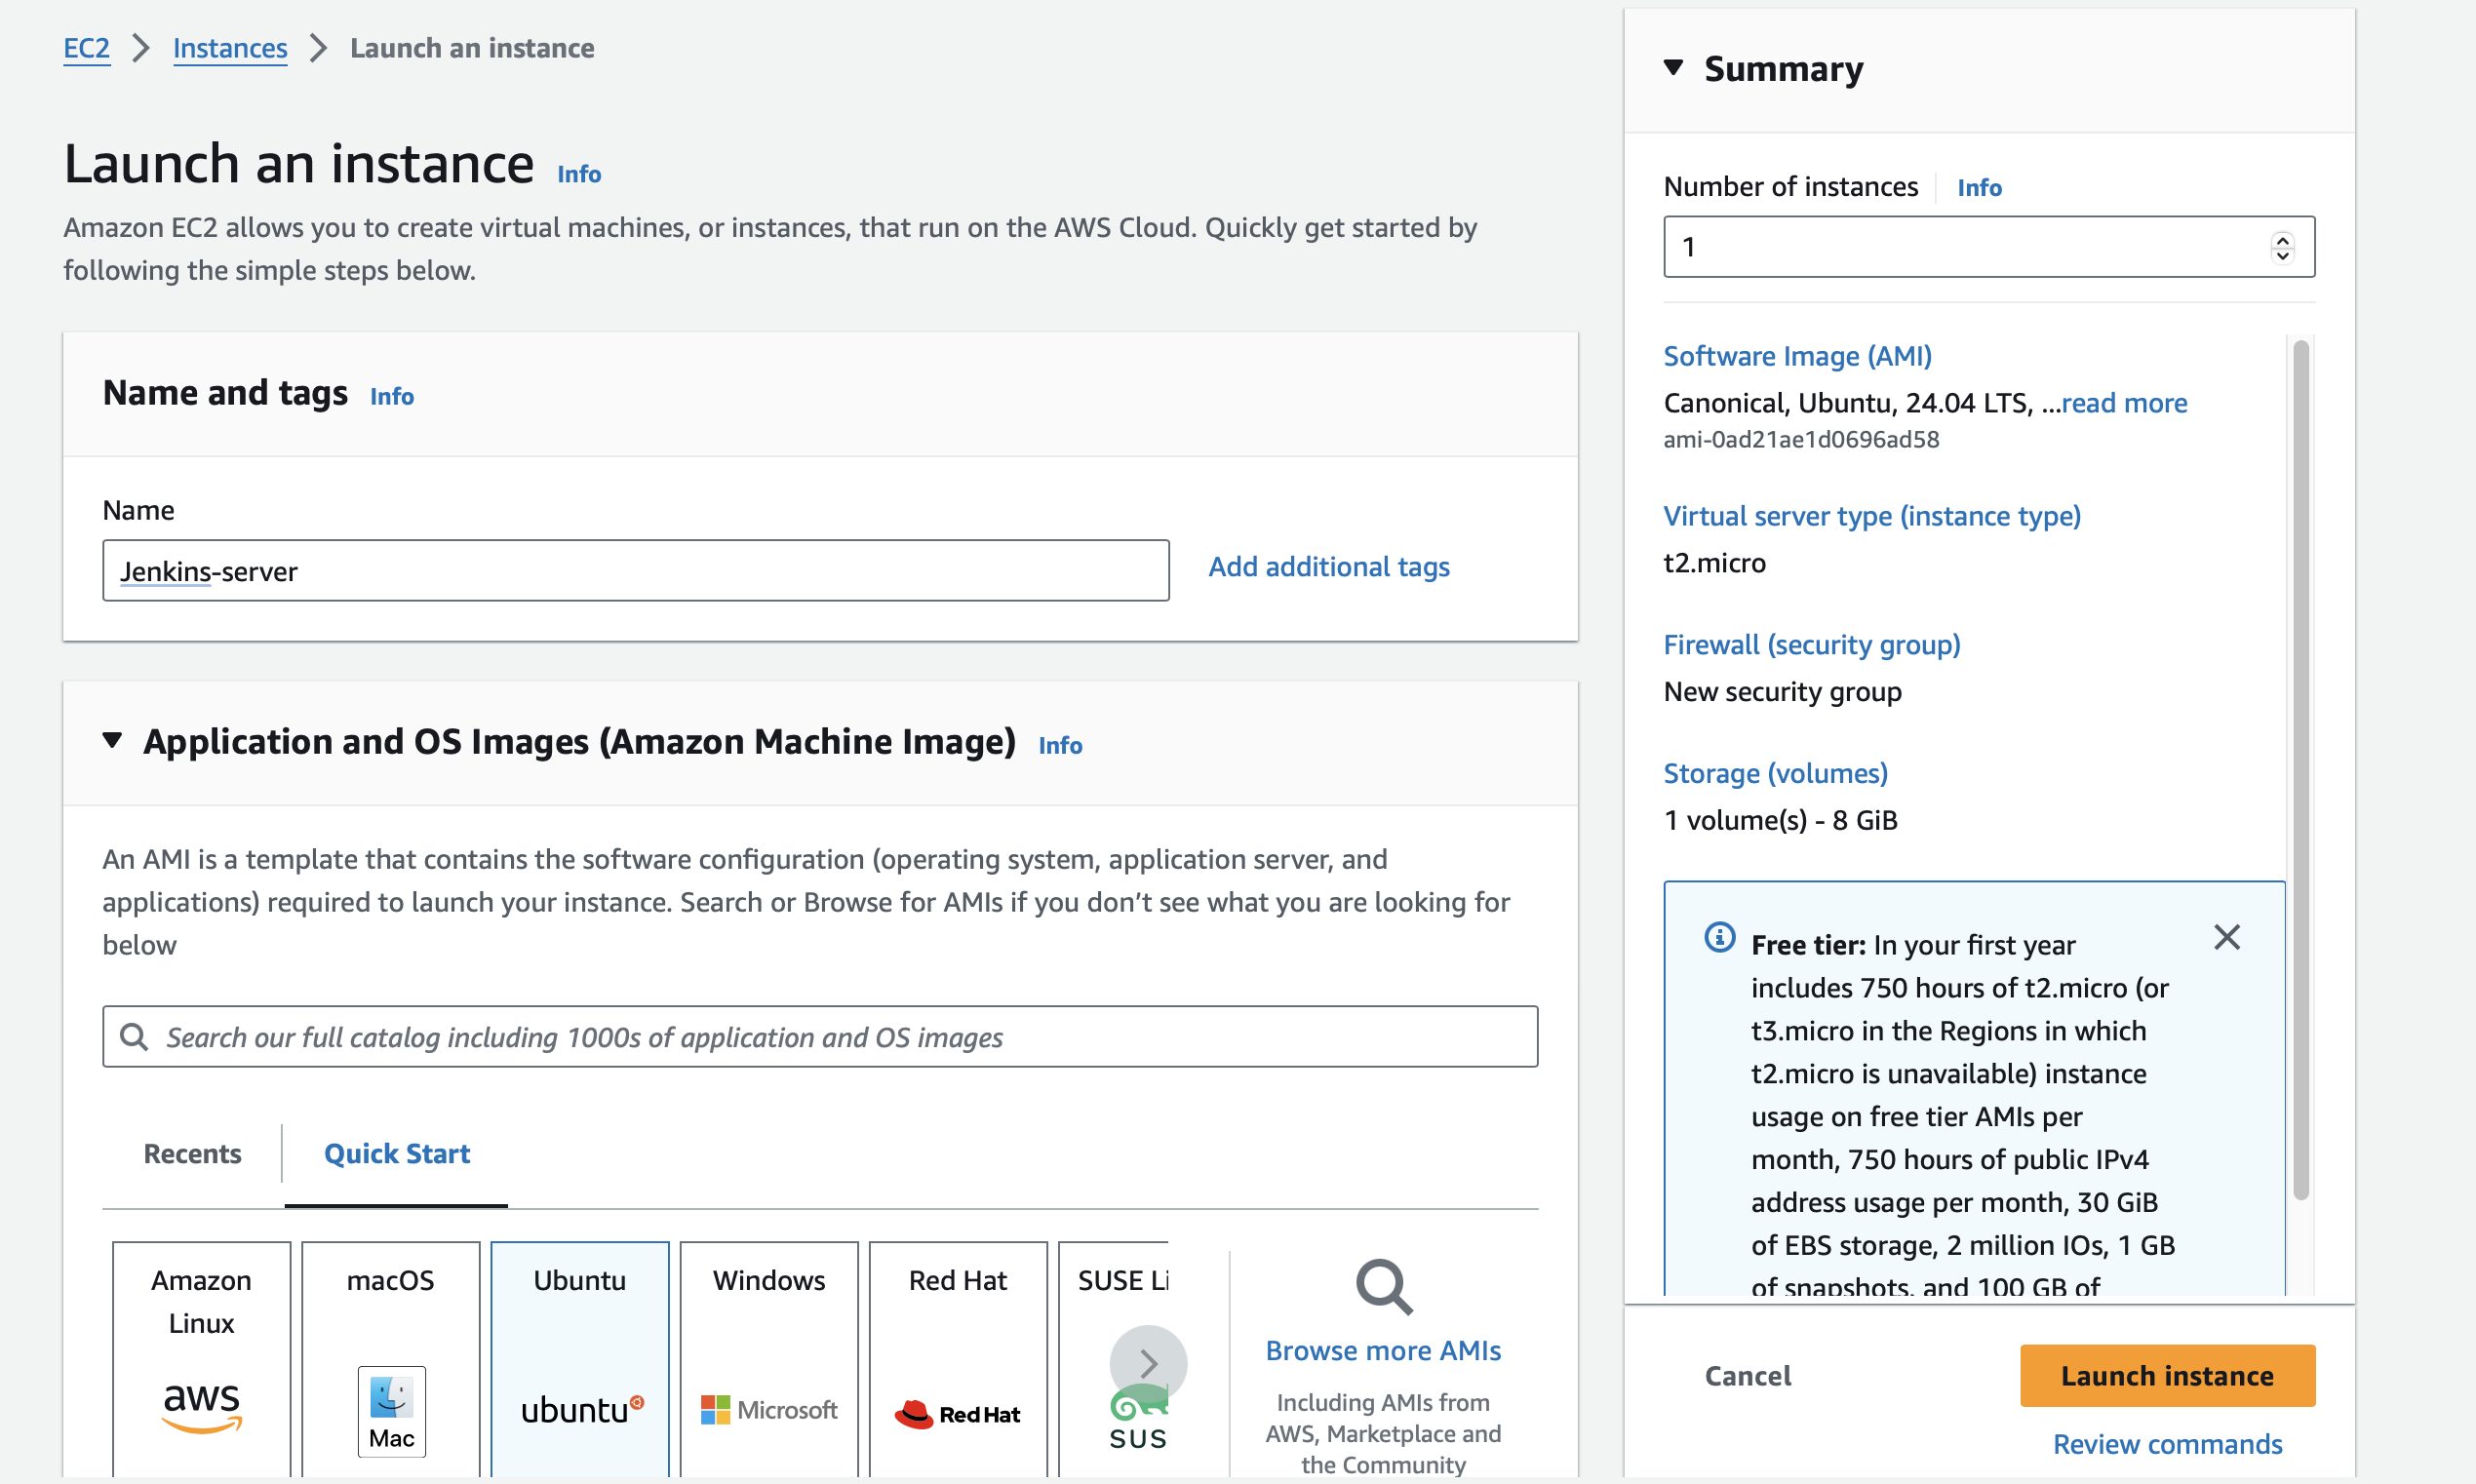
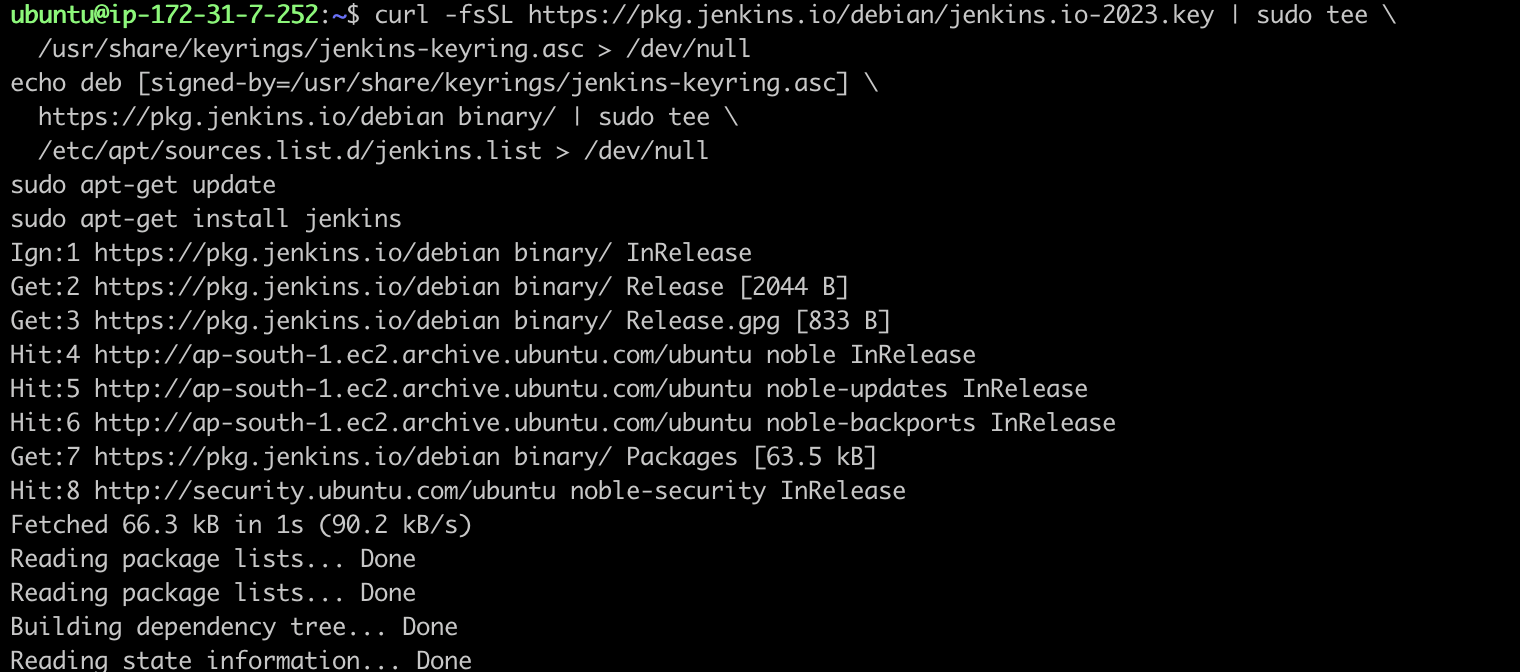
- Launch your instance in AWS and set up the Jenkins server on your instance using these commands

sudo apt update
sudo apt install openjdk-17-jre
curl -fsSL https://pkg.jenkins.io/debian/jenkins.io-2023.key | sudo tee \
  /usr/share/keyrings/jenkins-keyring.asc > /dev/null
echo deb [signed-by=/usr/share/keyrings/jenkins-keyring.asc] \
  https://pkg.jenkins.io/debian binary/ | sudo tee \
  /etc/apt/sources.list.d/jenkins.list > /dev/null
sudo apt-get update
sudo apt-get install jenkins
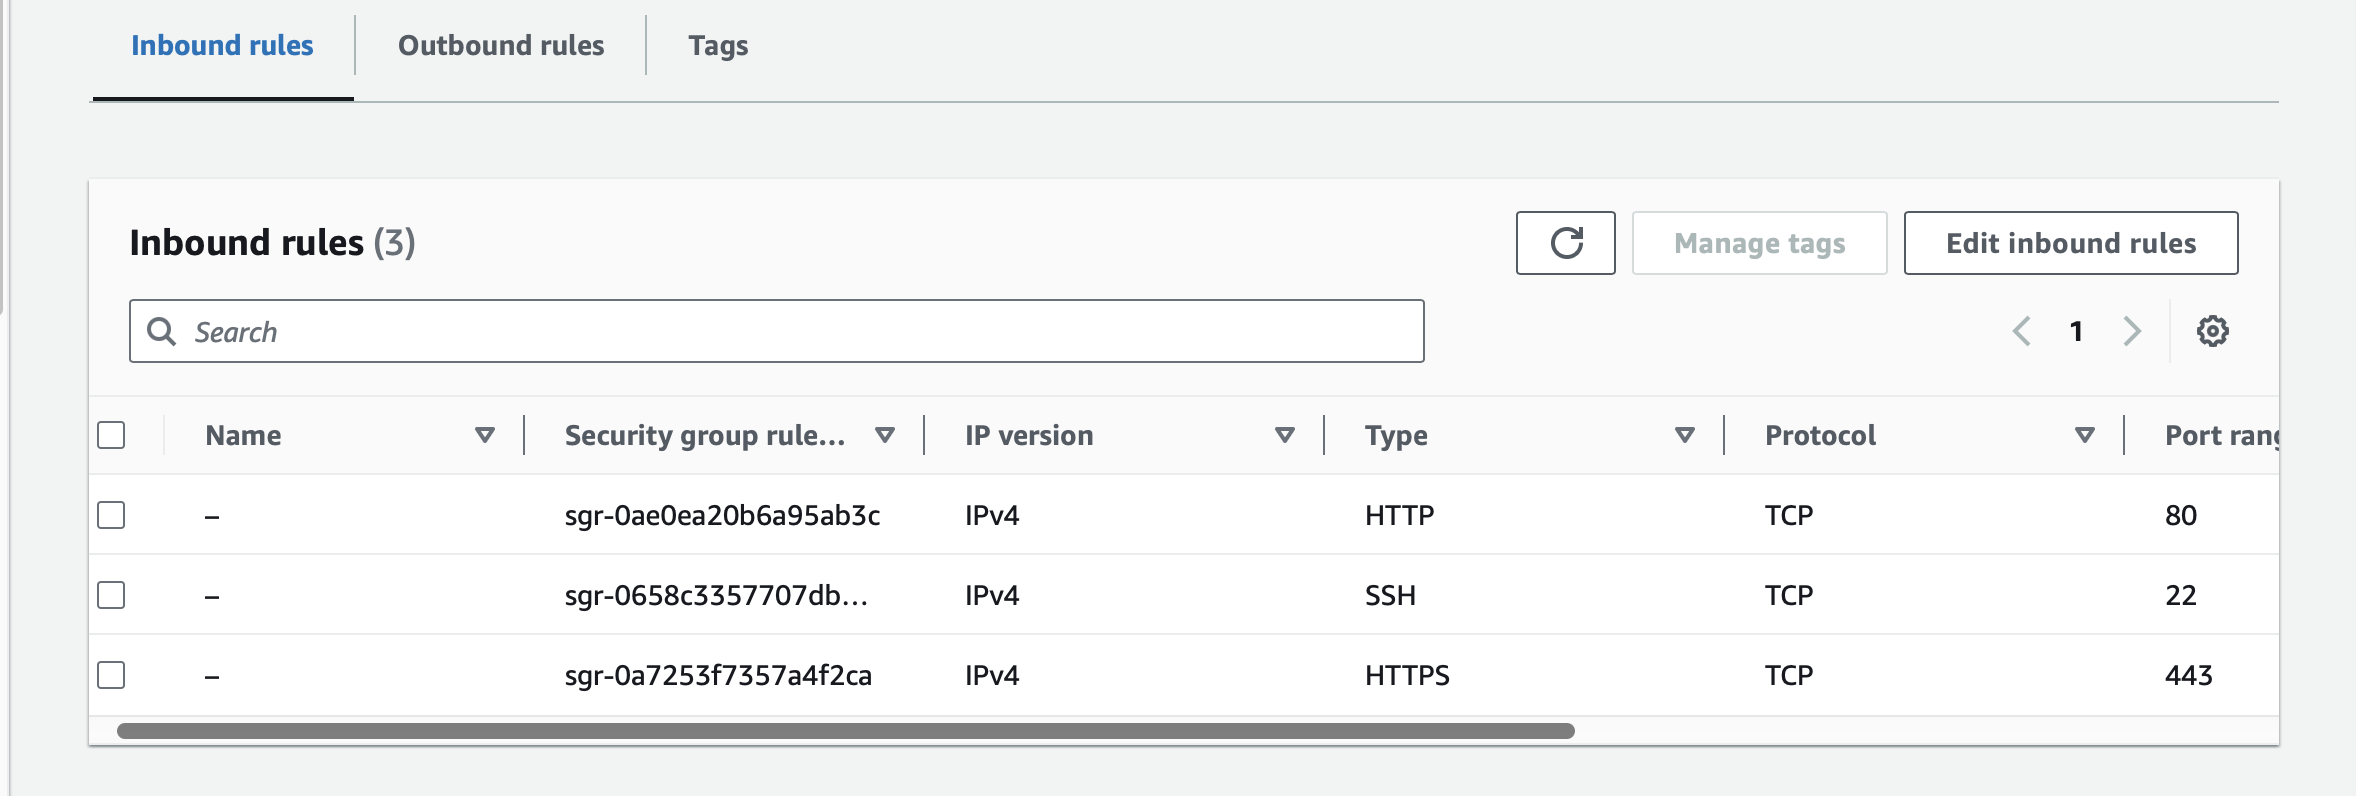
- Allow inbound traffic on port 8080 for Jenkins in the AWS security group.
- Open a new tab and enter your AWS IP address followed by ':8080'. It will prompt you for a password to access your Jenkins server. Use this command to retrieve the password.
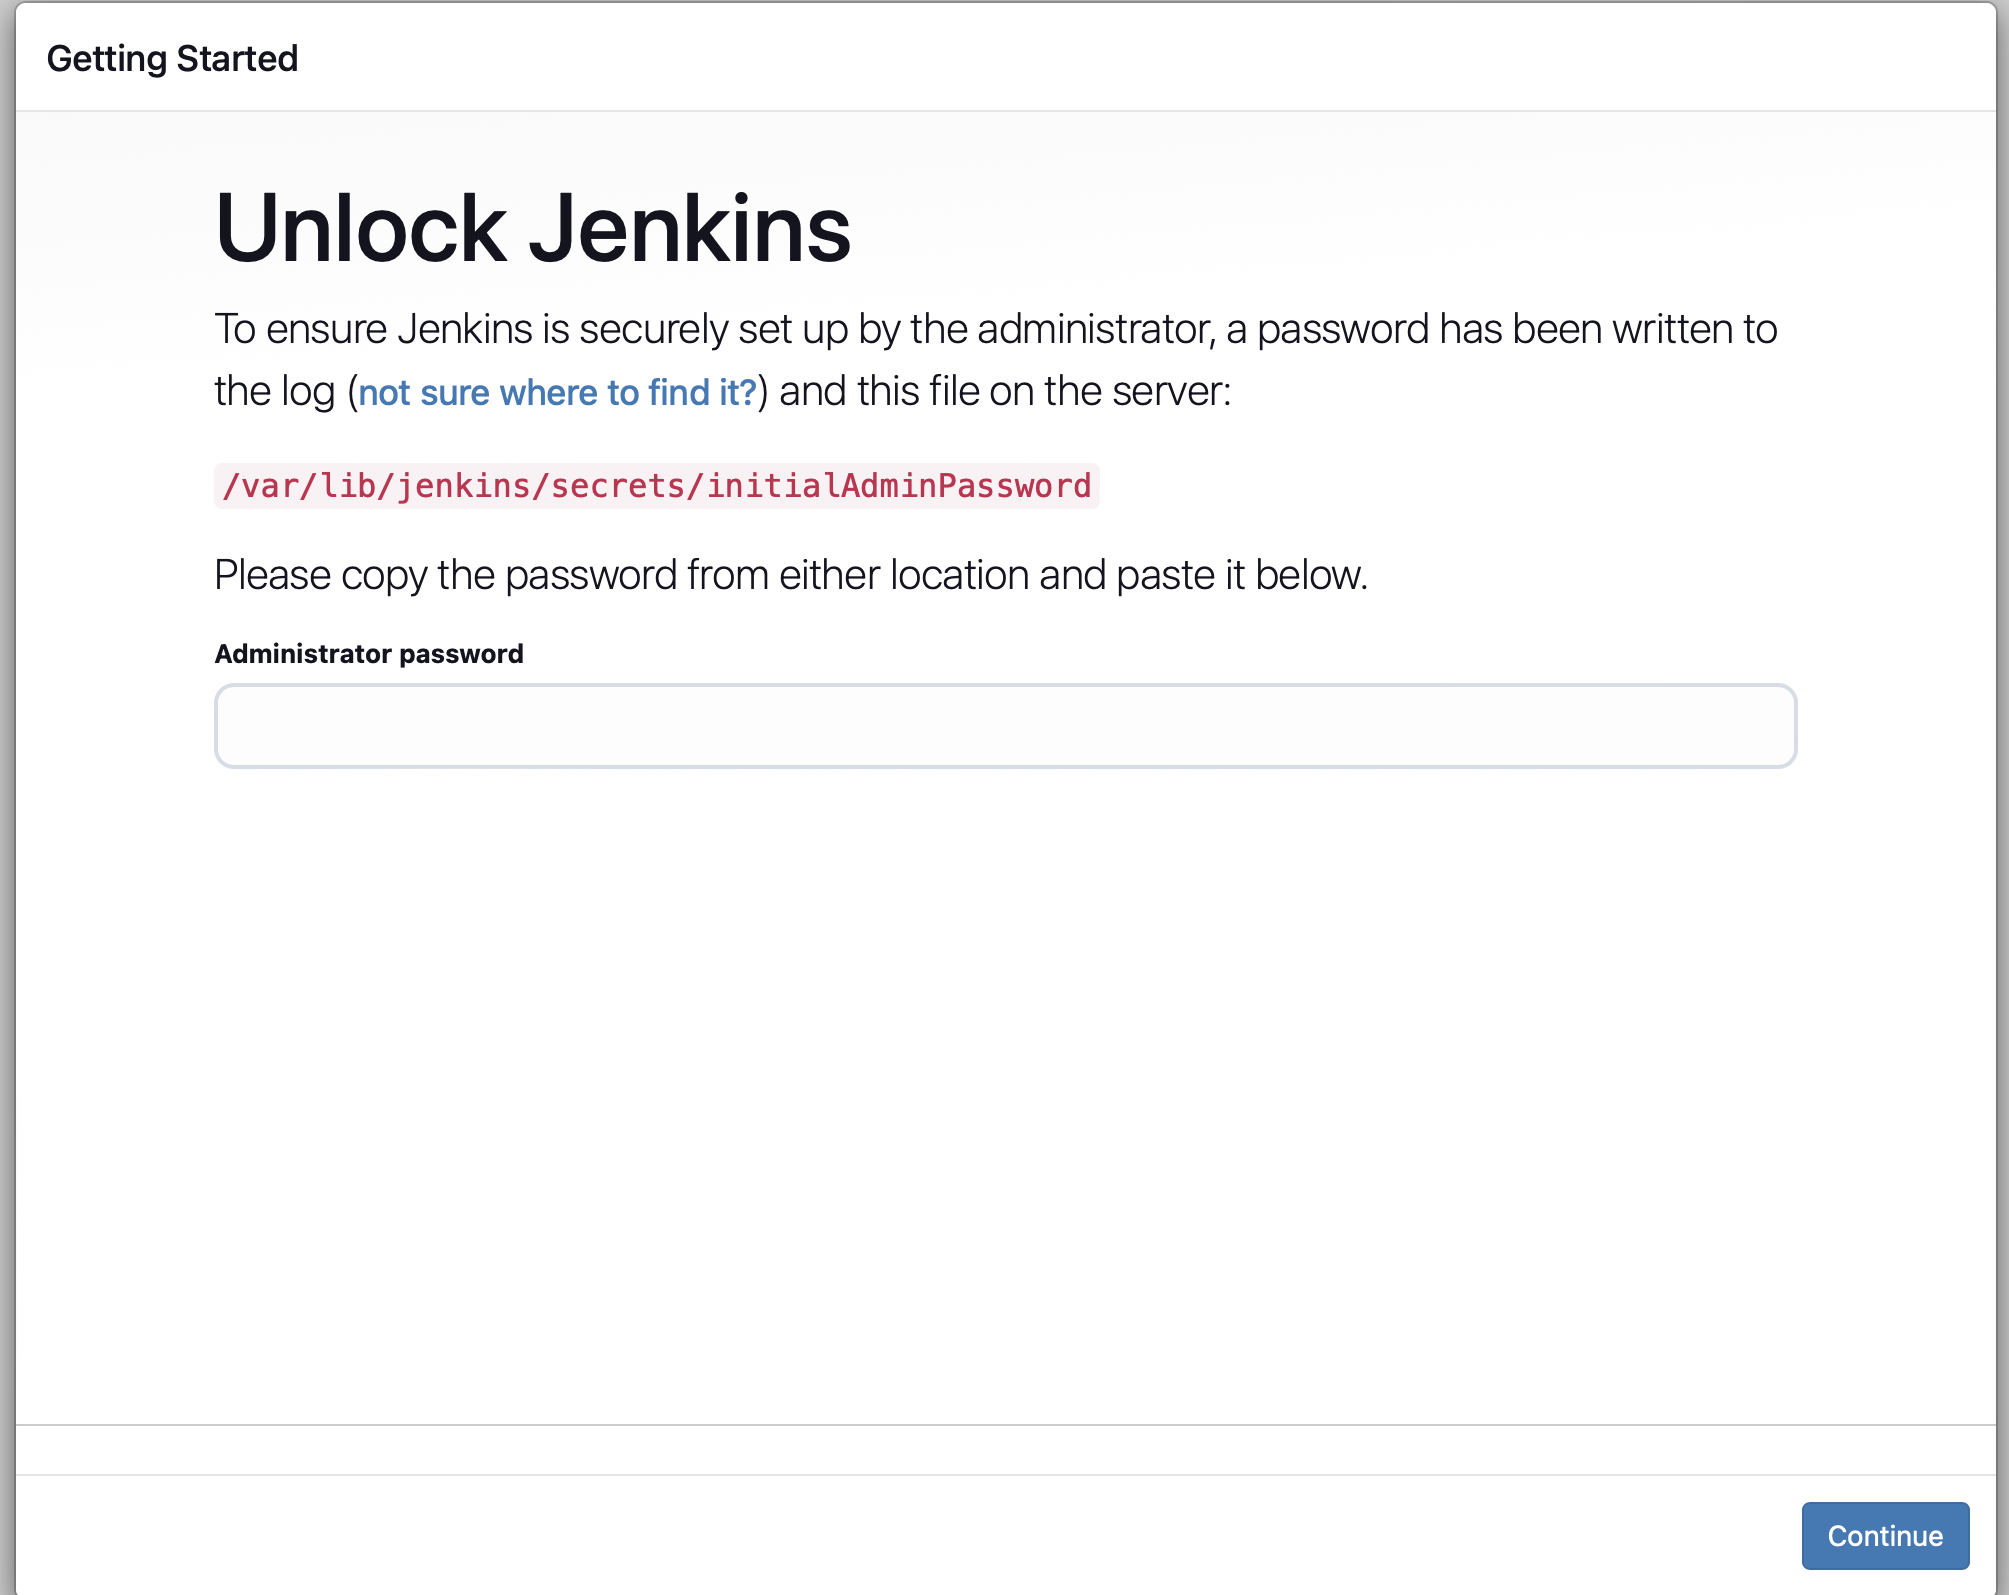

- After pasting your password, click on 'Install Plugins' to initiate the plugin installation. Create your Jenkins account and the Jenkins dashboard will open.
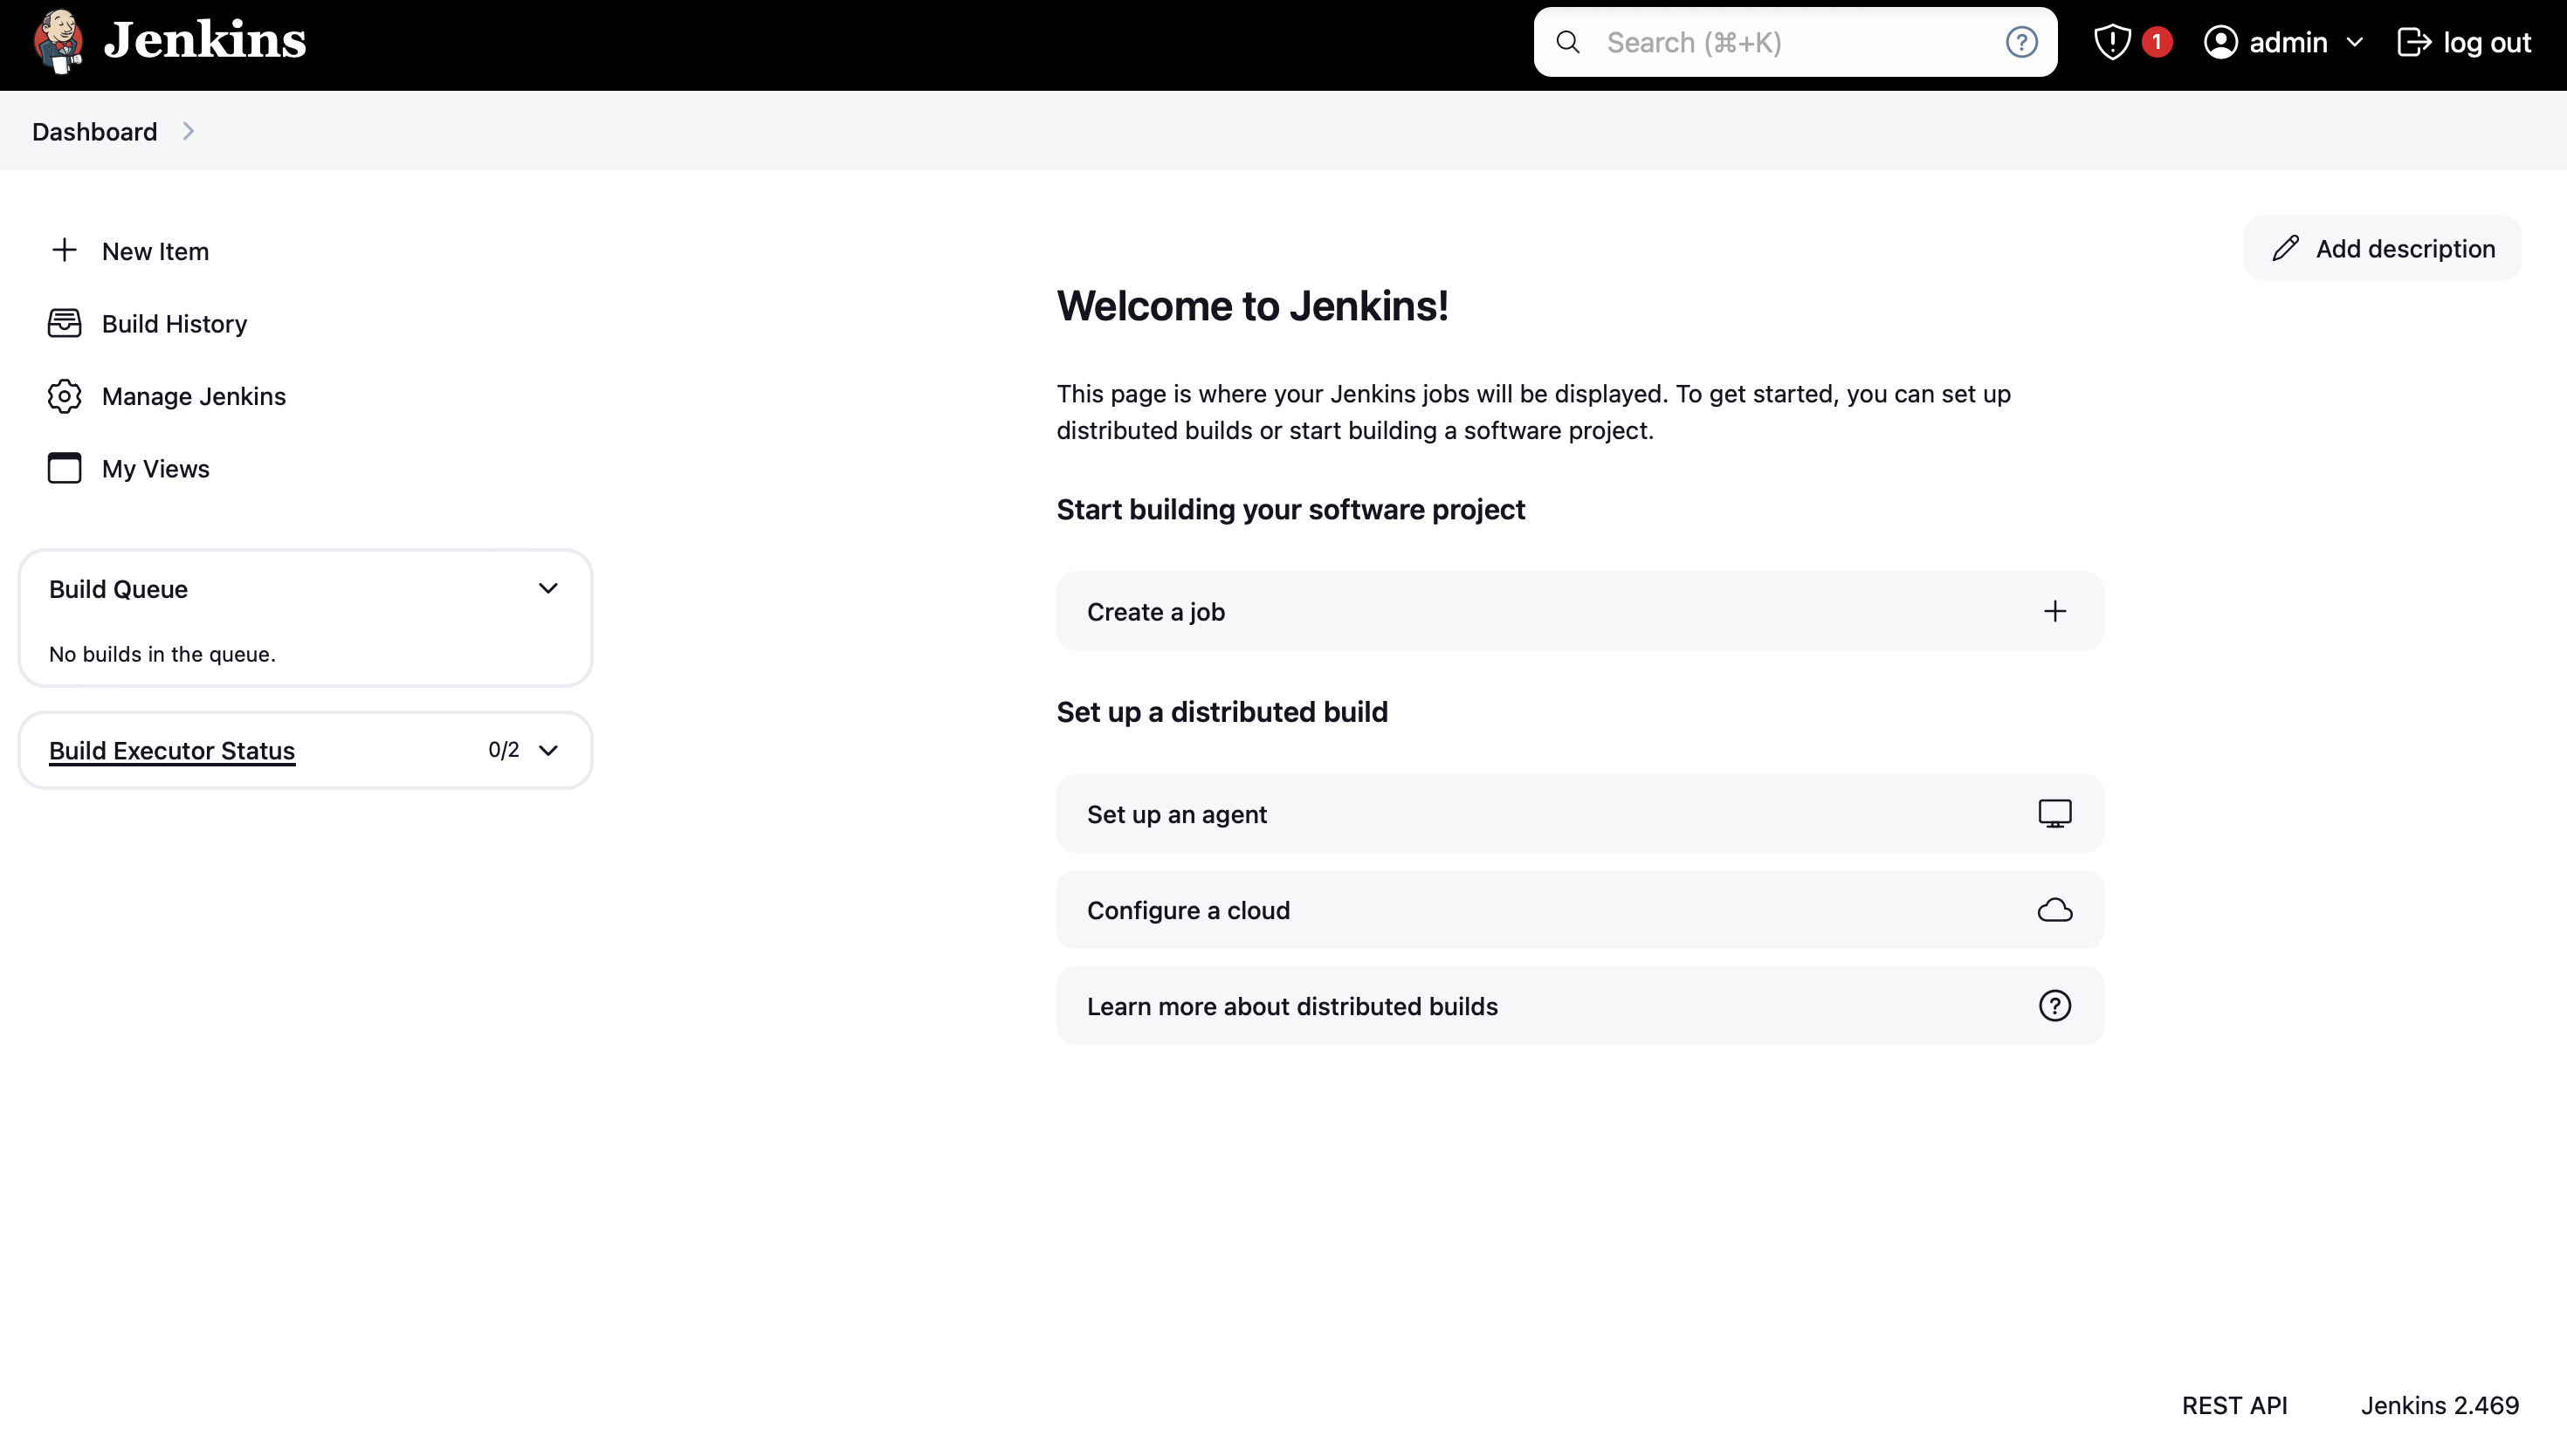
Follow these steps to create a freestyle pipeline that prints 'Hello World!!'.
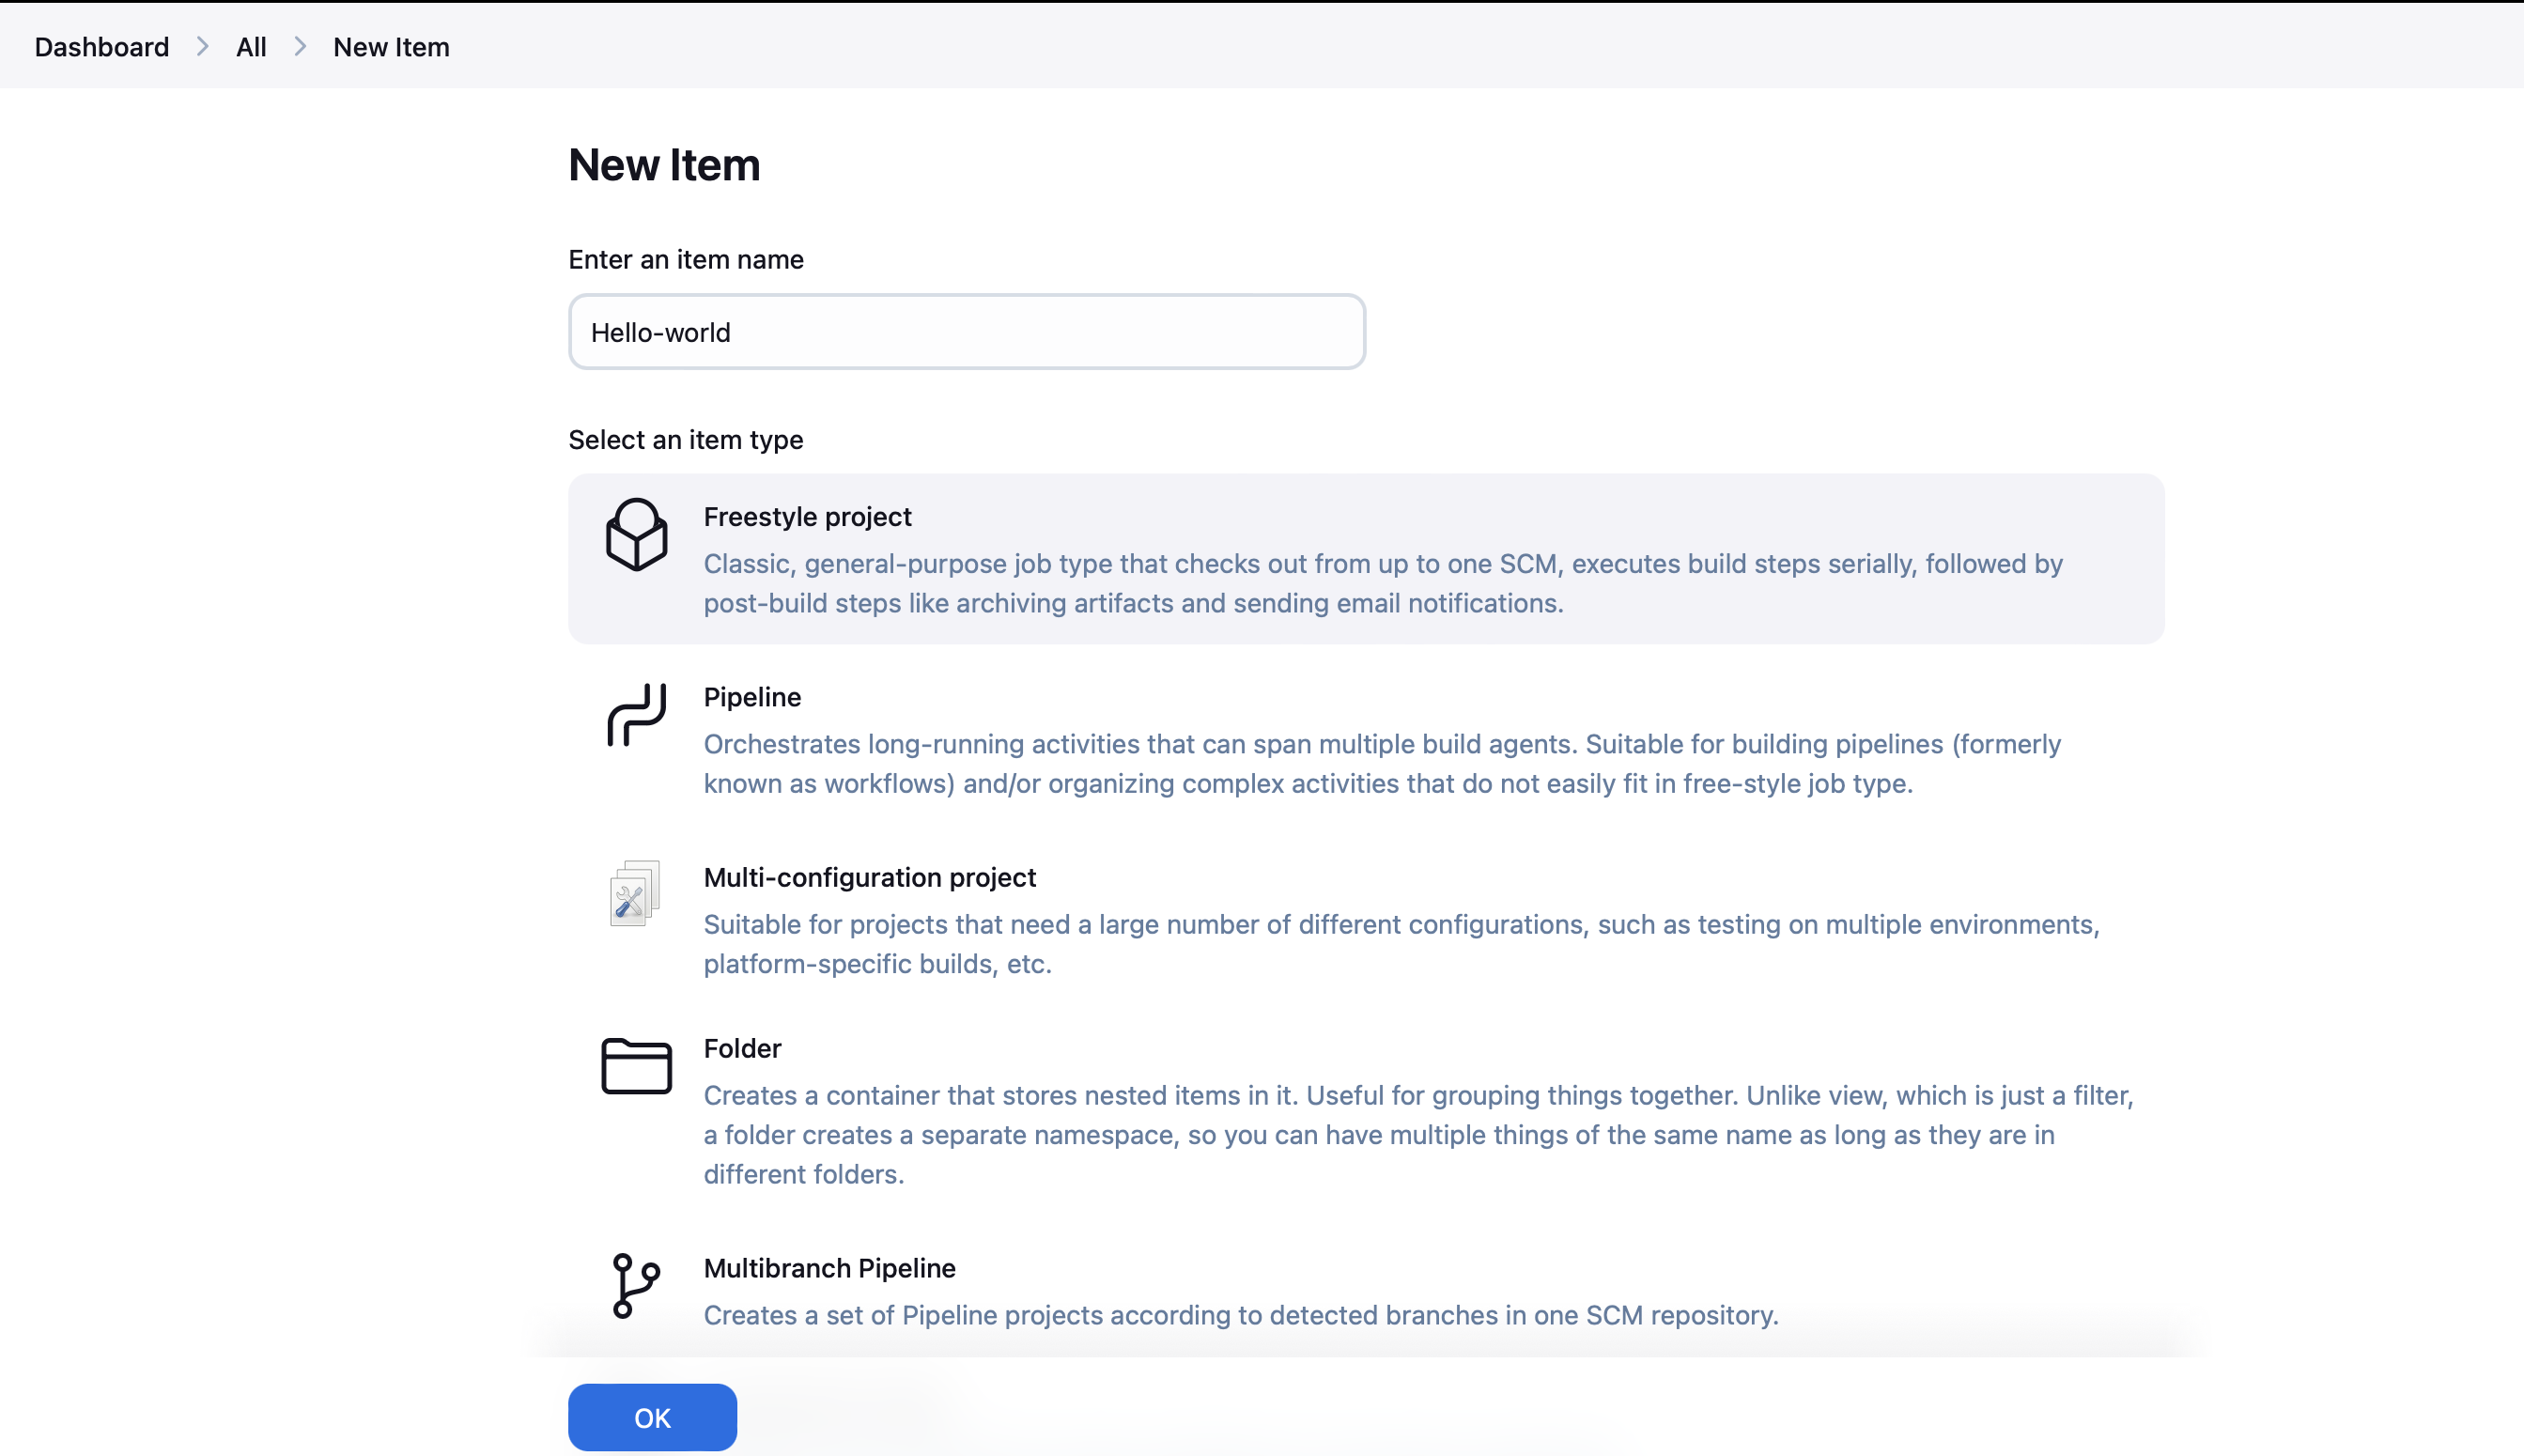
- Step 1: Click on a new item, and then you will have a page on which you have to give your name to your job and choose ‘freestyle project’ or any other option according to your need and then click ‘ok’.
Step 2: After this, you will reach a page where you have different options(like build, build triggers, and source code management) that help you manage your job.
Step 3: Now, we will give some description of our job.
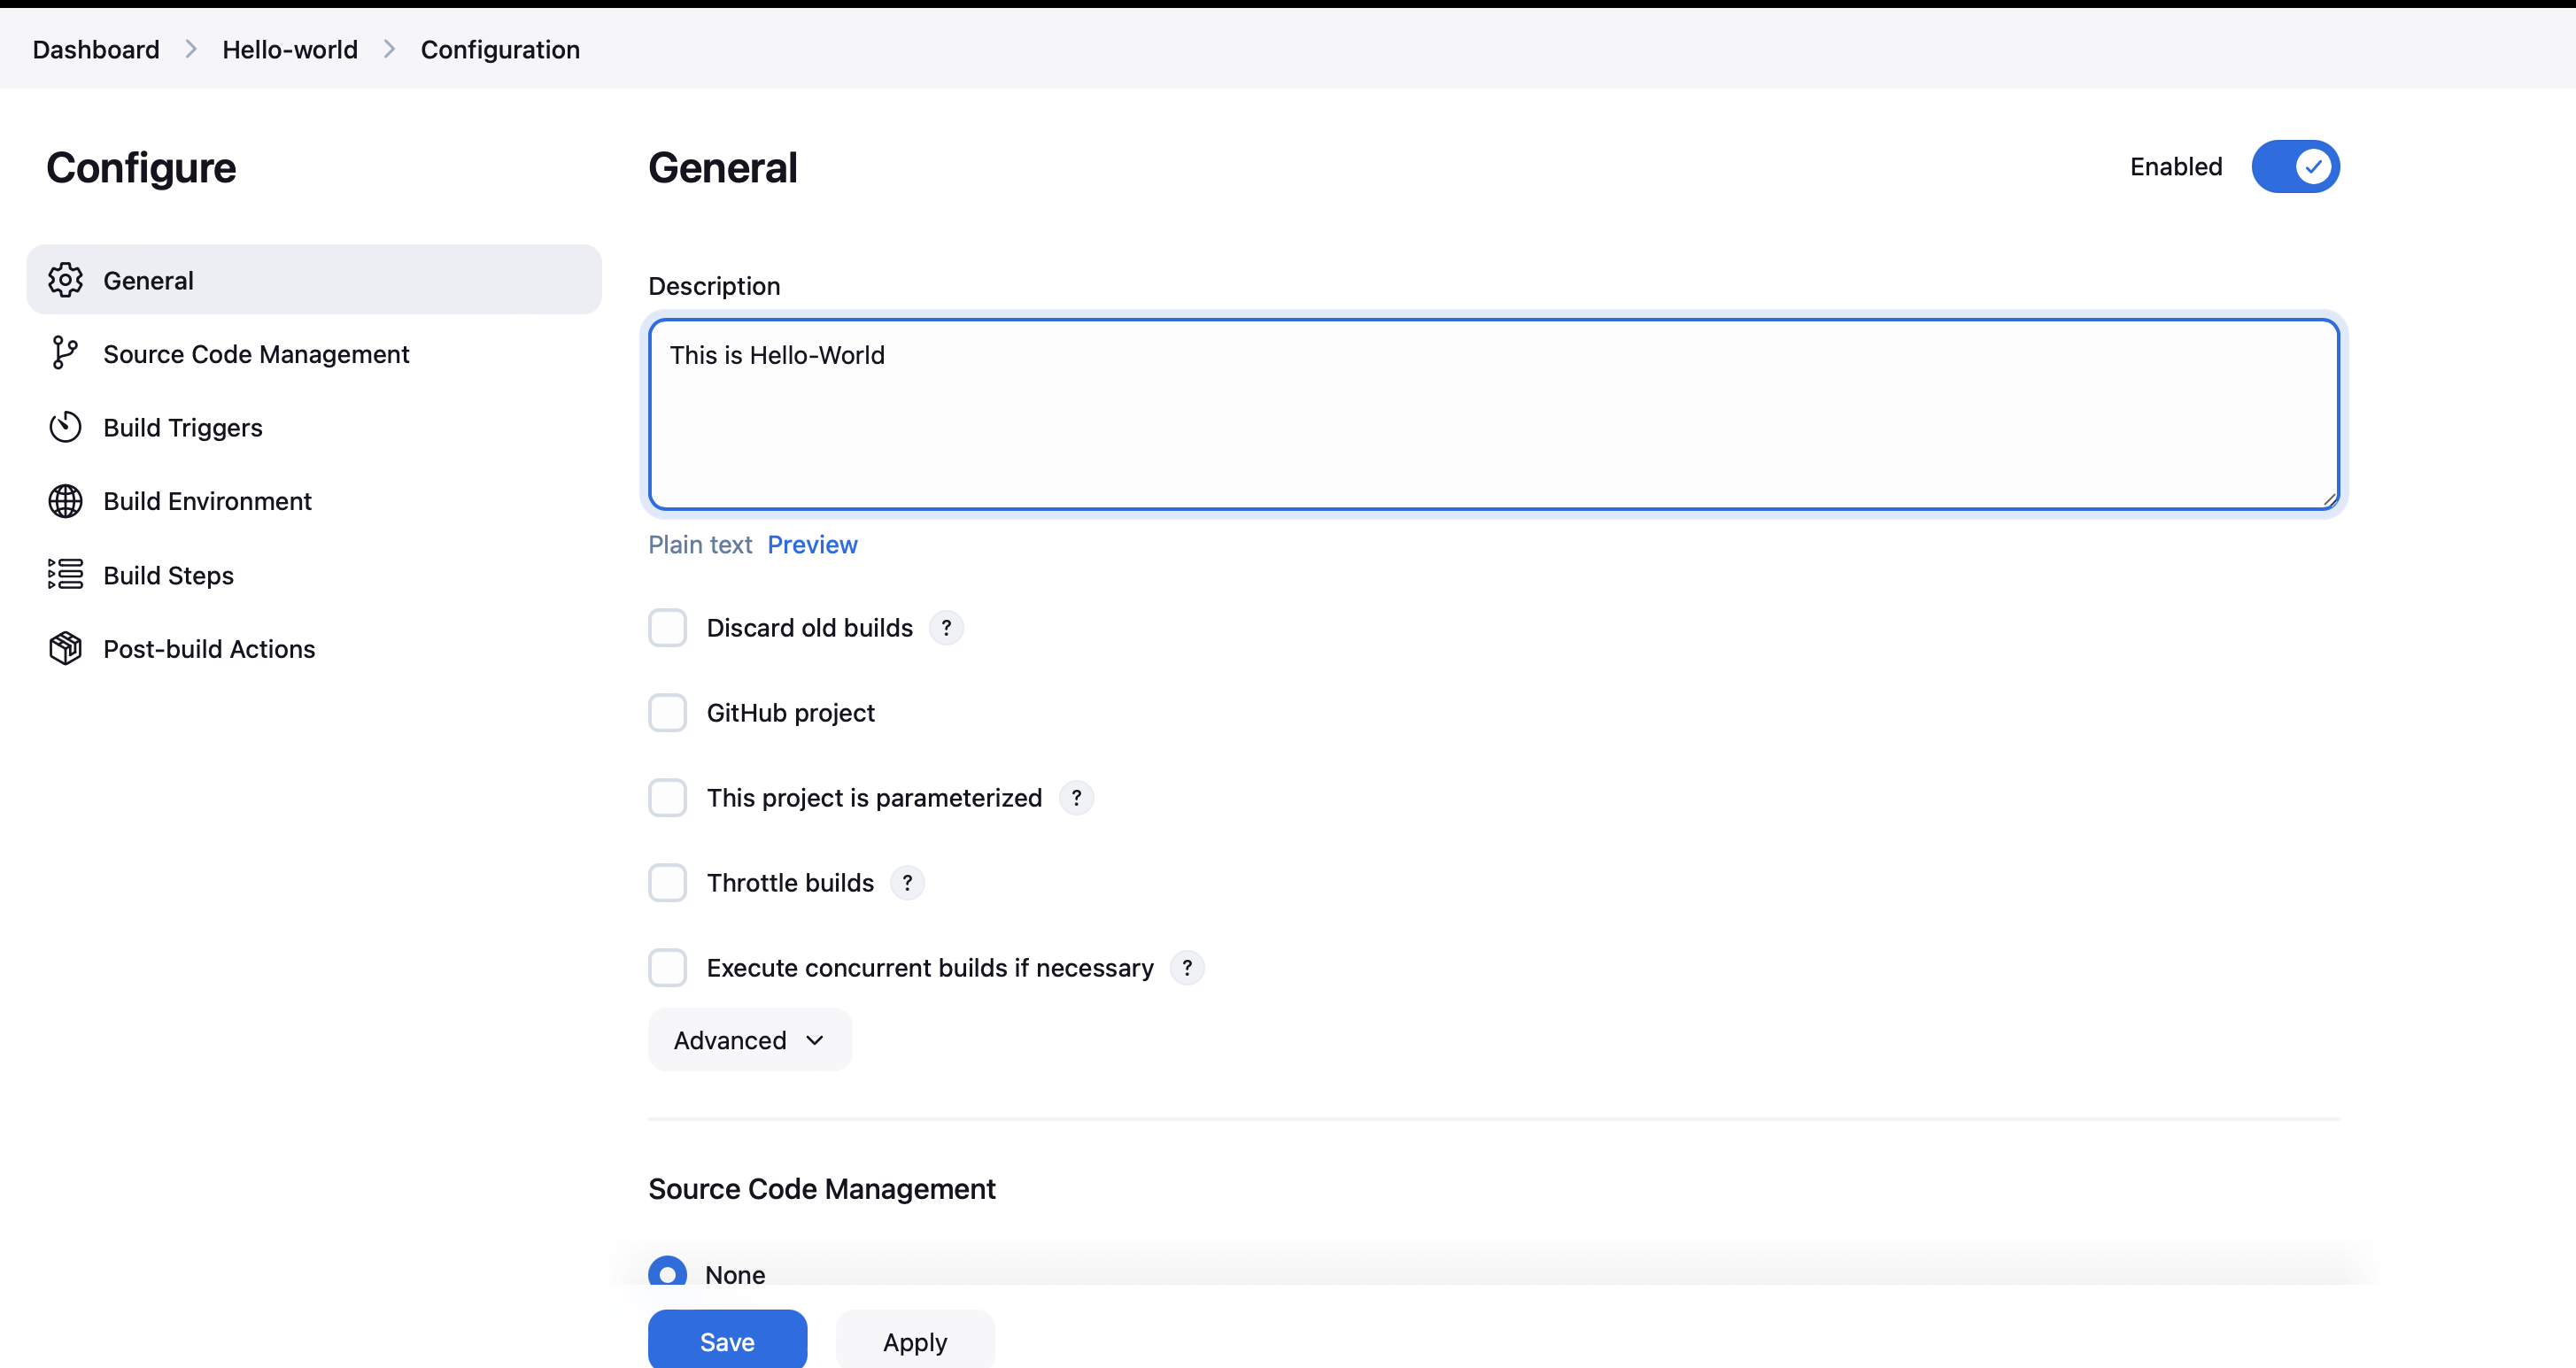
- Step 4: Now, you have to provide which source code management tool you are using since here we are not using anyone so will choose the ‘none’ option.
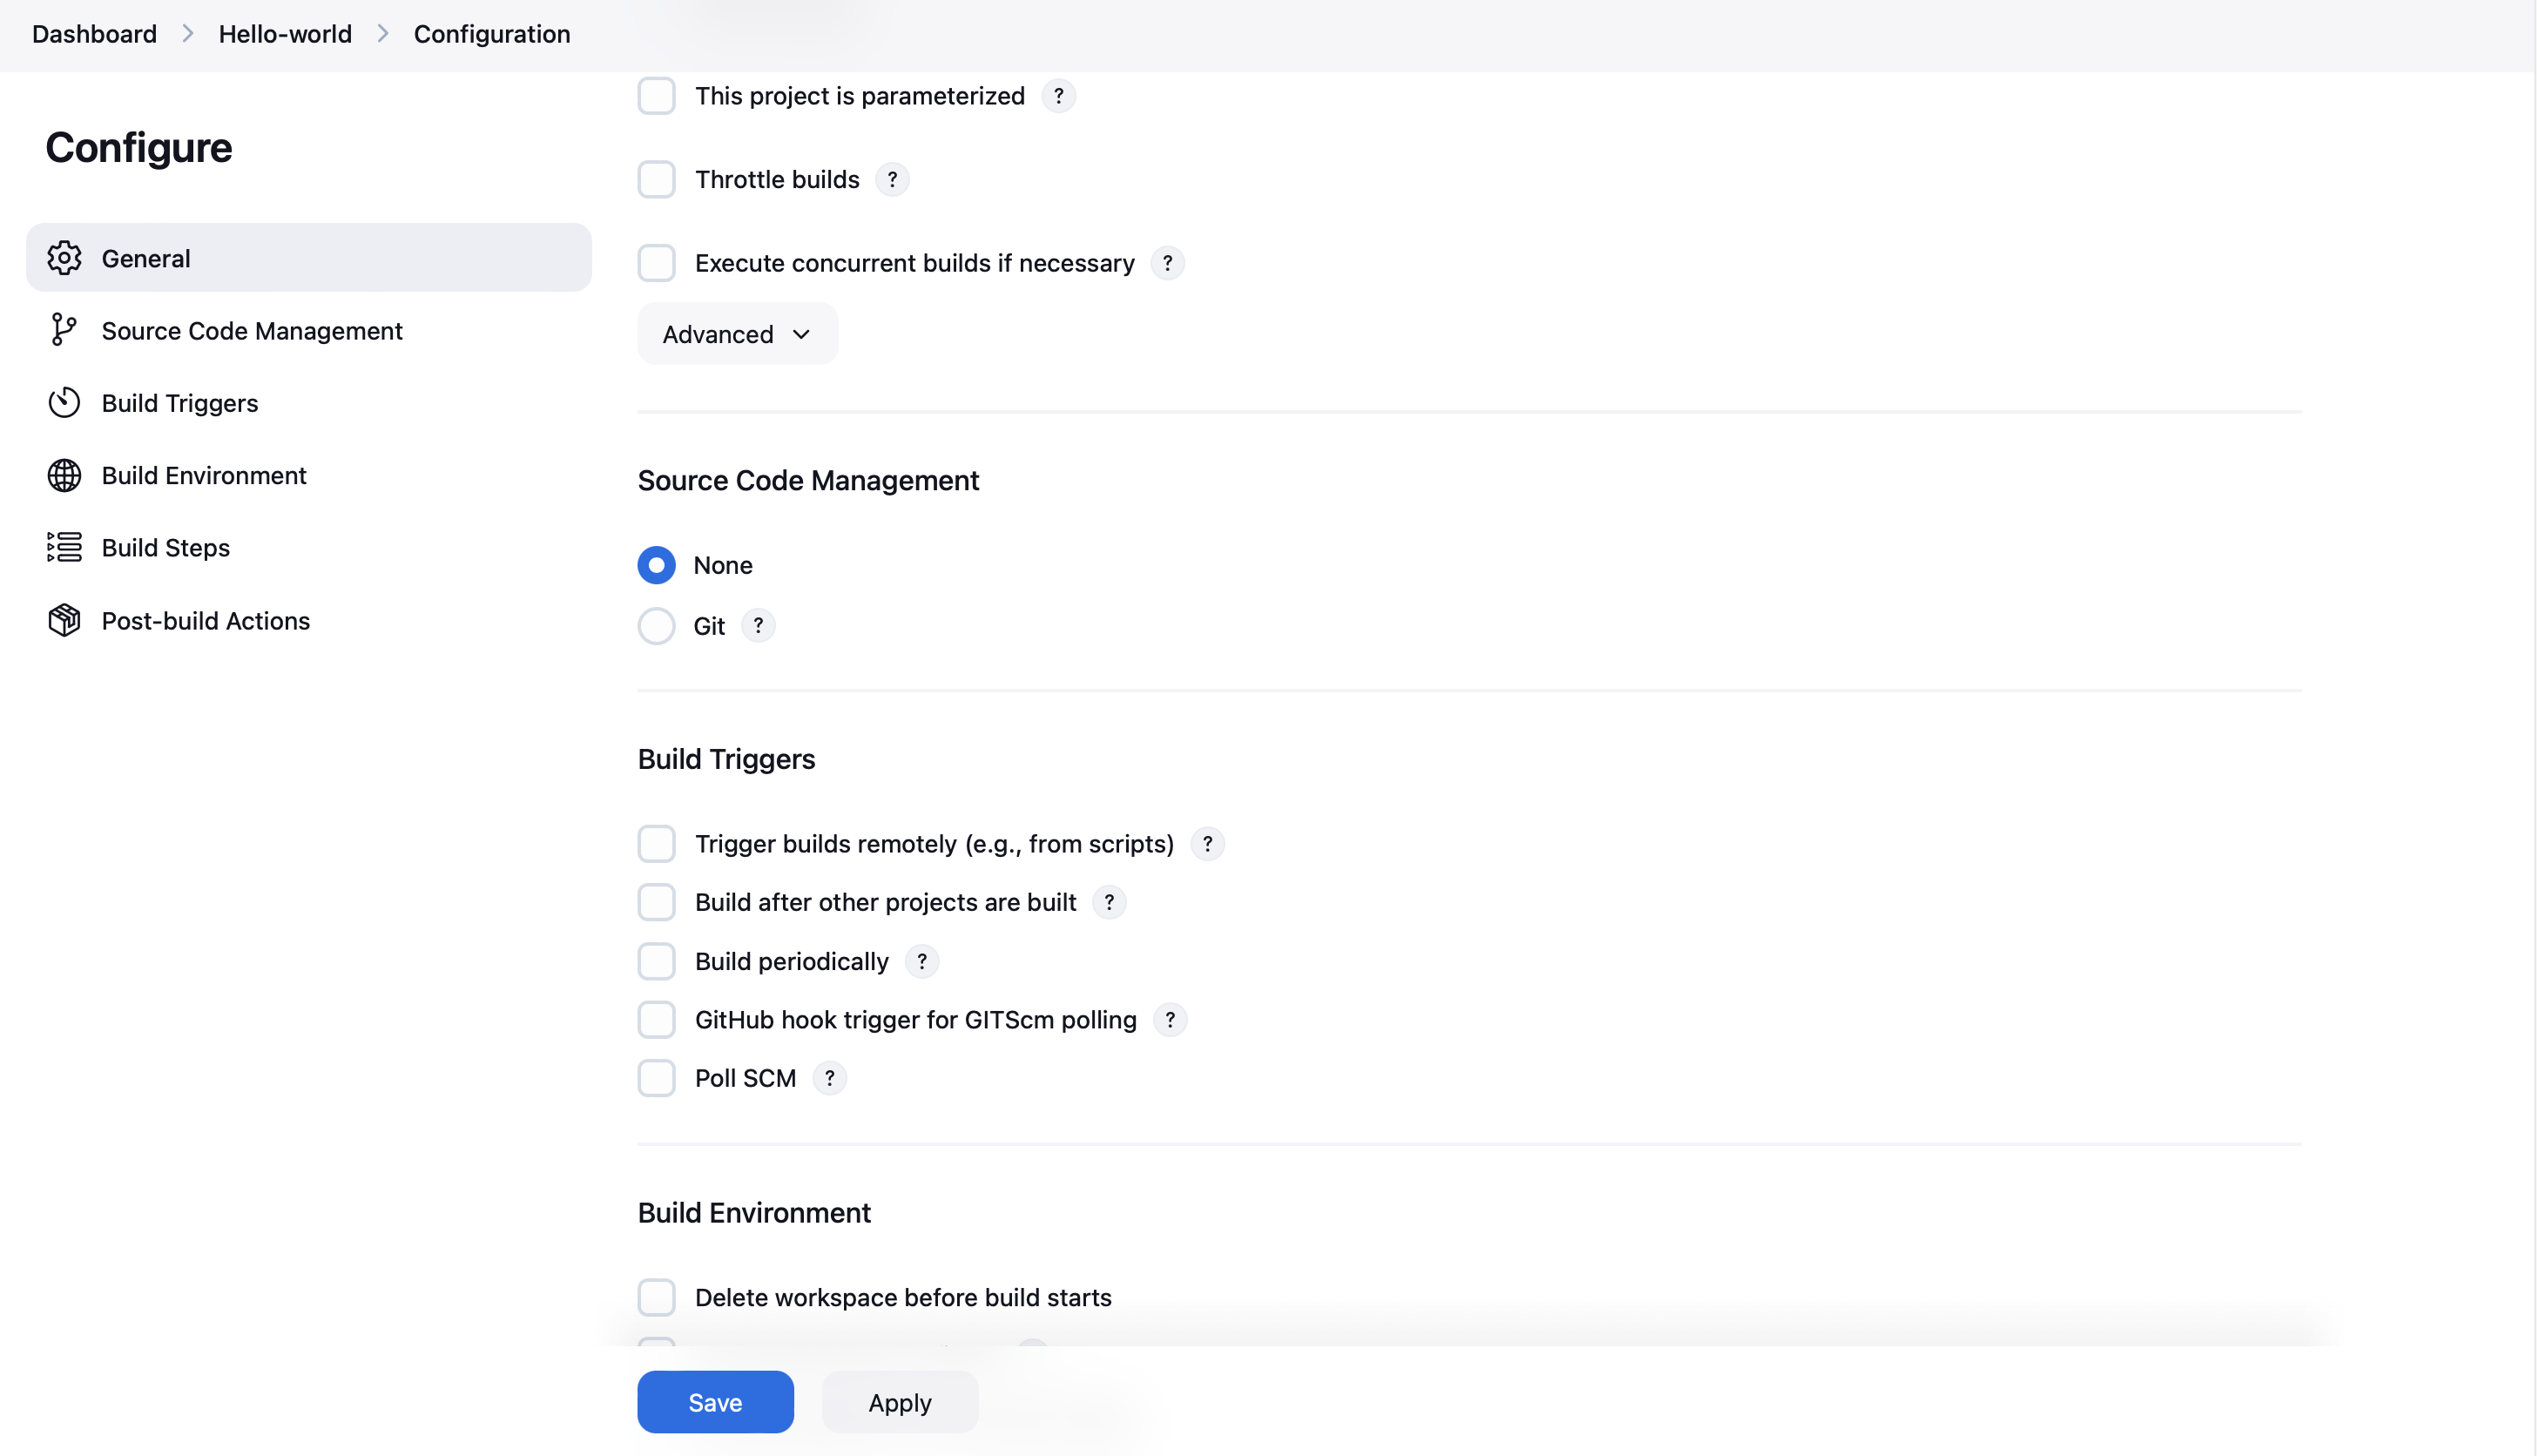
Step 5: After this, if you want to give some triggers then you can choose accordingly even Jenkins provides us scheduled triggers. And you can choose to build an environment also accordingly. But, here we are making a simple job, so we are not using any triggers and build environment options.
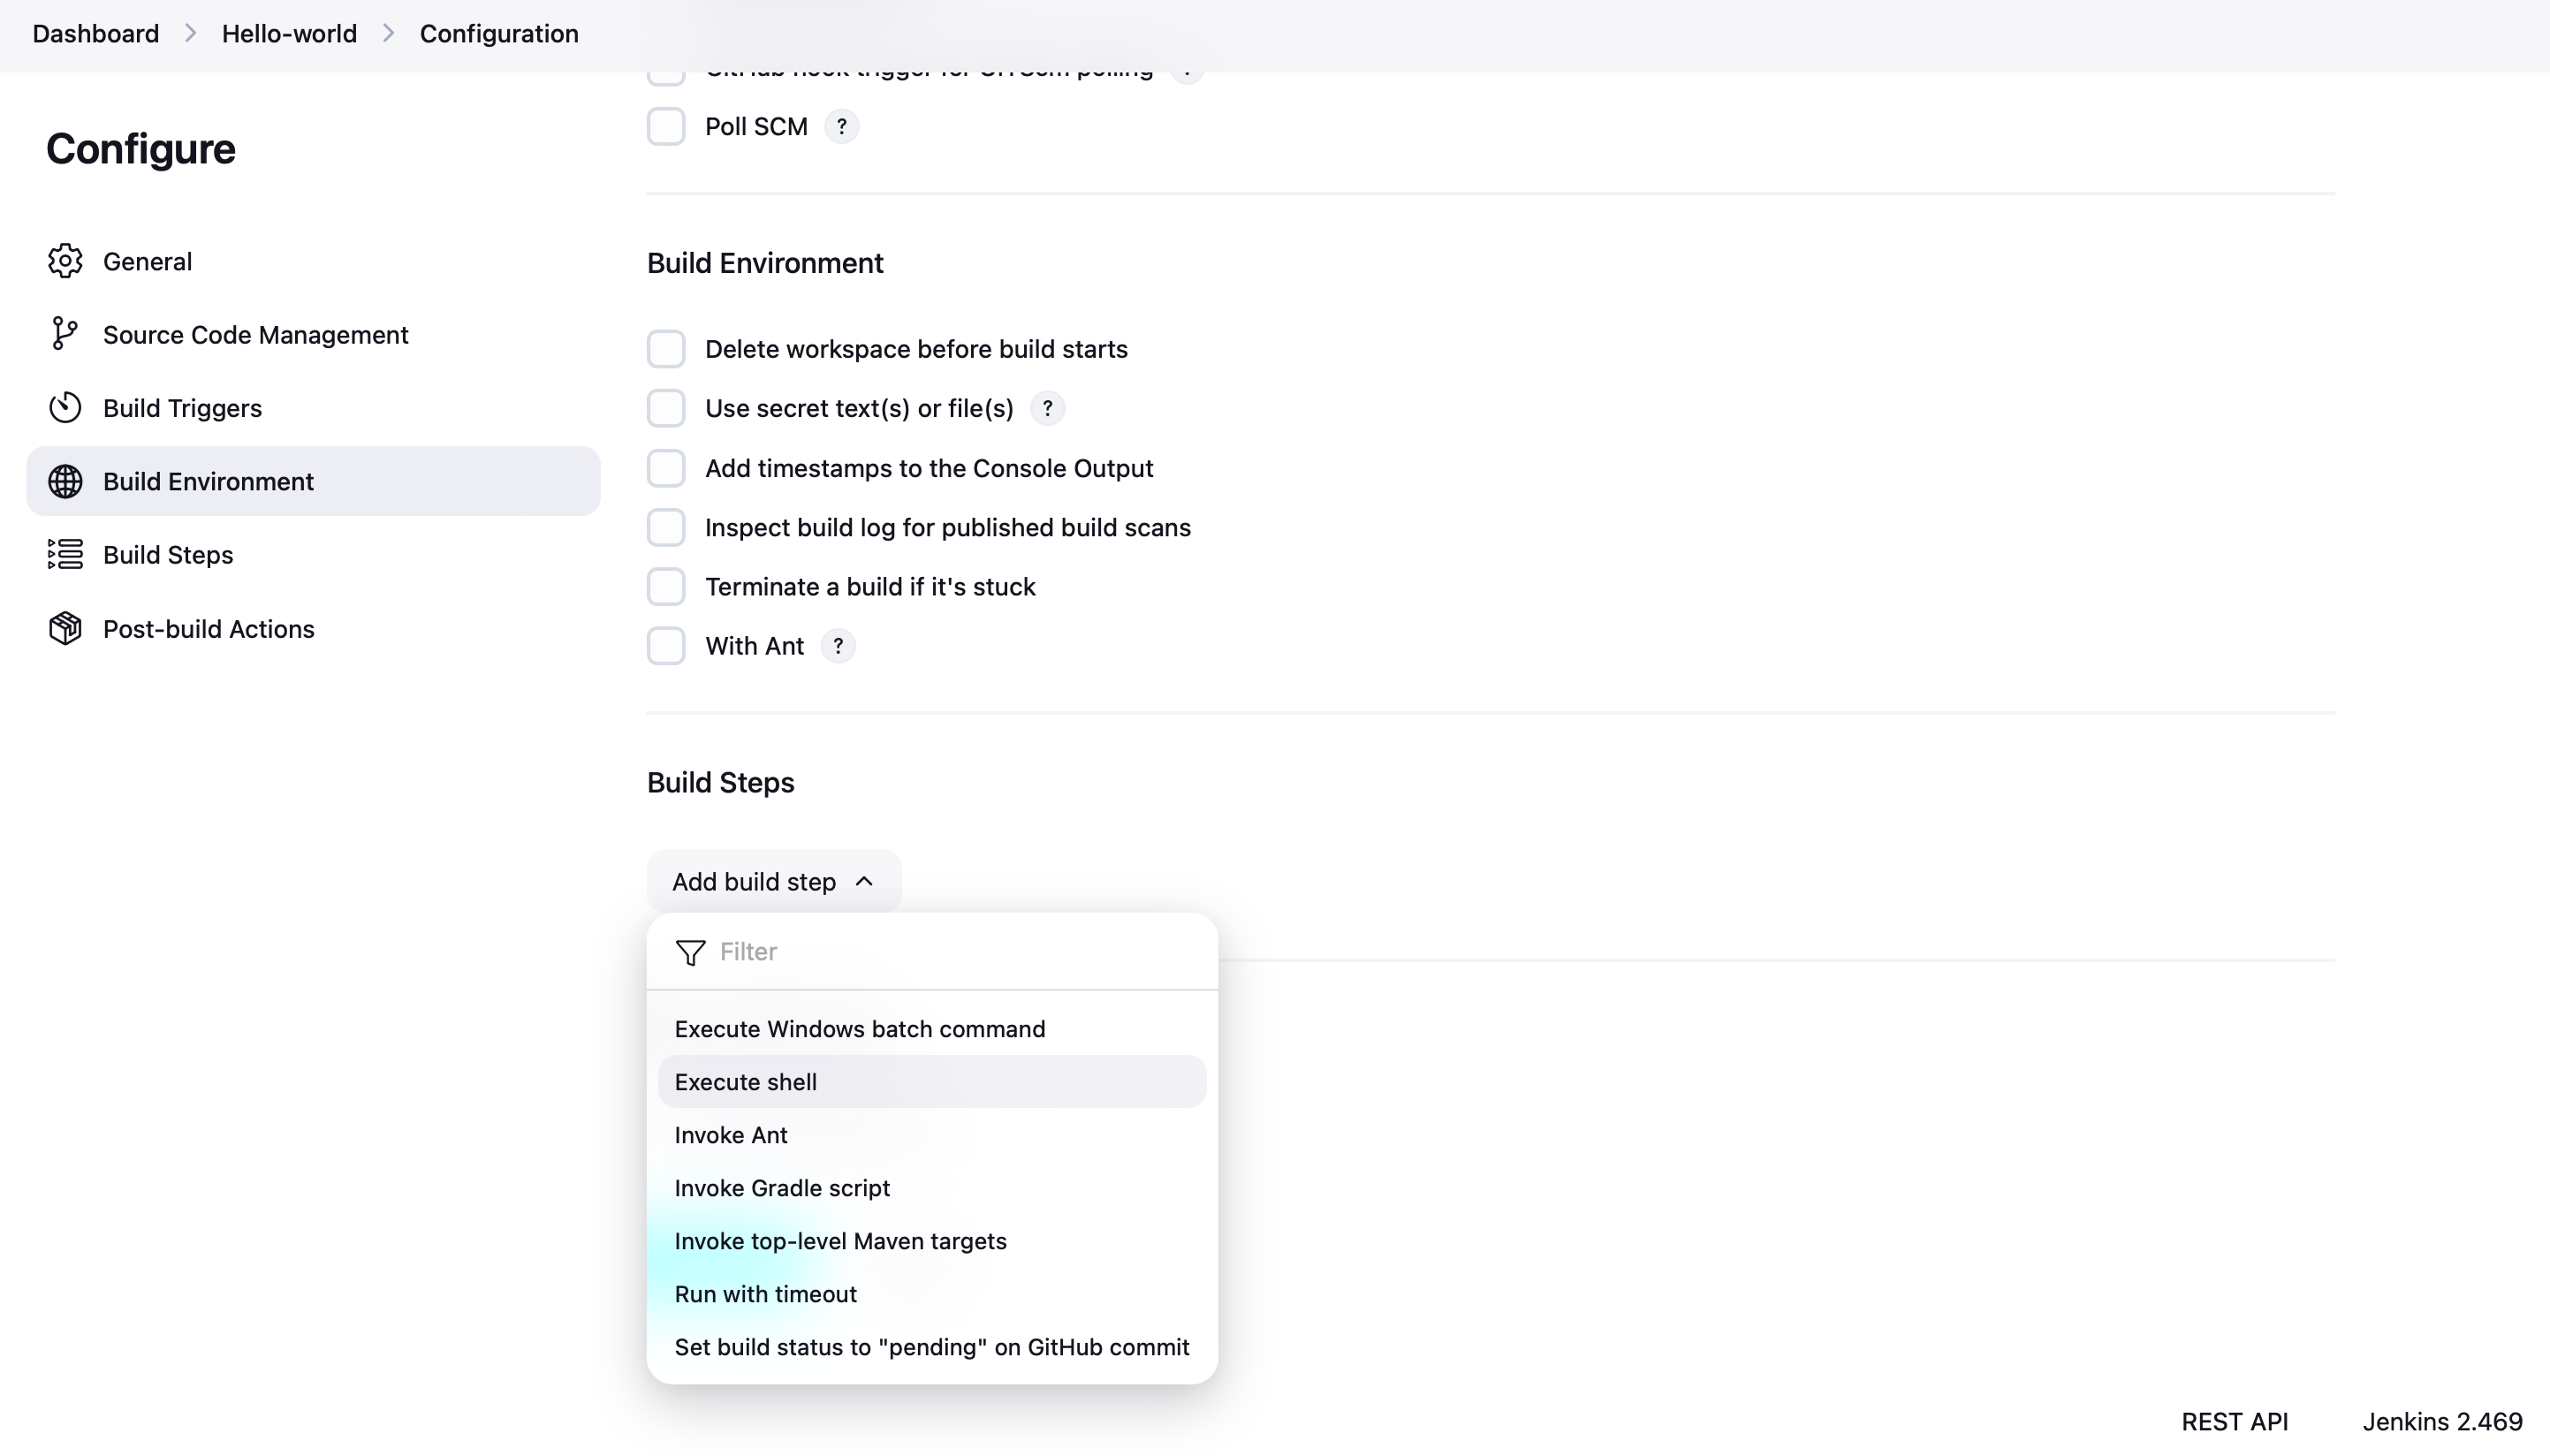
Step 6: In the build section we have an option ‘Execute shell’ by which we can write some command or code.
echo "Hello friends this is my jenkins demo: %date : %time"
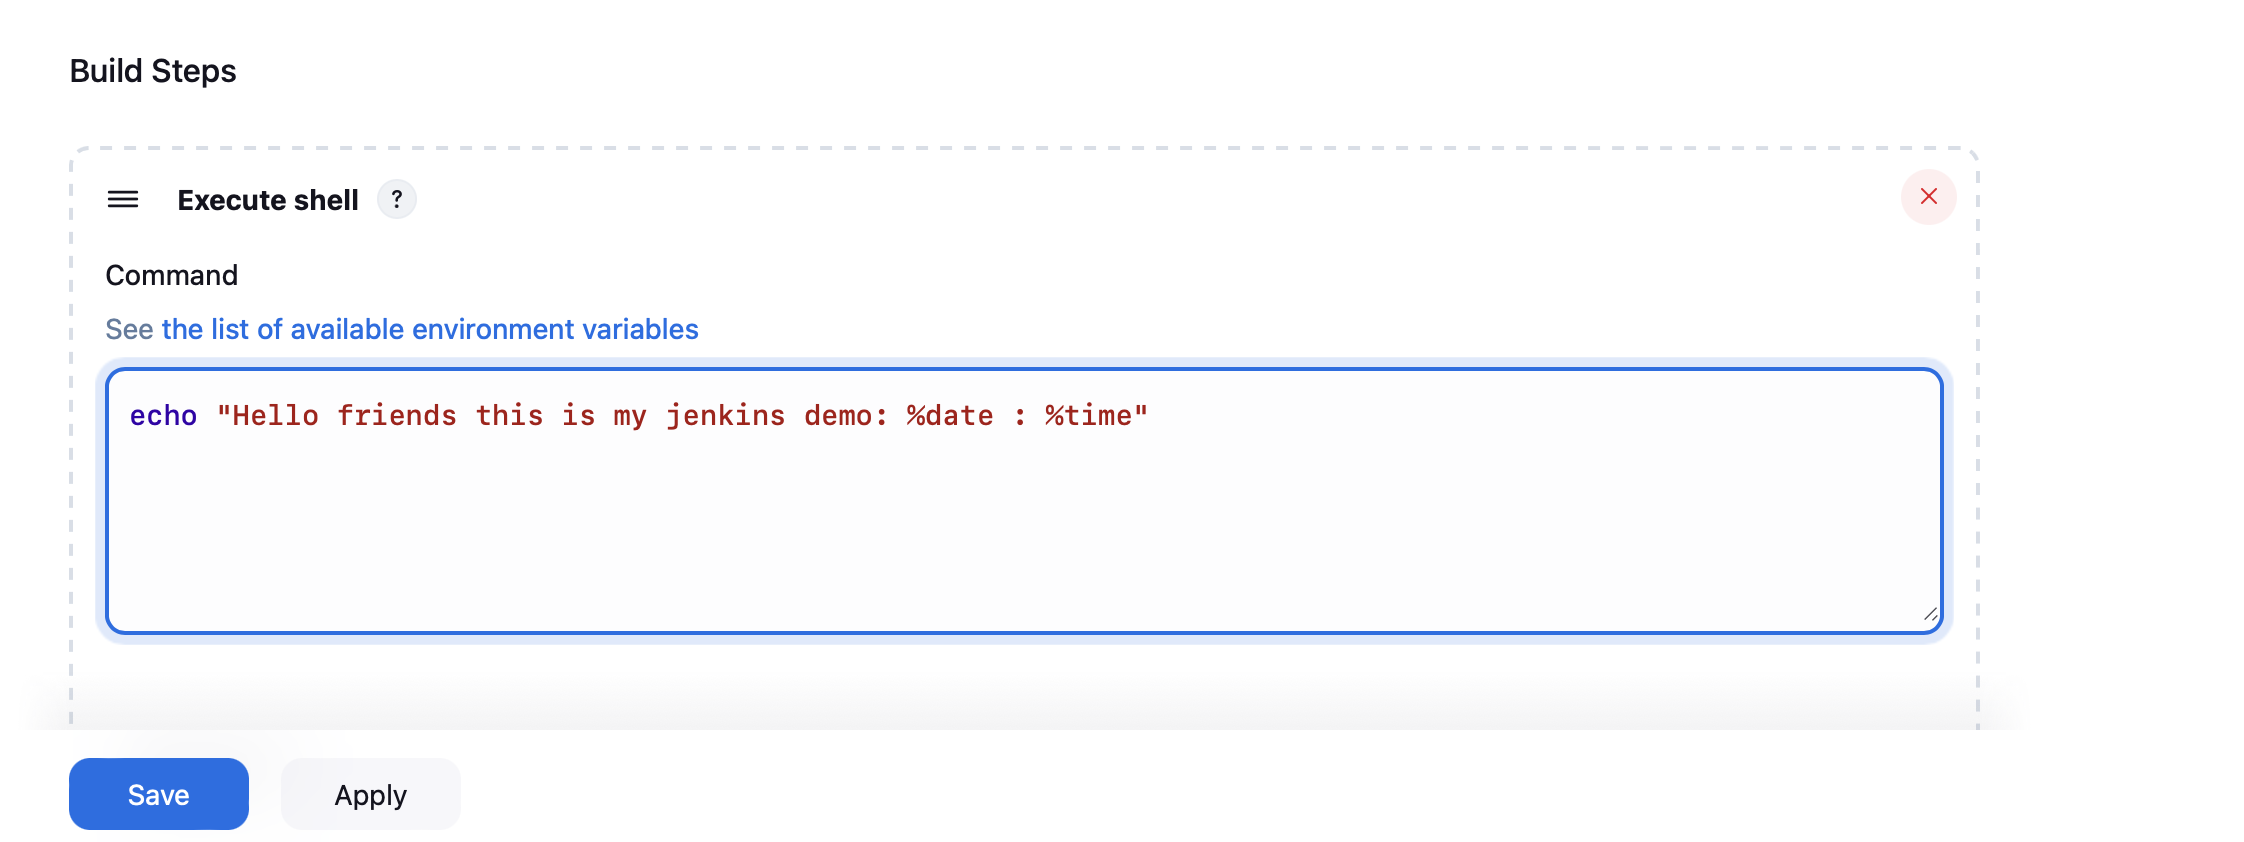
Then click apply and save. So, your job is created.
- Step 7: Now, we will run it for which click the ‘build now’ option and a building history will be created then click on it.


Subscribe to my newsletter
Read articles from Pooja Bhavani directly inside your inbox. Subscribe to the newsletter, and don't miss out.
Written by
