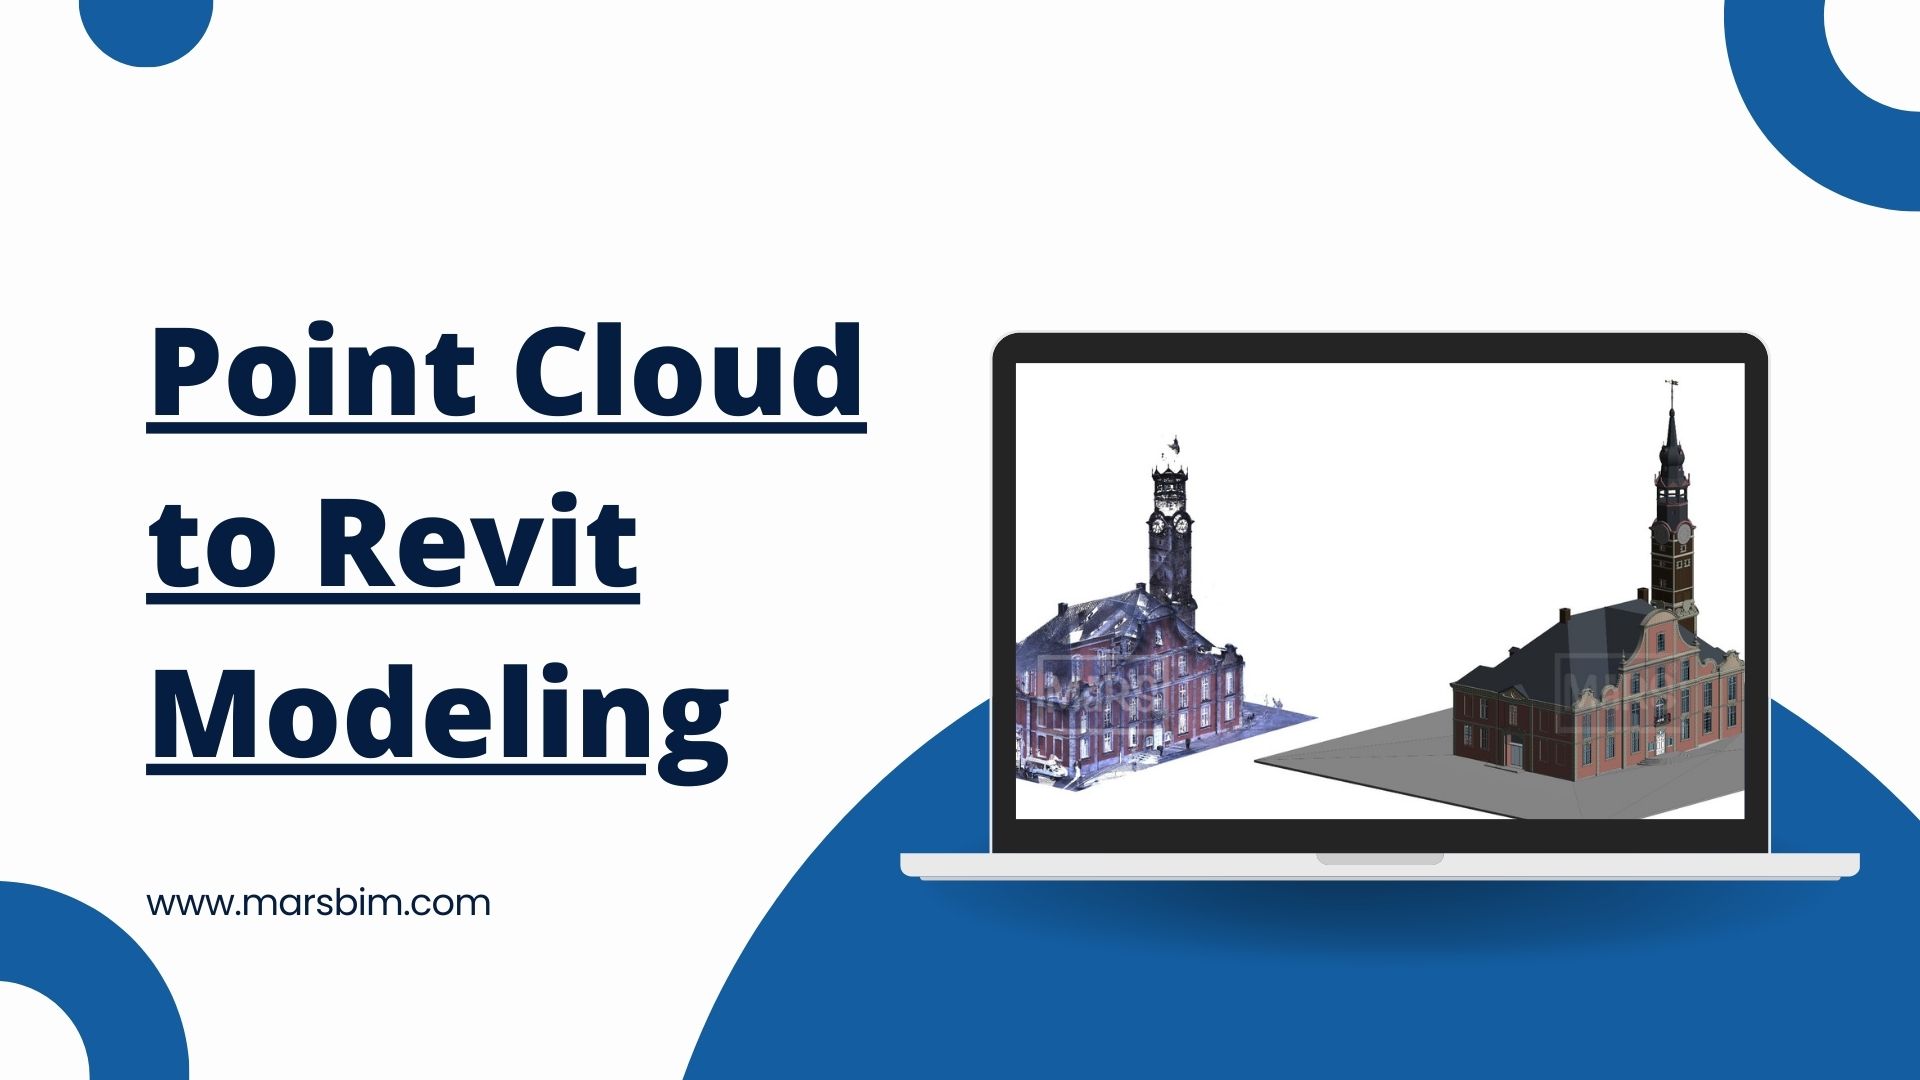
Quick and Easy Guide to Point Cloud Modeling in Revit
 Diane Jones
Introduction
In the fast-paced world of architecture and construction, having the ability to quickly and accurately convert point cloud data into Revit models can significantly enhance project efficiency and precision. Point cloud modeling in Revit is a game-changer for creating detailed 3D representations of existing structures, whether for renovations, new constructions, or facility management. This blog offers a Point Cloud to Revit Modeling Quick Guide to help you navigate the process with ease and speed.
What is Point Cloud Data?
Point cloud data is generated from 3D laser scans or photogrammetry, capturing millions of data points that represent the surfaces of objects or environments. This data provides a highly accurate and detailed 3D snapshot of existing conditions, which can be incredibly useful for various stages of design and construction.
Why Use Point Cloud Data in Revit?
Integrating point cloud data into Revit offers numerous advantages:
High Precision: Ensures that models reflect real-world conditions with remarkable accuracy.
Enhanced Efficiency: Minimizes the need for manual measurements and adjustments.
Improved Visualization: Provides a clear, 3D view of existing conditions, aiding in better project planning and design.
Better Coordination: Facilitates coordination among various stakeholders by providing a unified and detailed reference model.
Quick and Easy Guide to Point Cloud Modeling in Revit
Prepare Your Point Cloud Data
Before importing point cloud data into Revit, ensure it is properly prepared:
Clean the Data: Use point cloud processing software to remove any noise or irrelevant points from the dataset. This step helps in creating a cleaner and more usable point cloud.
Segment the Data: Divide the point cloud into smaller, manageable sections if dealing with large or complex datasets. This makes it easier to work with.
Convert the File: Save the point cloud data in a Revit-compatible format, such as .rcp (Revit Cloud Project) or .rcs (Revit Cloud Storage).
Import Point Cloud Data into Revit
Importing point cloud data into Revit is straightforward:
Open Revit: Start a new project or open an existing one where you want to include the point cloud data.
Navigate to Insert Tab: Go to the "Insert" tab on the ribbon.
Select Point Cloud: Click on "Point Cloud" to start the import process.
Choose Your File: Browse and select the prepared point cloud file (.rcp or .rcs).
Position the Data: Choose the appropriate positioning option to align the point cloud with your Revit project. Options include Auto - Center to Center or Auto - Origin to Origin, depending on your needs.
Create Your Revit Model
With the point cloud data imported, you can start building your Revit model:
Reference the Point Cloud: Use the point cloud as a reference to model architectural elements like walls, floors, and ceilings.
Snap to Points: Utilize Revit’s snapping tools to ensure elements align precisely with the point cloud data. This helps in achieving accurate placement.
Define Levels and Grids: Establish levels and grids in your Revit model to organize and align your model components effectively.
Refine and Detail Your Model
After creating the initial model, refine and detail it:
Add Details: Incorporate additional details such as windows, doors, and fixtures to complete the model.
Make Adjustments: Fine-tune the model by making necessary adjustments to better align with the point cloud data.
Validate Accuracy: Regularly compare the Revit model with the point cloud data to ensure accuracy and make corrections as needed.
Perform Quality Control
To ensure your model meets project requirements, implement a quality control process:
Cross-Check Data: Continuously cross-reference the model with the point cloud data to identify and correct any discrepancies.
Collaborate: Work with other team members to review the model and ensure it aligns with all project specifications and standards.
Best Practices for Point Cloud Modeling in Revit
Stay Updated: Keep up with the latest advancements in point cloud processing and Revit features to improve your modeling capabilities.
Train and Practice: Invest time in learning and practicing point cloud modeling techniques to enhance your efficiency and accuracy.
Document Your Process: Maintain clear documentation of your modeling process and any adjustments made for future reference and project continuity.
Conclusion
Converting point cloud data into Revit models doesn’t have to be a complex or time-consuming task. With this Point Cloud to Revit Modeling Quick Guide, you have a streamlined approach to efficiently transform point cloud data into detailed Revit models. By following these steps and best practices, you can enhance your project accuracy, speed up your workflows, and achieve better project outcomes.
Subscribe to my newsletter
Read articles from Diane Jones directly inside your inbox. Subscribe to the newsletter, and don't miss out.
Written by

Diane Jones
Diane Jones
Diane jones is a BIM manager who is a natural leader and has great analytical skills. She act as collaborators between the clients’ team, design team, contractor team and supply chain. She has vast knowledge of BIM Services. As a BIM Manager, she can handle the production of project information models which contain 3D visualisations that bring together data, drawings and schedules associated with the design and construction phase of a project.