The First Step to Clean Code - using a linter
 Ayushman Sachan
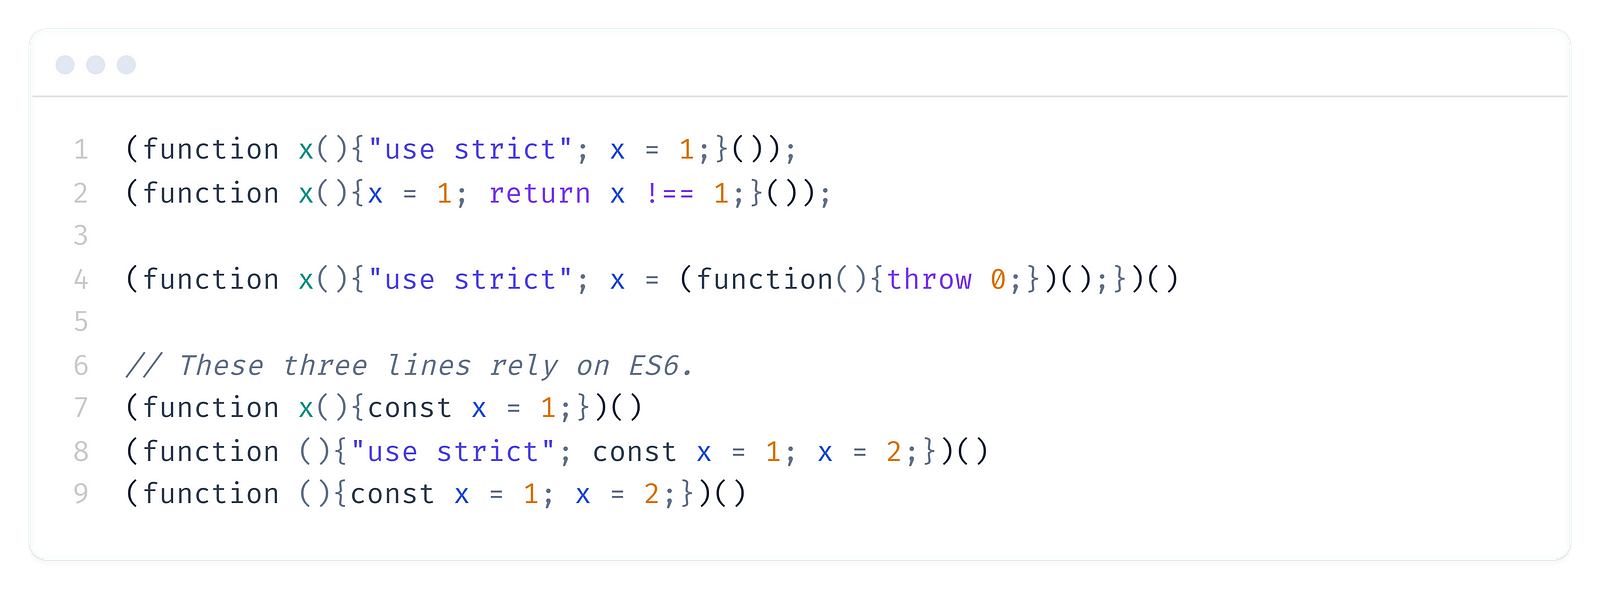
Have you ever come across code that looked like this?

And wished that you hadn’t decided to become a Software Developer? Well, that’s what happens when you work on a project where no one bothers to setup basic development tools like a linter. So let’s take the first steps, and setup ESLint on a modern React project, bootstrapped with Vite. My editor for choice for this tutorial will be Visual Studio Code.
Okay, I lied. The first step to write better code — is to use TypeScript. It implements strict type checking, which enforces a developer to write code that is more maintainable and ultimately less error prone. However, type checking alone can't accomplish much when it comes to code readability. What we need for that, is a comprehensive and opinionated set of formatting rules that we can check our code against. Thankfully, ESLint has been around for some time now, and it is quite configurable when it comes to all kinds of linting rules.
Setting up dependencies
Using the @eslint/config utility package
The ESLint team provides a very handy initialisation package that you can use for quickly setting up a modern ESLint config with necessary dependencies — @eslint/config. To use it, run
npm init @eslint/config@latest
It will ask a few questions about your project, and then install the necessary packages according to your requirements. Using this utility will also create an eslint.config.js file for you. These are the packages it auto-installs for a TypeScript + React project.
eslint — the base package, required for enabling linting
@eslint/js — utility package for JavaScript specific functionality of ESLint
eslint-plugin-react — ESLint plugin for React rules
typescript-eslint — TypeScript support for ESLint
globals — Package for identifying different JavaScript environments and their globals
Once the script finishes execution, your eslint.config.js should be looking something like this —
import pluginJs from "@eslint/js";
import pluginReact from "eslint-plugin-react";
import globals from "globals";
import tseslint from "typescript-eslint";

export default [
  { files: ["**/*.{js,mjs,cjs,ts,jsx,tsx}"] },
  { languageOptions: { globals: globals.browser } },
  pluginJs.configs.recommended,
  ...tseslint.configs.recommended,
  pluginReact.configs.flat.recommended,
];
Manual Setup
You can also manually install the same packages, and create an eslint.config.js yourself. Copy the contents from the above snippet into the file.
If you are upgrading your ESLint to v9.0.0 or above, read more about migrating from the older typescript-eslint setup here.
npm install --save-dev eslint@^9.0.0 @eslint/js eslint-plugin-react globals

# for use with TypeScript
npm install --save-dev typescript-eslint
Configuring ESLint
With these packages installed, we can now move on to configuring ESLint. If you have created a project with Vite, chances are that it created an ESLint config for you, named .eslintrc.cjs, which you can safely remove, in favour of the new "flat config". You can read more about it in this ESLint blog post.
If your project does not specify "type":"module" in its package.json file, then eslint.config.js must be in CommonJS format.
What are configs and plugins?
Before moving on to adding some rules to the config, let's run the linter with the recommended rules that it has provided for us. Make sure your lint script in package.json does not have the --ext flag in it, since that has been deprecated in the newer version of ESLint.
npm run lint
This will run ESLint on your source code, and output a bunch of warnings and/or errors. Wait, do you see too many of these errors?
error 'React' must be in scope when using JSX
In modern React, we do not need to import React to use JSX in our code. So why is ESLint complaining? It's because the "recommended" config of eslint-plugin-react flags it as an error. Instead, we want to extend the jsx-runtime config. Change the line to use jsx-runtime like so —
// imports

export default [
  { files: ["**/*.{js,mjs,cjs,ts,jsx,tsx}"] },
  { languageOptions: { globals: globals.browser } },
  pluginJs.configs.recommended,
  ...tseslint.configs.recommended,
  pluginReact.configs.flat['jsx-runtime'],
];
Ignore files
You might notice that ESLint is also linting files from the dist or coverage folder right now, and we don't want that. In your eslint.config.js file, if an ignores key is used without any other keys in the configuration object, then the patterns act as global ignores. It looks something like this —
// imports

export default [
  {
    ignores: [
      'coverage',
      'dist',
      '.eslintrc.cjs',
      'vite.config.ts',
      'vitest.config.ts',
    ],
  },
  // other configs
];
Adding rules
You can completely customise our config by adding or removing rules, even adjusting their severity. You can also insert rules from plugins, for example, if we don't want to use the recommended configurations that they provide (this requires specifying the plugin under the plugins key). To configure a rule that is defined within a plugin, prefix the rule ID with the plugin namespace and / —
// imports

export default [
  // ignores
  // other configs
  {
    plugins: {
      '@typescript-eslint': tseslint.plugin,
    },
    rules: {
      // this rule is made available from the @typescript-eslint plugin
      '@typescript-eslint/naming-convention': [
        'error',
        {
          selector: ['parameter', 'variable'],
          leadingUnderscore: 'require',
          format: ['camelCase'],
          modifiers: ['unused'],
        },
        {
          selector: ['parameter', 'variable'],
          leadingUnderscore: 'allowDouble',
          format: ['camelCase', 'PascalCase', 'UPPER_CASE'],
        },
      ],
    }
  }
];
ESLint Auto Fix
ESLint provides an auto-fix feature that can automatically fix some issues regarding formatting of your code. You can use it by enabling the --fix flag in your package.json lint script —
// ...
// other scripts
"lint": "eslint . --report-unused-disable-directives --max-warnings 0",
"lint:fix": "eslint . --report-unused-disable-directives --max-warnings 0 --fix",
// ...
Setup ESLint VSCode extension
For a better developer experience, we will also be installing the official ESLint extension for VSCode. Once it is installed, it will look for eslint.config.js in your project and provide real time linting errors and warnings in your editor. To use the auto-fix feature in the GUI, we'll enable it in VSCode settings. Add these lines to your VSCode user or workspace (project specific) settings —
  "editor.codeActionsOnSave": {
    "source.addMissingImports.ts": "explicit",
    "source.organizeImports": "explicit",
    "source.fixAll.eslint": "explicit"
  },
  "editor.formatOnSave": true,
  "eslint.format.enable": true,
  "eslint.useFlatConfig": true,
ESLint should now be available as a formatter for supported filetypes, and will automatically lint and fix some problems when you save the file.
Using older eslintrc configs in flat configs
For backwards compatibility, ESLint provides the FlatCompat utility through the @eslint/eslintrc package. We'll be using a popular eslintrc config from the Airbnb team for this example that is used in many React projects. However, you may want to use a different config, or build your own — it depends on how large of a project you're working on, and ultimately personal preference.
npm install @eslint/eslintrc --save-dev
Next, we'll setup the compat object by mimicking CommonJS global variables. Add these lines just above your config export —
// other imports
import { FlatCompat } from "@eslint/eslintrc";
import path from "path";
import { fileURLToPath } from "url";

const __filename = fileURLToPath(import.meta.url);
const __dirname = path.dirname(__filename);

const compat = new FlatCompat({
  baseDirectory: __dirname, // optional; default: process.cwd()
  resolvePluginsRelativeTo: __dirname, // optional
});

// export default [...];
We can now use the airbnb config —
// ...

export default [
  // global ignores
  ...compat.extends("airbnb"),
  // ...
];
Conclusion
In conclusion, setting up a linter is not a choice for any modern project, it's a must. You should always strive to write clean code and tools like ESLint are used by the biggest and smallest projects all around for a reason.
However, remember that there's no such thing as clean code, but there's definitely ugly code, and you know it when you see it.
Subscribe to my newsletter
Read articles from Ayushman Sachan directly inside your inbox. Subscribe to the newsletter, and don't miss out.
Written by

Ayushman Sachan
Ayushman Sachan
I'm a software engineer from India with keen interest in building complex software systems. I specialise in building data-driven web user experiences. I like to write about tools and technologies that interest me.