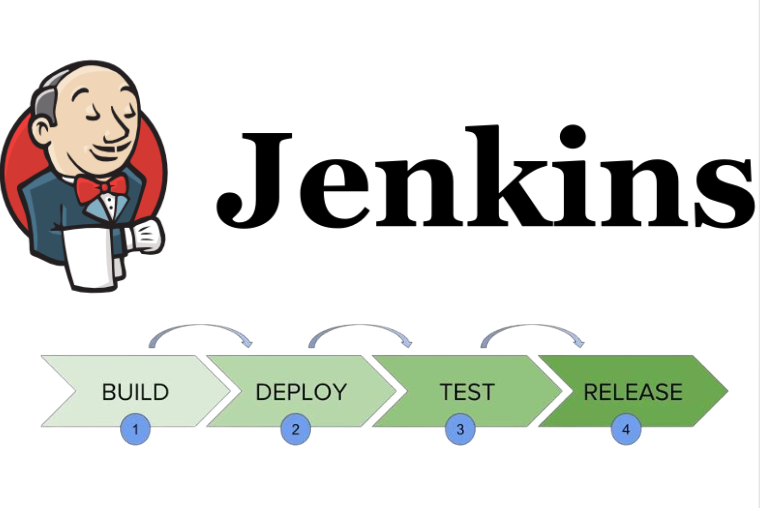
First Jenkins CI/CD Pipeline
 kalyan dahake
Continuous Integration and Continuous Deployment (CI/CD) are crucial practices for modern software development, ensuring that code changes are automatically built, tested, and deployed. In this blog, we'll walk you through setting up a secure SSH connection to a remote Jenkins agent and building your first CI/CD pipeline.
Prerequisites
Before we begin, ensure you have the following set up:
Java on Ubuntu: Jenkins requires Java to run. Make sure Java is installed on both the Jenkins server and the agent.
Jenkins Installation: Jenkins should be installed and running on your server.
Docker and Docker-Compose on Agents: Each Jenkins agent should have Docker and Docker-Compose installed for containerized builds and deployments.
Additionally, ensure that Jenkins and its agents are on different machines for security and performance reasons.
Step 1: Establishing a Secure SSH Connection
Generate SSH Keys
First, we need to establish a secure SSH connection to the remote host (deployment server) on your Jenkins server
generate an SSH key pair
ssh-keygen
Copy the Public Key to the Remote Host
Copy the content of the ~/.ssh/id_rsa.pub file and add it to the ~/.ssh/authorized_keys file on the remote host.
Test the SSH Connection
Test the SSH connection from the Jenkins server to the agent to ensure everything is set up correctly:
ssh username@host_ip
Step 2: Creating Jenkins Nodes
Now, we need to create nodes in Jenkins to connect to the remote servers where we want to deploy the code.
Open Jenkins in your web browser.
Navigate to Manage Jenkins > Manage Nodes and Clouds.
Click on New Node and provide a name for the node.
Choose Permanent Agent and click OK.
Fill in the required details, such as the remote root directory, labels, and usage.
Under the Launch method, select Launch agents via SSH.
Provide the necessary SSH credentials (username, private key) and the remote host's IP address.
Save the configuration and launch the node. Jenkins will now connect to the remote agent.
Step 3: Writing a Groovy Script for CI/CD Pipeline
With the nodes set up, it's time to create a CI/CD pipeline using a Groovy script. This script will define multiple stages such as cloning the code, building, testing, and deploying.
Here's a basic example of a Jenkins pipeline script:
pipeline {
    agent {
        node {
            label "dev"
        }
    }
    stages {
        stage( "Clone code" ) {
            steps {
                git url: "https://github.com/LondheShubham153/django-notes-app", branch: "main"
                echo "code clonning done"
            }
        }
        stage( "Build" ){
            steps {
                sh "docker build . -t notes-app-jenkins:latest"
                echo "docker img build is done"
            }
        }
        stage("Deploy"){
            steps {
                sh "docker compose up -d"
                echo "Container is Deployed !!"
            }
        }
    }
}
Explanation
Agent: Specifies that the pipeline can run on any available agent ( Nodes we have created for ).
Stages: Defines the various stages of the pipeline.
Clone Repository: Clones the Git repository.
Build: Runs the build command.
Deploy: Uses SSH to connect to the remote server and deploy the application using Docker-Compose.
Conclusion
Congratulations! You have successfully set up a secure SSH connection to a remote Jenkins agent and created your first CI/CD pipeline. This setup ensures that your code is automatically built and deployed, streamlining your development workflow. Happy coding!
Subscribe to my newsletter
Read articles from kalyan dahake directly inside your inbox. Subscribe to the newsletter, and don't miss out.
Written by

kalyan dahake
kalyan dahake
I'm building systems across industries, ensuring seamless software delivery. I manage everything from system design to deployment, driving operational excellence and client satisfaction.