Deploying Spring MVC Project on AWS EC2 using AWS RDS.
 Mohanish Khambadkar
Table of contents
- The steps to install an AWS project on AWS EC2 are as follows:
- 1. Launch the EC2 instance, install HTTPD and Start.
- 2. Install Apache Tomcat on EC2.
- 3. Install JAVA JDK on EC2.
- 4. Allow Traffic for Requests to server.
- 5. Start Tomcat using the ./startup.sh file.
- 6. Create AWS RDS and give connection in the Project.
- 7. Run Clean & Build to create {projectname}.war file of the project.
- 8. Send a file to AWS EC2 using commands.
- 9. Copy the file to the Tomcat path.
- 10. Opening a project in a browser using a public IP.
- Summary:
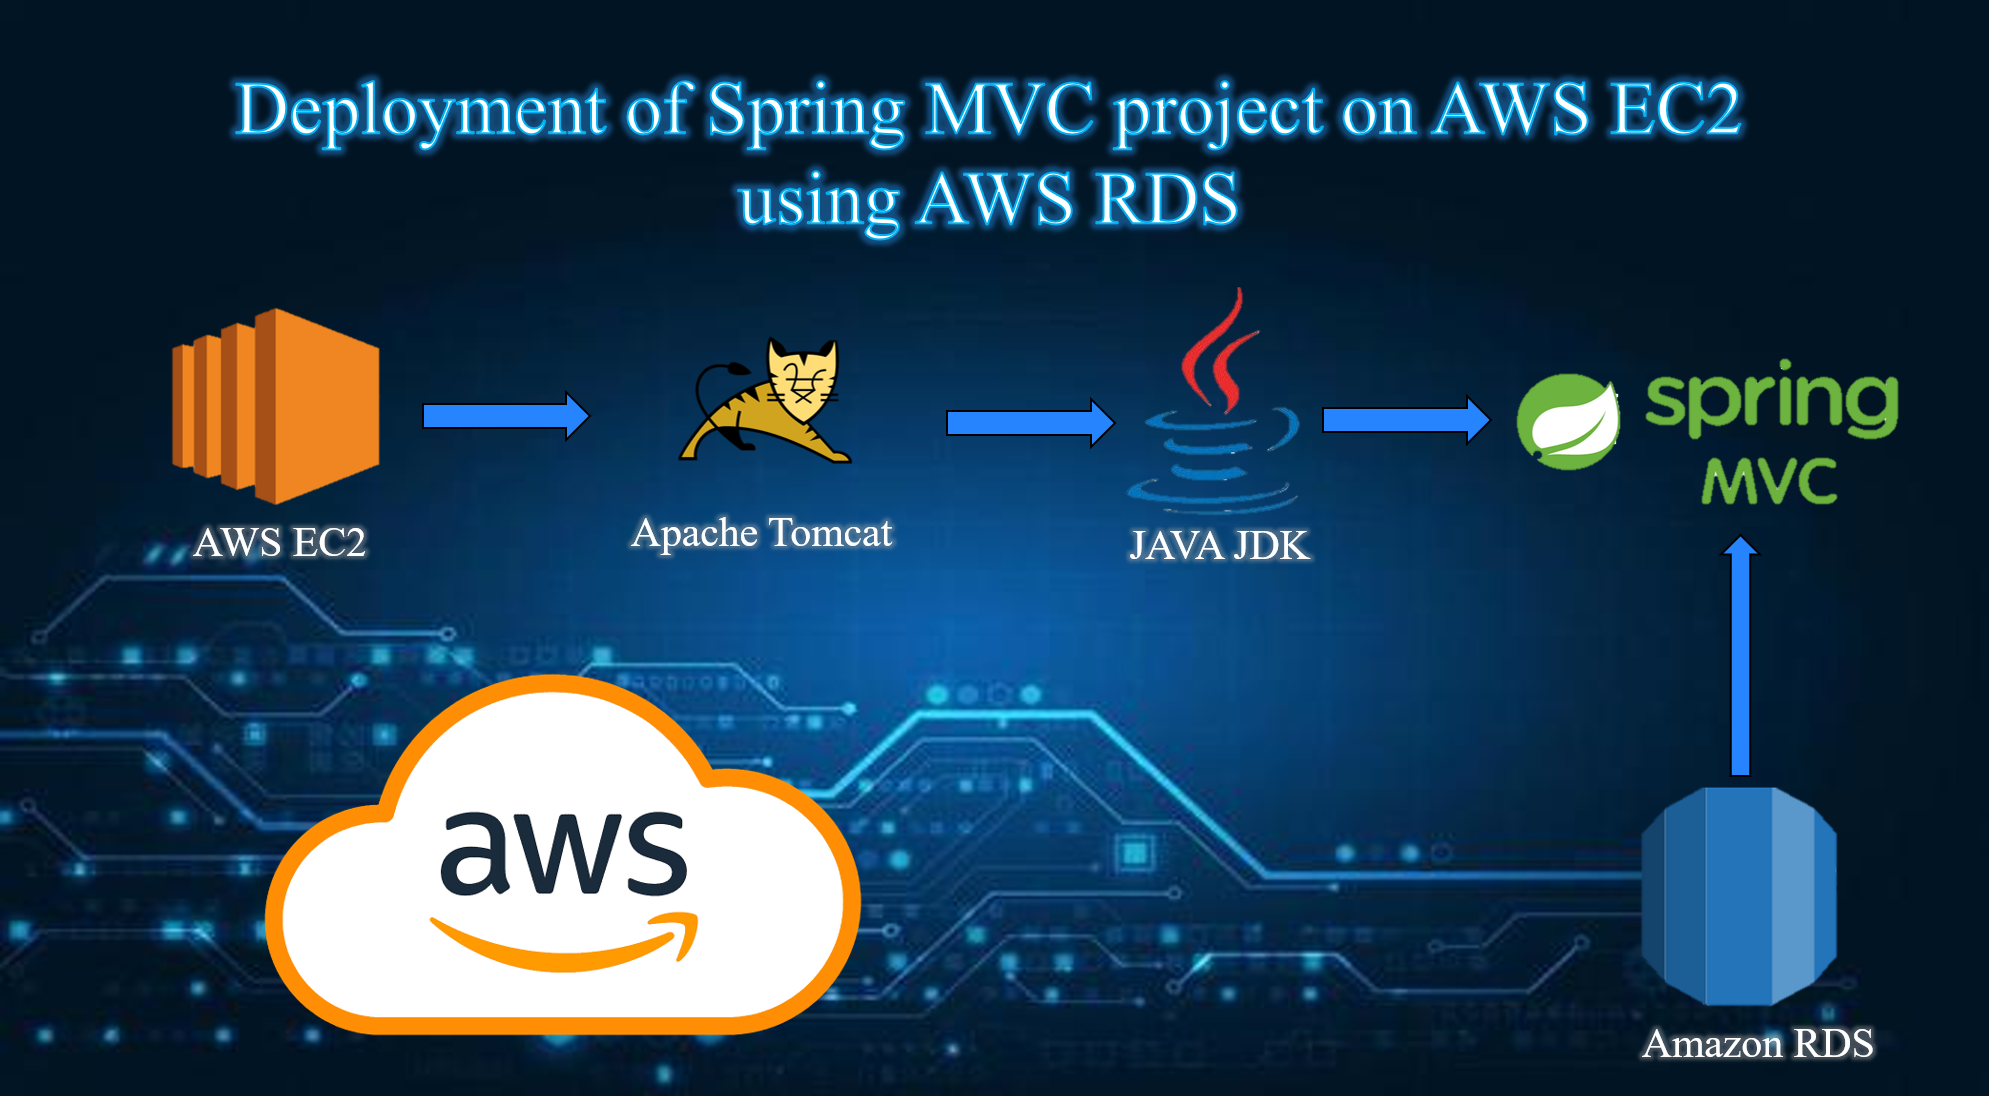
The steps to install an AWS project on AWS EC2 are as follows:
Launch an EC2 instance, install HTTPD, and start.
Install Apache Tomcat on EC2.
Install JAVA JDK on EC2.
Allow Traffic for the below requests:
Apache Tomcat: 8080
HTTPS -> 443
HTTP -> 80
Start Tomcat using the ./startup.sh file.
Create AWS RDS and give connection in Project.
Run Clean & Build to create {projectname}.war file of the project.
Send a file to AWS EC2 using commands.
Copy the file to the Tomcat path.
Opening a project in a browser using a public IP.
1. Launch the EC2 instance, install HTTPD and Start.
Create a normal EC2 instance of Amazon Linux OS machine.
After Launching EC2, connect it through the CLI using below command.
ssh -i {keypairname}.pem ec2-user@{publicip}

Install HTTPD and start the server.
  - sudo su
  - yum install httpd
  - service httpd start

2. Install Apache Tomcat on EC2.
- wget https://dlcdn.apache.org/tomcat/tomcat-9/v9.0.91/bin/apache-tomcat-9.0.91.tar.gz
- tar xvzf apache-tomcat-9.0.91.tar.gz
- mv apache-tomcat-9.0.91 tomcat
3. Install JAVA JDK on EC2.
- yum install java-17-amazon-corretto-devel
- java --version
4. Allow Traffic for Requests to server.
Go to EC2 instances.
Go to security -> security security groups > Edit Inbound Rules.
Allow traffic for requests for below ports.

5. Start Tomcat using the ./startup.sh file.
Go to the below path using the cd command
cd tomcat
cd bin
./startup.sh

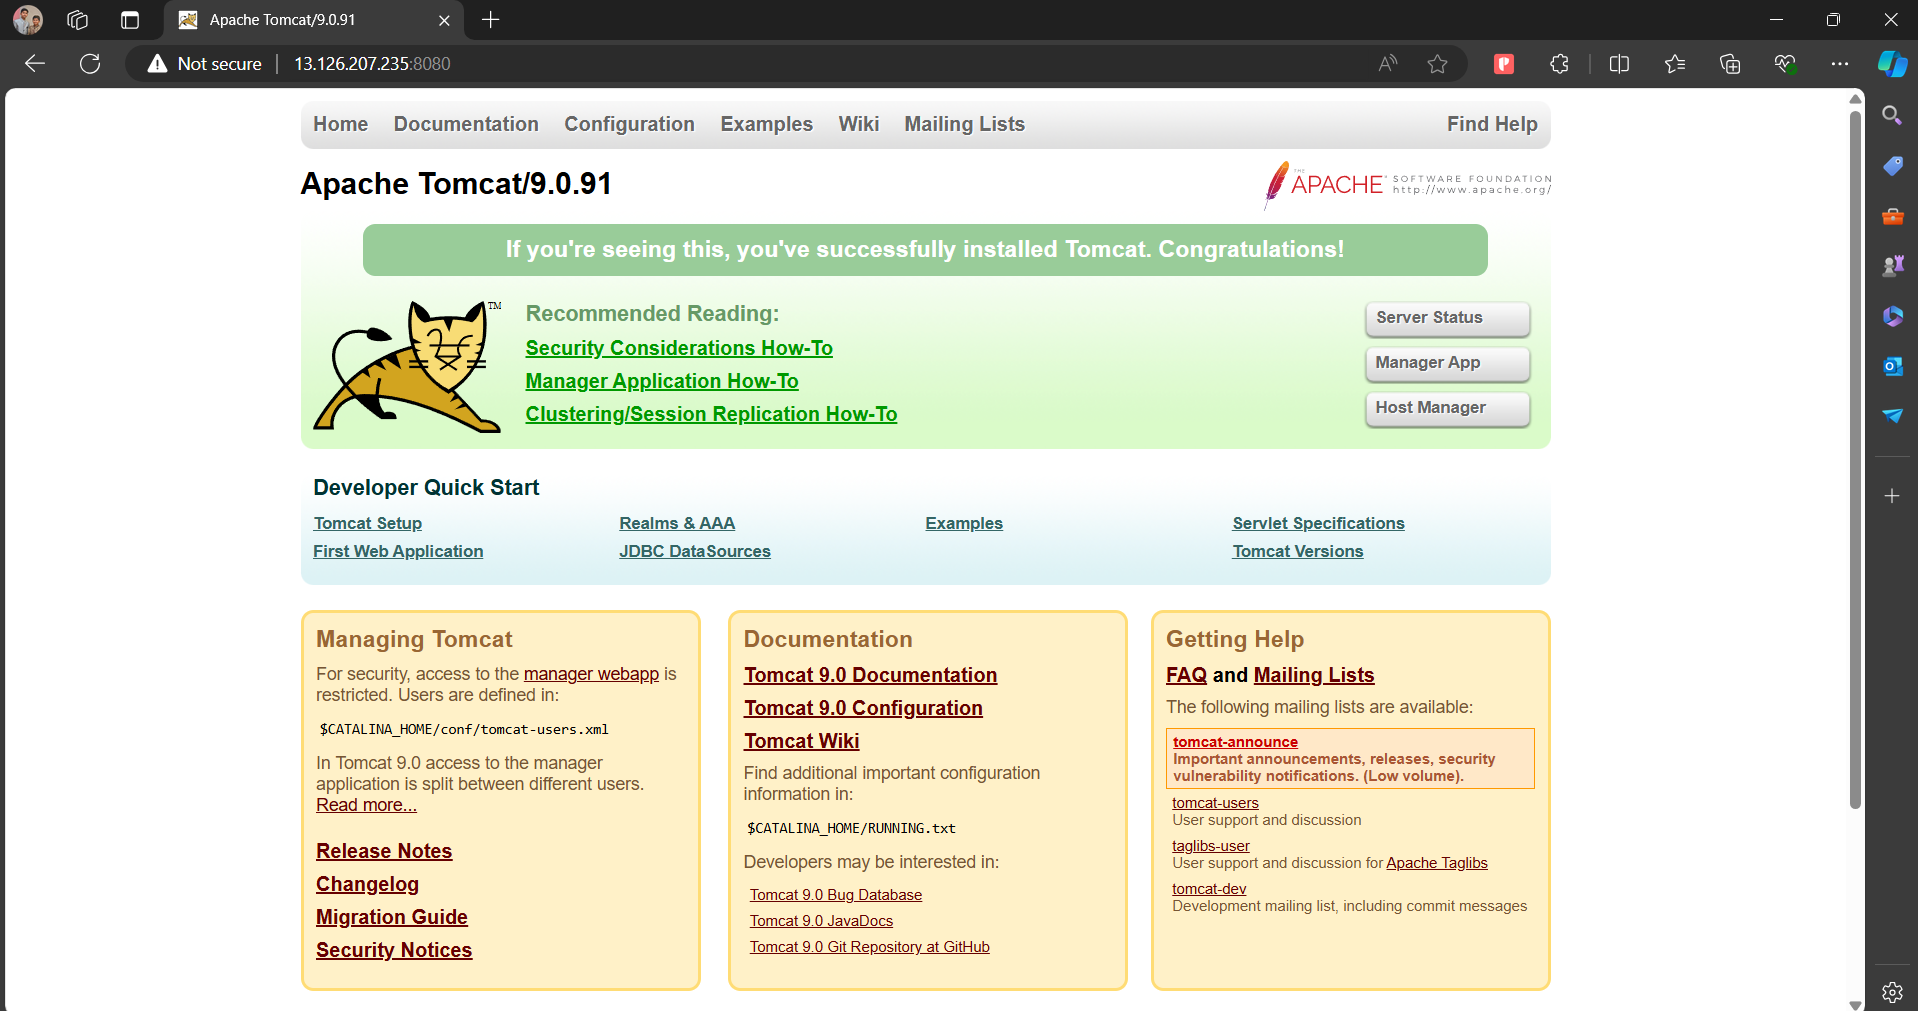
Verify by checking in browser {publicip}:8080.
6. Create AWS RDS and give connection in the Project.
- While creating RDS, create a new security group that will allow the MYSQL/AURORA database to connect locally to the MYSQL workbench.

- After successfully creating AWS RDS, you will get the database endpoints from which we can access the database.
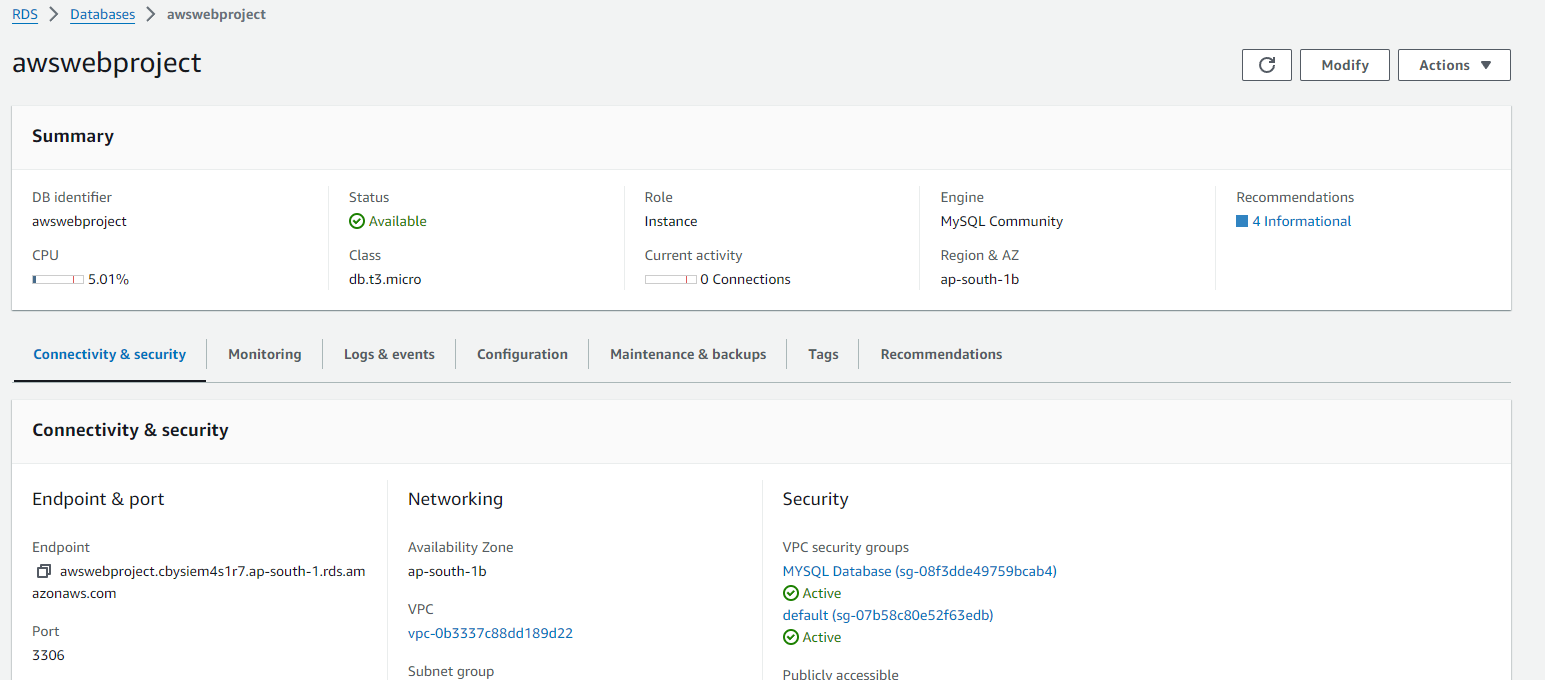
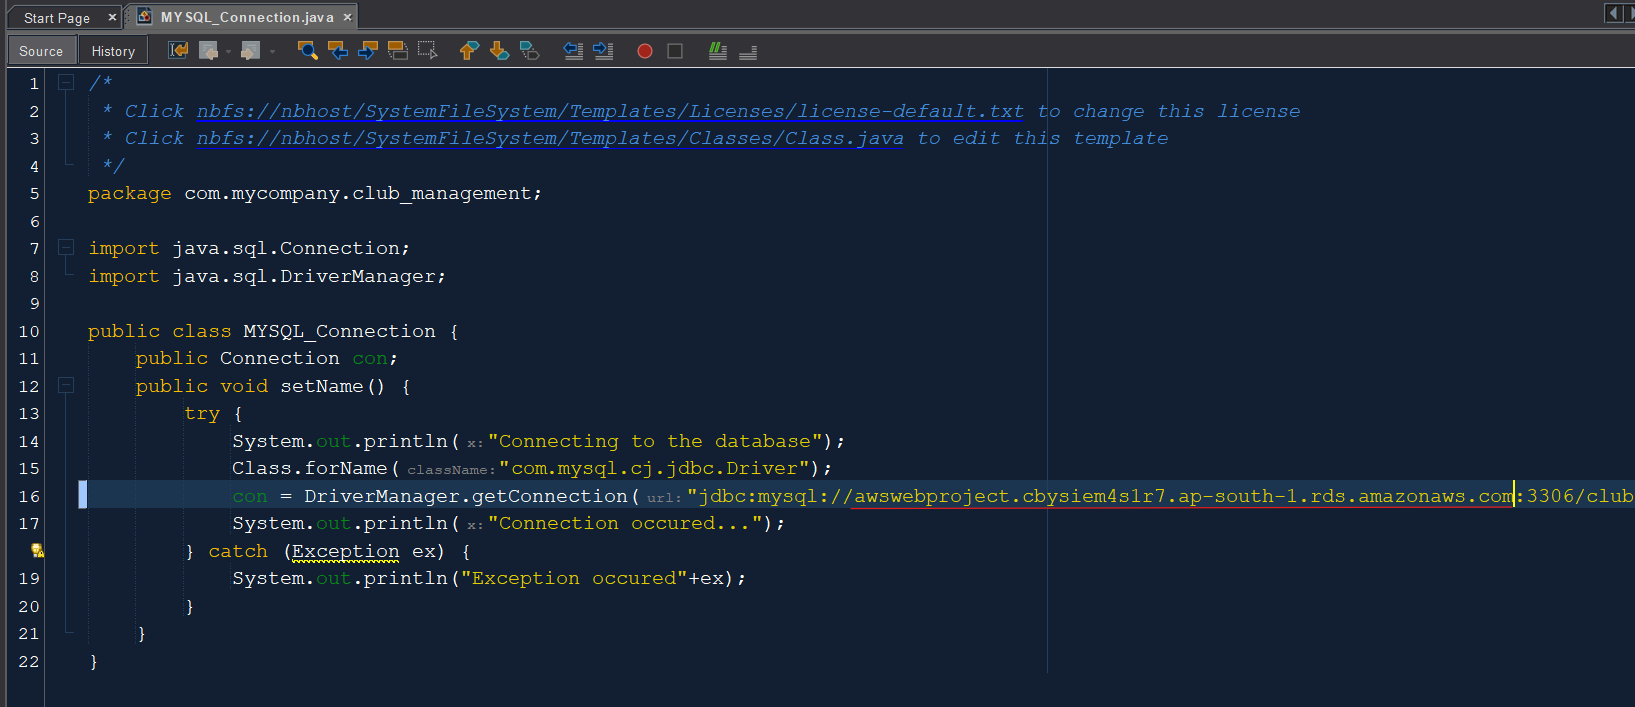
- Rename that endpoint with localhost in your project.
7. Run Clean & Build to create {projectname}.war file of the project.
- Right-click on the project click clean and build in the project so we will get the .war build file.
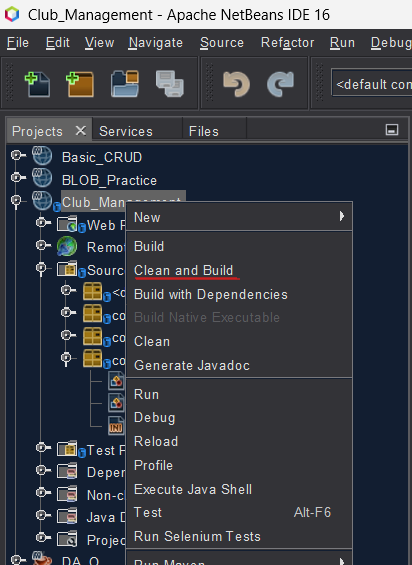
- After clicking on clean and build, make sure that the war file is built and created in the local system.

- Check that the war file is created on that path on your local system.

8. Send a file to AWS EC2 using commands.
Rename the file .war file to the normal name
- Club_Management-1.0-SNAPSHOT.war -> mitaoeclub.war
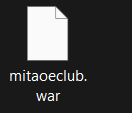
Send this file to the AWS instance using the below command.
scp -i p1.pem {warfilename}.war ec2-user@{public ip 00.00.00.00}:/home/ec2-user/
Verify the file is sent to AWS or not using the LS command.
ls
9. Copy the file to the Tomcat path.
Move the file to path -> tomcat/webapps/ using the below command.
- cp mitaoeclub.war tomcat/webapps/Verify the path file is copied to the path or not using the following command:
      - cd tomcat
      - cd webapps
10. Opening a project in a browser using a public IP.
Start the project in the browser using the below command:
- http://{00.00.00.00}:8080/{warfilename}
Verify the database is connected by logging in to the project and using it.
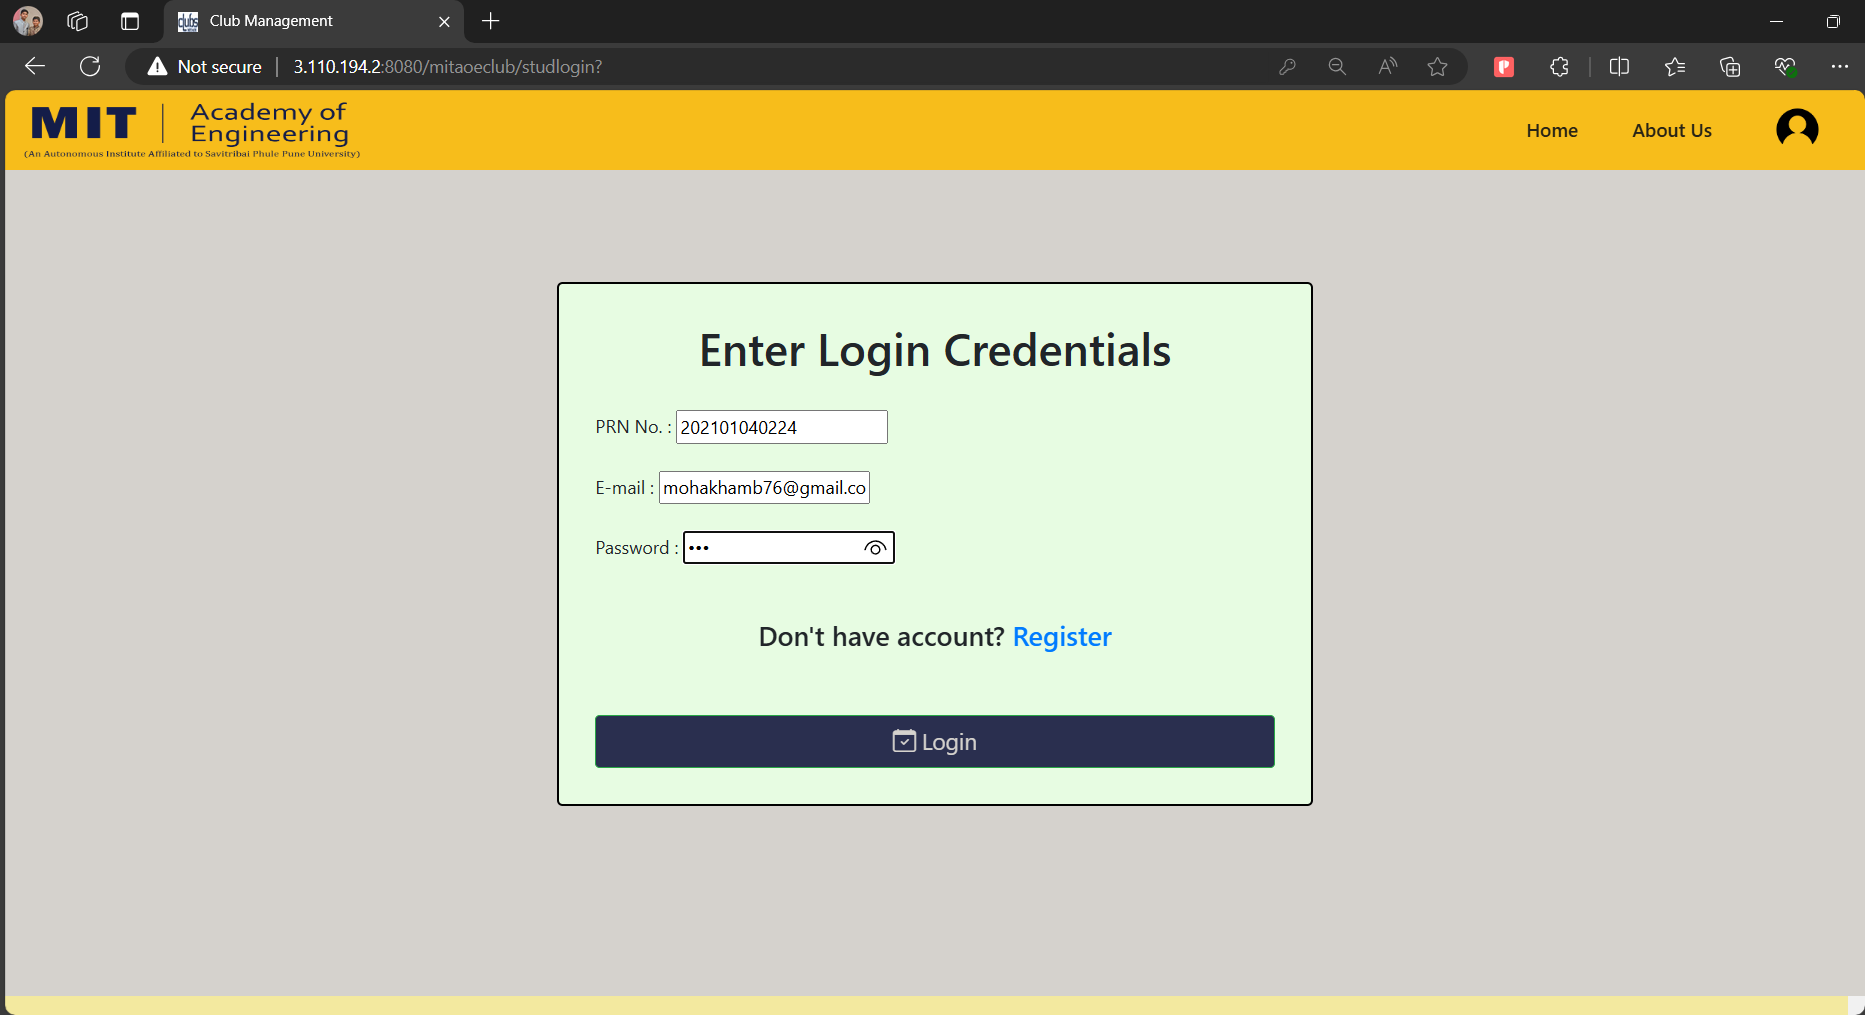

Summary:
To install an AWS project on AWS EC2, follow these steps:
Launch an EC2 instance and install HTTPD.
Install Apache Tomcat and Java JDK.
Configure security groups to allow traffic on necessary ports (8080, 443, 80).
Start Tomcat and verify that it's running. Set up AWS RDS and configure connection details.
Build the project to generate a.war file, then transfer this file to the EC2 instance using SCP.
Deploy the.war file to Tomcat, and open the project in the browser using the EC2 public IP and the appropriate port.
Subscribe to my newsletter
Read articles from Mohanish Khambadkar directly inside your inbox. Subscribe to the newsletter, and don't miss out.
Written by

Mohanish Khambadkar
Mohanish Khambadkar
With expertise in DevOps, and a keen interest in cloud technologies & Web Development, I am eager to take on new challenges. Mycommitment to staying updated with industry advancements and my ability to adapt quickly demonstrate my capability to deliverexceptional results. As a collaborative team player, I am prepared to utilize my skills to drive innovation and achieve shared goals. Let'sembark on this journey together, paving the way for unparalleled success.