How to Build a Dynamic Telegram Bot Command Handler Using Docker and Python
 Kanglin Wu
Background
之前的專案希望能建立 TG Bot Command,使 Bot 能依據 command 不同而回應客戶,透過這篇筆記讓有相關需求的人能快速建立一個 docker container 去不斷透過 Python 去撈取當對應 TG Bot 有接受到command 時。
Architecture diagram
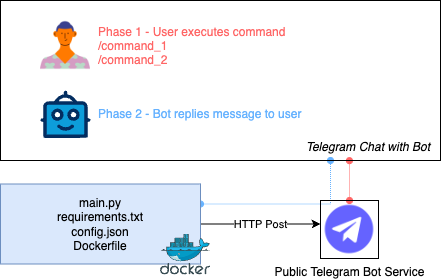
Step by Step
建立 Bot token
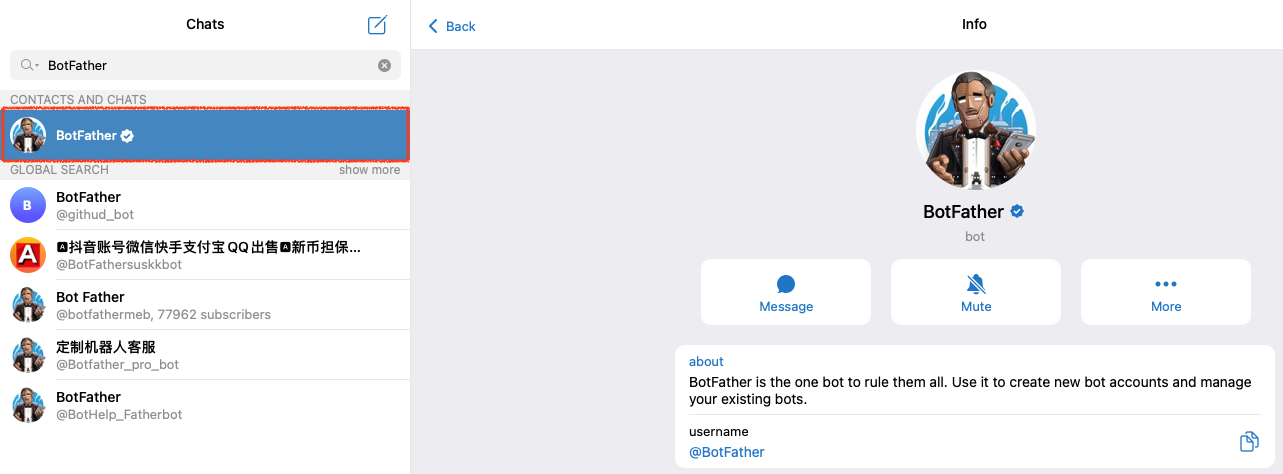
用 Telegram 搜尋 BotFather,點選 Message
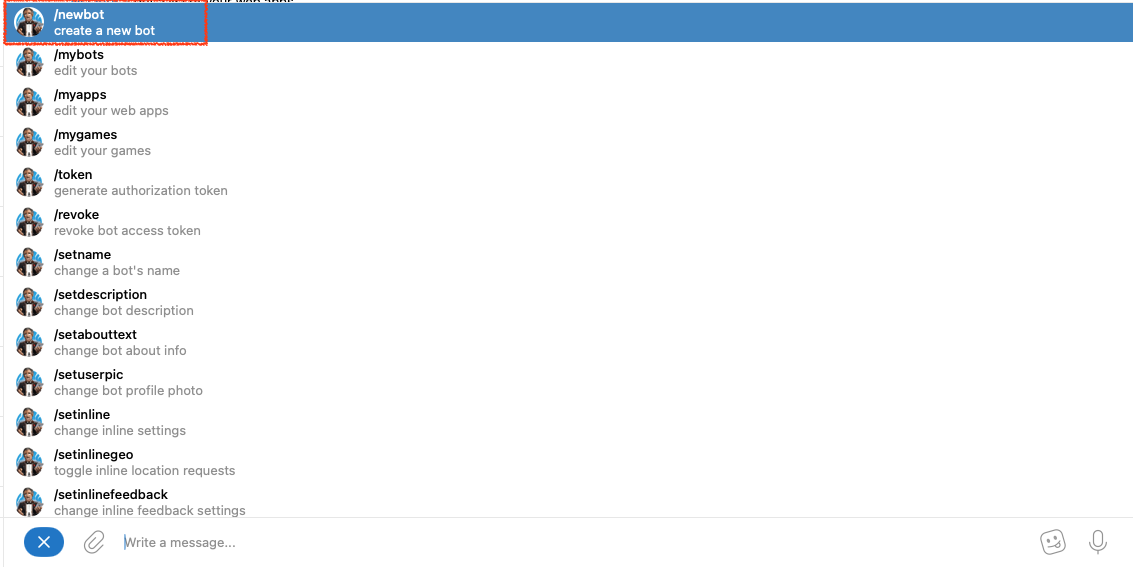
進到 chat with BotFather 後點選左下角選單 button 並選取 /newbot 該 command
為你的 Bot 取名後拿到 token
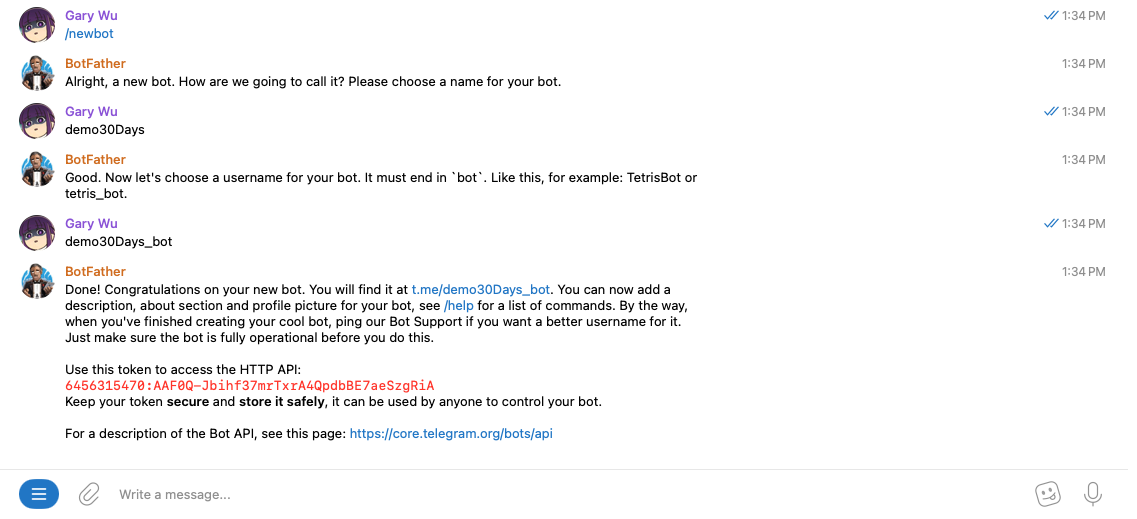
將新的 bot 加進去你想要讓他接收 command 的群組( default 設定下,直接與 Bot 對話並執行 command 也可以 )
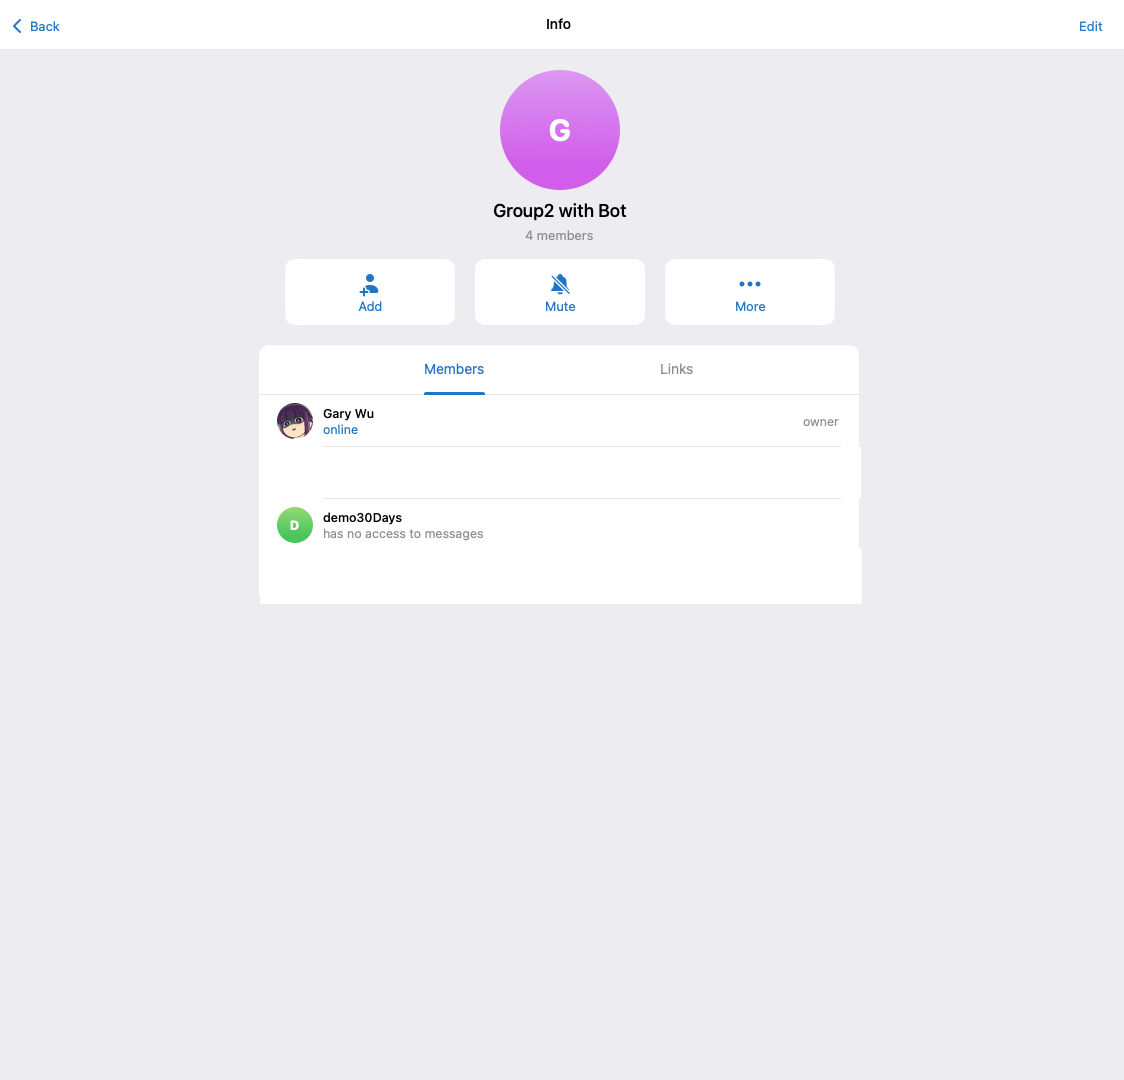
設定 Bot token
main.py
透過 python-telegram-bot 使用剛剛建立的 token 不斷對 Telegram API 做 HTTP Post 取回最新資訊,切記一個 token 只能跑一台 container,如果同時跑多個,會因為 Telegram API 的機制( 當一台 client 透過 token 去撈取 Bot status,該筆 command 或 message 會被標註已讀取,另外一台 client 用同樣 token 會撈不到該 command 或 message )拿到 telegram.error.Conflict 。
import logging, json
from telegram import Update
from telegram.ext import ApplicationBuilder, CommandHandler, ContextTypes

# Enable logging
logging.basicConfig(
    format='%(asctime)s - %(name)s - %(levelname)s - %(message)s', level=logging.INFO
)
logger = logging.getLogger(__name__)

def configHandler():
    with open('config.json', 'r', encoding='utf-8') as file:
        config = json.load(file)
    return config['bot']['token']


async def command_1(update: Update, context: ContextTypes.DEFAULT_TYPE) -> None:
    await update.message.reply_text(
        f'hello, {update.message.from_user.first_name}, process command_1'
    )

async def command_2(update: Update, context: ContextTypes.DEFAULT_TYPE) -> None:
    await update.message.reply_text(
        f'hello, {update.message.from_user.first_name}, process command_2'
    )


def main() -> None:
    """Start the bot."""
    # Replace 'YOUR_TOKEN' with your actual bot token
    fixTokenString = configHandler()
    application = ApplicationBuilder().token(fixTokenString).build()

    # Command handler for when user execute command_1
    application.add_handler(CommandHandler("command_1", command_1))

    # Command handler for when user execute command_2
    application.add_handler(CommandHandler("command_2", command_2))

    # Start the Bot
    application.run_polling()

if __name__ == '__main__':
    main()
requirements.txt
python-telegram-bot
config.json
這隻 token 只是拿來 demo 使用,用完就會停掉,要自己申請 token 後將其置換喔
{
    "bot": {
        "name": "DEMO",
        "token": "6456315470:AAF0Q-Jbihf37mrTxrA4QpdbBE7aeSzgRiA"
    }
}
Dockerfile
# Use an official Python runtime as a parent image
FROM python:3.9-slim

# Set the working directory in the container
WORKDIR /usr/src/app


# Copy the config file into the container
COPY . .

# Install any needed packages specified in requirements.txt
RUN pip install --no-cache-dir -r requirements.txt

# Command to run the script
CMD ["python", "./main.py"]
Build docker image
與 Dockerfile 同階層的 folder 裡執行後建立 docker image
docker build -t python-telegrambot:v1.0 .
Run docker container
將剛剛建好的 image 跑成 docker container-d 是指在背景執行--name 是指跑起來後的 docker container name
docker run --name python-telegrambot -d python-telegrambot:v1.0
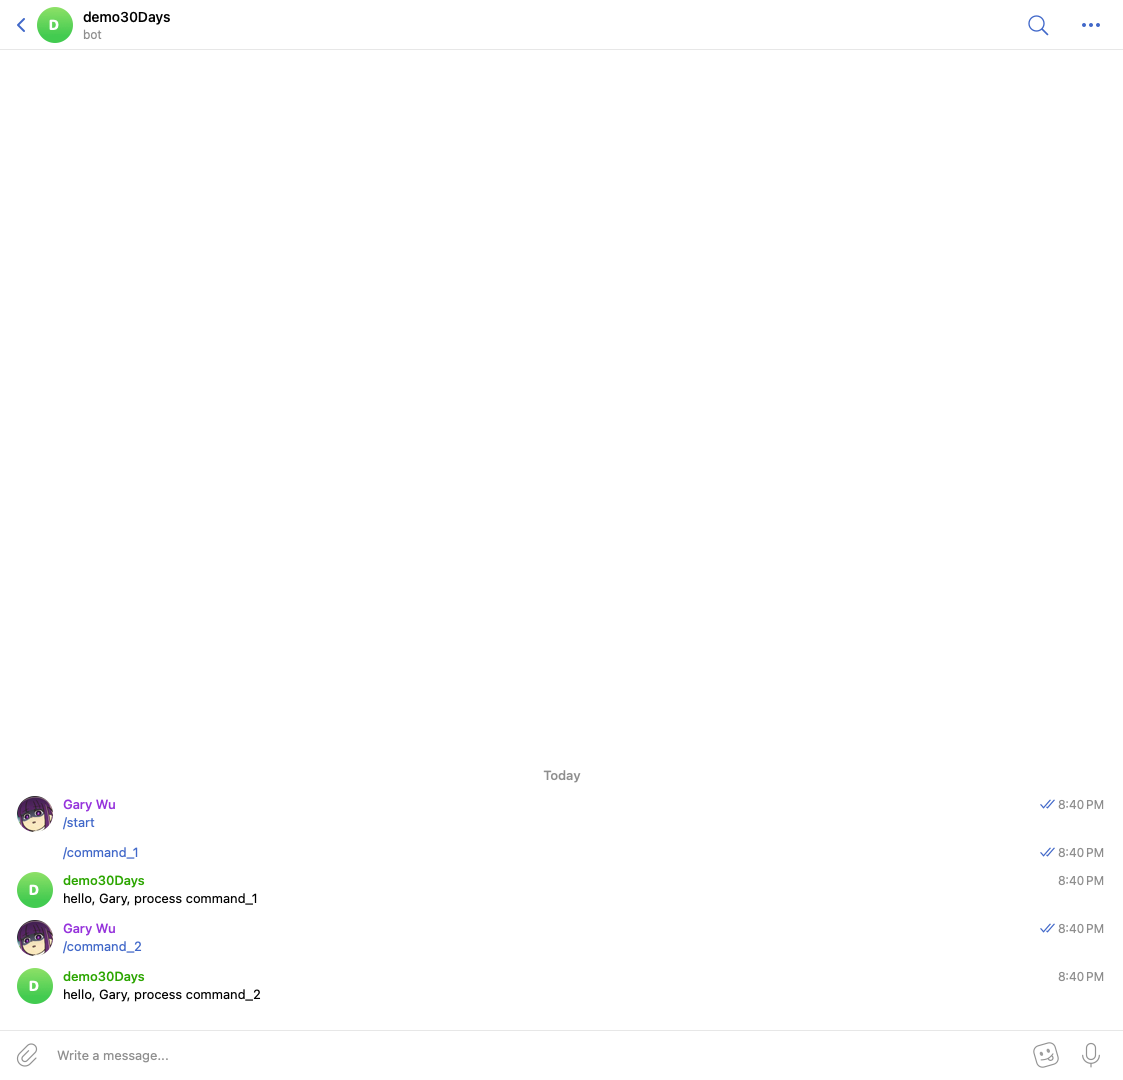
執行 command
結語
TelegramBot 可以玩的太多了,目前這個 repo 僅是跑 commandHandler,只是起個頭讓還沒嘗試過 TelegramBot 的看倌們可以透過短短幾行 code 就能看到它的魅力。
主要參考
https://core.telegram.org/bots/tutorial#obtain-your-bot-token
https://docs.python-telegram-bot.org/en/stable/telegram.ext.commandhandler.html
Subscribe to my newsletter
Read articles from Kanglin Wu directly inside your inbox. Subscribe to the newsletter, and don't miss out.
Written by
