Mounting S3 on local filesystem using s3fs-fuse
 Austin Rado
The goal of this project is to seamlessly intergrate an Amazon S3 bucket with a local file system on an EC2 instance using s3FS-FUSE . This intergration allows you to interact with the S3 bucket as if it were a part of your local file system, enabling easier file management and manipulation directly from the EC2 instance. By achieving this, you can simplify workflows that require frequent data transfer between the local file system and S3, and leverage S3 storage capabilities in a more accesssible and familiar way.

The pre requisites include
An AWS account
An S3 bucket
An EC2 instance running on Ubuntu AMI
IAM User
Setup and Configuration
Setting up and configuring is an essential for the projects functional success.
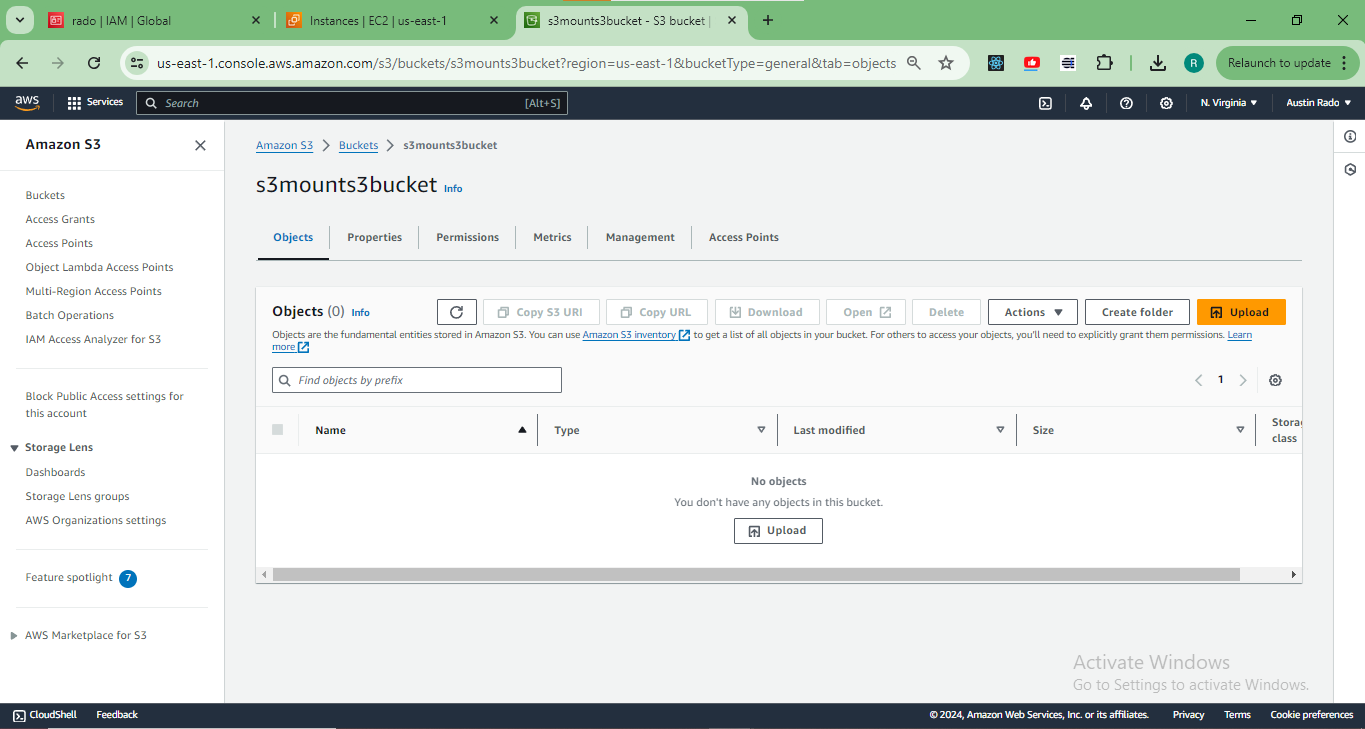
Create and configure an S3 bucket.
The S3 is an object based storage service that is highly scalable and reliable. At the root is a bucket that should be identified with a globally unique name, for this case s3mounts3bucket is the chosen bucket name.
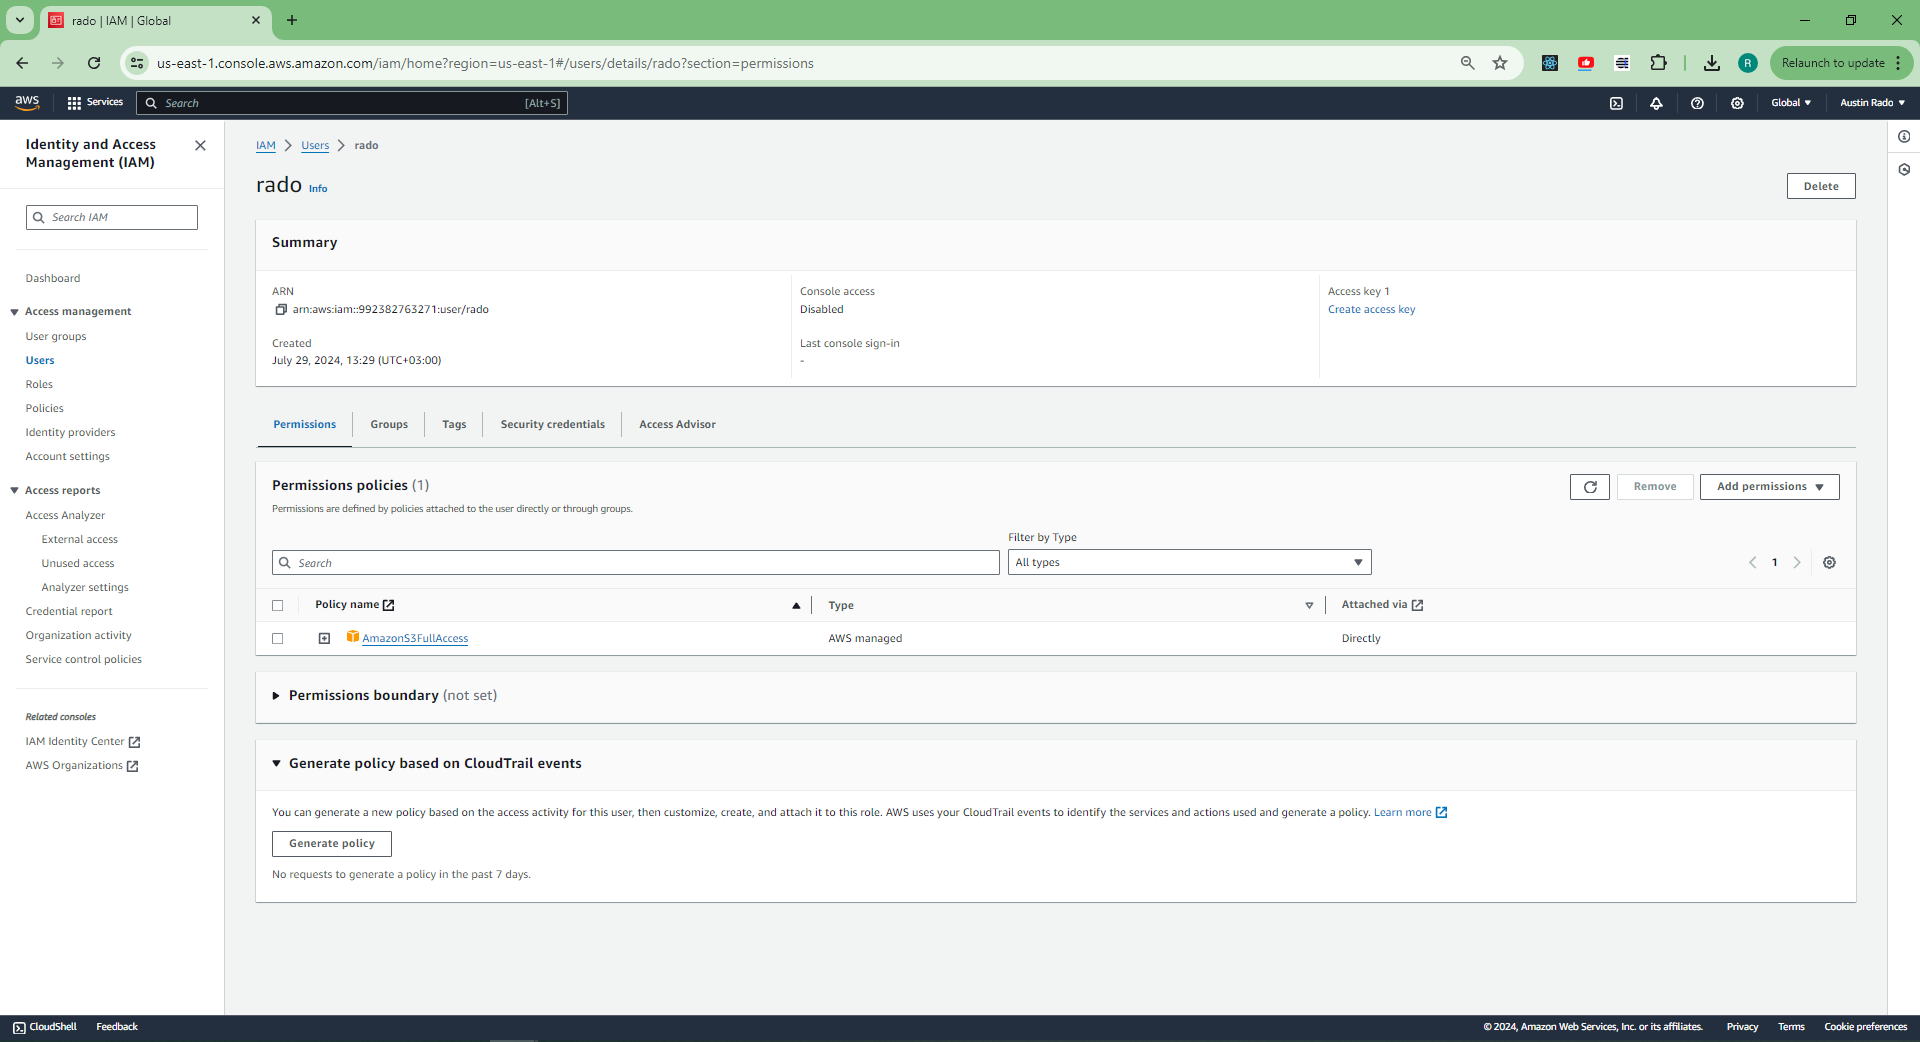
Create an IAM user with appropriate permissions for accessing and managing the S3 bucket.
For this project I am going to grant the IAM user full access to the S3. This translates to AmazonS3FullAccess.
NOTE AmazonS3FullAccess does not align with the Principle of Least Privilege (PoLP), best practice is to restrict the policy to essential access or permission needed to perform a set of actions. The IAM policy should be customized further to grant only the permissions necessary for the specific actions the IAM user needs to perform on the specific S3 bucket.
Navigate to the IAM user created and create the access key to be used in the configuration of the AWS CLI later on. When creating the access key on the use case select Command Line Interface(CLI). Make sure to download the access keys or copy them to a safe place (both the Access Key and Secret Aceess Key )
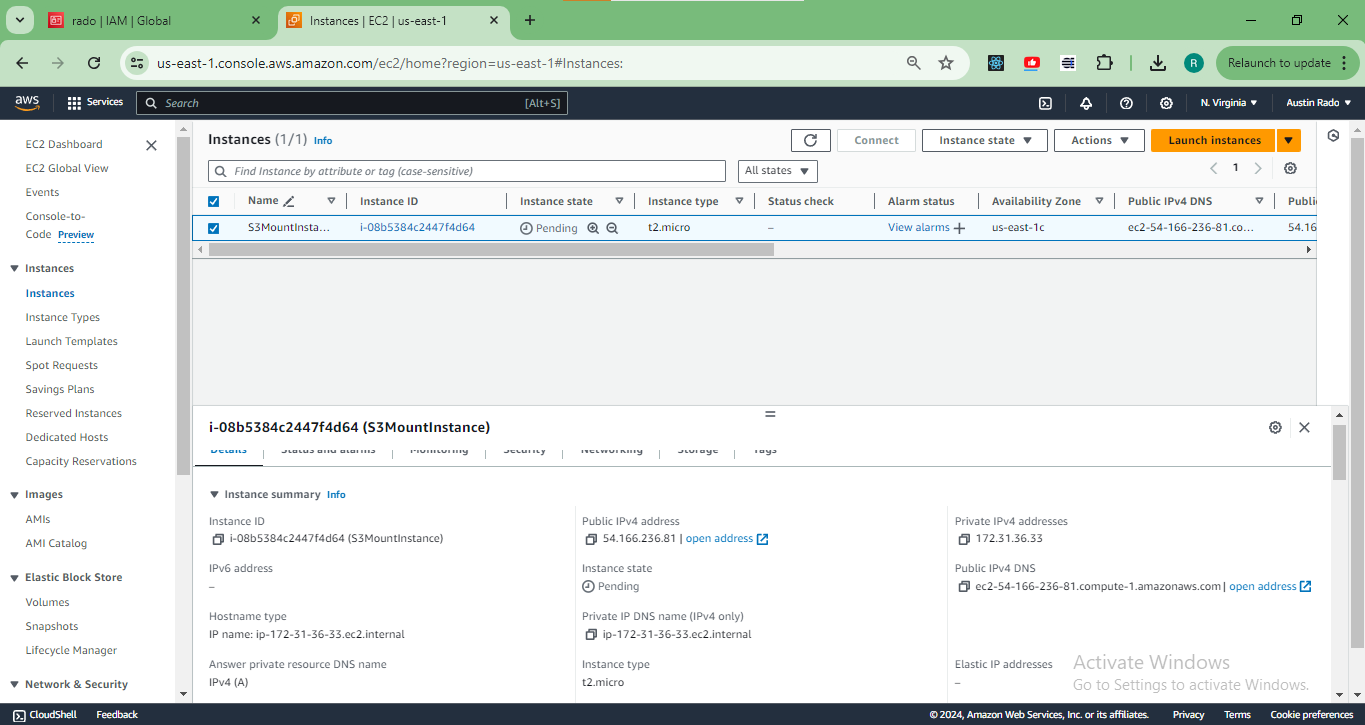
Launch an EC2 instance running Ubuntu AMI 24.04
Before launching the EC2 instance we need to set it up to specific needs
Generate a Privacy Enhanced Mail (PEM) file ~a new key pair~ for access of the instance using ssh. Make sure to download the PEM file and change the mode to owner read only using the command .
chmod 400 file.pemIn the network setting of the instance setup in your console create a new security group allowing ssh traffic (essentially means opening up port 22) from Anywhere (0.0.0.0/0 is the CIDR block).
Launch the instance
Login into the EC2 instance via SSH
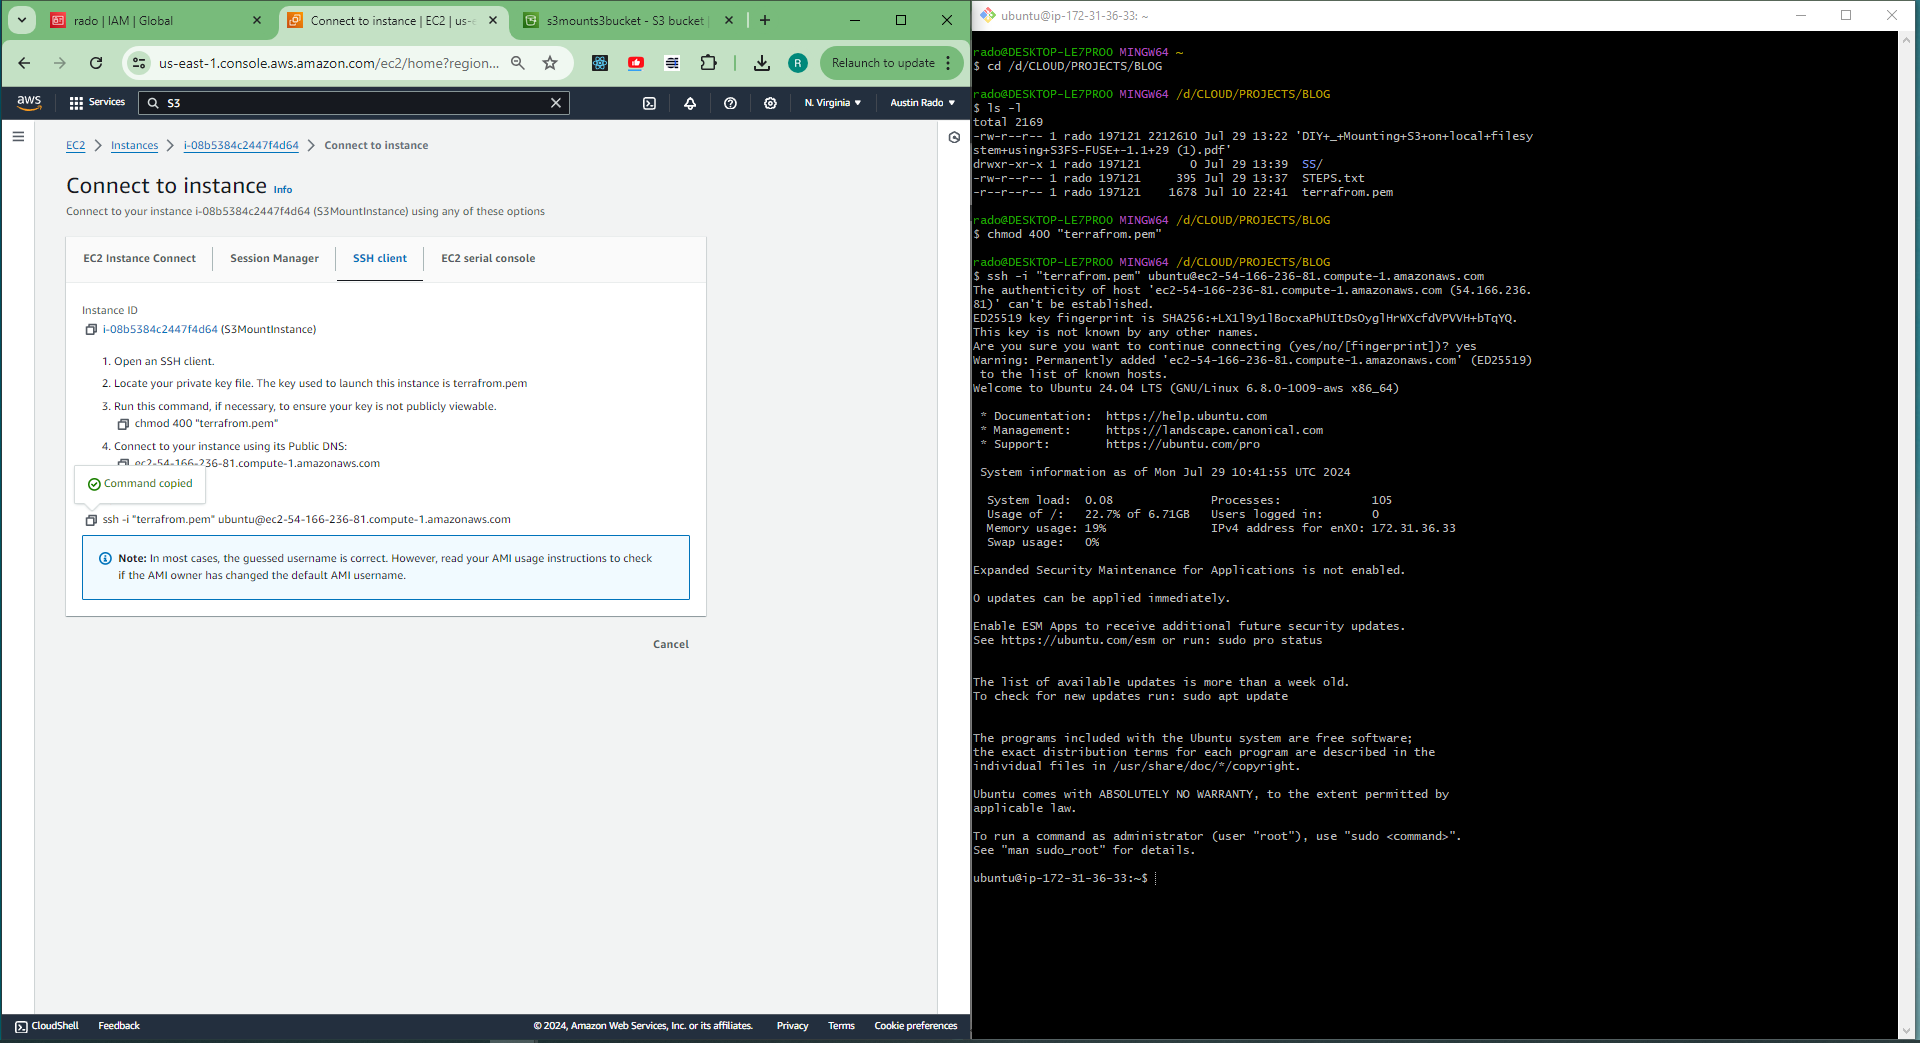
After successful login run the following commands respectively to install s3fs and aws cli and to verify installation
sudo apt update sudo apt install s3fs sudo apt install awscli s3fs --version aws --versionNOTE: An alternative of installing aws cli incase of errors is to download the installation script using `curl`, Unzip the downloaded file, run the installer and verify the installation respectively using the codes below
 curl "https://awscli.amazonaws.com/awscli-exe-linux-x86_64.zip" -o "awscliv2.zip"
 unzip awscliv2.zip
 sudo ./aws/install
 aws --version
Configure the AWS CLI using the command below
aws configureUse the access key ID and aws secret access key previously created.
For default region name select the region code associated with the account. I used us-east-1 which is in US East (N. Virginia)
Use json as the default output format
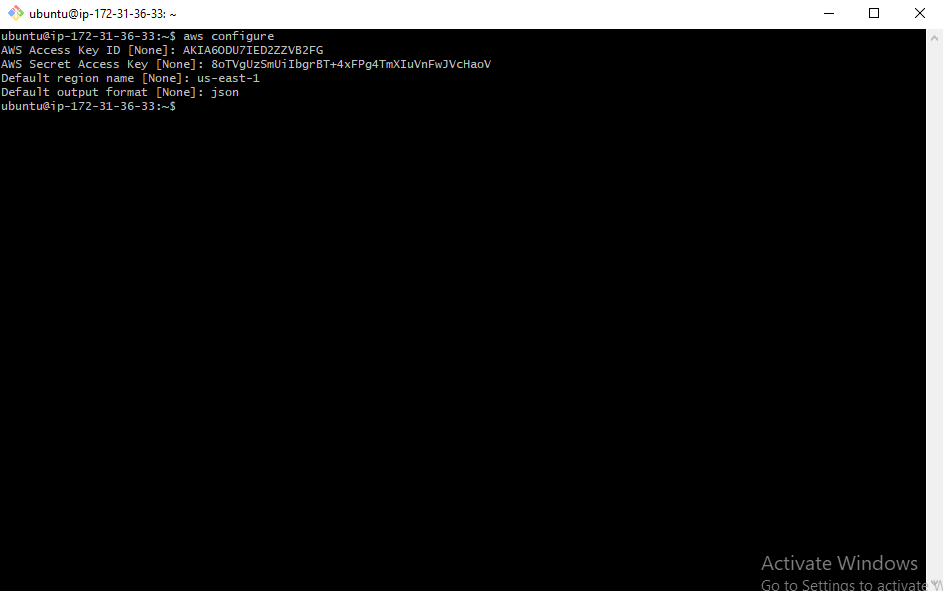
Execute the following commands to finish up the configuration of the AWS CLI
 cd .aws
 nano credentials
Use a text editor of your choice (vi, vim, nano) to edit the contents in the credentials file.
WHY EDIT THE CONTENTS OF THE CREDENTIALS FILE?
The passwd_file option in s3fs expects the AWS access key ID and secret access key to be provided in a specific format, typically in the format accessKeyId:secretAccessKey
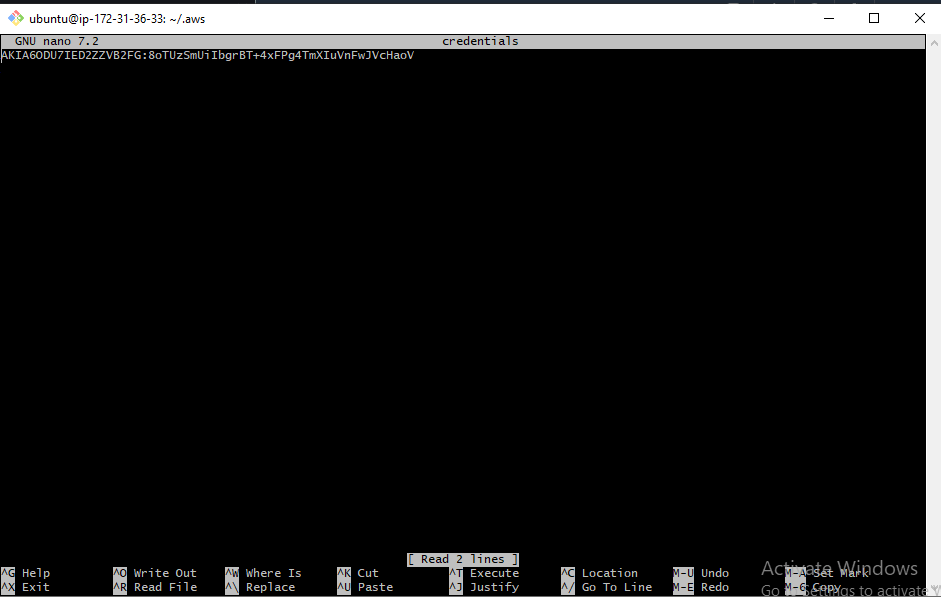
NOTE. Remember to go back to the root directory after editing the credentials file.
Create the directory to be used as the mount point and mount the bucket to that directory respectively using the commands below
 mkdir <directory_name>
 s3fs mybucketname /path/to/mountpoint -o passwd_file=${HOME}/.passwd-s3fs
For my case this is how I mounted the bucket
 mkdir s3mount
 s3fs s3mounts3bucket /path/to/s3mount -o passwd_file=~/.aws/credentials
Execute the following command to verify the mounting
df -Th <directory_name>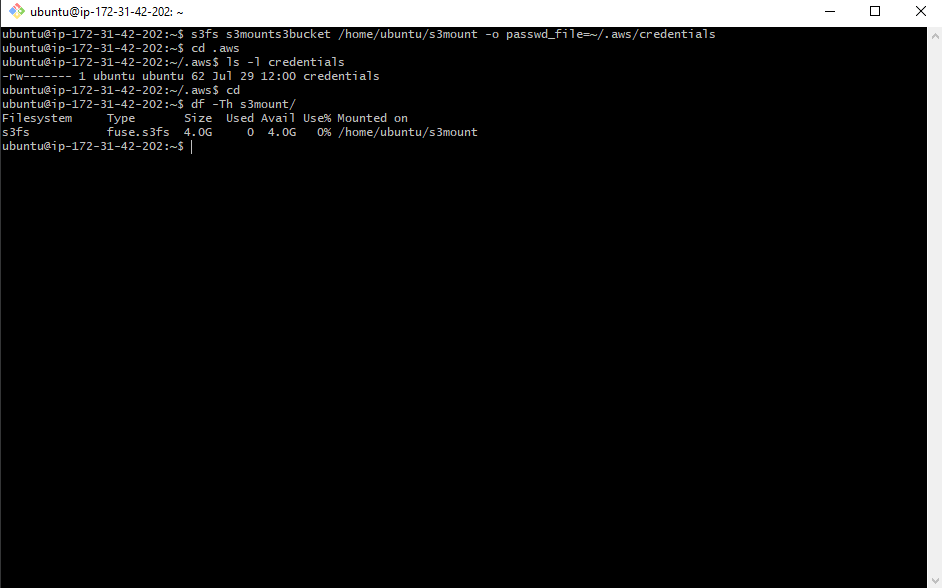
Create a text file inside the mount directory using the following command and check the s3 bucket to see if the file has been created.
echo "This file is created from EC2" > ~/<directory_name>/sample.txt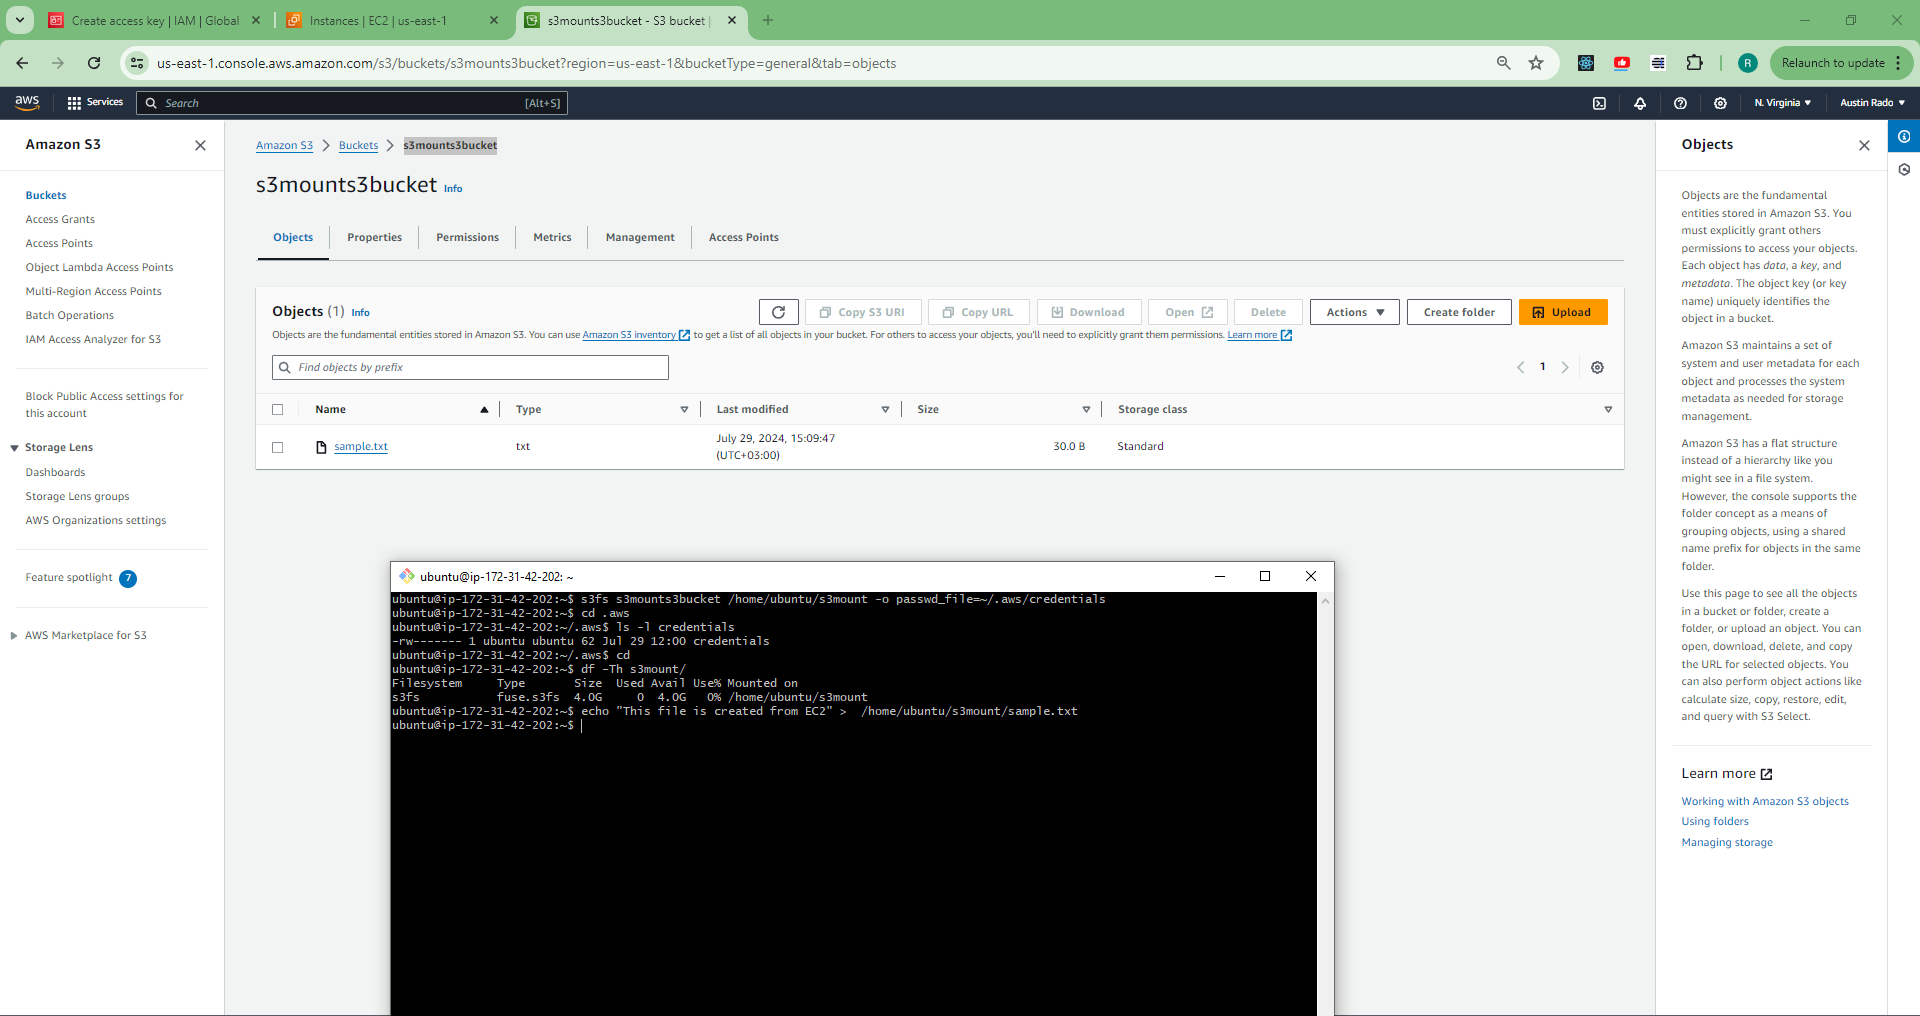
To unmount the bucket, use the command below
sudo umount -l <directory_name>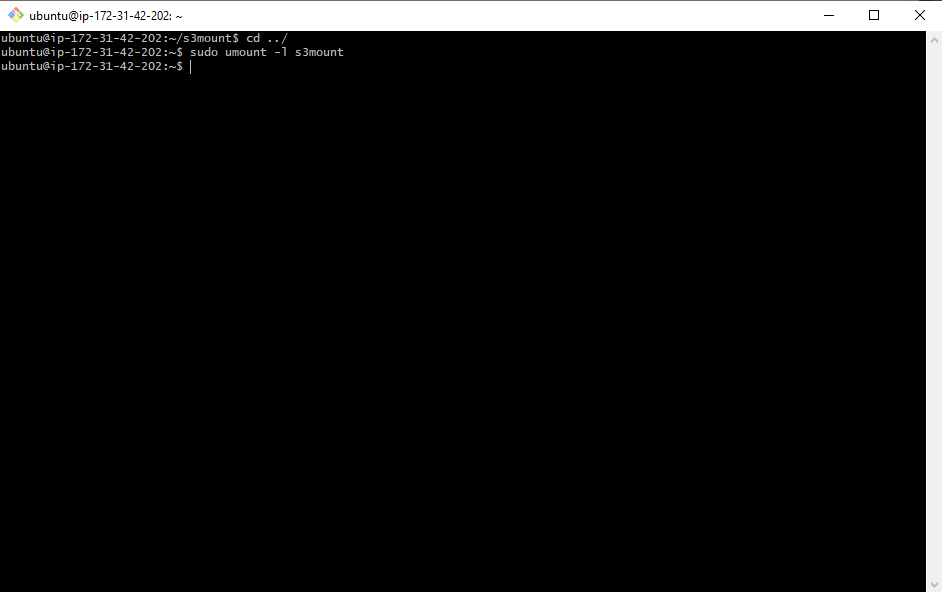
Congratulations! You did it.
Do not forget to clean up. Terminate/delete all the resources and services created in this project to avoid incurring costs.
To learn more about the s3fs and its installation in other operating systems follow the link https://github.com/s3fs-fuse/s3fs-fuse
Subscribe to my newsletter
Read articles from Austin Rado directly inside your inbox. Subscribe to the newsletter, and don't miss out.
Written by

Austin Rado
Austin Rado
Cloud Engineer | DevOps | Backend Developer