Day 87 - Deploying a React App on AWS Elastic Beanstalk using GitHub Actions 🌐✨
 Nilkanth Mistry
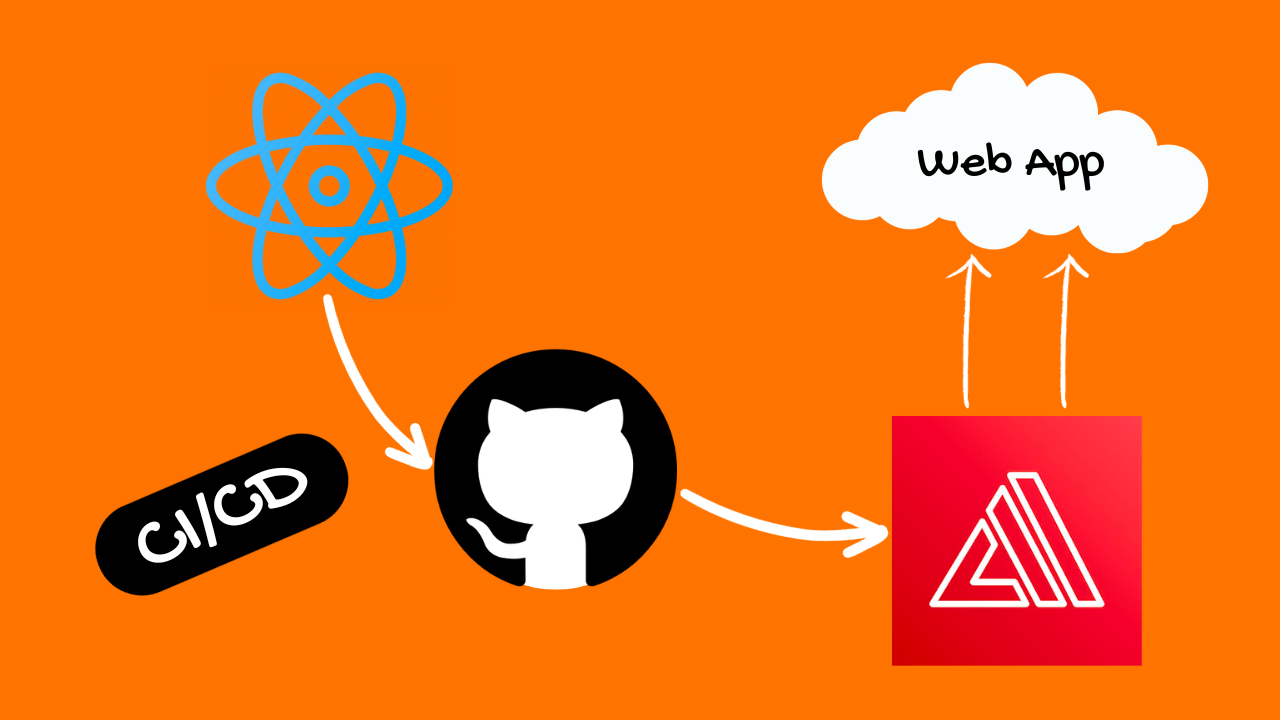
Project Description 🚀
In this project, we'll automate the deployment of a React application on AWS Elastic Beanstalk using Docker and GitHub Actions. This will streamline the deployment process and ensure your app is always up-to-date.
Hands-on Project: Automating React App Deployment on AWS Elastic Beanstalk
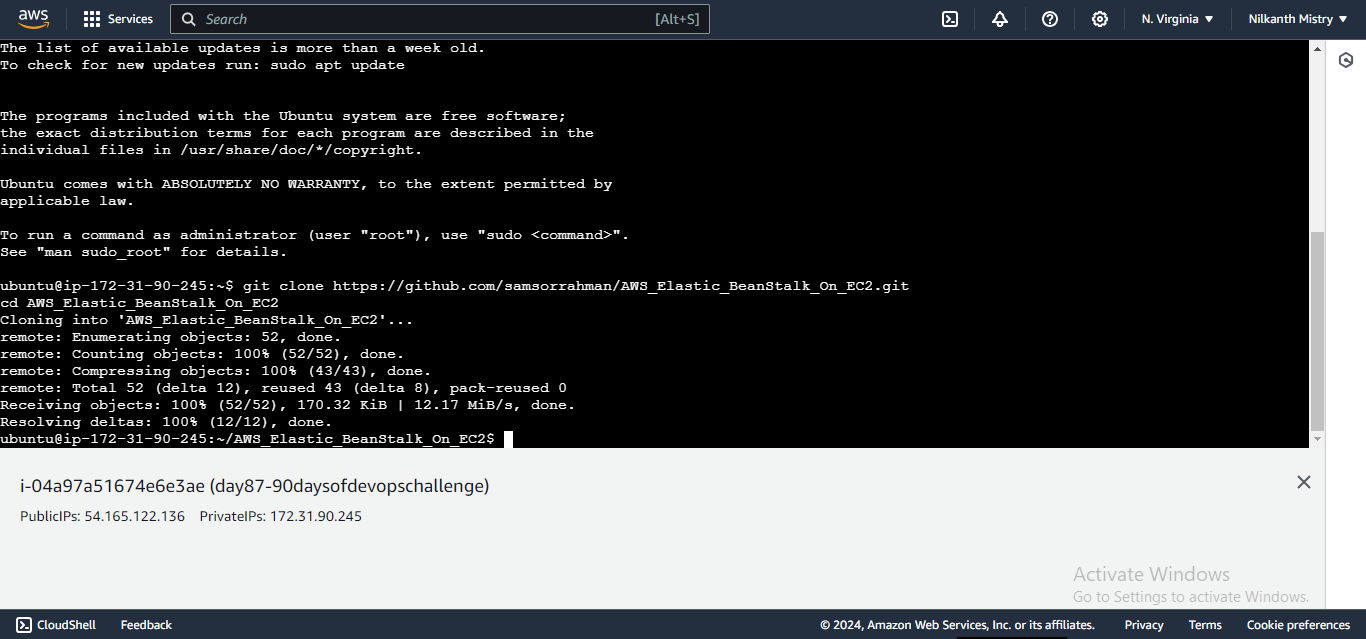
Step 1: Clone the Source Code 📁
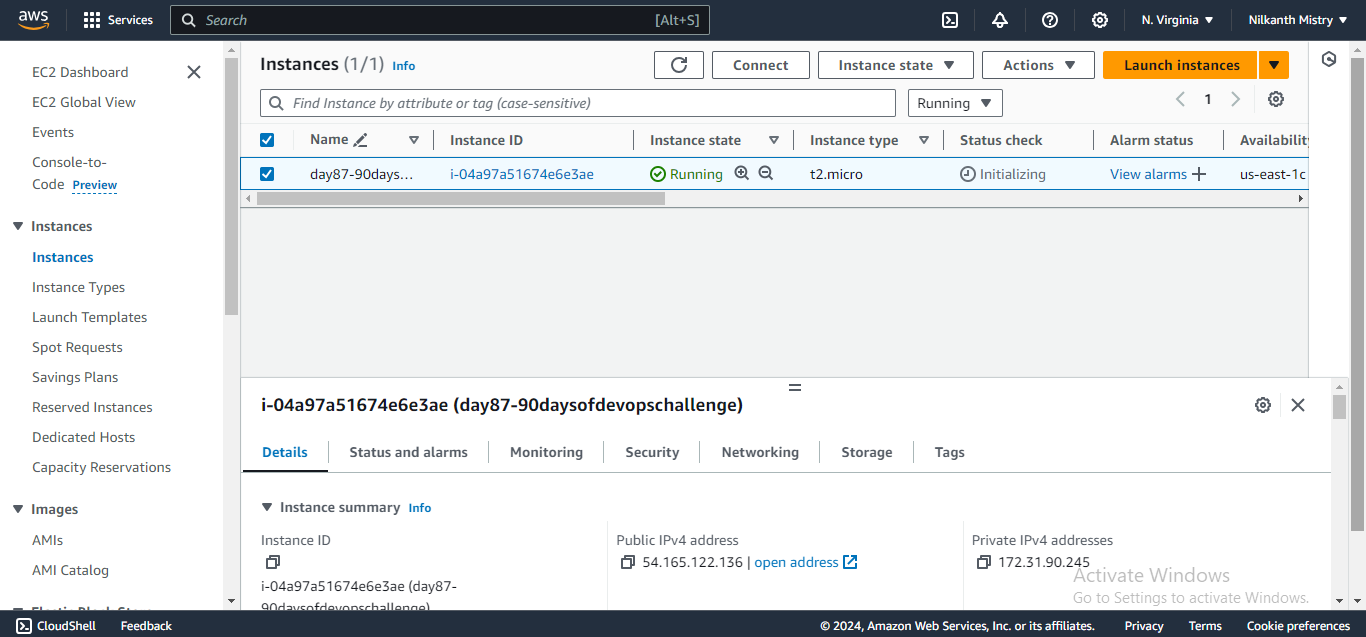
git clone https://github.com/samsorrahman/AWS_Elastic_BeanStalk_On_EC2.git
cd AWS_Elastic_BeanStalk_On_EC2
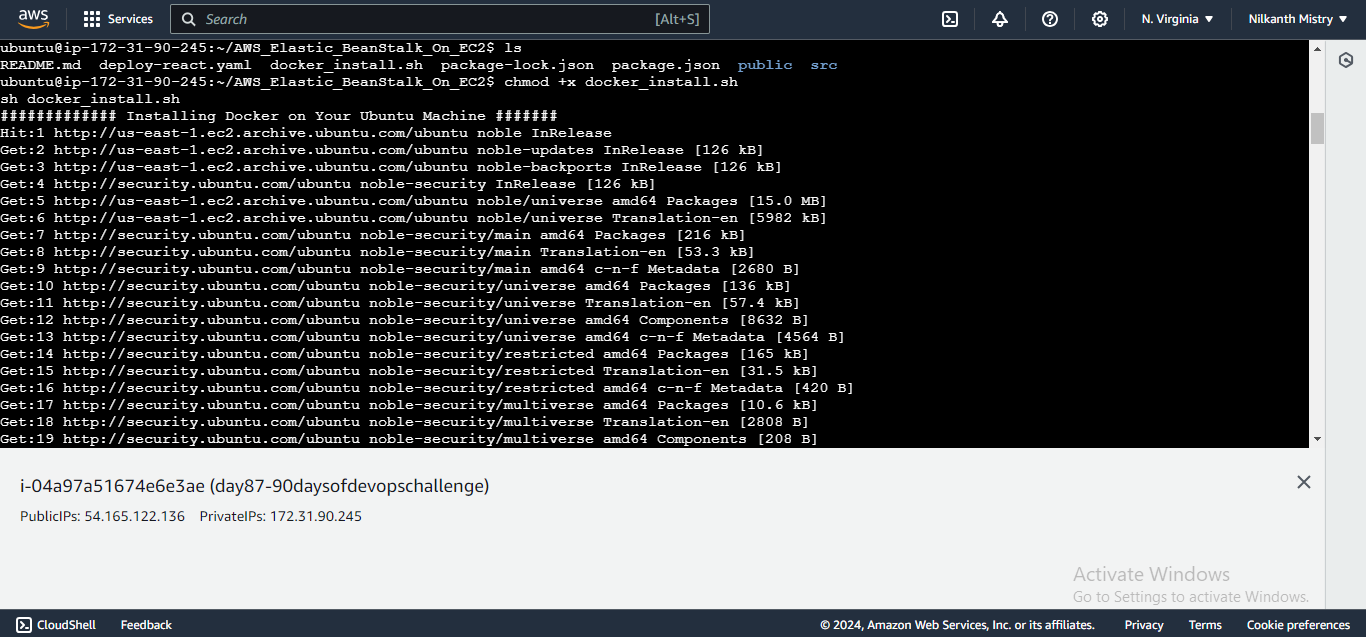
Step 2: Set Up Docker 🐳
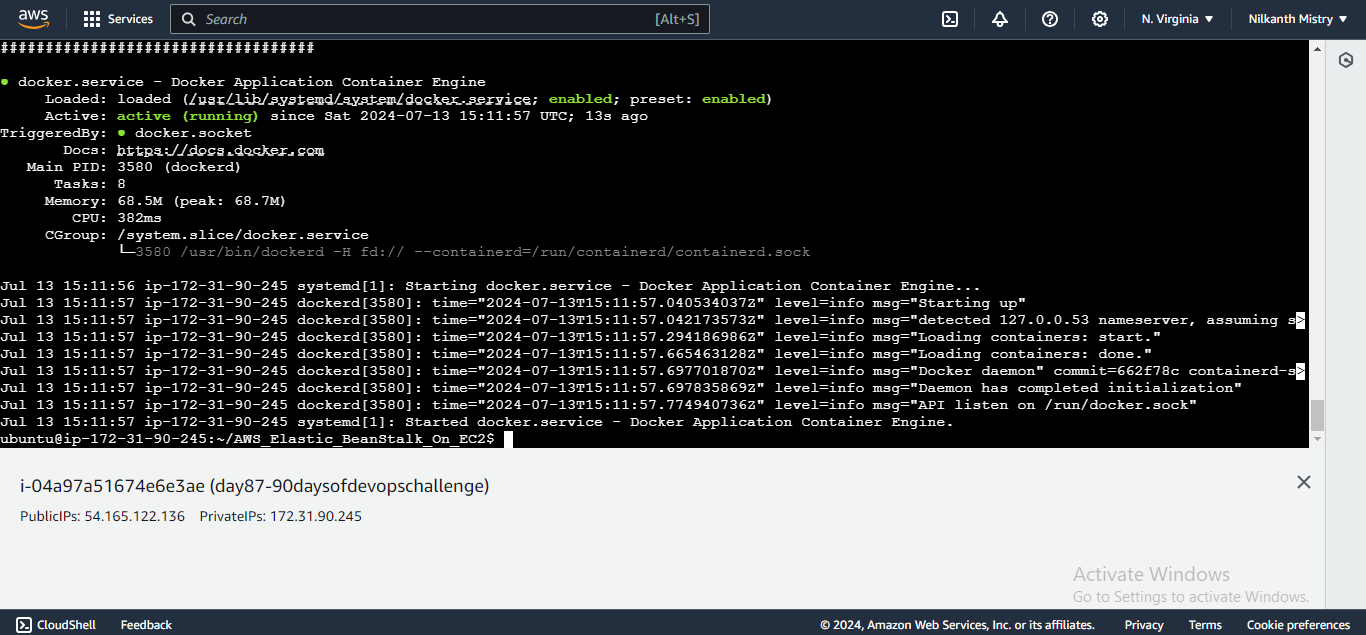
Find the docker_install.sh shell-script to install Docker.
chmod +x docker_install.sh
sh docker_install.sh
Step 3: Create a Multi-Stage Dockerfile 🛠️
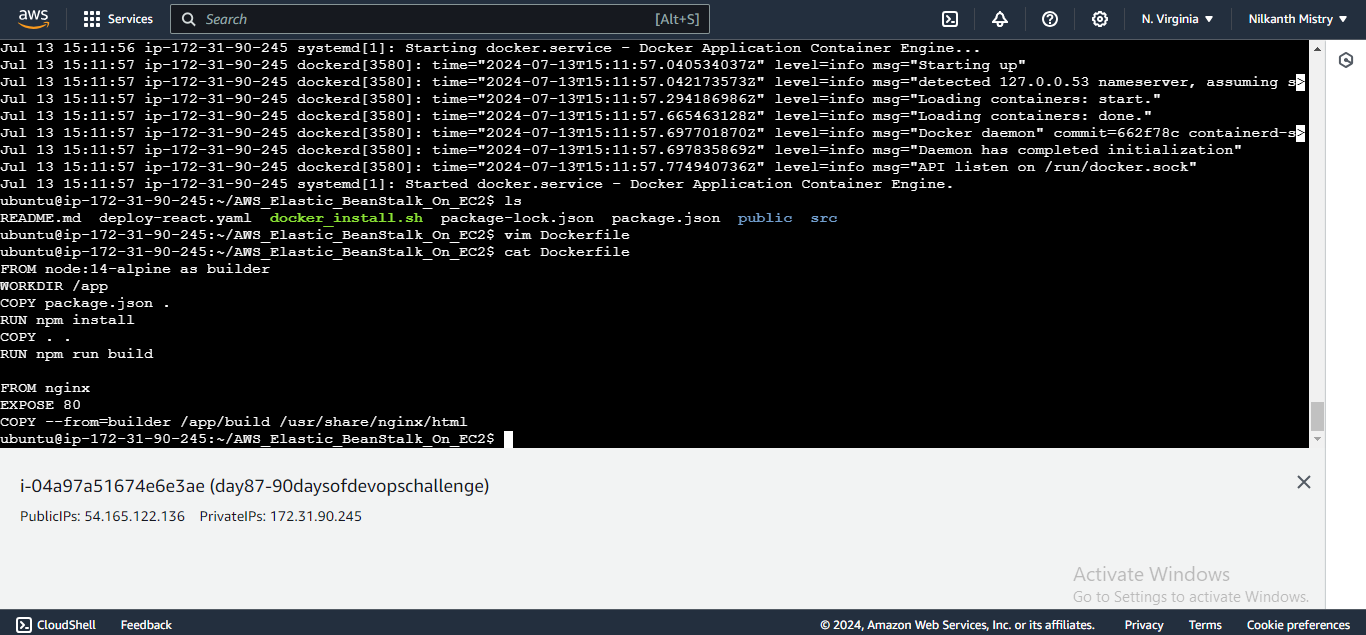
Create a Dockerfile in your project directory.
FROM node:14-alpine as builder
WORKDIR /app
COPY package.json .
RUN npm install
COPY . .
RUN npm run build

FROM nginx
EXPOSE 80
COPY --from=builder /app/build /usr/share/nginx/html
Step 4: Build the Docker Image 🖼️
Build the Docker image.
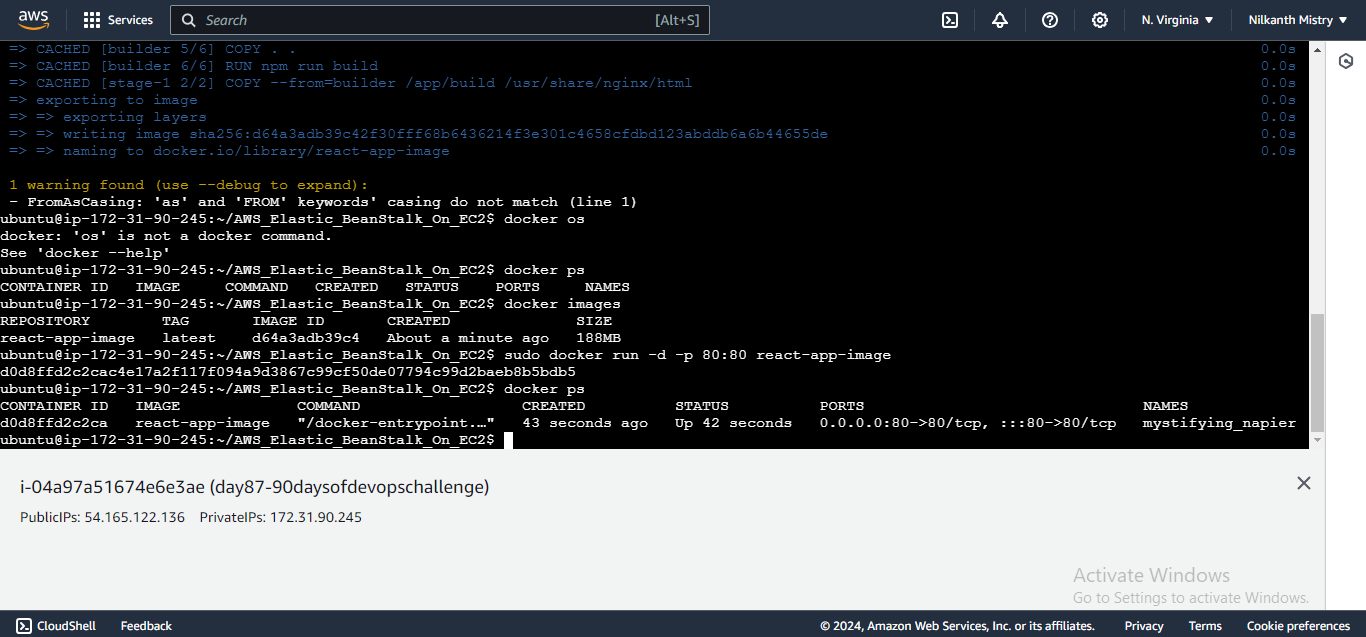
sudo docker build -t react-app-image .
Step 5: Run the Docker Container 🚢
Run the Docker container locally.
sudo docker run -d -p 80:80 react-app-image
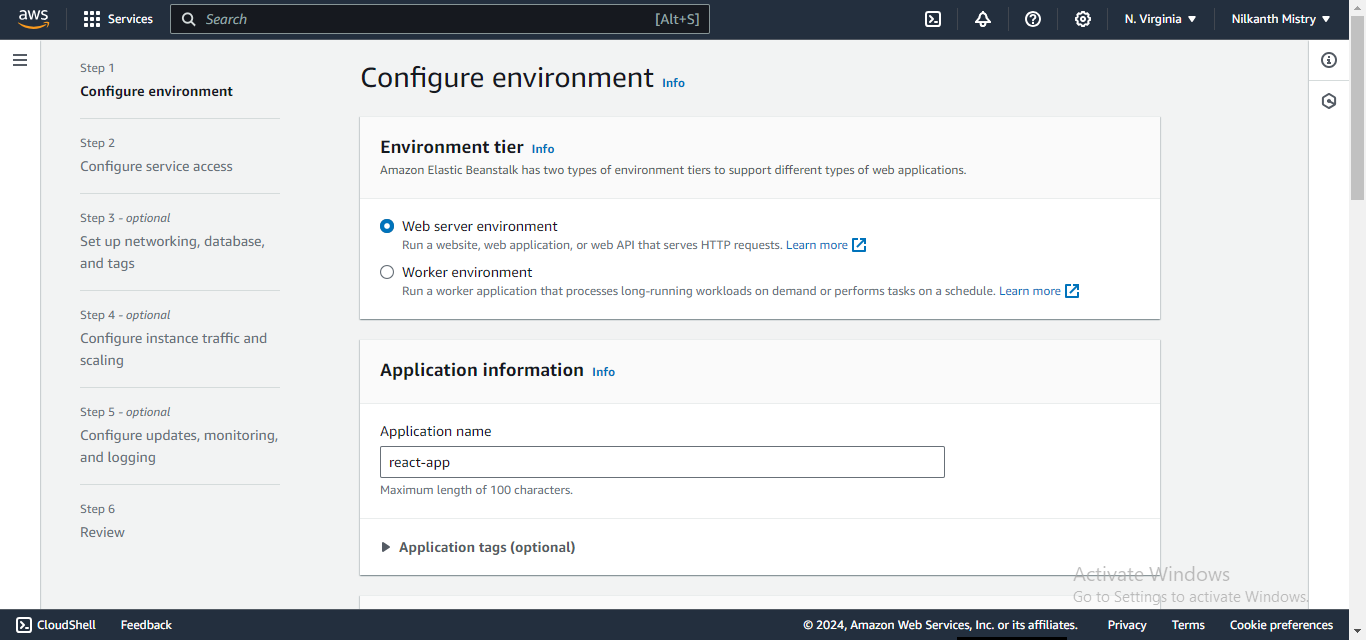
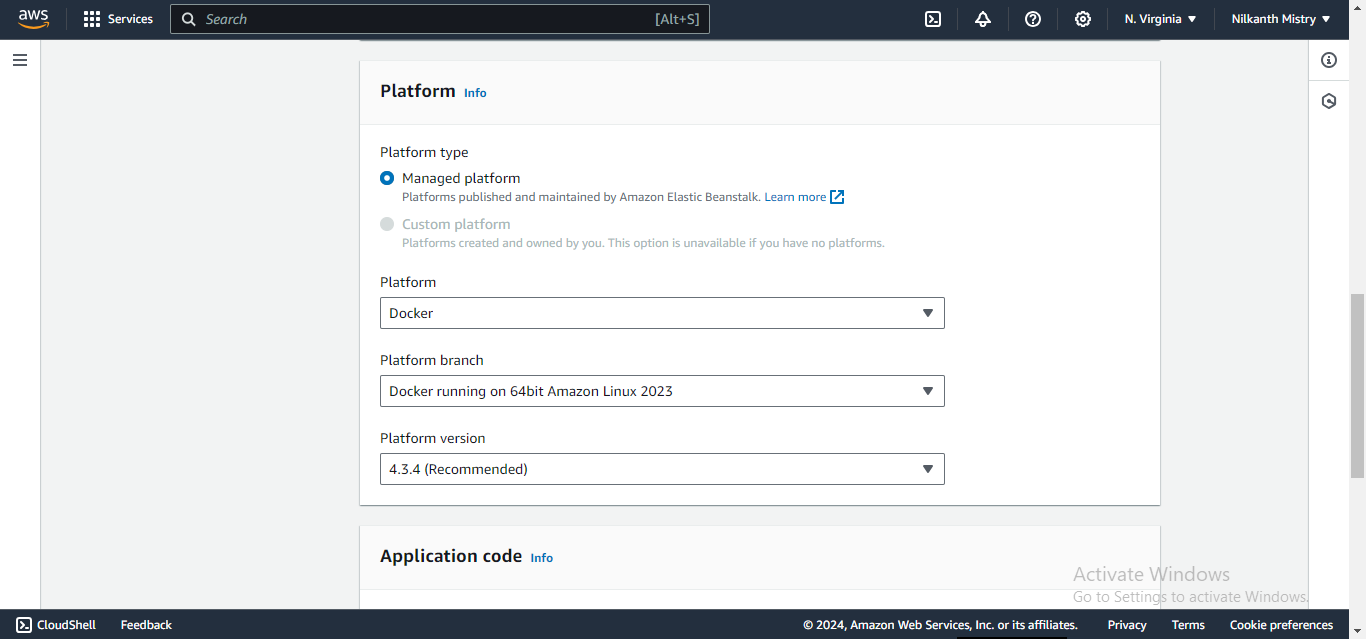
Step 6: Configure AWS Elastic Beanstalk ☁️
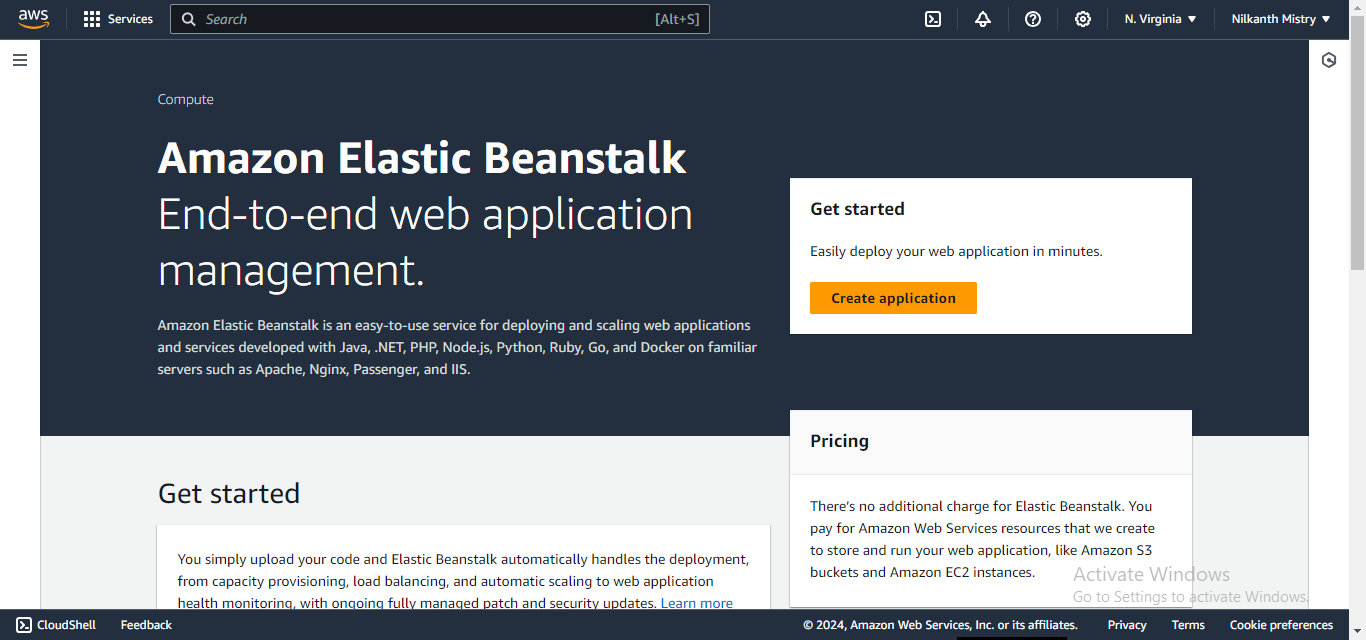
Go to AWS Elastic Beanstalk and create an application with Docker platform.
Step 7: Enable CI/CD with GitHub Actions 🤖
Create a GitHub Actions workflow (deploy-react.yaml) under .github/workflows.
name: Deploy React App to Elastic Beanstalk

on:
  push:
    branches:
      - main

jobs:
  deploy:
    runs-on: ubuntu-latest
    steps:
      - name: Checkout source code
        uses: actions/checkout@v2

      - name: Generate deployment package
        run: zip -r deploy.zip . -x '*.git*'

      - name: Deploy to Elastic Beanstalk
        uses: einaregilsson/beanstalk-deploy@v21
        with:
          aws_access_key: ${{ secrets.AWS_ADMIN_ACCESS_KEY_ID }}
          aws_secret_key: ${{ secrets.AWS_ADMIN_SECRET_ACCESS_KEY_ID }}
          application_name: react-app
          environment_name: React-app-env-2
          version_label: ${{ github.sha }}
          region: us-east-1
          deployment_package: deploy.zip
Step 8: Trigger GitHub Action CI/CD 🎯
Push your code to the main branch of your GitHub repository.
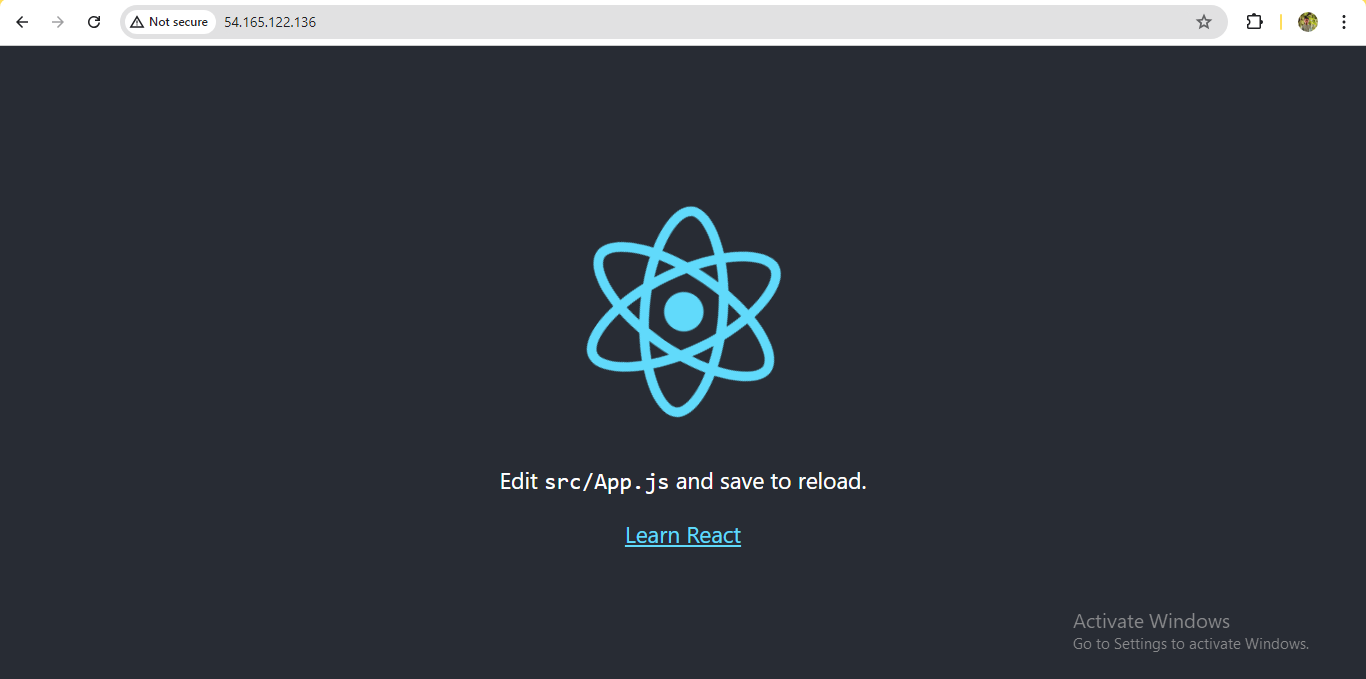
Step 9: Check the Result ✔️
Visit the Elastic Beanstalk URL to see your deployed React app.
Conclusion 🎉
Congratulations on automating the deployment of your React application on AWS Elastic Beanstalk using GitHub Actions! You've now set up a robust CI/CD pipeline that ensures your application is deployed efficiently. Stay tuned for more exciting projects in the #90DaysOfDevOpsChallenge!
Connect with Me 🌐
If you have any questions or feedback, feel free to leave a comment below. Don't forget to follow and clap for this blog if you found it helpful. Subscribe for more updates!
Happy coding! 🚀
Subscribe to my newsletter
Read articles from Nilkanth Mistry directly inside your inbox. Subscribe to the newsletter, and don't miss out.
Written by

Nilkanth Mistry
Nilkanth Mistry
Embark on a 90-day DevOps journey with me as we tackle challenges, unravel complexities, and conquer the world of seamless software delivery. Join my Hashnode blog series where we'll explore hands-on DevOps scenarios, troubleshooting real-world issues, and mastering the art of efficient deployment. Let's embrace the challenges and elevate our DevOps expertise together! #DevOpsChallenges #HandsOnLearning #ContinuousImprovement