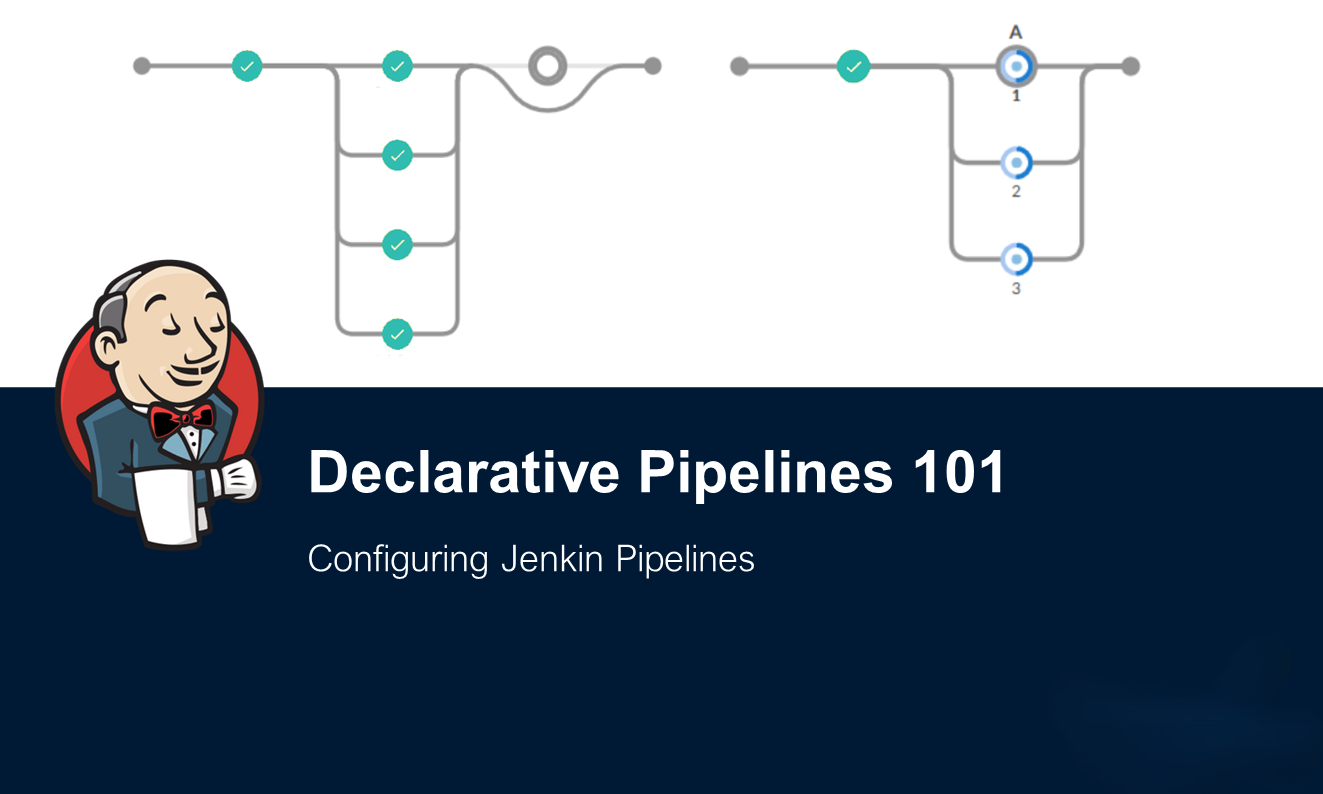
🌟Day 31: Jenkins Declarative Pipeline
 Ritesh Dolare
Table of Contents
✅ What is a Pipeline?
✅ Declarative Pipeline
✅ Scripted Pipeline
✅ Why Should You Have a Pipeline?
✅ Pipeline Syntax
⌛ Tasks
✅ Conclusion
✅ What is a Pipeline?
A pipeline is like a series of instructions for automating software delivery, from writing code to deploying it to users. Jenkins uses these instructions to ensure each step in the process happens smoothly and consistently, without needing someone to manually manage it all the time.
Imagine it like a conveyor belt in a factory: each stage adds something new until the final product is ready.
✅ Declarative Pipeline
A declarative pipeline is an easy-to-read and write way to define your automated steps. It's structured into several key parts:
Pipeline Block: This is the main block containing the entire pipeline definition.
Agent Block: Defines where the pipeline will run.
Stages Block: Breaks down the pipeline into different stages.
Steps Block: Contains the individual tasks within each stage.
Here's a detailed breakdown of each section:
Pipeline Block
The top-level block that holds everything else. It tells Jenkins that you're defining a pipeline.
Agent Block
Specifies which machine (agent) should execute the pipeline. For simple cases, you can use any to let Jenkins choose any available agent.
Stages Block
Groups the pipeline into different stages. Each stage represents a major phase of your delivery process, like building the code, running tests, and deploying the application.
Steps Block
Lists the individual tasks to be performed within each stage. These tasks are the actual commands or scripts that do the work.
Example:
pipeline {
    agent any
    stages {
        stage('Build') {
            steps {
                echo 'Building...'
            }
        }
        stage('Test') {
            steps {
                echo 'Testing...'
            }
        }
        stage('Deploy') {
            steps {
                echo 'Deploying...'
            }
        }
    }
}
✅ Scripted Pipeline
A scripted pipeline is another way to write pipelines using Groovy (a programming language). This method offers more flexibility and control but requires some programming knowledge.
Key components of a scripted pipeline:
Node Block: Defines where the pipeline will run.
Stage Block: Groups steps that represent a specific part of the process.
Example:
node {
    stage('Hello world') {
        sh 'echo Hello World'
    }
}
Think of scripted pipelines as more powerful but a bit more complex compared to declarative pipelines. They are great for advanced users who need more control and flexibility.
✅ Why Should You Have a Pipeline?
Using Jenkins pipelines offers several benefits:
Code as Configuration: Pipelines are written as code, making them easy to edit, share, and version control.
Resilient: If the server restarts unexpectedly, the pipeline resumes from where it left off.
Interactive: You can pause the pipeline and wait for user input before continuing.
Scalable: Supports running many jobs and using loops for repetitive tasks.
In essence, pipelines help automate and streamline your software development process, making it faster and more reliable.
✅ Pipeline Syntax
Here's a simple example of a declarative pipeline:
pipeline {
    agent any
    stages {
        stage('Hello') {
            steps {
                echo 'Hello, world!'
            }
        }
    }
}
This pipeline has one stage called "Hello" and one step within that stage that prints "Hello, world!" to the console.
⌛ Tasks:
Create a New Job:
Log in to Jenkins and click on "New Item".
Enter a name for your job, for example, "HelloWorld_Declarative".
Select "Pipeline" as the job type.
Click "OK" to create the job.
Configure Pipeline:
In the job configuration page, scroll down to the "Pipeline" section.
Choose "Pipeline script from SCM" as the Definition.
Select your preferred SCM (like Git or SVN) and provide the repository URL.
Leave the branch as master or main, or specify the branch you want to use.
Click "Save" to save your configuration.
Write Declarative Pipeline Script:
In your source code repository, create a file named
Jenkinsfile(without any file extension) at the root directory.Open
Jenkinsfilein a text editor and write the following Declarative Pipeline script:
    pipeline {
        agent any
        stages {
            stage('Hello') {
                steps {
                    echo 'Hello, world!'
                }
            }
        }
    }
Commit and Push Changes:
- Save and push the
Jenkinsfileto your repository.
- Save and push the
Run the Job:
Go back to Jenkins and navigate to your job.
Click on "Build Now" to trigger a new build.
Jenkins will fetch the
Jenkinsfilefrom your repository, execute the pipeline, and display the "Hello, world!" message in the build output.
✅ Conclusion
In conclusion, Jenkins pipelines offer a powerful way to automate software delivery processes, enabling teams to efficiently build, test, and deploy applications. With options like Declarative and Scripted pipelines, developers can choose the approach that best fits their needs, balancing simplicity and flexibility. By defining pipelines as code, Jenkins streamlines continuous integration and continuous delivery workflows, helping teams deliver high-quality software more rapidly and reliably.
Happy learning! 😊
Subscribe to my newsletter
Read articles from Ritesh Dolare directly inside your inbox. Subscribe to the newsletter, and don't miss out.
Written by

Ritesh Dolare
Ritesh Dolare
👋 Hi, I'm Ritesh Dolare, a DevOps enthusiast dedicated to mastering the art of DevOps.