AWS cost optimization practices
 Bandhan Majumder
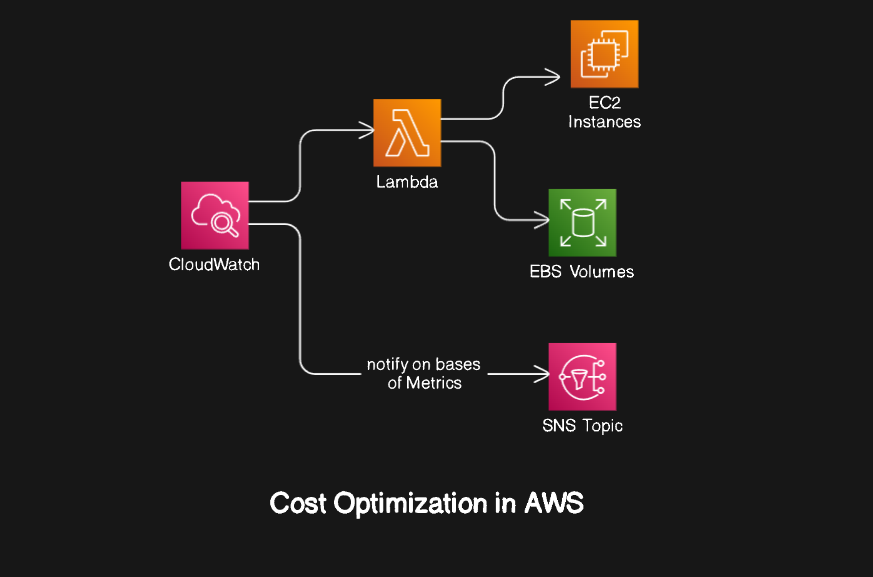
One of the main reasons for people shifting from on-premises to the cloud is Cost Optimization. While you don't have to handle maintenance, failing to optimize the cloud can lead to exorbitant costs. AWS Lambda is one of the most popular services that help manage costs by only charging for the compute time you consume. It can be triggered by events from various services like S3 buckets, DynamoDB, CloudWatch, and many more, making it a versatile tool in your cost optimization toolkit. This blog will demonstrate two examples.
Deleting stale snapshots automatically using Lambda functions
Configuring CloudWatch and SNS to send email notifications to the user of a predefined metric of EC2.
We will also see how to optimize both examples further.
Pre-requisites:
AWS account
You need an AWS account and that's it. You can follow this blog.
Cost-optimization techniques :
The techniques to optimize costs are endless. In this first example, we will see how to delete stale snapshots. stale resources are the resources that are no longer required.
Delete stale snapshots using Lambda and CloudWatch:
Step 1:
Launch an EC2 instance with the setting by default while keeping the
AMIas Ubuntu. Go with default volumes as they are sufficient to demonstrate this tutorial.
Now it's time to create snapshots. But at first, we need to know about the volume of the current running instance.
To the storage section click on the instance and you will see something like this...

Here, note that
vol-0d8721289e4b5b5b9this is the volume we want to take a snapshot of.Step 2:
On the left hand, click on the snapshots option.
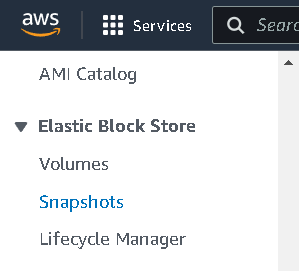
Now, click on
create snapshotand as we have only one volume, select thevolumesection and choose the volume of the instance that was created while launching our instance and then click oncreate snapshot.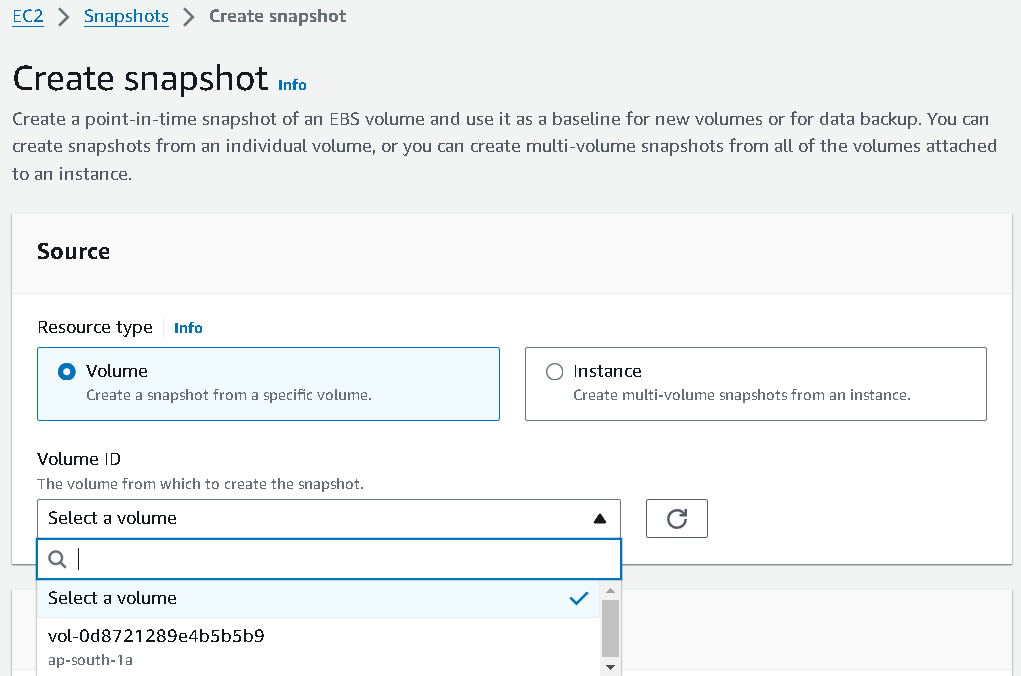
Now, the snapshot will be created and the dashboard will look like this:

Step 3: Create an IAM role
Set up policy:
There are two things, IAM role and IAM users. just like IAM users get selected permissions to perform tasks, IAM roles define permission for services. So we need to assign a role to the
Lambda serviceto do the task such asDescribeSnapshots,DescribeInstances,DeleteVolumesacross all regions or the region you want to set.Go to the IAM section and create a
policyfirst and then we will add that policy to the role.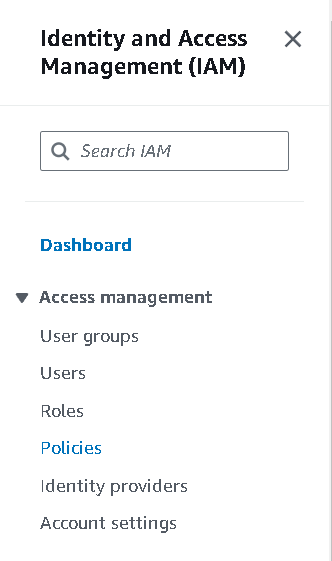
Click on
create a policy
Select service as
EC2as we are permitting deleting snapshots of EC2 instances.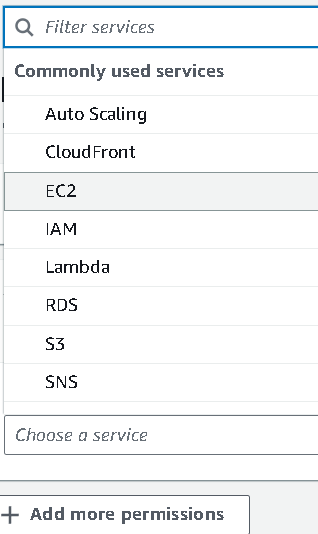
You can give all permissions of EC2 across all regions for ease. But that is not a good practice. So we will specify the permissions we need.
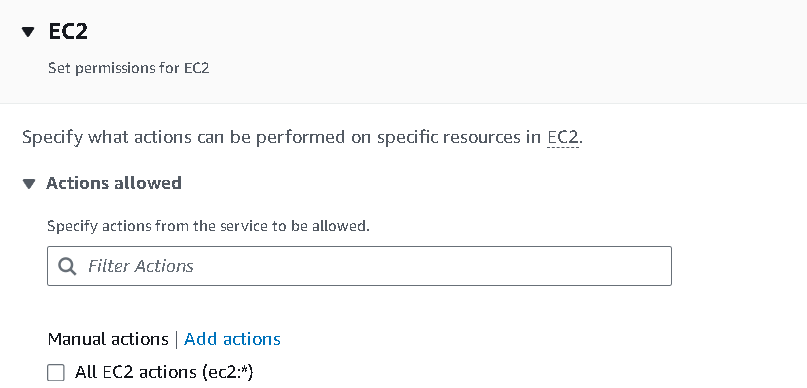
Go to the list section and allow the
DescribeInstancespermission.
also, search for
DescribeVolumesand allow the permission from there,
Also, allow
DescribeSnapshotsfrom that list.
Next, we have to allow the
DeleteSnapshotpermission which you can find inwritesection.
All the permissions are set. Set the
ARNas all, if you want to be specific, you can.
next, give the policy a name, give a description if you want, and create the policy.
Set up Role:
Go to the roles section, above the Policy section.
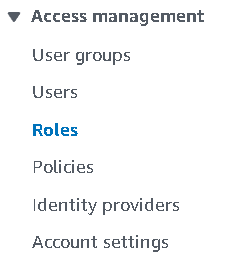
Select
AWS serviceand selectservice or use caseas Lambda ( cause we are permitting the Lambda service )Search for the policy name you created and add that to the role.
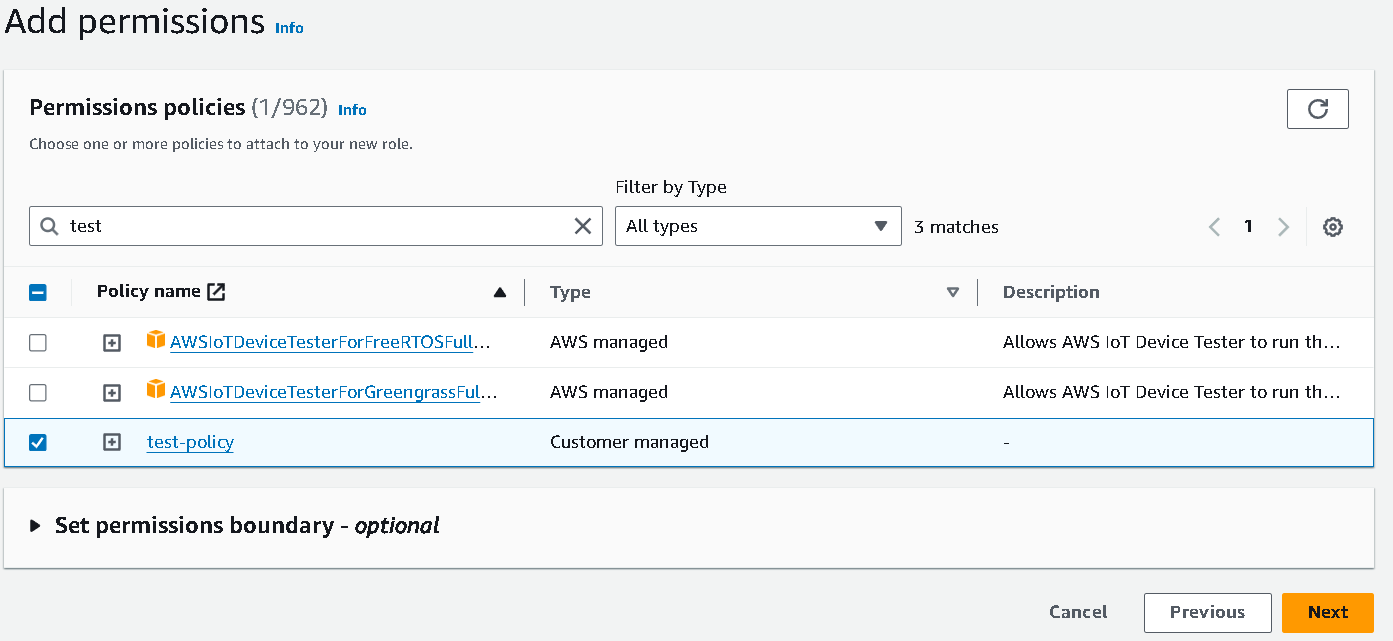
Next, give your role a name and click on
create role.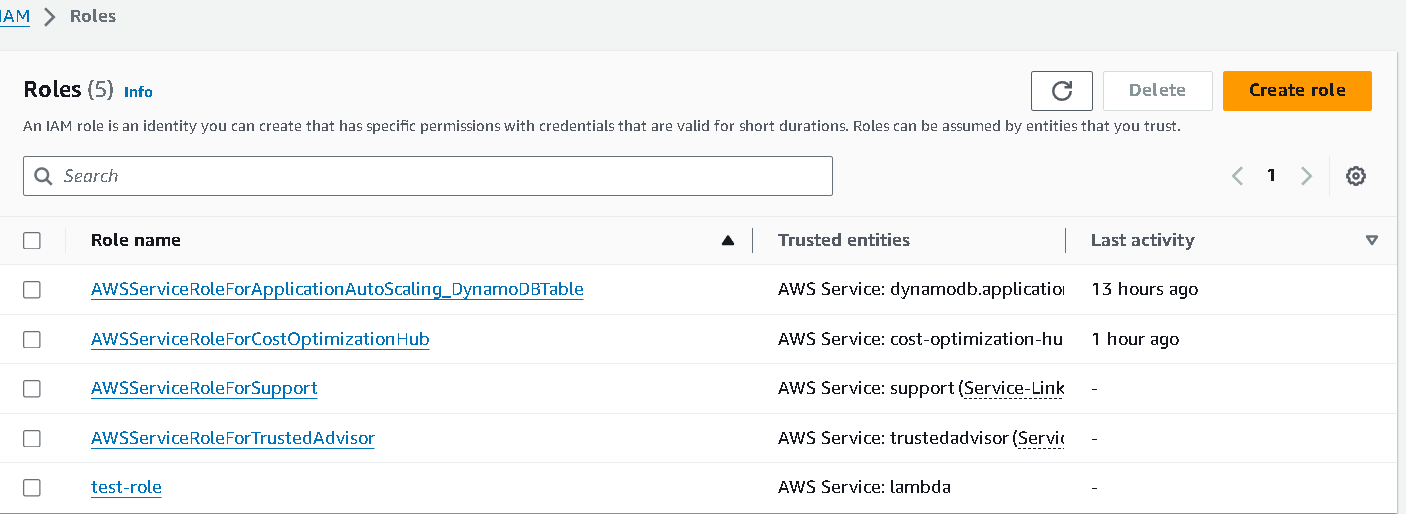
The dashboard will show your newly created role for Lambda service.
Step 4:
It's time to set up the Lambda function to start monitoring and deleting stale resources.
Go to the
servicessection and search for lambda.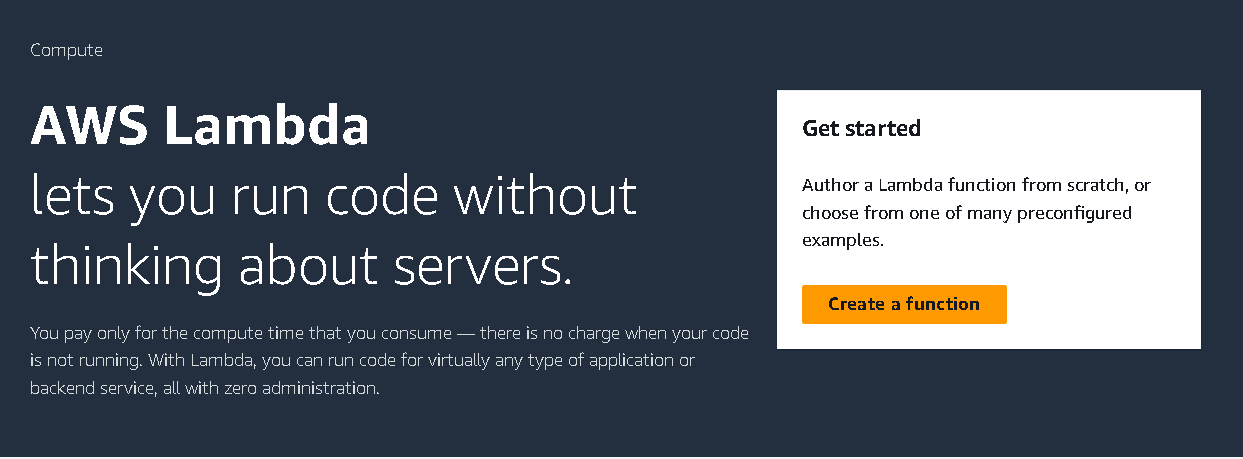
Let's create a function.
Select
Author from scratchGive a name
Choose runtime as Python (Python 3.9)
Keep the rest as default.
Go to
Change default execution rolesettings and choose the second option and select the role we just created now and create the function.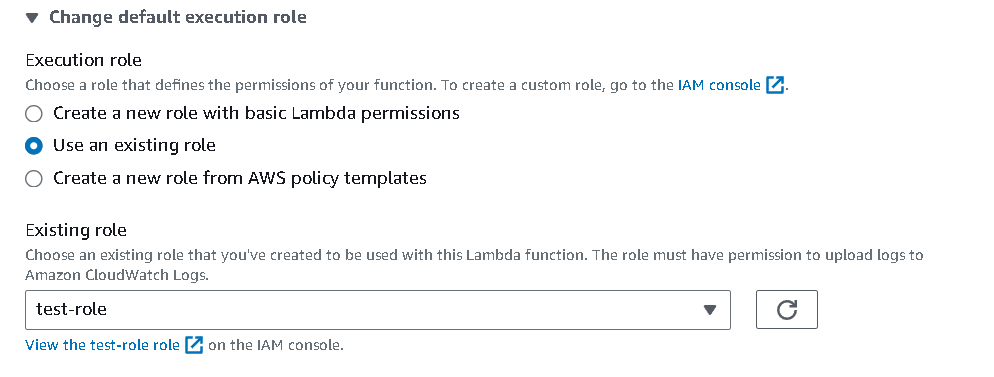
After creating the function, go to the code section and replace the existing code with this -
 import boto3

 def lambda_handler(event, context):
     ec2 = boto3.client('ec2')

     # Get all EBS snapshots
     response = ec2.describe_snapshots(OwnerIds=['self'])

     # Get all active EC2 instance IDs
     instances_response = ec2.describe_instances(Filters=[{'Name': 'instance-state-name', 'Values': ['running']}])
     active_instance_ids = set()

     for reservation in instances_response['Reservations']:
         for instance in reservation['Instances']:
             active_instance_ids.add(instance['InstanceId'])

     # Iterate through each snapshot and delete if it's not attached to any volume or the volume is not attached to a running instance
     for snapshot in response['Snapshots']:
         snapshot_id = snapshot['SnapshotId']
         volume_id = snapshot.get('VolumeId')

         if not volume_id:
             # Delete the snapshot if it's not attached to any volume
             ec2.delete_snapshot(SnapshotId=snapshot_id)
             print(f"Deleted EBS snapshot {snapshot_id} as it was not attached to any volume.")
         else:
             # Check if the volume still exists
             try:
                 volume_response = ec2.describe_volumes(VolumeIds=[volume_id])
                 if not volume_response['Volumes'][0]['Attachments']:
                     ec2.delete_snapshot(SnapshotId=snapshot_id)
                     print(f"Deleted EBS snapshot {snapshot_id} as it was taken from a volume not attached to any running instance.")
             except ec2.exceptions.ClientError as e:
                 if e.response['Error']['Code'] == 'InvalidVolume.NotFound':
                     # The volume associated with the snapshot is not found (it might have been deleted)
                     ec2.delete_snapshot(SnapshotId=snapshot_id)
                     print(f"Deleted EBS snapshot {snapshot_id} as its associated volume was not found.")
click on the
deployand the code will be deployed and saved.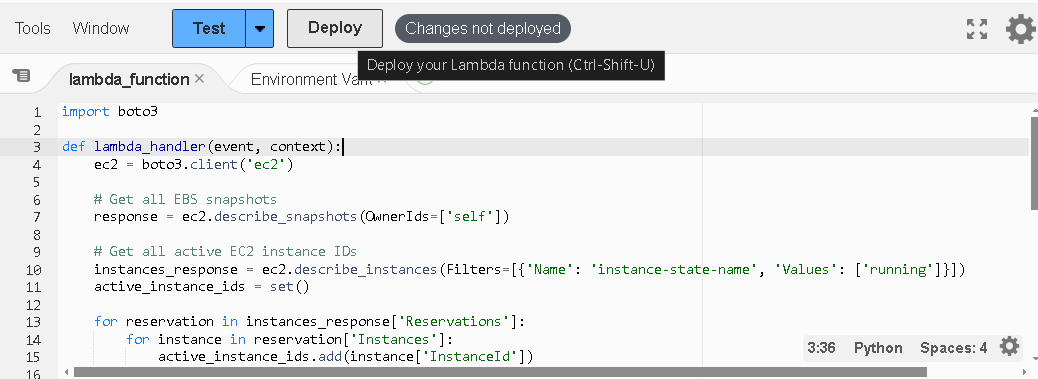
Step 5: Error handling
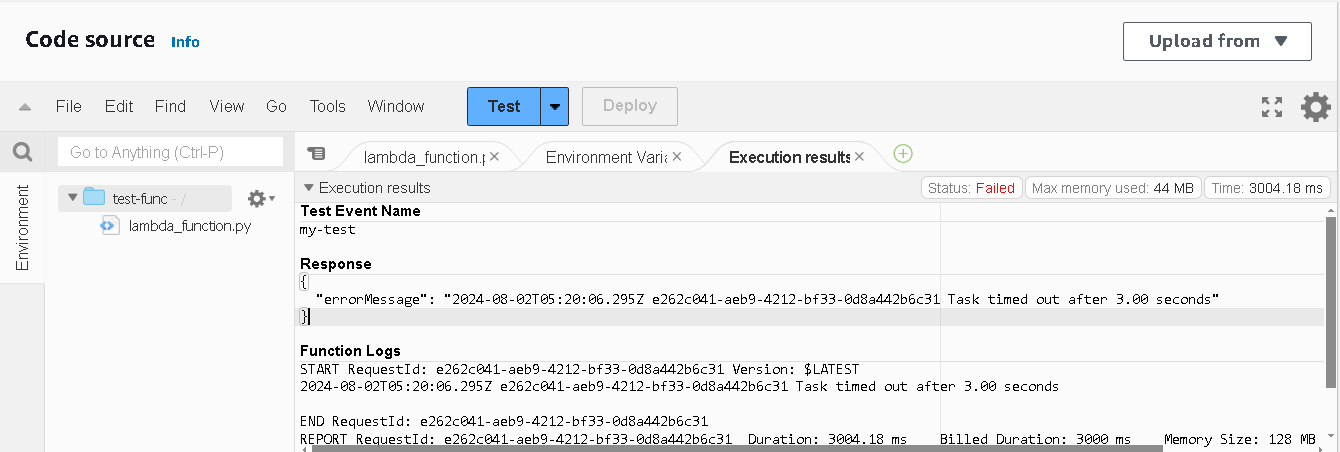
You might see this error after clicking on
Test. We need to increase the Task time to resolve this issue. To do that, go to configuration -> general config -> edit
set timeout as
10seconds, and save. By default, the timeout is3 secfor Lambda function.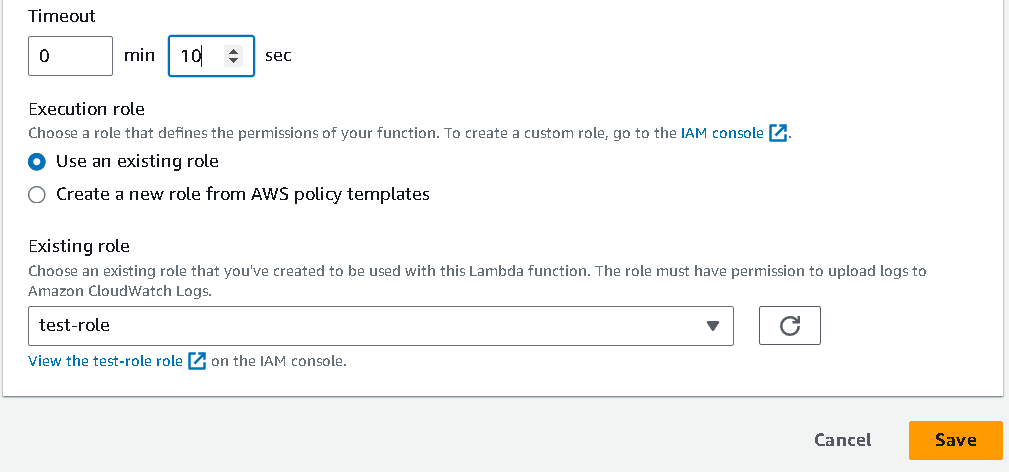
Now if you try to test the code, it will show a success.

Step 6: Terminate the instance
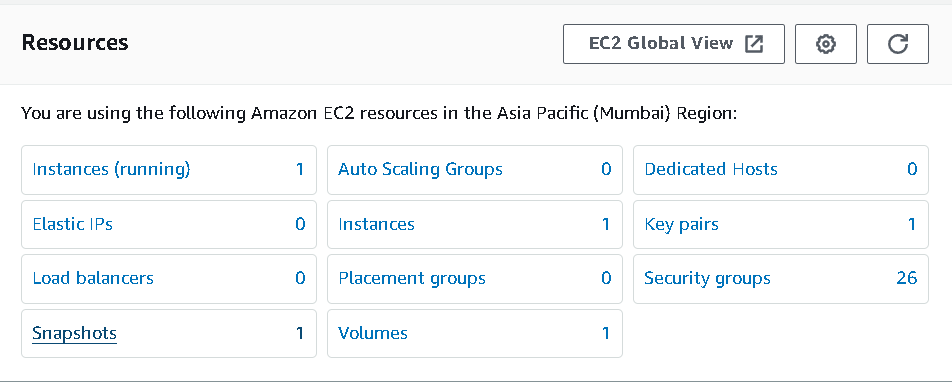
Before:
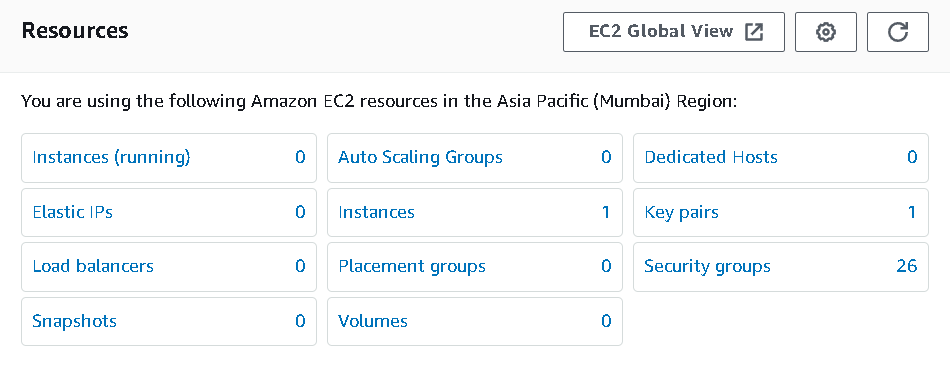
Check the snapshot for the running instance. If you see the EC2 dashboard, one instance is running, volume is attached to the snapshot, so the lambda function will not delete the snapshot.
After:
Delete the instance and wait for the volume to get deleted.
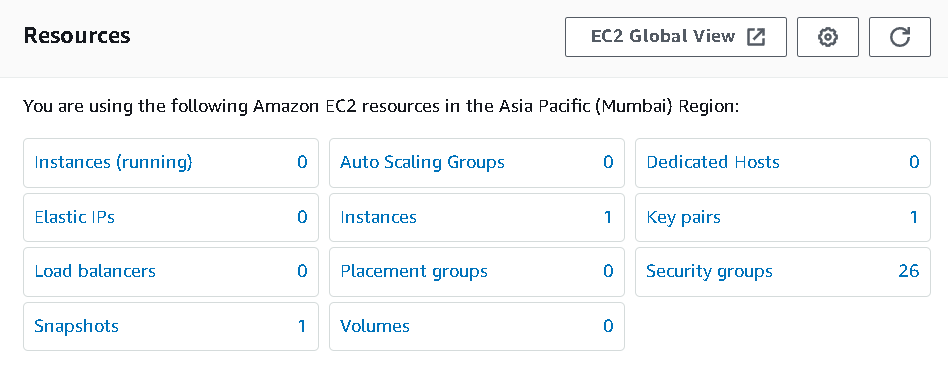
As you can see, we still have one snapshot after deleting the volumes. So it's a stale resource, right?
Step 7: Test lambda function
Now test the lambda function and you will see the snapshot has been deleted automatically.
Tips: Here we have triggered the function manually. But we can use AWS
cloudwatchservice to trigger the lambda function on the scheduling bases ( cronjobs )CPU utilization with EC2, SNS and CloudWatch :
Step 1: Create an Instance first:-
Create an instance with Ubuntu AMI and make sure that
auto assign public IPoption is enabled.
Step 2: Select metrics
Go to the Cloudwatch service and select the
all metricssection.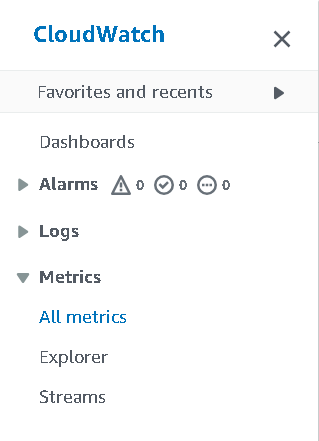
From there, select
EC2and then selectaccross all instances. If that option is not available for you, chooseper-instance metricswhich will specify the action for that instance only.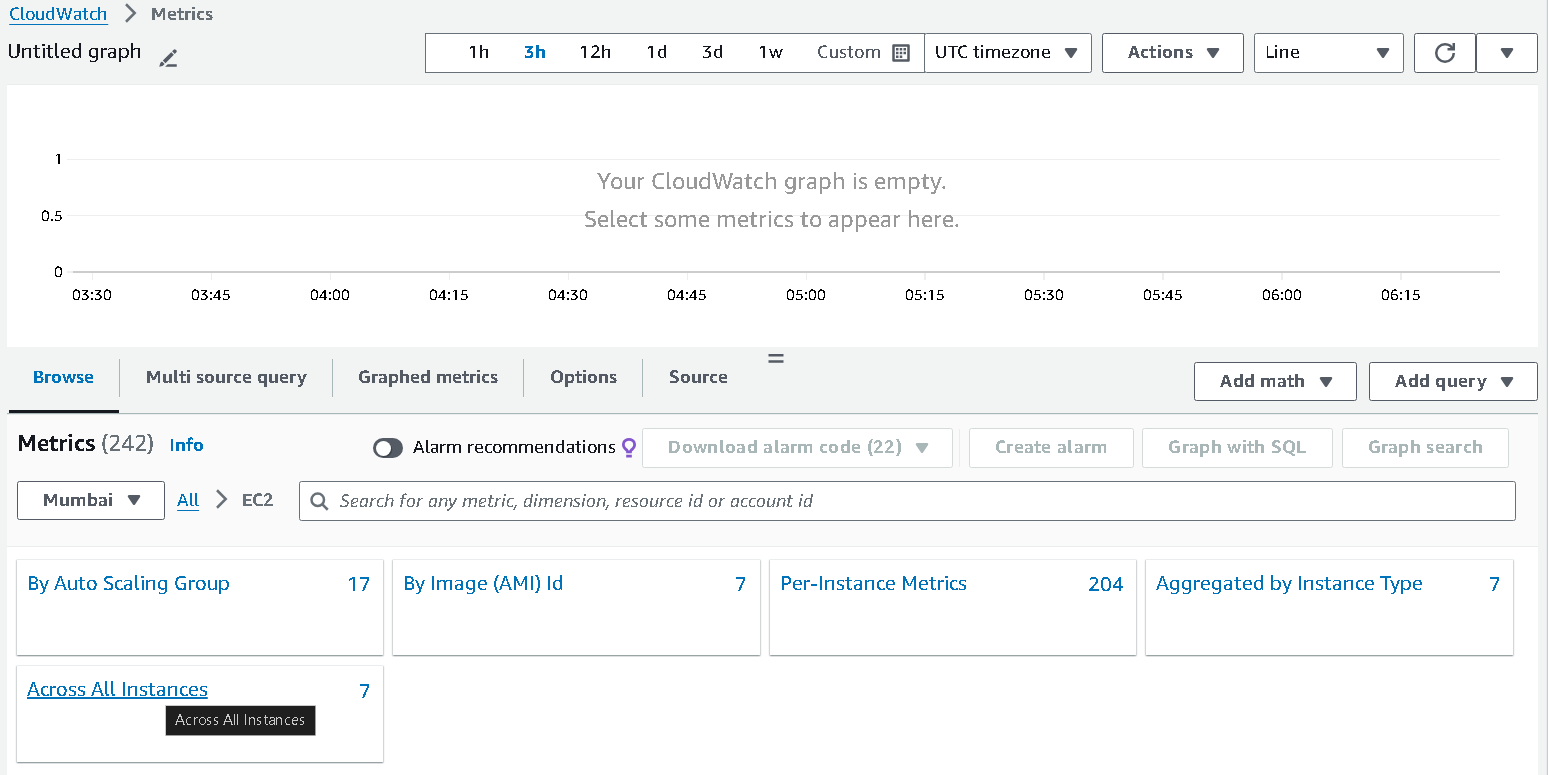
From there, search for the metric
CPUUtilizationand select 1h from the top which will show the CPU usage for last 1hr.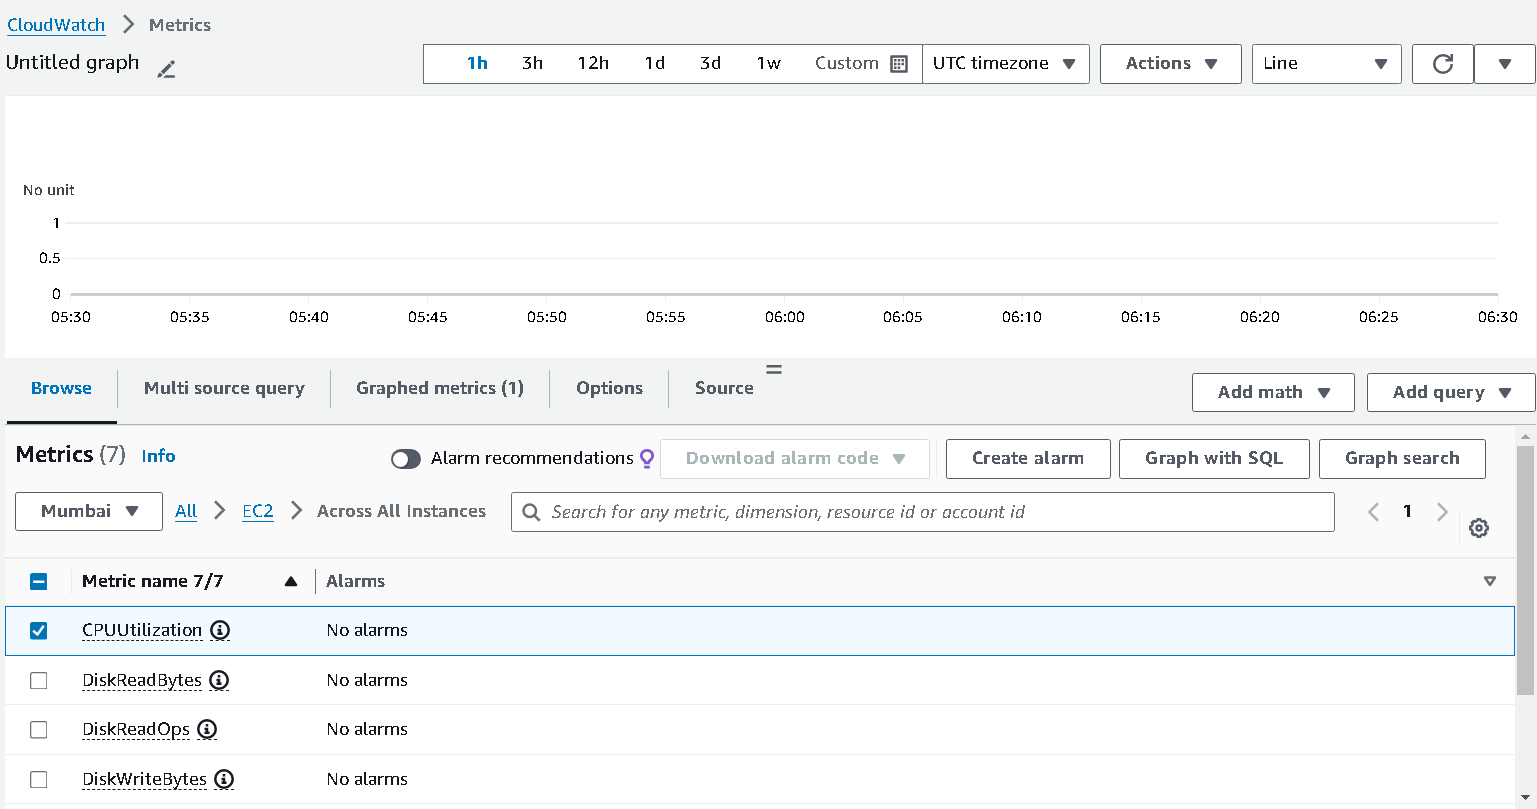
These metrics can also be monitored from the
monitoringsection of an EC2 instance.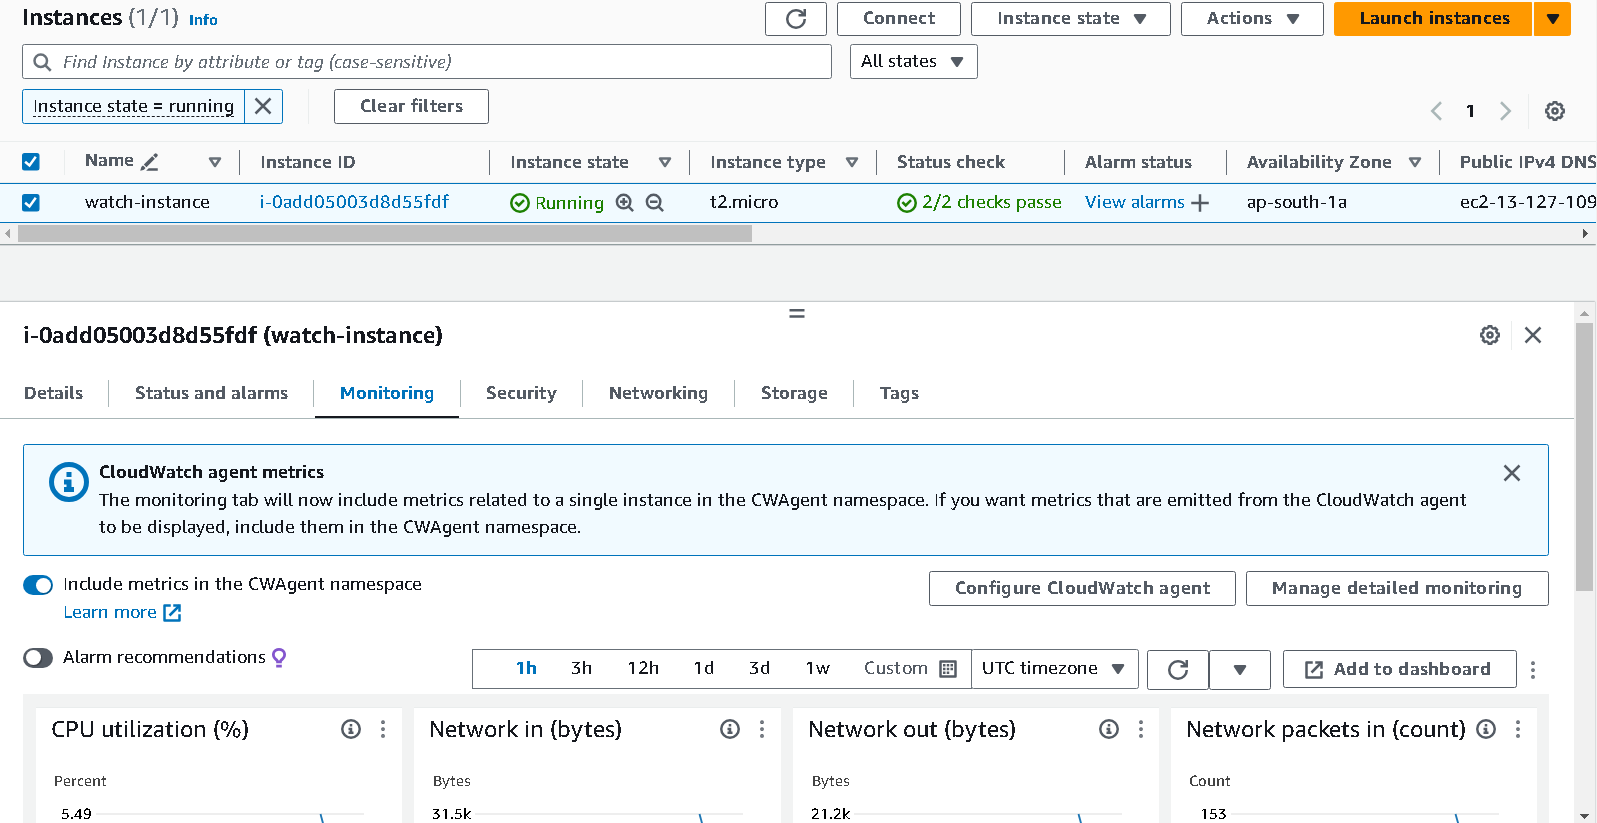
By default EC2 instances sends information about their state to CloudWatch every 5 minutes. But for this demo, we will be customising it to the 1 minute.
For that, enable
detailed monitoringfrom the left side andenablethe option.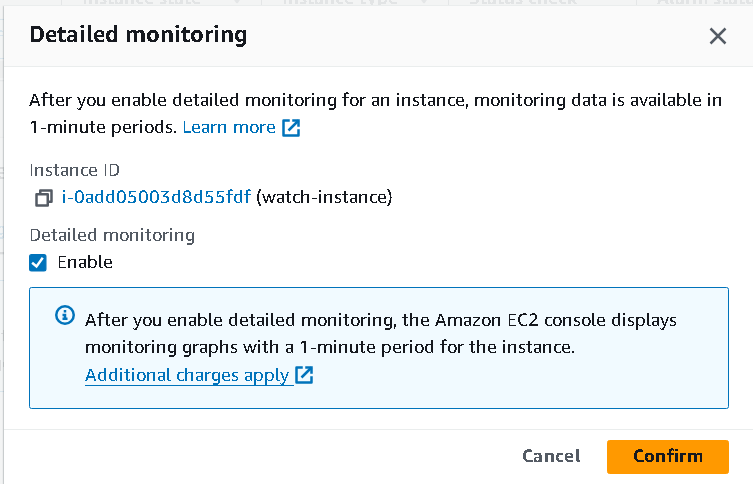
Okay. Now our metric is set.
Step 3: Set the alarm
Go to the alarms section and select
in alarmand create an alarm with below config.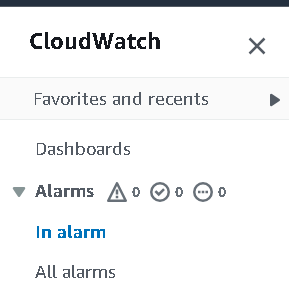
Go to
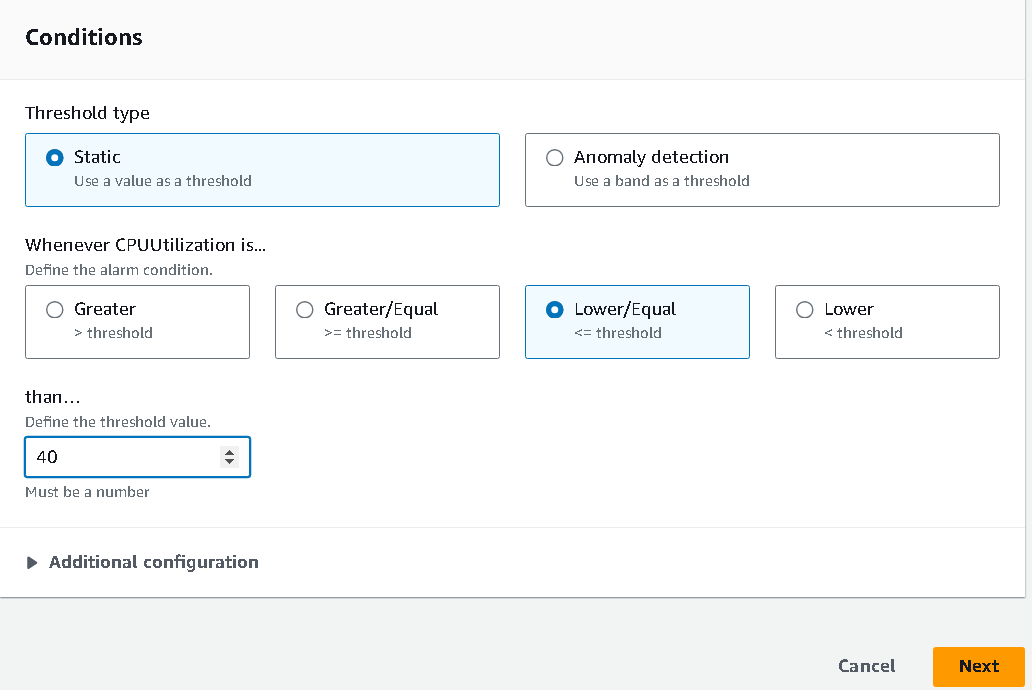
select metric->EC2( as we want to monitor metric for EC2 instance ) ->Accross all instances-> chooseCPUUtilizationmetric.If you are going for
per-instance-metrics, make sure to choose theidmatching with the running instance's id.I have set it as maximum of 1 minute to watch before alarming. You can do average as well.
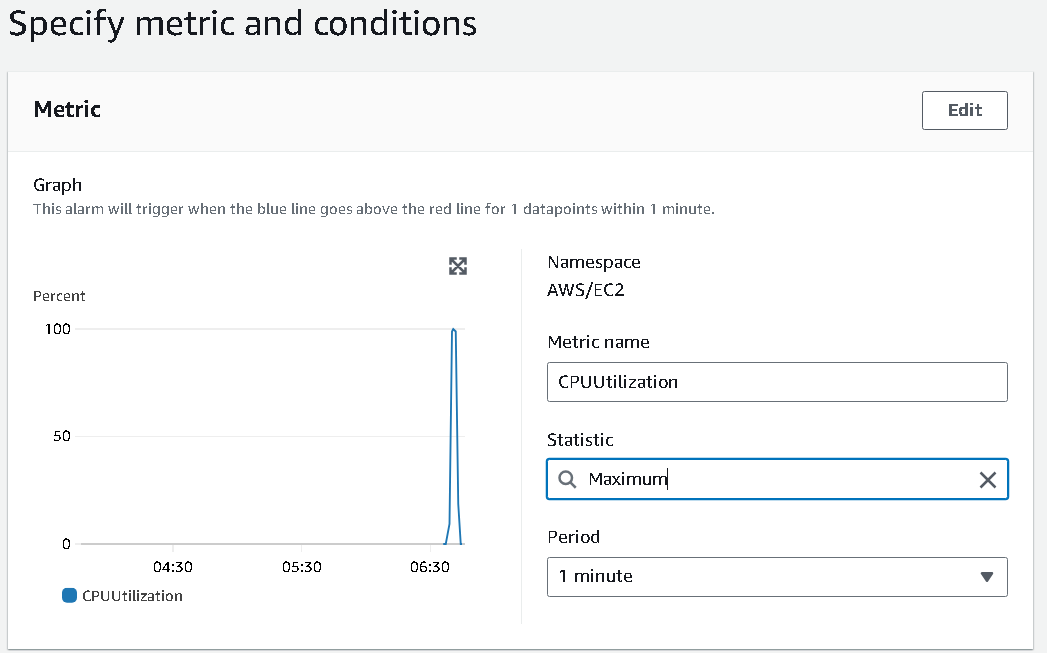
I am going to configure the alarm if the EC2 is using less than 40 percent of the CPU.
Step 4: Set the SNS topic
We will send email notification. For that, we will use SNS (Simple Notification Service).
Click on
create new topic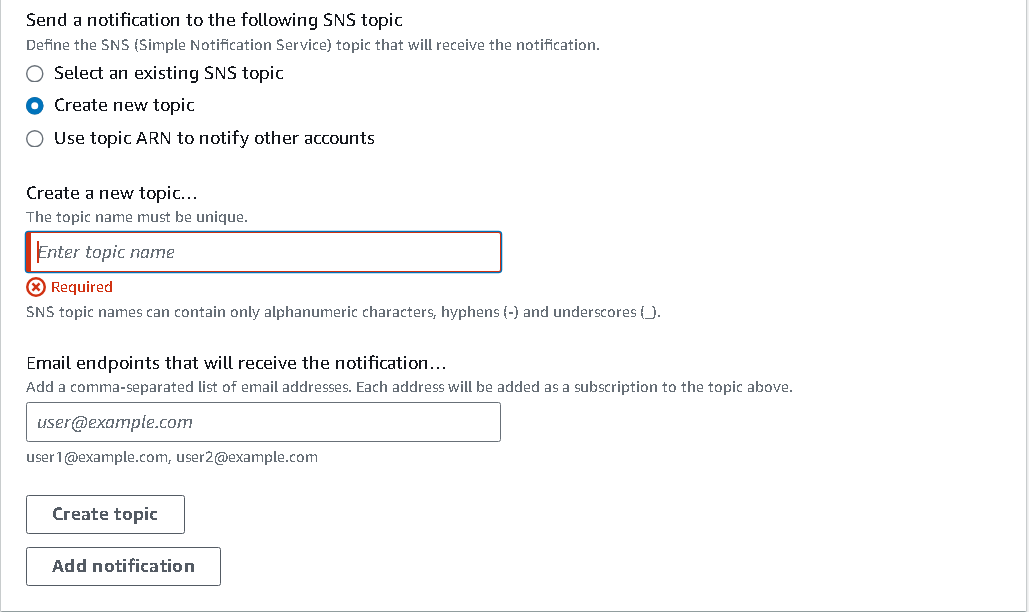
Enter name and an email where you want to be notified and create the topic.
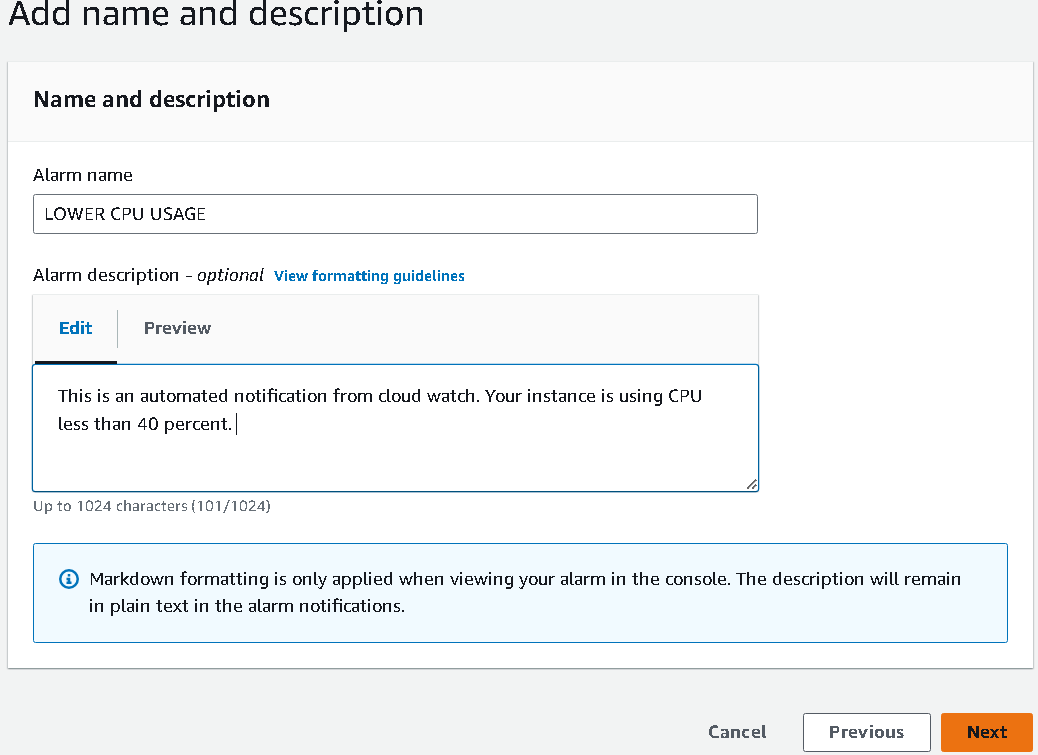
Select the custom message and save it in the next stage.
Step 4: Subs confirmation
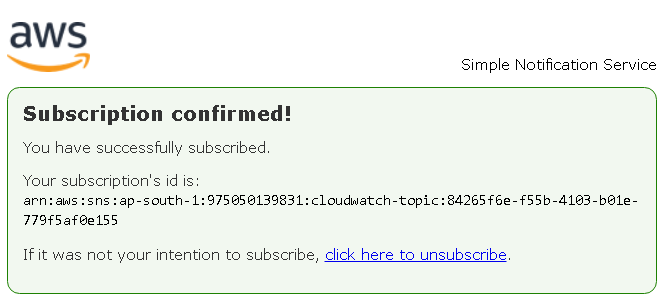
In your mail box, AWS will send a notification to confirm this subscription. Click on confirm subscription.

Step 5: Get notified
If you run
topcommand on the instance, you will see that CPU consumption is near about zero as we are not performing anything to that instance.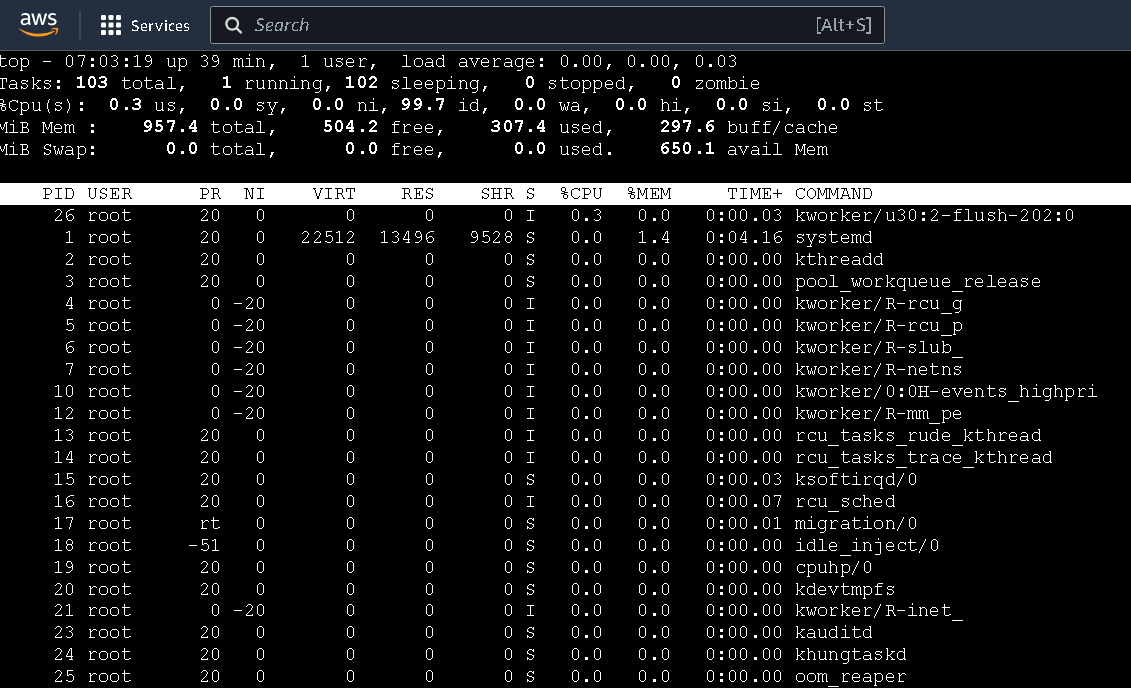
if you check the alarm now, it will be triggered.

and that mail will receive a notification regarding this...
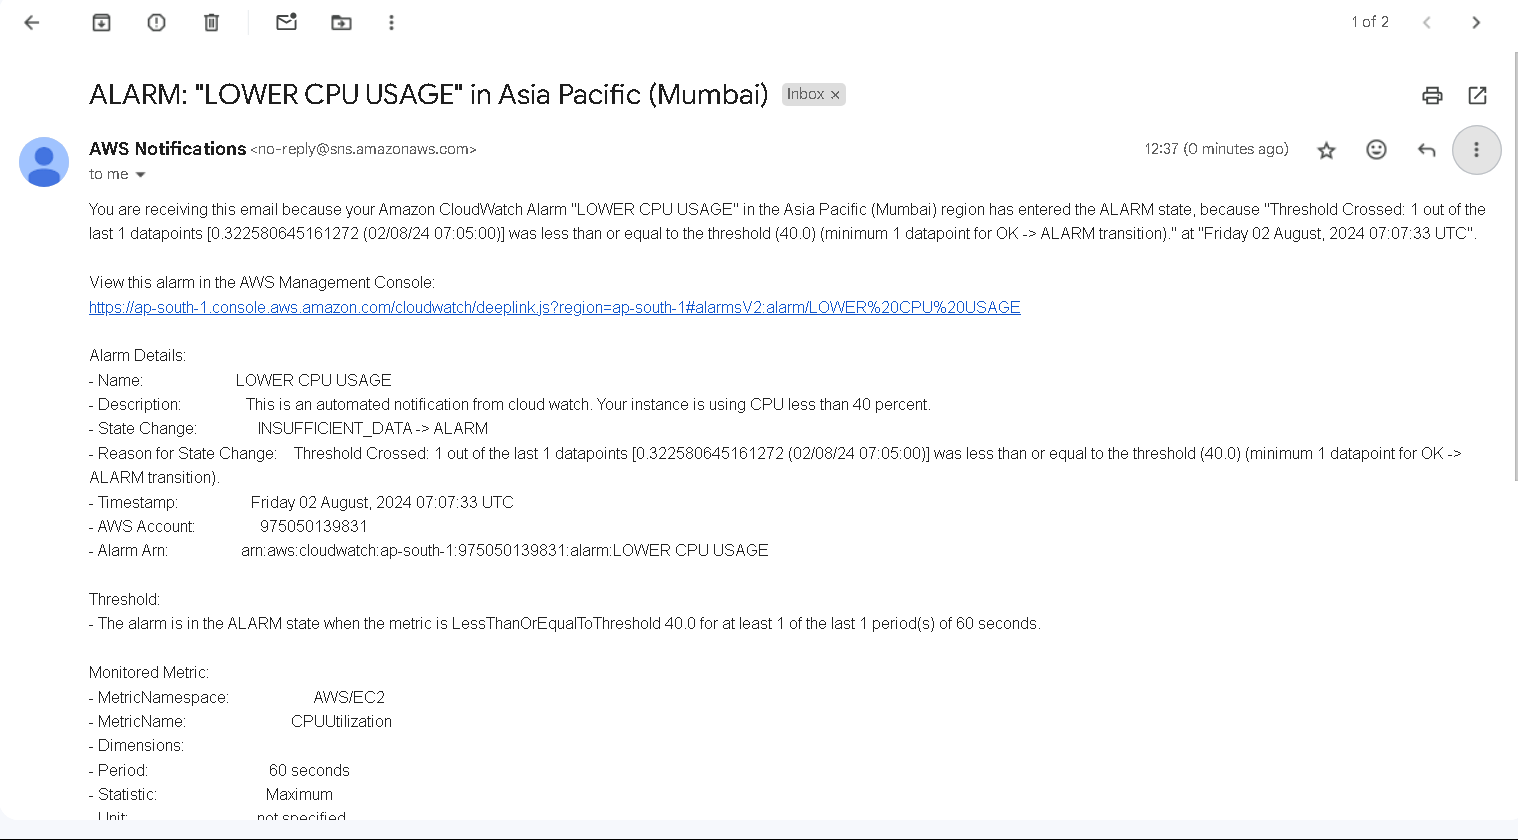
Tips: We can automate the creation and deletion of EC2 instances and run it on a scheduled basis and look for metrics to send notifications via mail or Slack.
To automate this, the below will be used for Lambda function.
Lambda code reference to stop EC2:
 import boto3
 region = '<enter_your_region>'
 instances = ['<instanceid_1', 'instanceid_2']
 ec2 = boto3.client('ec2', region_name=region)

 def lambda_handler(event, context):
     ec2.stop_instances(InstanceIds=instances)
     print('stopped your instances: ' + str(instances))
Lambda code reference to start EC2:
 import boto3
 region = '<enter_your_region>'
 instances = ['<instanceid_1', 'instanceid_2']
 ec2 = boto3.client('ec2', region_name=region)

 def lambda_handler(event, context):
     ec2.start_instances(InstanceIds=instances)
     print('started your instances: ' + str(instances))
replace the region and instance ID with your region and EC2's ID.
Yay, we have seen two ways to optimize the cost for AWS services 🎉!
Subscribe to my newsletter
Read articles from Bandhan Majumder directly inside your inbox. Subscribe to the newsletter, and don't miss out.
Written by

Bandhan Majumder
Bandhan Majumder
I am Bandhan from West Bengal, India. I write blogs on DevOps, Cloud, AWS, Security and many more. I am open to opportunities and looking for collaboration. Contact me with: bandhan.majumder4@gmail.com