Develop a Local Server and Deploy Your Website Publicly for Free
 Diwash Mainali
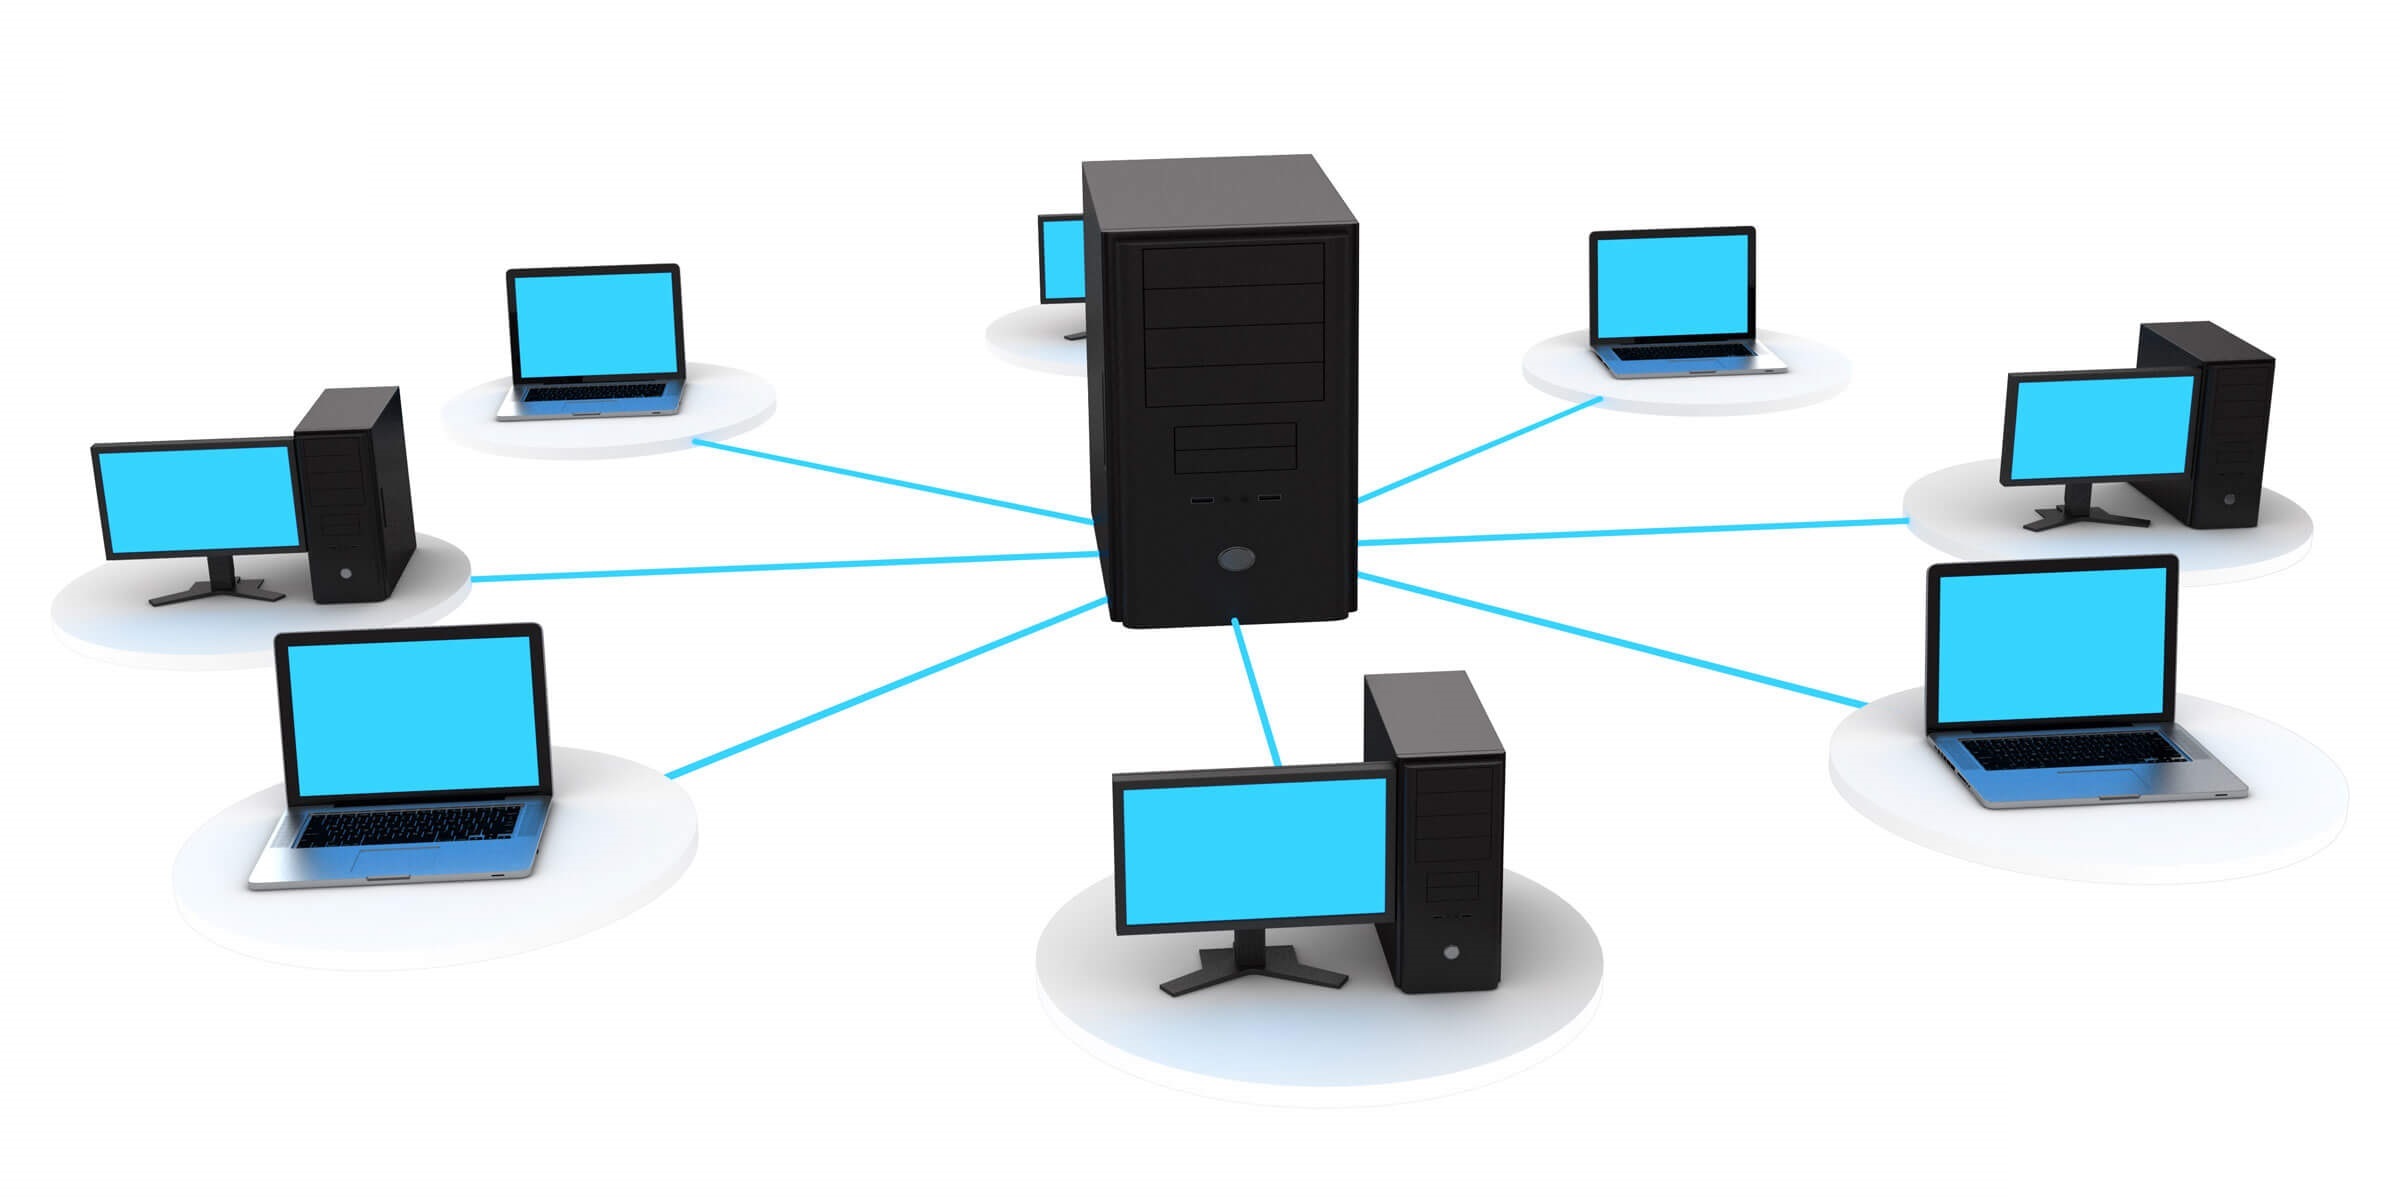
In the previous blog I have shown how can you create your own development environment in your LAN. You can utilize your old computer hardware and convert it to LAN server with shared files across the network. Now In this blog I will show you how can you deploy the application you made publicly for absolutely free. The benefits of doing this are:
Show your local project globally without need to buy any domain or get static IP.
Collaborate with other developer for sharing APIs across network publicly.
Let's get started:
Setup Port forwarding
Port forwarding the process of redirecting the request coming in particular IP/domain to the particular port of a host machine. For eg: If any server have apache2 installed then the port of apache2 host is 80. So, when you have to bind a domain name or your IP then you will instruct it to redirect to the port:80 of the server where apache2 is present. It is known as a port forwarding. Since we don't have any static IP nor domain, we will use a ngrok for port forwarding our port of laptop to global server. Register ngrok account and setup it on your Linux machine. For this blog I will be using Ubuntu Distribution.
After setting up ngrok get the static domain. It is not compulsory but it will make your life easier. The domain name will not change every time you start ngork.
Installing Apache2 & MySQL
You can install apache2 on your machine by following the docs of canonical. After installing apache2, if you need database you can install it of your choice. For me, I am using MySQL since it is easier to setup. For installing MySQL follow the docs of canonical.
You can install any web server and database of your choice.
Forward Port
After installing apache2 server, we need to forward the port of our local machine to ngrok domain. For doing so run the below command on your linux machine:
ngrok http <your-port-here> For me it is ngrok http 80
after running this it will open an interface like below:

Here https://d052-2400-1a00-b020-bb02-445-dacb-7b09-60e.ngrok-free.app is your domain. This will change the domain name everytime we want to forward port. So, that is why I asked earlier to get the domain name. Copy the domain name that you received from ngork earlier (Available here) and run the below command:
ngrok http --domain=<your-domain-here> <your port here>
For me it is:ngrok http --domain=on-fit-poodle.ngrok-free.app 80
The similar interface is shown but instead of changing domain, now you will have static domain. If you navigate to that domain you should now see the apache2 information.
Congratulations now you can develop locally and show/access them globally.
Motivation & Problem solved:
I have a group of friends who are working in a group project and we are all in different location using different ISP. The role of mine was to develop the REST APIs for the mobile application since I am very good at back-end technologies. I can make API easily and was not a problem, the problem was how can I make the API and database accessible for my friends also so they can get the response from the centralized database and don't need to setup server on every single machine + git pull every time the code is updated. We are just student so we don't have enough funding to buy the static domain from the ISP. So, while searching for free alternatives I get to know about ngrok and I was able to share my local server globally and now my friends can send API request to the server and get valid response easily without need to setup on their machine and no need to git pull every time the code is updated. 🙂
Conclusion
I hope this blog will help to solve your problem too. Comment down below and tell me what problem it solved and what was you trying to achieve.
Subscribe to my newsletter
Read articles from Diwash Mainali directly inside your inbox. Subscribe to the newsletter, and don't miss out.
Written by
