Managing Pod Scheduling in Kubernetes: Taints, Tolerations, and nodeSelector
 Usama Aijaz
Table of contents
In Kubernetes, managing where pods are scheduled to run can be crucial for efficient resource utilization and workload management. Key tools for controlling pod placement include taints, tolerations, and nodeSelector. Here’s a detailed yet simple explanation of each, complete with practical examples and commands.
Taints and Tolerations
Introduction
Taints and tolerations work together to manage the scheduling of pods on nodes. Taints are applied to nodes to prevent certain pods from being scheduled on them, while tolerations are applied to pods to allow them to be scheduled on nodes with matching taints.
1. Adding a Taint to a Node
To add a taint to a node, which prevents any pod from being scheduled on it unless the pod has a matching toleration, use the following command:
kubectl taint nodes <node-name> key=value:effect
Example:
kubectl taint nodes node01 dedicated=critical:NoSchedule
This command taints node1 with the key dedicated, value critical, and effect NoSchedule. Pods without a matching toleration will not be scheduled on this node.
2. Viewing Taints on Nodes
To view the taints applied to a node:
kubectl describe node <node-name> |grep -i taints
kubectl describe node node01 |grep -i taints
This will display details about node1, including the taints applied to it as below image.

3. Adding Tolerations to a Pod
To allow a pod to be scheduled on a node with a specific taint, add a toleration in the pod’s specification:
apiVersion: v1
kind: Pod
metadata:
  name: tolerant-pod
spec:
  tolerations:
  - key: "dedicated"
    operator: "Equal"
    value: "critical"
    effect: "NoSchedule"
  containers:
  - name: mycontainer
    image: nginx
4. Viewing Pods with Tolerations
To check the status of pods and see which node they are running on, use:
kubectl get po -o wide
Example Output:

This command shows details about pods, including their node assignments. For detailed toleration information, use:
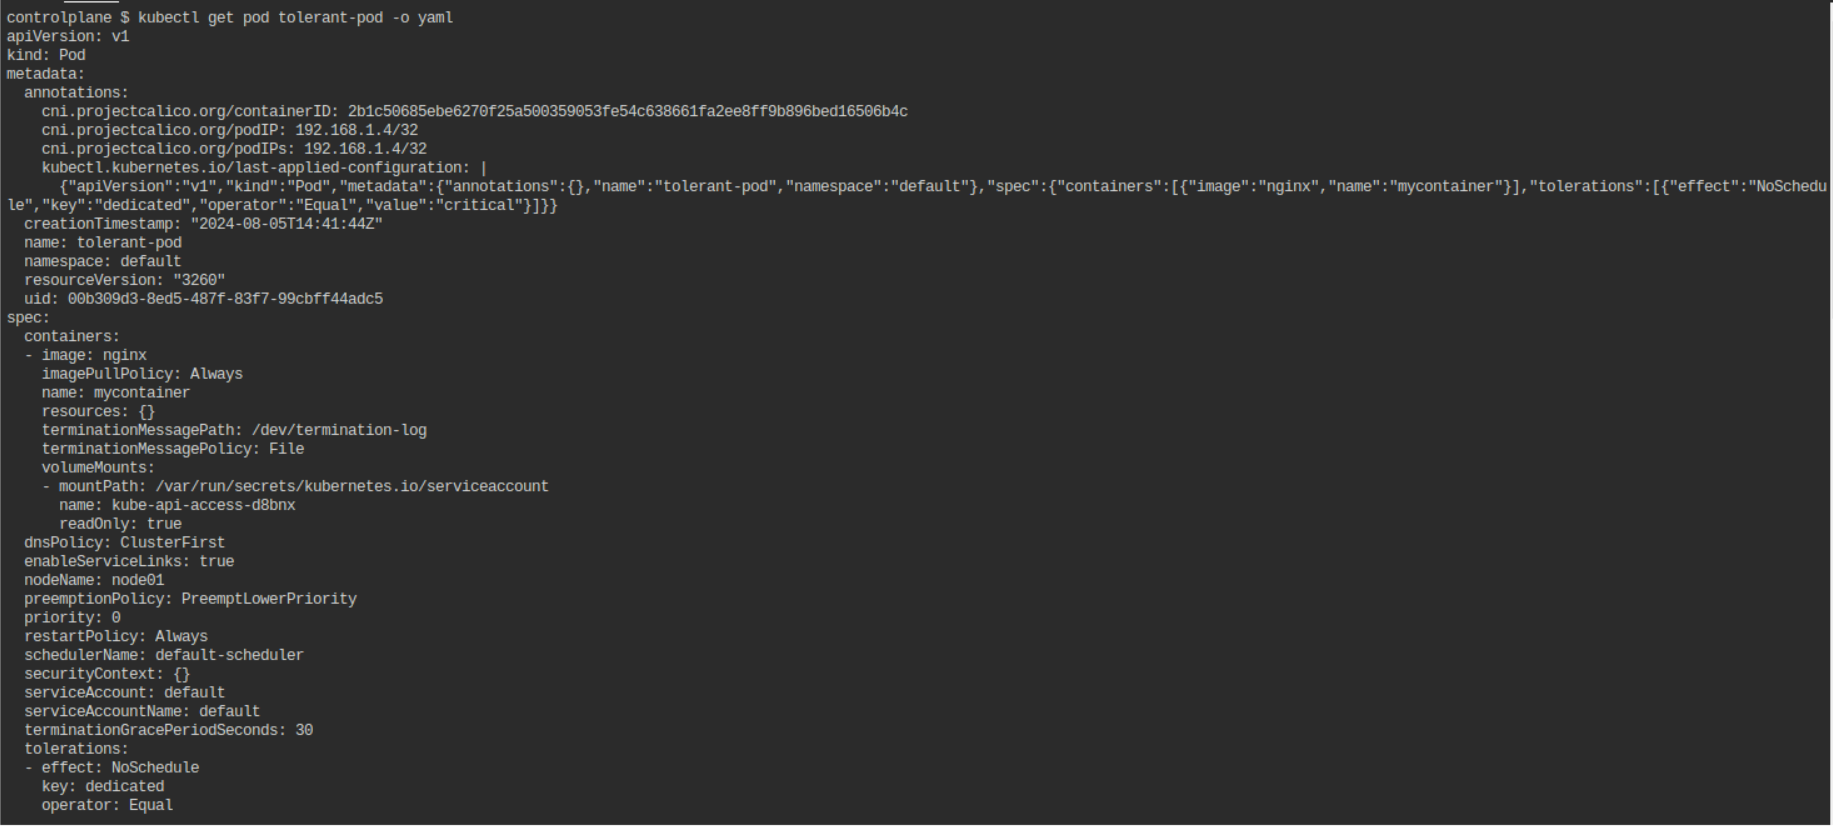
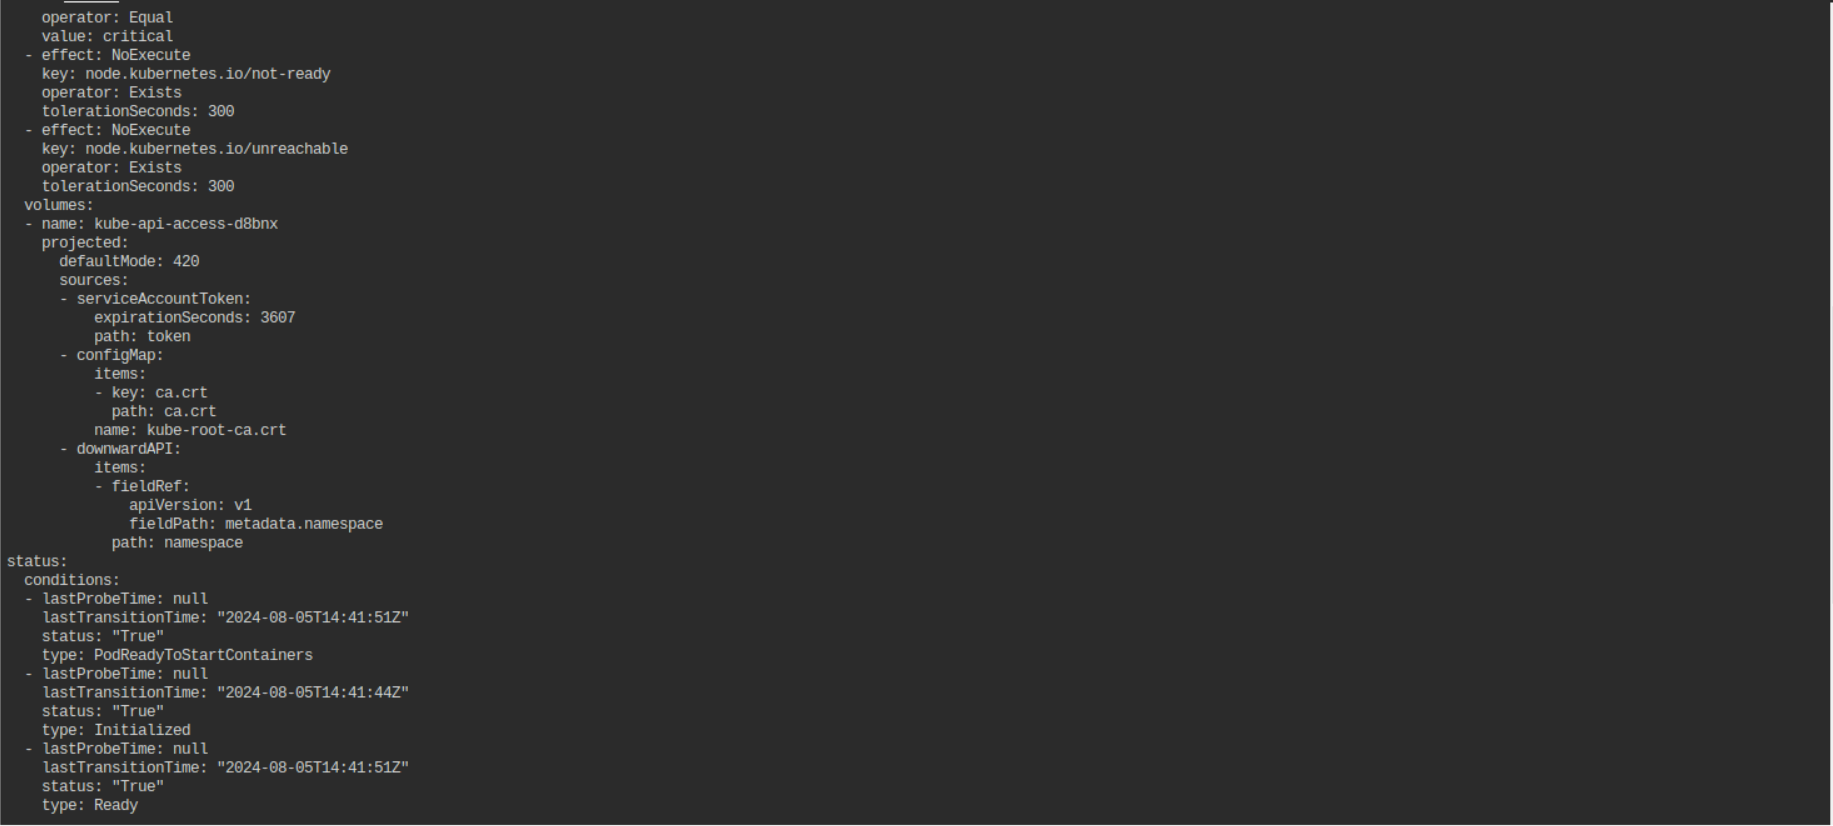
kubectl get pod <pod-name> -o yaml
Example:
kubectl get pod tolerant-pod -o yaml
This command will show the complete YAML configuration of the pod, including its tolerations as below images.


To remove taints you can use below command.
kubectl taint nodes <node-name> <key>=<value>-
#add "-" again value to remove taint
Example:
kubectl taint nodes node1 dedicated=critical:NoSchedule-
Output of above command is in below image.

NodeSelector
Introduction
nodeSelector is a simpler mechanism that allows you to control pod placement based on node labels. It ensures that a pod is only scheduled on nodes that match specified labels.
1. Labeling a Node
To label a node for selection by pods:
kubectl label nodes <node-name> key=value
Example:
kubectl label nodes node01 disktype=ssd

kubectl get nodes node01 --show-labels
First command labels node01 with disktype=ssd and second command will display labels output is shown in below image.

2. Creating a Pod with nodeSelector
To ensure a pod is scheduled only on nodes with specific labels, use the nodeSelector field:
apiVersion: v1
kind: Pod
metadata:
  name: ssd-pod
spec:
  nodeSelector:
    disktype: ssd
  containers:
  - name: mycontainer
    image: nginx
3. Viewing Pods with nodeSelector
To see which nodes the pods are running on, use:
kubectl get po -o wide
This command provides information about pods and their assigned nodes, confirming if the nodeSelector is working as expected in below image.

Summary
Taints and Tolerations: Use taints to prevent certain pods from being scheduled on nodes unless the pods have matching tolerations. Taints and tolerations allow for fine-grained control over pod placement.
nodeSelector: Provides a simpler way to ensure pods are scheduled only on nodes with specific labels.
These tools help you effectively manage pod scheduling in your Kubernetes cluster, ensuring that workloads are placed on suitable nodes based on your requirements.
Subscribe to my newsletter
Read articles from Usama Aijaz directly inside your inbox. Subscribe to the newsletter, and don't miss out.
Written by
