Building a Weather App: Step-by-Step Guide
 Alpit Kumar
Screenshot:-

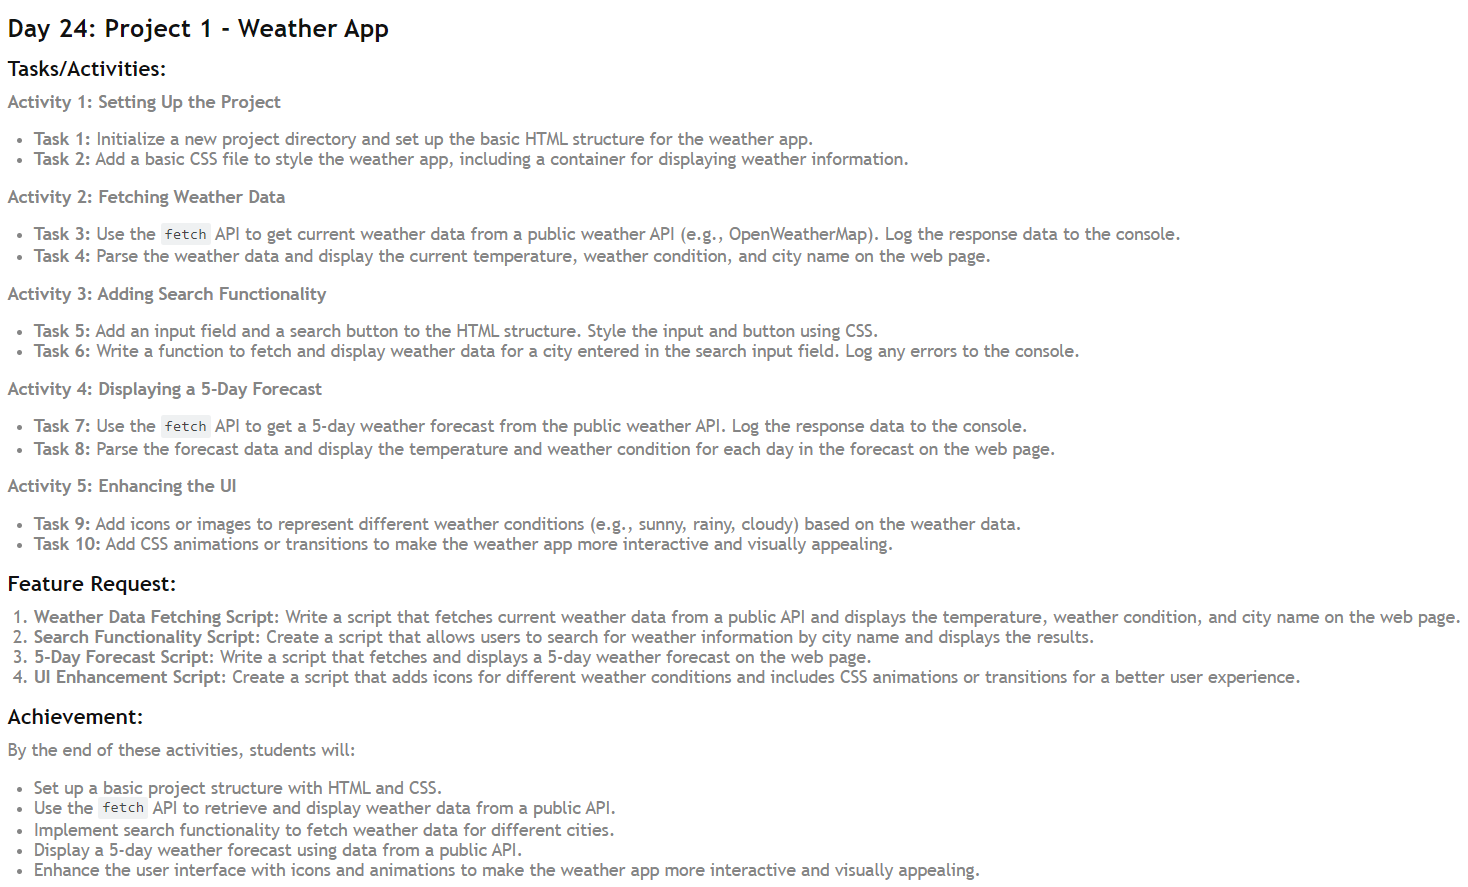
In this project, we'll create a weather app that fetches and displays current weather data and a 5-day forecast from a public API. We'll also add search functionality and enhance the UI with icons and animations. By the end of this project, you'll have a fully functional and visually appealing weather app. Let's get started!
Activity 1: Setting Up the Project
Task 1: Initialize a New Project Directory and Set Up Basic HTML Structure
Create a new directory for your project.
Inside the directory, create an
index.htmlfile with the following basic structure:
<!DOCTYPE html>
<html lang="en">
<head>
    <meta charset="UTF-8">
    <meta name="viewport" content="width=device-width, initial-scale=1.0">
    <title>Weather App</title>
    <link rel="stylesheet" href="styles.css">
</head>
<body>
    <div class="container">
        <h1>Weather App</h1>
        <div class="weather-info">
            <p id="city-name"></p>
            <p id="temperature"></p>
            <p id="weather-condition"></p>
        </div>
        <div class="search">
            <input type="text" id="city-input" placeholder="Enter city name">
            <button id="search-button">Search</button>
        </div>
        <div class="forecast">
            <!-- 5-day forecast will be displayed here -->
        </div>
    </div>
    <script src="app.js"></script>
</body>
</html>
Task 2: Add Basic CSS
Create a styles.css file to style your app:
body {
    font-family: Arial, sans-serif;
    background-color: #f0f0f0;
    display: flex;
    justify-content: center;
    align-items: center;
    height: 100vh;
    margin: 0;
}

.container {
    background-color: #fff;
    padding: 20px;
    border-radius: 10px;
    box-shadow: 0 0 10px rgba(0, 0, 0, 0.1);
    text-align: center;
}

.weather-info, .search, .forecast {
    margin-top: 20px;
}

#city-input {
    padding: 10px;
    width: 200px;
}

#search-button {
    padding: 10px;
}
Activity 2: Fetching Weather Data
Task 3: Fetch Current Weather Data
Sign up for an API key from OpenWeatherMap.
In
app.js, write a function to fetch weather data:
const apiKey = 'YOUR_API_KEY';
const apiUrl = 'https://api.openweathermap.org/data/2.5/weather';

async function getWeather(city) {
    const response = await fetch(`${apiUrl}?q=${city}&appid=${apiKey}&units=metric`);
    const data = await response.json();
    console.log(data);
}

getWeather('London');
Task 4: Display Current Weather Data
Update the getWeather function to display the data on the webpage:
async function getWeather(city) {
    const response = await fetch(`${apiUrl}?q=${city}&appid=${apiKey}&units=metric`);
    const data = await response.json();
    document.getElementById('city-name').textContent = data.name;
    document.getElementById('temperature').textContent = `${data.main.temp}°C`;
    document.getElementById('weather-condition').textContent = data.weather[0].description;
}

getWeather('Jaipur');
Activity 3: Adding Search Functionality
Task 5: Add Input Field and Search Button
The input field and search button are already added in the HTML structure.
Task 6: Fetch and Display Weather Data for Searched City
Add an event listener to the search button:
document.getElementById('search-button').addEventListener('click', () => {
    const city = document.getElementById('city-input').value;
    getWeather(city);
});
Activity 4: Displaying a 5-Day Forecast
Task 7: Fetch 5-Day Weather Forecast
Add a function to fetch the 5-day forecast:
const forecastUrl = 'https://api.openweathermap.org/data/2.5/forecast';

async function getForecast(city) {
    const response = await fetch(`${forecastUrl}?q=${city}&appid=${apiKey}&units=metric`);
    const data = await response.json();
    console.log(data);
}

getForecast('London');
Task 8: Display 5-Day Forecast Data
Update the getForecast function to display the forecast:
async function getForecast(city) {
    const response = await fetch(`${forecastUrl}?q=${city}&appid=${apiKey}&units=metric`);
    const data = await response.json();
    const forecastContainer = document.querySelector('.forecast');
    forecastContainer.innerHTML = '';

    for (let i = 0; i < data.list.length; i += 8) {
        const forecast = data.list[i];
        const date = new Date(forecast.dt_txt).toLocaleDateString();
        const temp = forecast.main.temp;
        const condition = forecast.weather[0].description;

        const forecastElement = document.createElement('div');
        forecastElement.className = 'forecast-item';
        forecastElement.innerHTML = `
            <p>${date}</p>
            <p>${temp}°C</p>
            <p>${condition}</p>
        `;

        forecastContainer.appendChild(forecastElement);
    }
}
Activity 5: Enhancing the UI
Task 9: Add Icons for Weather Conditions
Use weather icons from OpenWeatherMap or another source. Update the getWeather and getForecast functions to include icons:
async function getWeather(city) {
    const response = await fetch(`${apiUrl}?q=${city}&appid=${apiKey}&units=metric`);
    const data = await response.json();
    document.getElementById('city-name').textContent = data.name;
    document.getElementById('temperature').textContent = `${data.main.temp}°C`;
    document.getElementById('weather-condition').textContent = data.weather[0].description;
    document.getElementById('weather-icon').src = `http://openweathermap.org/img/w/${data.weather[0].icon}.png`;
}

// Add <img id="weather-icon" src="" alt="Weather Icon"> in the HTML structure for the weather icon.
Task 10: Add CSS Animations or Transitions
Enhance the UI with animations:
.container {
    transition: all 0.3s ease-in-out;
}

.container:hover {
    transform: scale(1.05);
}

.forecast-item {
    animation: fadeIn 1s ease-in-out;
}

@keyframes fadeIn {
    from {
        opacity: 0;
    }
    to {
        opacity: 1;
    }
}
Conclusion
By following these steps, you will have created a weather app that:
Fetches and displays current weather data.
Allows users to search for weather information by city name.
Displays a 5-day weather forecast.
Enhances the user interface with icons and animations.
This project helps you practice setting up a project structure, using the fetch API, and improving UI design with CSS. Good luck, and enjoy coding your weather app!
Subscribe to my newsletter
Read articles from Alpit Kumar directly inside your inbox. Subscribe to the newsletter, and don't miss out.
Written by

Alpit Kumar
Alpit Kumar
I am a passionate web developer and open-source enthusiast on a captivating journey of coding wonders. With a year of experience in web development, my curiosity led me to the enchanting world of React, where I found a true calling. Embracing the magic of collaboration and knowledge-sharing, I ventured into the realm of open source, contributing to Digital Public Goods (DPGs) for the betterment of the digital universe. A firm believer in learning in public, I share my insights and discoveries through blogging, inspiring fellow coders to embark on their own magical coding odysseys. Join me on this thrilling adventure, where imagination and technology converge, and together, let's shape the future of the digital landscape! 🎩✨