Unlock the secrets of your emails with Mailpit
 Vasyl Melnychuk
What Is Mailpit?
Mailpit is an open-source email interception tool that helps developers and testers monitor and debug their email systems. It acts as a temporary email server where you can send emails, allowing you to view and inspect their content before they reach their final destination. Think of it as a virtual mailroom where you have full control over the incoming messages.
Why Use Mailpit?
Debugging Made Easy: When developing an application that sends emails, testing and debugging of such emails shouldn't include spamming real users' inboxes. Mailpit provides a sandbox environment for catching, reviewing, and troubleshooting your emails.
Development Streamlined: Using Mailpit skips all the hassle of configuring the difficult email servers, or there could be no need to integrate with an external service. One can set up a local instance, which handles all the email traffic, thus helping work through the development process swiftly.
Enhanced Security: Mailpit helps ensure that sensitive information is dealt with appropriately by intercepting e-mails before they are sent to the target receivers. You will be able to verify that there is no leakage of personal information and accordingly, the e-mails adhere to safety protocols.
Cost-Effective Testing: Traditional e-mail services may limit the number of e-mails you can send or charge for extensive testing. Mailpit eliminates these concerns by providing a cost-free solution for email testing and debugging.
How to Get Started with Mailpit
1. Installation
While Mailpit has its own repository with the readme file, there is always a simpler way to launch it. You can install it using Docker or, as I prefer - docker-compose. Here’s a basic example of how you can get it running. I am using environment variables with default values - to use as is, or to customize .env file without amending the compose file:
---
services:
  mailpit:
    image: ${IMAGE_NAME:-'axllent/mailpit:latest'}
    container_name: ${CONTAINER_NAME:-mailpit}
    restart: unless-stopped
    ports:
      - '${MAILPIT_SMTP_PORT:-1025}:1025'
      - '${MAILPIT_WEB_PORT:-8025}:8025'
This command will launch Mailpit in a Docker container, exposing it on ports 1025 for SMTP and 8025 for the web interface.
docker compose up -d
2. Configuration
Once Mailpit is up and running, you can configure your application to use Mailpit’s SMTP server. Update email settings in your application to point to localhost on port 1025 for outgoing mail.
3. Accessing the Web Interface
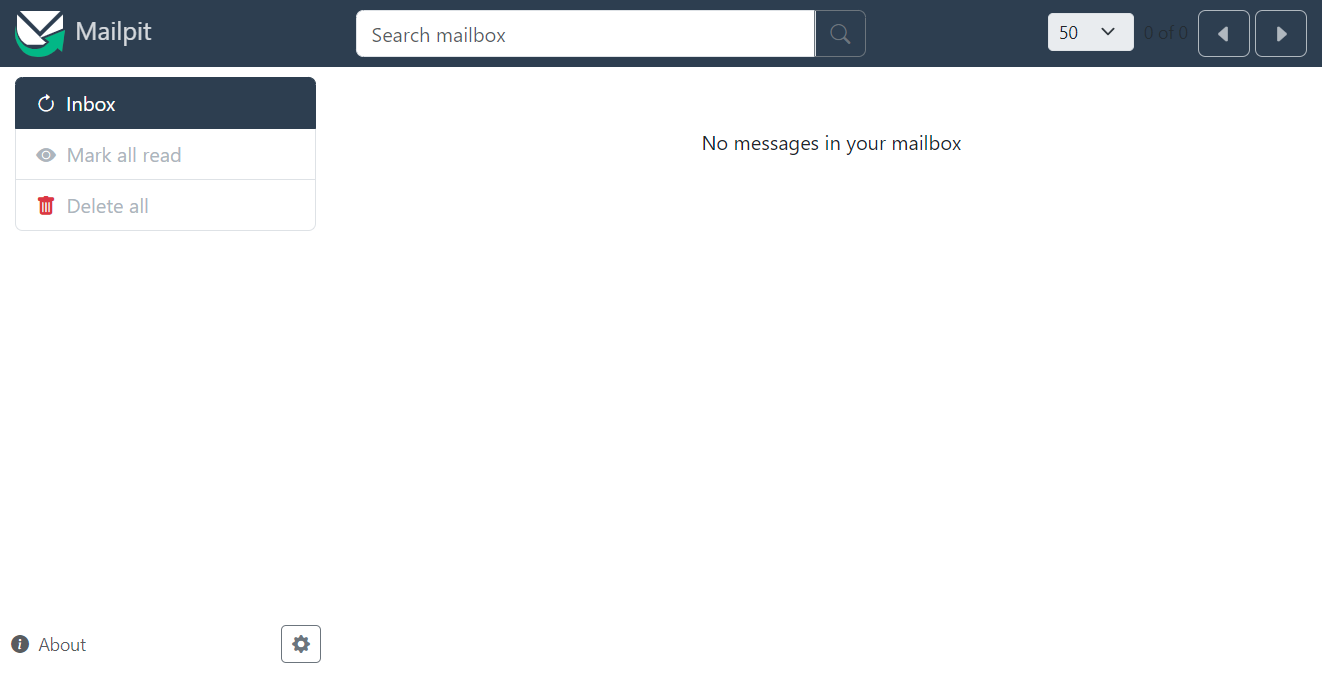
Navigate to http://localhost:8025 in your web browser to access Mailpit’s user-friendly interface. Here, you can view all intercepted emails, check their content, and inspect various headers and attachments.

Use Cases
Testing Email Notifications: Ensure that your email notifications appear correctly and contain the right information before sending them to real users.
Debugging Email Deliverability Issues: Troubleshoot issues related to email deliverability, such as incorrect formatting or missing attachments.
Training and Demonstrations: Use Mailpit to demonstrate email-related features or conduct training sessions without involving real email accounts.
Conclusion
Mailpit is a game-changer for anyone dealing with email systems in a development or testing environment. Its ease of use, combined with powerful features, makes it an indispensable tool for ensuring that your email communications are flawless. Whether you’re a seasoned developer or just starting, Mailpit’s ability to intercept and analyse emails will streamline your workflow and boost your productivity.
So why wait? Give Mailpit a try and take control of your email interactions today!
The best way to express your gratitude - https://github.com/sponsors/axllent
Subscribe to my newsletter
Read articles from Vasyl Melnychuk directly inside your inbox. Subscribe to the newsletter, and don't miss out.
Written by
