HOW TO PROGRAM STM32 MICROCONTROLLERS WITH C++ IN STM32CubeIDE
 Onyeka Ekwunife
Table of contents

Introduction
STM32 microcontrollers are widely used in embedded systems due to their high processing power, wide range of peripherals, large memory size etc.
While STM32CubeIDE is traditionally used with C, it fully supports C++ programming language, which allows embedded developers to leverage the benefits of object-oriented programming (OPP). In this post, I will guide you on how to program STM32 microcontrollers with C++ using STM32CubeIDE, the official integrated development environment.
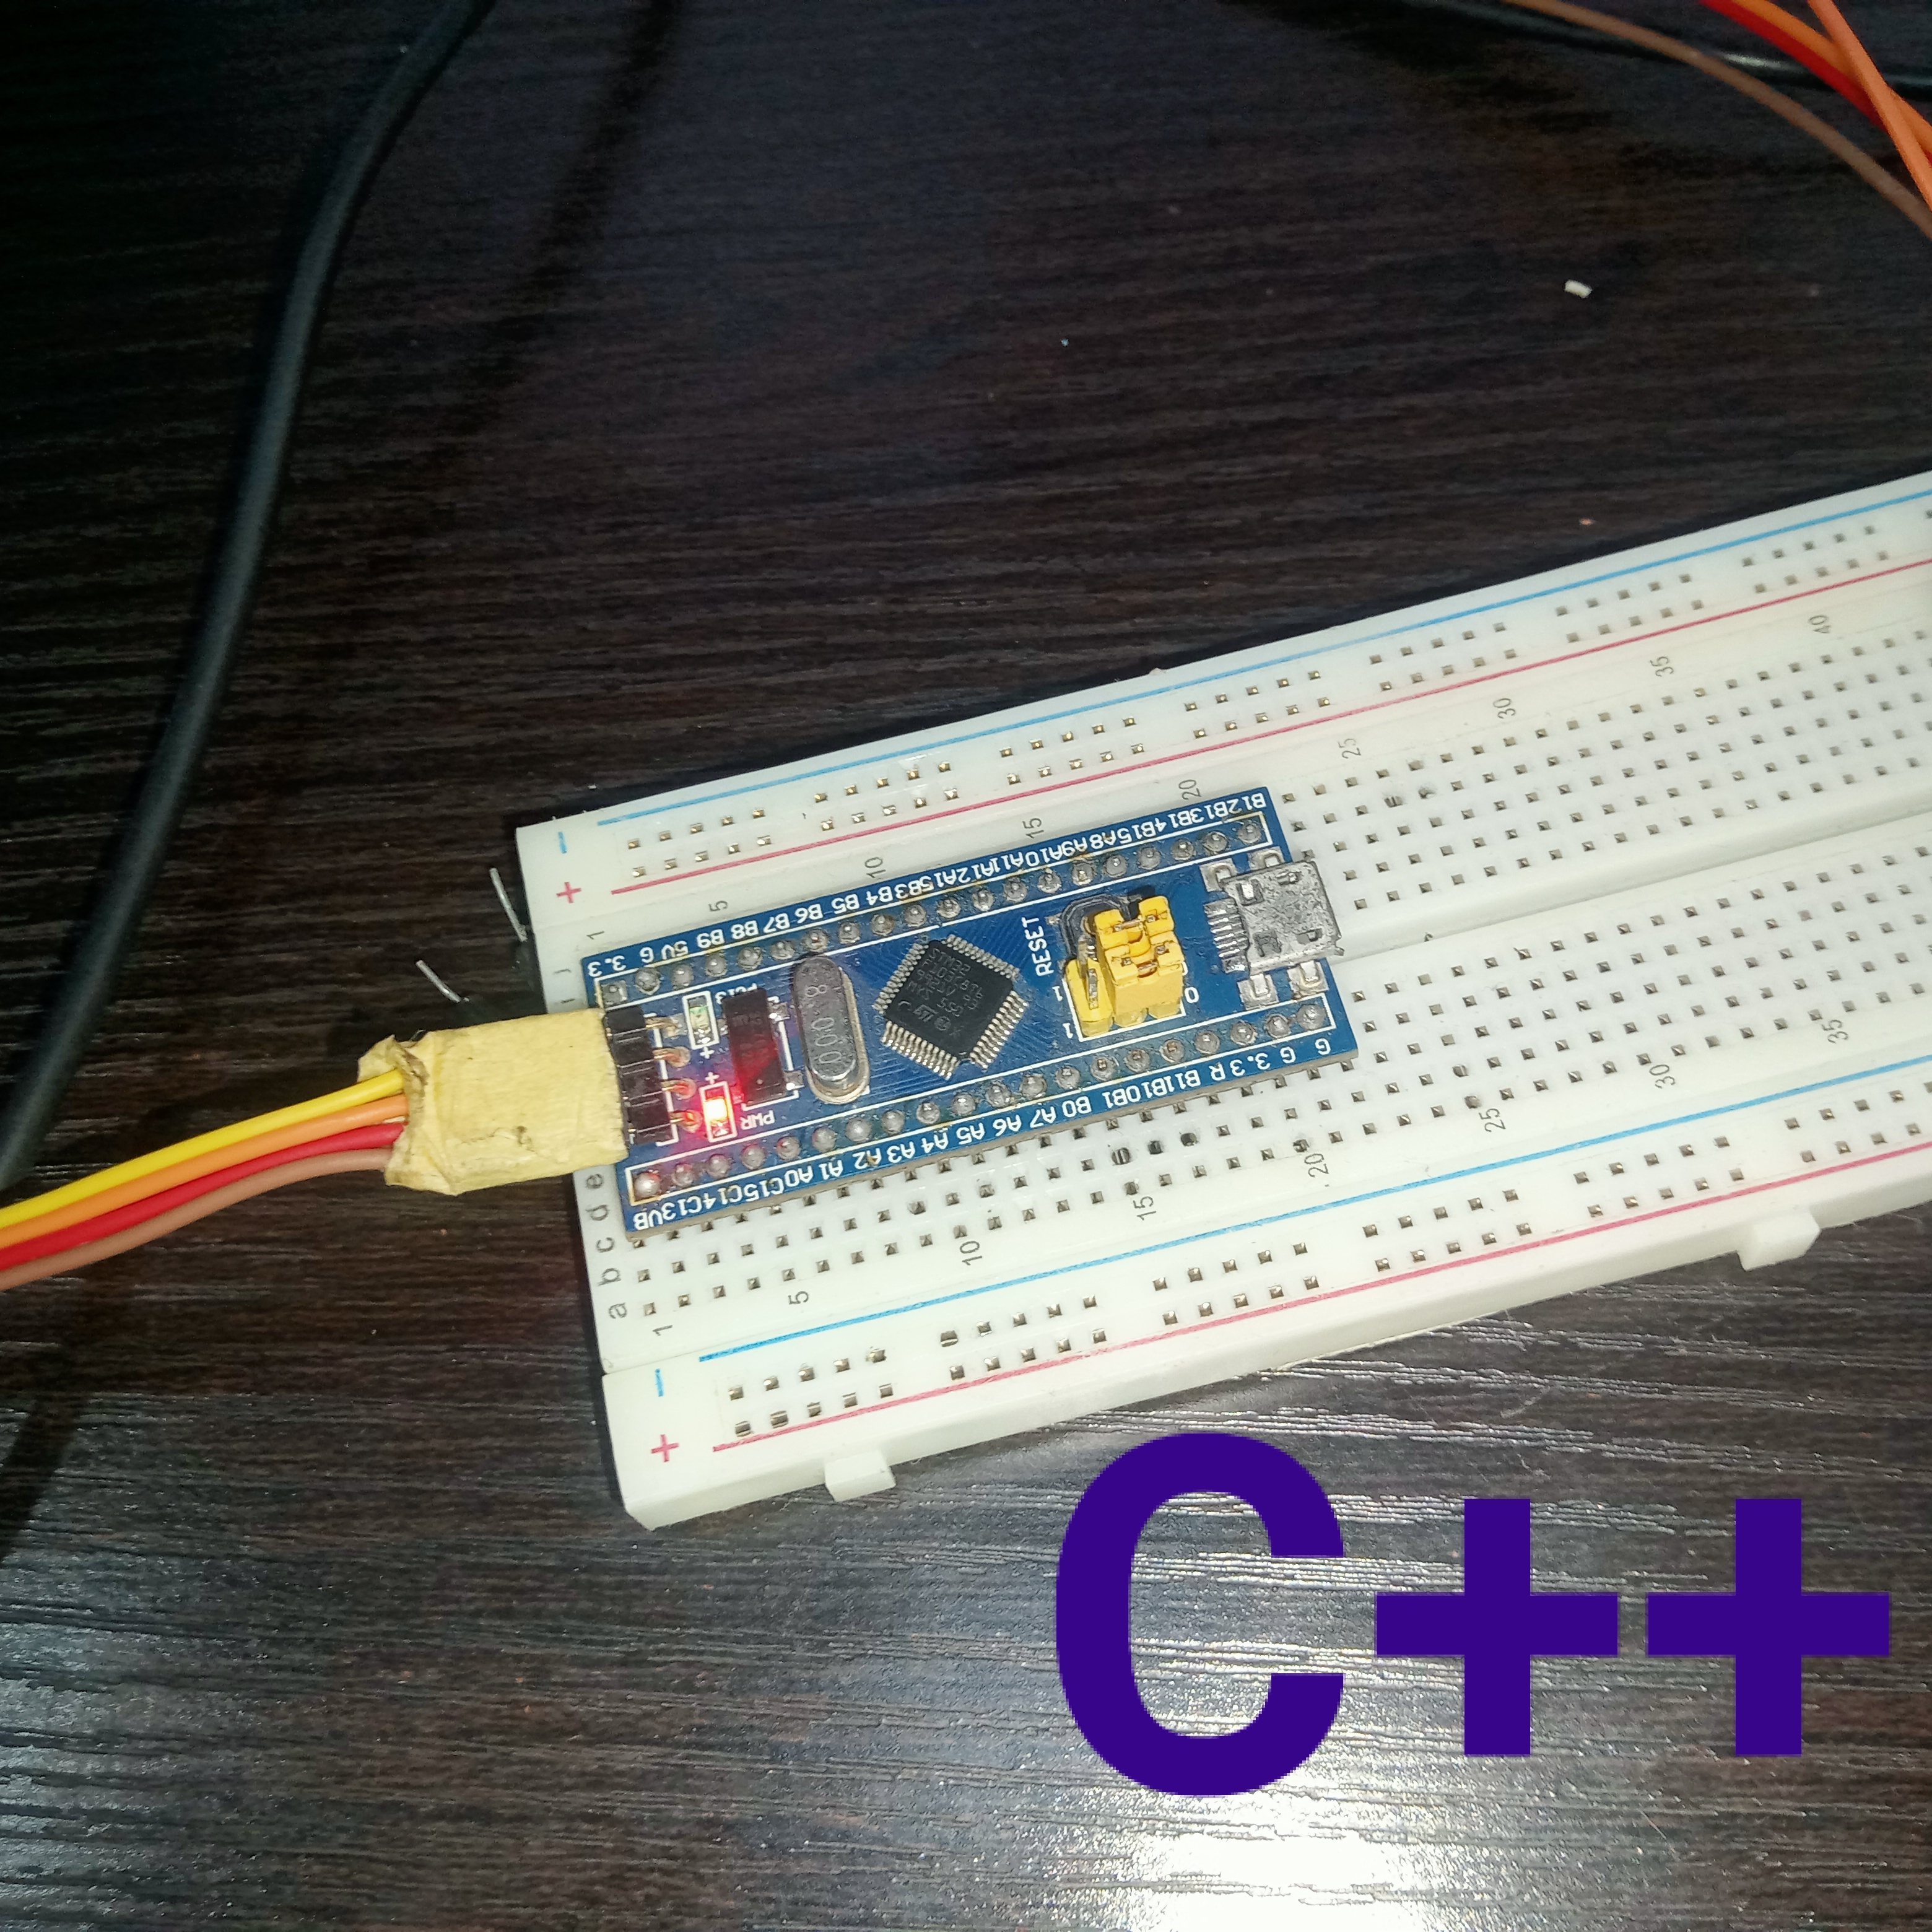
I will use STM32F103C8t6 based board (BLUE PILL) but you can make use of any STM32 chip or board out there.
STEP 1
Open STM32CubeIDE, then select File -> New -> STM32 Project.
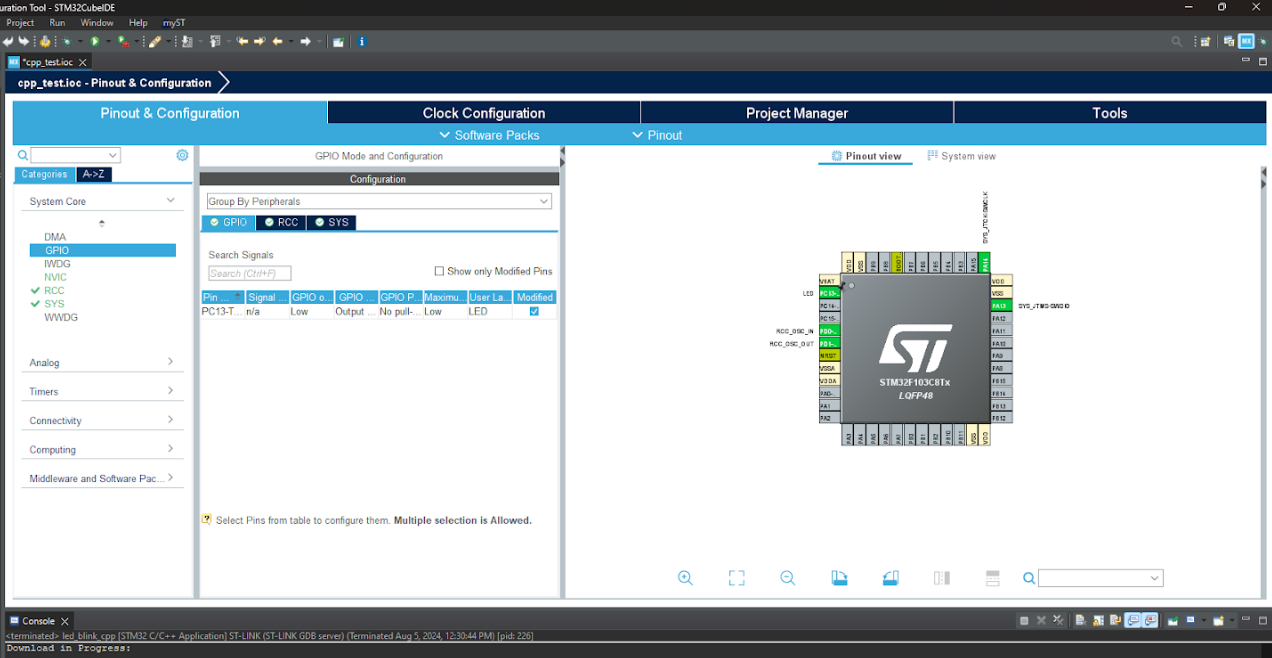
Then configure the necessary peripherals, for me i will do the following;
RCC - HSE(Crystal/Ceramic resonance)
SYS - Debug(Serial Wire)
Clock Configuration - HCLK (72 Mhz)
Set PC13 to OUTPUT

Save and generate code.
STEP 2
Here, we’ll create two files; lang.cpp and lang.hpp.
- Right click on Src under Core, select New -> Source File. Type the name of your file, make sure to end it with .cpp. Finally, under Template: select Default C++ source template.
- Right click on Inc under Core, select New -> Header File. Type the name of your file, make sure to end it with .hpp. Finally, under Template: select Default C++ header template
STEP 3
Inside lang.cpp, paste the code:
#include "lang.hpp"
std::string Programming::language(uint8_t number){
    std::string name;
    switch(number){
        case 0:
            name = "C";
            break;
        case 1:
            name = "C++";
            break;
        case 2:
            name = "Python";
            break;
        case 3:
            name = "JavaScript";
            break;
        case 4:
            name = "Go";
            break;
        case 5:
            name = "Java";
            break;
        case 6:
            name = "C#";
            break;
        default:
            name = "";
    }
    return name;
}
Inside lang.hpp, paste the code:
#ifndef INC_LANG_HPP_
#define INC_LANG_HPP_
#include <string>
class Programming {
    private:
        int _sharp;
    public:
        std::string language(uint8_t number);
};
#endif /* INC_LANG_HPP_ */
STEP 4
Finally, include lang.hpp in the main.c file, rename main.c to main.cpp, then instantiate the class and use its member function inside the while(1) loop;
#include "main.h"
#include "lang.hpp"
/* Private function prototypes -----------------------------------------------*/
void SystemClock_Config(void);
static void MX_GPIO_Init(void);
/* USER CODE BEGIN PFP */
int main(void)
{
 /* Reset of all peripherals, Initializes the Flash interface and the Systick. */
 HAL_Init();
 /* Configure the system clock */
 SystemClock_Config();
 /* Initialize all configured peripherals */
 MX_GPIO_Init();
 /* USER CODE BEGIN 2 */
 /* Instantiate the Programming class*/
 Programming programming;
 /* Infinite loop */
 /* USER CODE BEGIN WHILE */
 while (1)
 {
   /* USER CODE END WHILE */
      if(programming.language(3) == "C"){
          HAL_GPIO_TogglePin(GPIOC, LED_Pin);
          HAL_Delay(1000);
      }else{
          HAL_GPIO_TogglePin(GPIOC, LED_Pin);
          HAL_Delay(100);
      }
   /* USER CODE BEGIN 3 */
 }
 /* USER CODE END 3 */
}
Code Explanation:
The above code has a class named Programming with a member function language, the function accepts an integer parameter that is passed to the switch statement. Depending on the parameter, a particular programming language is returned. Inside the main function, the class blueprint was created, this allowed us to access the member function, language. Inside the while(1) the function is used to blink LED at different duty-cycles depending on the parameter passed.
STM32CubeIDEBuild and upload the code to your board.
Congratulations!!!
Subscribe to my newsletter
Read articles from Onyeka Ekwunife directly inside your inbox. Subscribe to the newsletter, and don't miss out.
Written by

Onyeka Ekwunife
Onyeka Ekwunife
Embedded System | IoT | devOps