Chat Application Using Web Socket
 Alpit Kumar
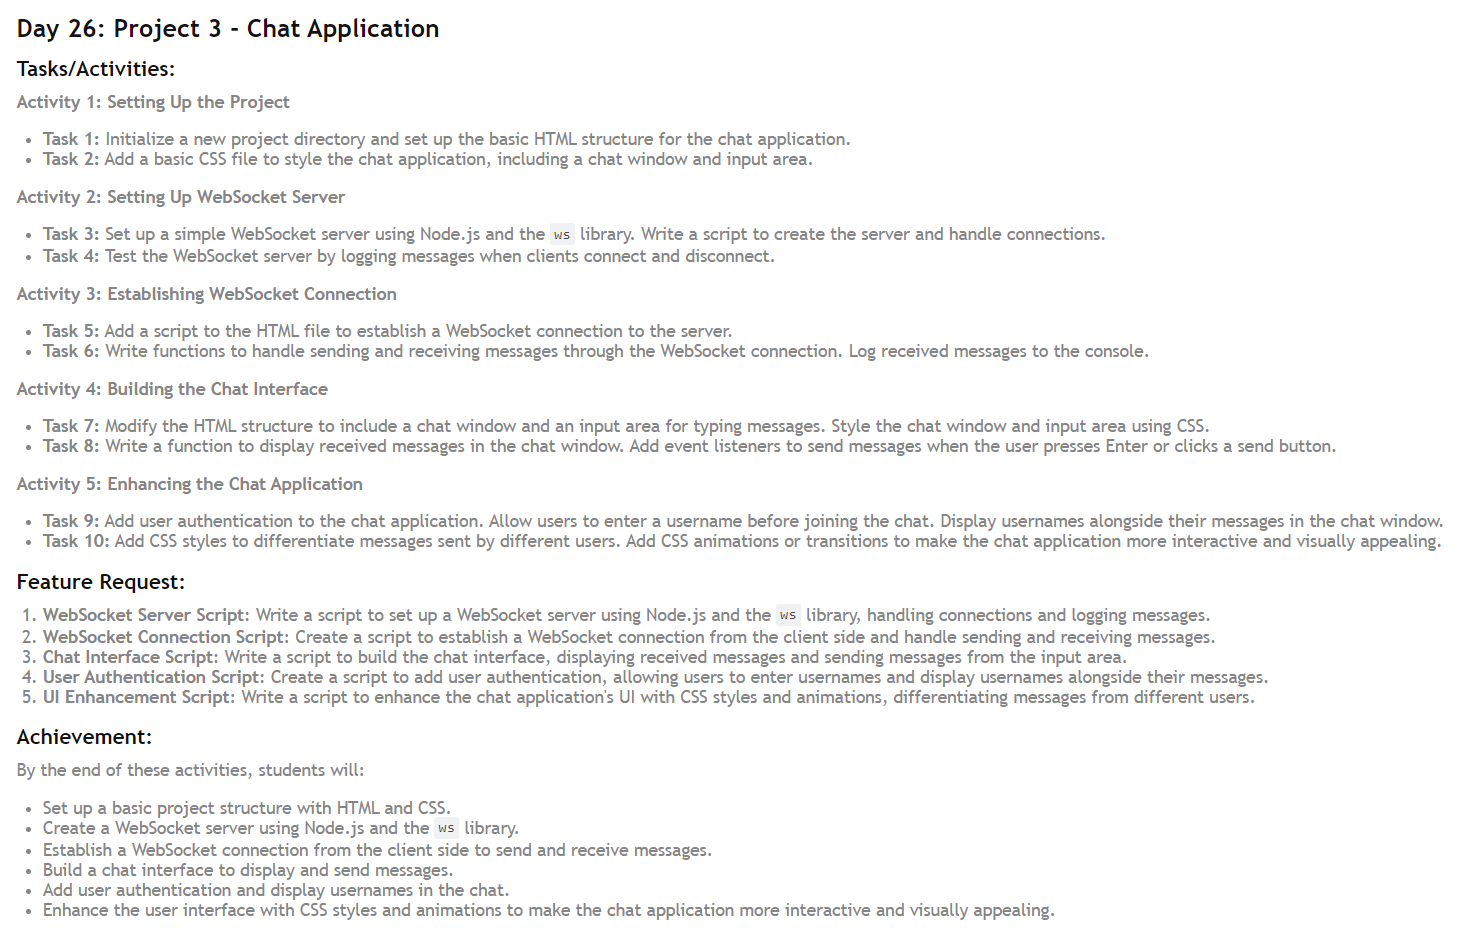
Screeshot :-

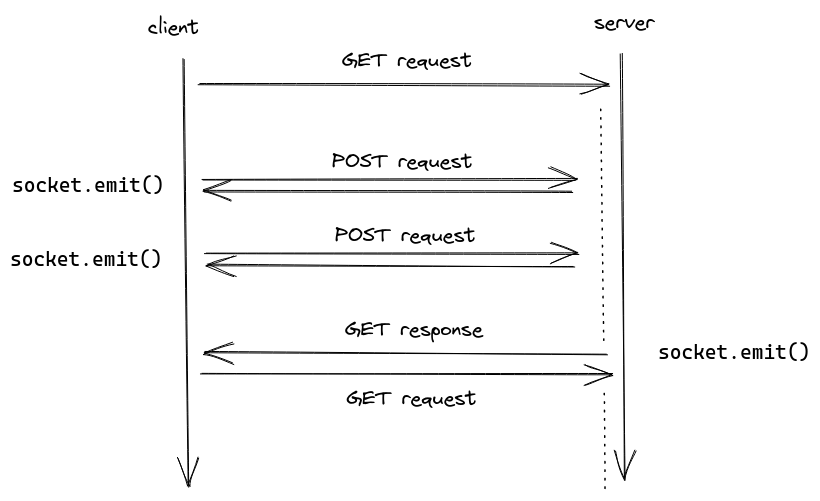
In traditional web communication, the client sends a request to the server, the server responds, and the connection is closed. For each new request, this process repeats, leading to multiple openings and closings of connections. This method, known as polling, works fine for small-scale applications but becomes inefficient and hard to manage at a larger scale due to the increased load on the server.

WebSockets provide a more efficient solution by maintaining a persistent connection between the client and server. This allows for real-time, two-way communication, significantly reducing the server load and improving performance.
Building a Chat Application with WebSockets
Basic Structure of the Application
index.html:
<!doctype html>
<html lang="en">
  <head>
    <meta charset="UTF-8" />
    <meta name="viewport" content="width=device-width, initial-scale=1.0" />
    <title>Chat Application</title>
    <link rel="stylesheet" href="style.css" />
  </head>
  <body>
    <div class="container">
      <h1>Chat Application</h1>
      <div id="chat-window"></div>
      <input type="text" id="username" placeholder="Enter your username" />
      <input type="text" id="message-input" placeholder="Type your message..." />
      <button id="send-button">Send</button>
    </div>
    <script src="script.js"></script>
  </body>
</html>
style.css:
body {
  font-family: Arial, sans-serif;
  background-color: #f4f4f4;
  margin: 0;
  padding: 0;
}

.container {
  max-width: 800px;
  margin: 50px auto;
  padding: 20px;
  background: #fff;
  box-shadow: 0 0 10px rgba(0, 0, 0, 0.1);
}

#chat-window {
  height: 400px;
  overflow-y: scroll;
  background: #e9e9e9;
  padding: 10px;
  margin-bottom: 10px;
}

#chat-window .message {
  margin: 10px 0;
}

input,
button {
  padding: 10px;
  margin: 10px 0;
  width: calc(100% - 22px);
}

.message .username {
  font-weight: bold;
}

.message .text {
  margin-left: 10px;
}

.sent {
  background-color: #d1e7dd;
  padding: 5px;
  border-radius: 5px;
}

.received {
  background-color: #f8d7da;
  padding: 5px;
  border-radius: 5px;
}
Setting Up the WebSocket Server
First, install the ws library using npm:
npm install ws
Create the WebSocket server to run on localhost:8080 with the following steps:
Define the WebSocket instance:
Set up the connection:
Handle messaging using the
wslibrary:Ensure the client does not receive its own message by checking
client !== ws.Verify that the WebSocket is open before sending messages with
client.readyState === WebSocket.OPEN.
server.js:
const WebSocket = require('ws');
const server = new WebSocket.Server({ port: 8080 });

server.on('connection', (ws) => {
  console.log('Client connected');

  ws.on('message', (message) => {
    console.log(`Received: ${message}`);
    server.clients.forEach((client) => {
      if (client !== ws && client.readyState === WebSocket.OPEN) {
        client.send(message);
      }
    });
  });

  ws.on('close', () => {
    console.log('Client disconnected');
  });
});

console.log('WebSocket server is running on ws://localhost:8080');
Client-side WebSocket Implementation
script.js:
const ws = new WebSocket("ws://localhost:8080");

ws.addEventListener("open", () => {
  console.log("Connected to the WebSocket server");
});

ws.addEventListener("message", (event) => {
  const messageData = JSON.parse(event.data);
  displayMessage(messageData.username, messageData.message, "received");
});

document.getElementById("send-button").addEventListener("click", () => {
  sendMessage();
});

document.getElementById("message-input").addEventListener("keypress", (event) => {
  if (event.key === "Enter") {
    sendMessage();
  }
});

function sendMessage() {
  const messageInput = document.getElementById("message-input");
  const message = messageInput.value;
  const usernameInput = document.getElementById("username");
  const username = usernameInput.value || "Anonymous";

  if (message) {
    const messageData = {
      username: username,
      message: message,
    };
    ws.send(JSON.stringify(messageData));
    displayMessage(username, message, "sent");
    messageInput.value = "";
  }
}

function displayMessage(username, message, type) {
  const chatWindow = document.getElementById("chat-window");
  const messageDiv = document.createElement("div");
  messageDiv.className = `message ${type}`;
  messageDiv.innerHTML = `<span class="username">${username}:</span> <span class="text">${message}</span>`;
  chatWindow.appendChild(messageDiv);
  chatWindow.scrollTop = chatWindow.scrollHeight;
}
Summary
By following the steps above, you have built a basic chat application using WebSockets. This includes setting up a persistent connection, handling real-time communication, and creating a user-friendly interface. WebSockets are ideal for applications requiring real-time updates and efficient communication, such as chat applications.
For reference, you can find my project on Replit.
Happy Coding!
Subscribe to my newsletter
Read articles from Alpit Kumar directly inside your inbox. Subscribe to the newsletter, and don't miss out.
Written by

Alpit Kumar
Alpit Kumar
I am a passionate web developer and open-source enthusiast on a captivating journey of coding wonders. With a year of experience in web development, my curiosity led me to the enchanting world of React, where I found a true calling. Embracing the magic of collaboration and knowledge-sharing, I ventured into the realm of open source, contributing to Digital Public Goods (DPGs) for the betterment of the digital universe. A firm believer in learning in public, I share my insights and discoveries through blogging, inspiring fellow coders to embark on their own magical coding odysseys. Join me on this thrilling adventure, where imagination and technology converge, and together, let's shape the future of the digital landscape! 🎩✨